Mojo's blog banner

Tag: astro-physics traveler

  • Working with a broken astronomy camera

    Last year, I had some really bad luck with astrophotography.

    I replaced my old laptop (Dell, Windows XP) and installed a new suite of tools to replace the somewhat ancient and unsupported camera software. At one point during my first “shakeout” evening (October 2014), the new software started spinning my telescope around the declination axis. It made at least two full loops (720°), wrapping the cables around the mount and stressing the camera case.

    Afterward, the shutter was not working, or making noise. In my attempts to solve that problem in the dark, I dislodged a small optical window.

    Back at home, I disassembled the camera, and found that I could move the optical window back into position, but it wasn’t held there firmly. Everything else seemed fine though. The shutter worked well, and the electronics all worked.

    All of the equipment has been put away since then, over a year.

    The time was coming to get back into the game. I knew I’d have several hours of work to update the software suite, not to mention Windows 10. The most delicate update was for the firmware in the keypad of my Mach1GTO telescope mount. I spent an hour and a half on that one update, following all of the procedures carefully. The rest took another few hours: TheSkyX, CCDStack, SbigControl, PEMPro, Skytools3, MaxIm DL6, ASCOM drivers, all the manuals. I hooked up all the cabling, the USB-to-serial adapter for the mount, and the camera itself. All of the software components worked — I could control the mount and the camera and take pictures.

    I also had to consider the condition of my camera. Had I damaged it beyond use? Beyond repair? I called SBIG technical support and described what had happened.

    The support rep, Tim, was audibly chagrined. “Oh nooo! How did that happen? Are you sure?” I learned that the optical window is supposed to be firmly sealed, maintaining a bone dry chamber that keeps out dust, and prevents condensation and frost from forming on the sensor chip. (During a session, the chip is cooled to well below freezing to reduce the amount of thermal noise in the images.)

    Next I exchanged some email with Bill in Santa Barbara who repairs SBIG cameras. He said I should send in the camera at my convenience. In the shop, he’ll affix the window, dry the camera severely in a chamber, and seal it all back up. He also suggested that I could probably use it this weekend, but with the seal broken it would “likely frost up, but then that usually dissipates after a while.”

    With expectations of little or no success, Jane and I headed off to Amboy Crater on Saturday (April 2). The forecast was for ideal conditions. I’d never seen a Clear Sky Chart that black; little or no wind, severe clear skies, near perfect seeing, a low temperature forecast of 56°F. My plan was to experiment with all of the unfamiliar software and learn how to do this again.

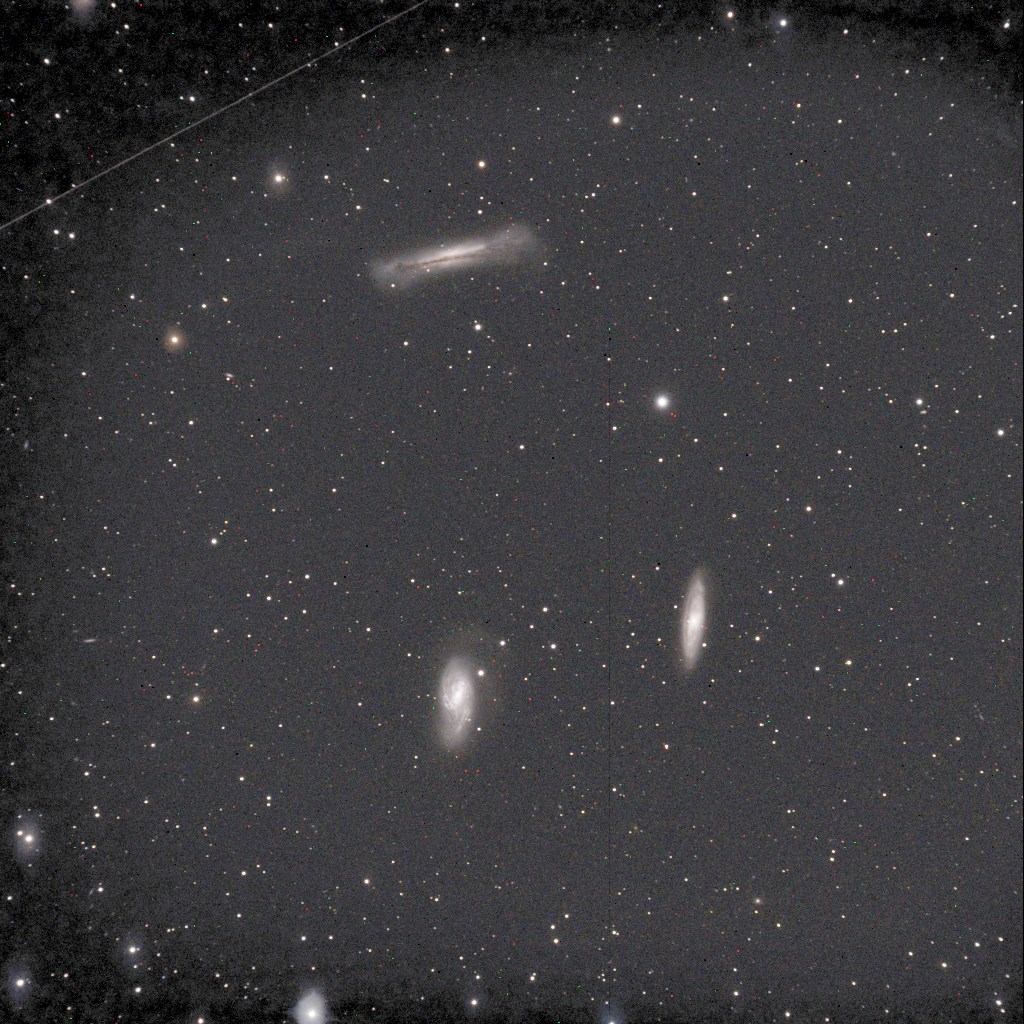
    With the mount polar aligned and all hooked up, I went to an old favorite as a test photo: the “Leo Trio,” M65, M66, and NGC 3628. At the site, the raw data looked really promising. Back home the next day, it was obvious that the image was marred by frost or condensation or both.
    M65, M66, NGC 3628
    The “Leo Trio,” NGC 3628 at the top, M65 and M66 below. Also a likely satellite streak in the upper left, and haze from frost or condensation on the imaging sensor. (Click for full resolution.)

    Afterward, I spent 90 minutes or so learning to use PEMPro, and ended up with a polar alignment within one arcminute of the pole. It’s an excellent program, and I’ll be much quicker at it on the next go-around.

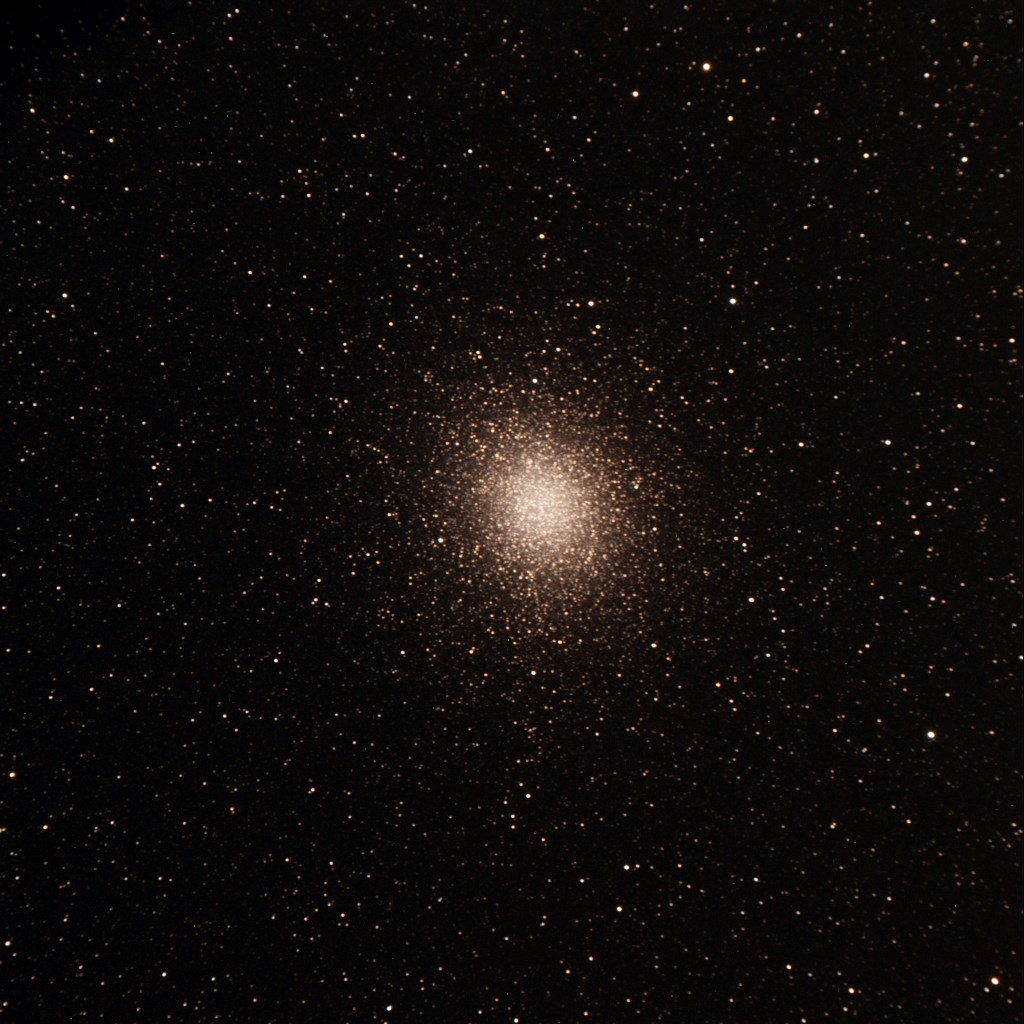
    Meanwhile, there was some excitement among my fellow observers who were seeing the famous and very southerly Omega Centauri globular cluster. This object never rises more than a few degrees above the southern horizon. It’s known for being the largest globular cluster in our sky — probably the largest of all the globulars in the Milky Way’s halo. I couldn’t resist giving it a try.
    Omega Centauri
    Omega Centauri, 15 minute exposure (one exposure, not stacked). Astro-Physics Traveler 105mm f/6 refractor. SBIG ST-4000XCM one-shot color camera. (Click to embiggen.)

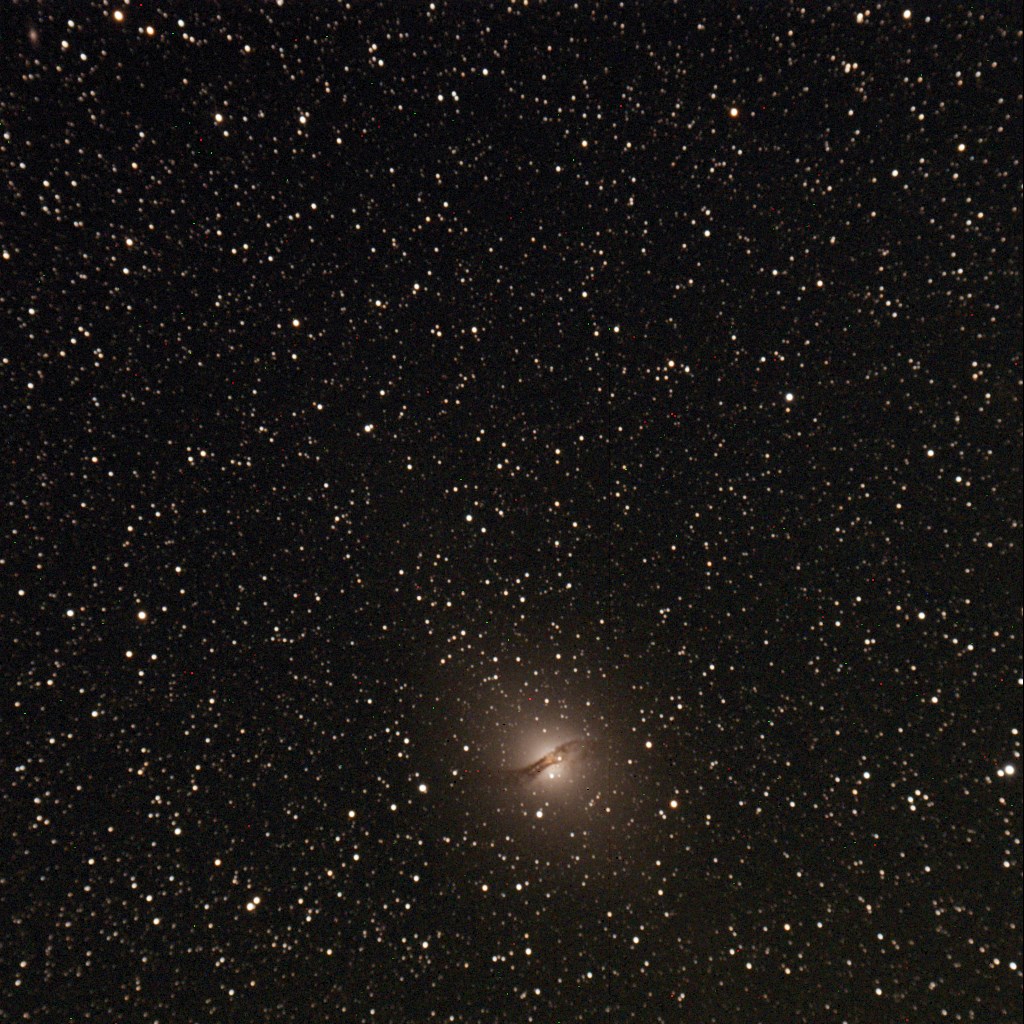
    With that in the bag, I had to get Centaurus A, the famous “Hamburger” galaxy, just barely north of Omega Centaurus.
    Centaurus A
    Centaurus A, active galaxy. (Click to biggify.)

    Then before crawling into the van for a nap, I shot a random field in the Virgo galaxy cluster, around M87.
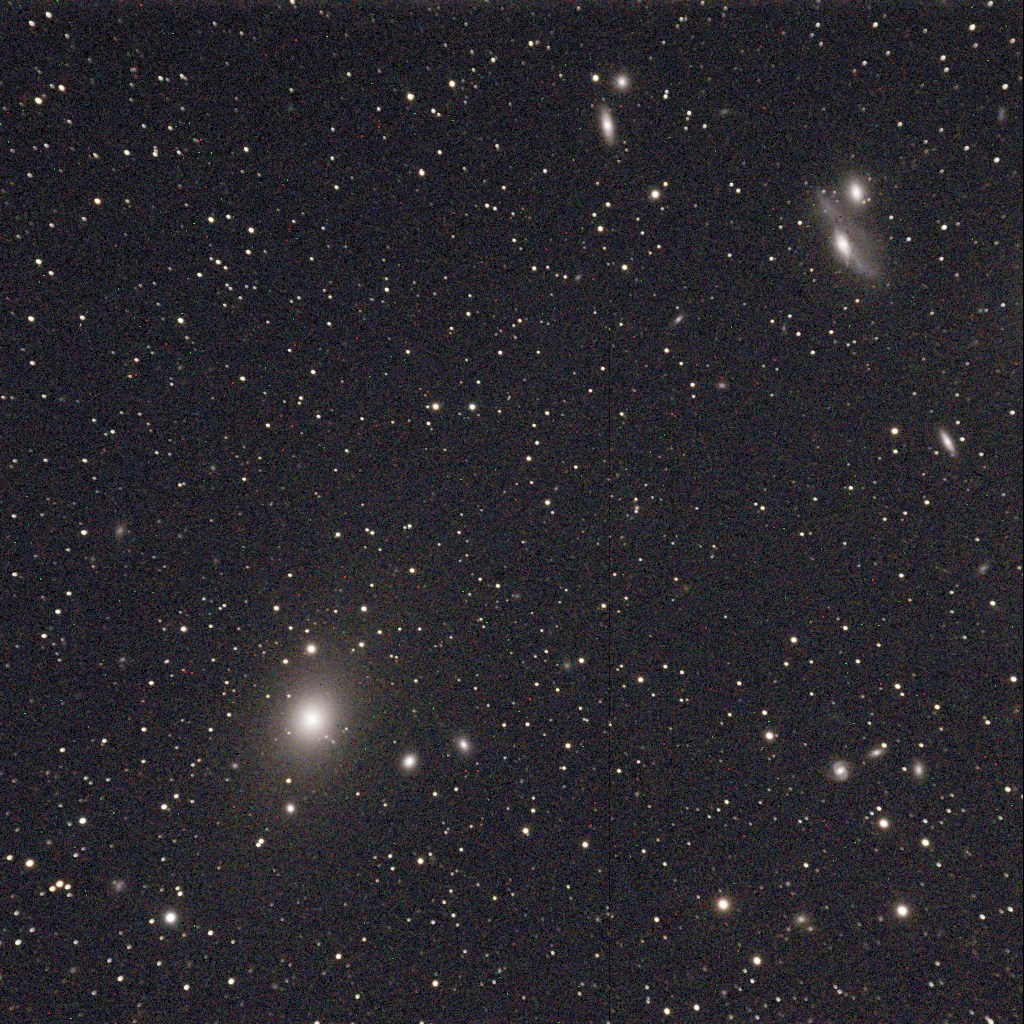
    M87 and Virgo cluster galaxies. (Click to embiggenate.)
    M87 and several nearby galaxies from the Virgo cluster

    After a nap, I did something I haven’t yet been able to do successfully in astrophotography: I shot some flat frames.

    A “flat” is created by evenly illuminating the sensor to pick up imperfections in the optical train. It’s used to correct things like vignetting and dust spots, and produce a calibrated image.

    With the new software for capture, SbigControl, and data reduction, CCDStack, making flats turned out to be quick and easy. I used my iPad with a grey image on the screen as a light source. I pointed the telescope to the zenith, and rested the iPad on top of the dew shield.

    Here is my master flat, made by combining several raw images:
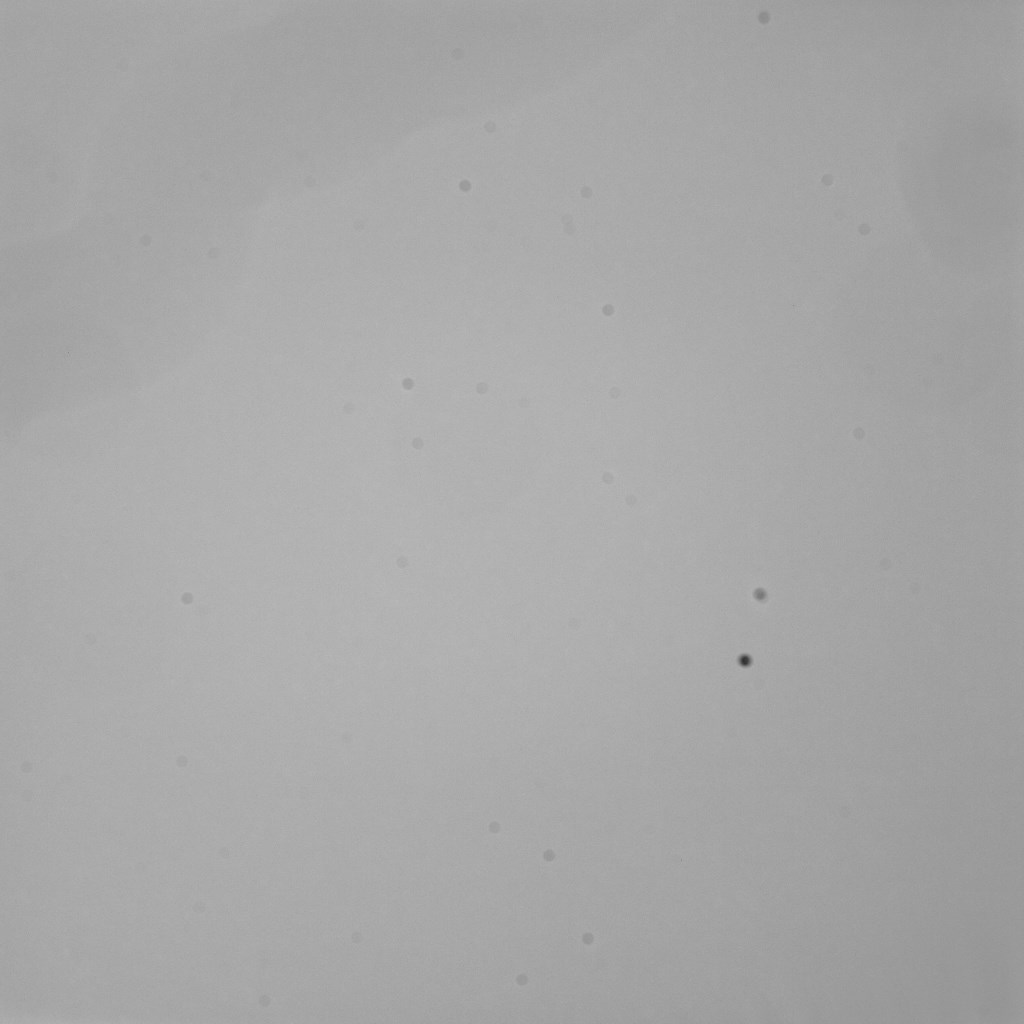
    Flat image with dust specks and vignetting.
    Master “flat” image taken in the morning after the previous shots, and used to calibrate the images. Notice all the dust specks! (Click for … god, why?)

    Oh gracious, that seems like a lot of dust to me! I’m sure I (un)sealed my fate by opening the dry chamber of the camera, allowing a few specks to settle on the sensor cover glass.

    All-in-all it was one of my most satisfying astrophotography expeditions. I’m really looking forward to getting the camera back from SBIG. I’m not expecting anything magic — it’s not going to take better pictures than these. But I do expect fewer images marred by frost haze. I imagine I’ll be able to shoot earlier in the evening and have the images be usable. With the modern software in place, I might be able to try some more ambitious projects.

  • Pinwheels, Horseheads, and Flaming Stars

    Photo from Feb. 2009 of the Astro-Physics Traveler getting ready for a night of imaging at Chuckwalla Bench
    Photo from Feb. 2009 of the Astro-Physics Traveler getting ready for a night of imaging at Chuckwalla Bench

    Jane and I were by ourselves for the dark sky weekend of November 14, 2009. We set up at our usual spot at Chuckwalla Bench. Unlike the past two months, this night featured a cold air mass that required bundling up well. It also implied that the seeing from our desert location might not be perfect.

    Jane brought her 12.5-inch Litebox dobsonian, and I opted for the 4-inch Traveler refractor (seen in my heading photo).

    The night turned out to be beautiful. The seeing was good, and we were able to enjoy a few early Leonid and Taurid meteors as well. My goal was to try getting more exposure minutes on some classic targets, and try to get some piggyback constellation photos as well.

    M33 and Triangulum region

    Triangulum, Aries, and Andromeda, piggyback naked-eye resolution
    Triangulum, Aries, and Andromeda, piggyback naked-eye resolution

    The famous Pinwheel Galaxy, M33, was a difficult object for me when I started out in astronomy with a classic 8-inch Celestron SCT. The face-on spiral is enormous in the sky, covering almost as much area as the nearby Great Andromeda Galaxy. But its surface brightness is low, so with a little magnification it’s possible to look right through the galaxy without seeing it. I later learned that it sometimes shows up better in binoculars than a telescope.

    If you click on the naked-eye resolution photo nearby, you can find M33 as a faint smudge just to the left of center. M31 the Andromeda Galaxy bright core is in the upper left.

    The three bright stars of Triangulum are in the lower third, just left of center. The bright stars of Aries are also in the lower third, to the right of center. (Might be fun to use Flickr’s photo tagging feature to highlight the features.

    M33 the Pinwheel Galaxy
    M33 the Pinwheel Galaxy

    Again “click to embiggen” as Phil Plait would say. This image is a stack of four 15-minute exposures with the AP Traveler and the SBIG ST-4000XCM one-shot color CCD camera. I love seeing the famous red star-birth regions sprinkled through the arms of this nearby galaxy.

    In terms of technique, I used a Bahtinov focusing mask for the first time. It saved a lot of time in finding and maintaining focus. Autoguiding worked perfectly. It felt really good to have confidence to take long sub-exposures and stack them in Photoshop. This was my first true one-hour image, and the first I’m proud to have seen at full resolution.

    Auriga and IC 405

    Piggyback view of Auriga, naked-eye resolution
    Piggyback view of Auriga, naked-eye resolution

    Auriga was one of the first constellations I identified and recognized on my own as a new astronomer, so I’m always delighted to see it again.

    In the piggyback shot, the bright Auriga stars form a squashed pentagon slightly left of center. The right-most star doubles as part of Taurus. North is to the left, and the brightest star there is Capella. In the full-resolution image you can see the Milky Way open clusters M36, M37, M38, and I think that’s M35 in Gemini in the lower right.

    Jane was enjoying touring through targets in this part of the sky, and spent some time attempting to see visually the difficult target IC 405, the Flaming Star Nebula. (Her companion post on the subject is coming soon.) I was intrigued as well, and took 30-minutes of exposure time on IC 405. It’s not visible in the piggyback view, but is found in Auriga near the upper center of the picture.

    IC 405 the Flaming Star Nebula
    IC 405 the Flaming Star Nebula

    I wasn’t familiar with this target, and the 30-minutes of data here shows only the brightest areas of this faint nebula. Longer exposures and a Hydrogen-alpha filter will show the nebulosity extending out to the left and curling up like a huge comma. This was a really fun target, and I’m looking forward to Jane’s discussion of it.

    Orion, the Flame and the Horseshoe

    Orion, piggyback naked-eye resolution
    Orion, piggyback naked-eye resolution

    Finally I wanted to see if my little 4-inch refractor could possibly do justice to one of the most popular astrophotography targets. Here in my naked-eye resolution piggyback photo is the Orion constellation, with its famous bright star-birth nebula near the dead center of the photo.

    The target I had in mind wasn’t the Orion nebula itself, but two very different nebulae near the left-most belt star Alnitak (Zeta Orionis). Just to the left of Alnitak is a bright yellowish nebula called the Flame. In a telescope it shows a lot of detail, looking almost like tire tracks. The full-resolution picture of the constellation has just a hint of the flame. If you already know it’s there, you might be able to see it.

    For my piggyback photos I used my Canon 20D digital SLR camera, mounted on top of the AP Traveler. I shot 5-minute exposures, and tried to subtract a 5-minute dark frame, which doesn’t seem to make much difference.  The camera does leave behind a reddish glow which I’ve removed in Photoshop.

    Just below Alnitak is the Horsehead nebula, also known as Barnard 33. Seeing the Horsehead visually is a fun and difficult project, requiring really good transparency and a fairly large telescope. Jane observed it visually in her 12.5-inch.

    The Flame and the Horsehead in Orion
    The Flame and the Horsehead in Orion

    I never dreamed the image would turn out this nicely. The big white bright blob just above center is Alnitak. In the lower right is Sigma Orionis, one of my favorite multiple star systems. Of course the bright Flame is just left of Alnitak, and dark nebula B33 is just below center.

    Just as with M33, this image is made up of four 15-minute exposures. The telescope is a 105mm f/6 Astro-Physics Traveler, with an SBIG ST-4000XCM one-shot color CCD camera. The mount is the AP Mach-1 GTO on wooden tripod, and I did autoguiding and image capture with Software Bisque’s CCDSoft. I used SBIG’s CCDOps software to process the Bayer-matrix one-shot color pixels out to luminence and RGB components, combined the L and RGB components in Photoshop, then stacked the four color images for the final photo.

  • A perfect night in the desert

    Observing report, dark sky weekend, September, 2009, Chuckwalla Bench

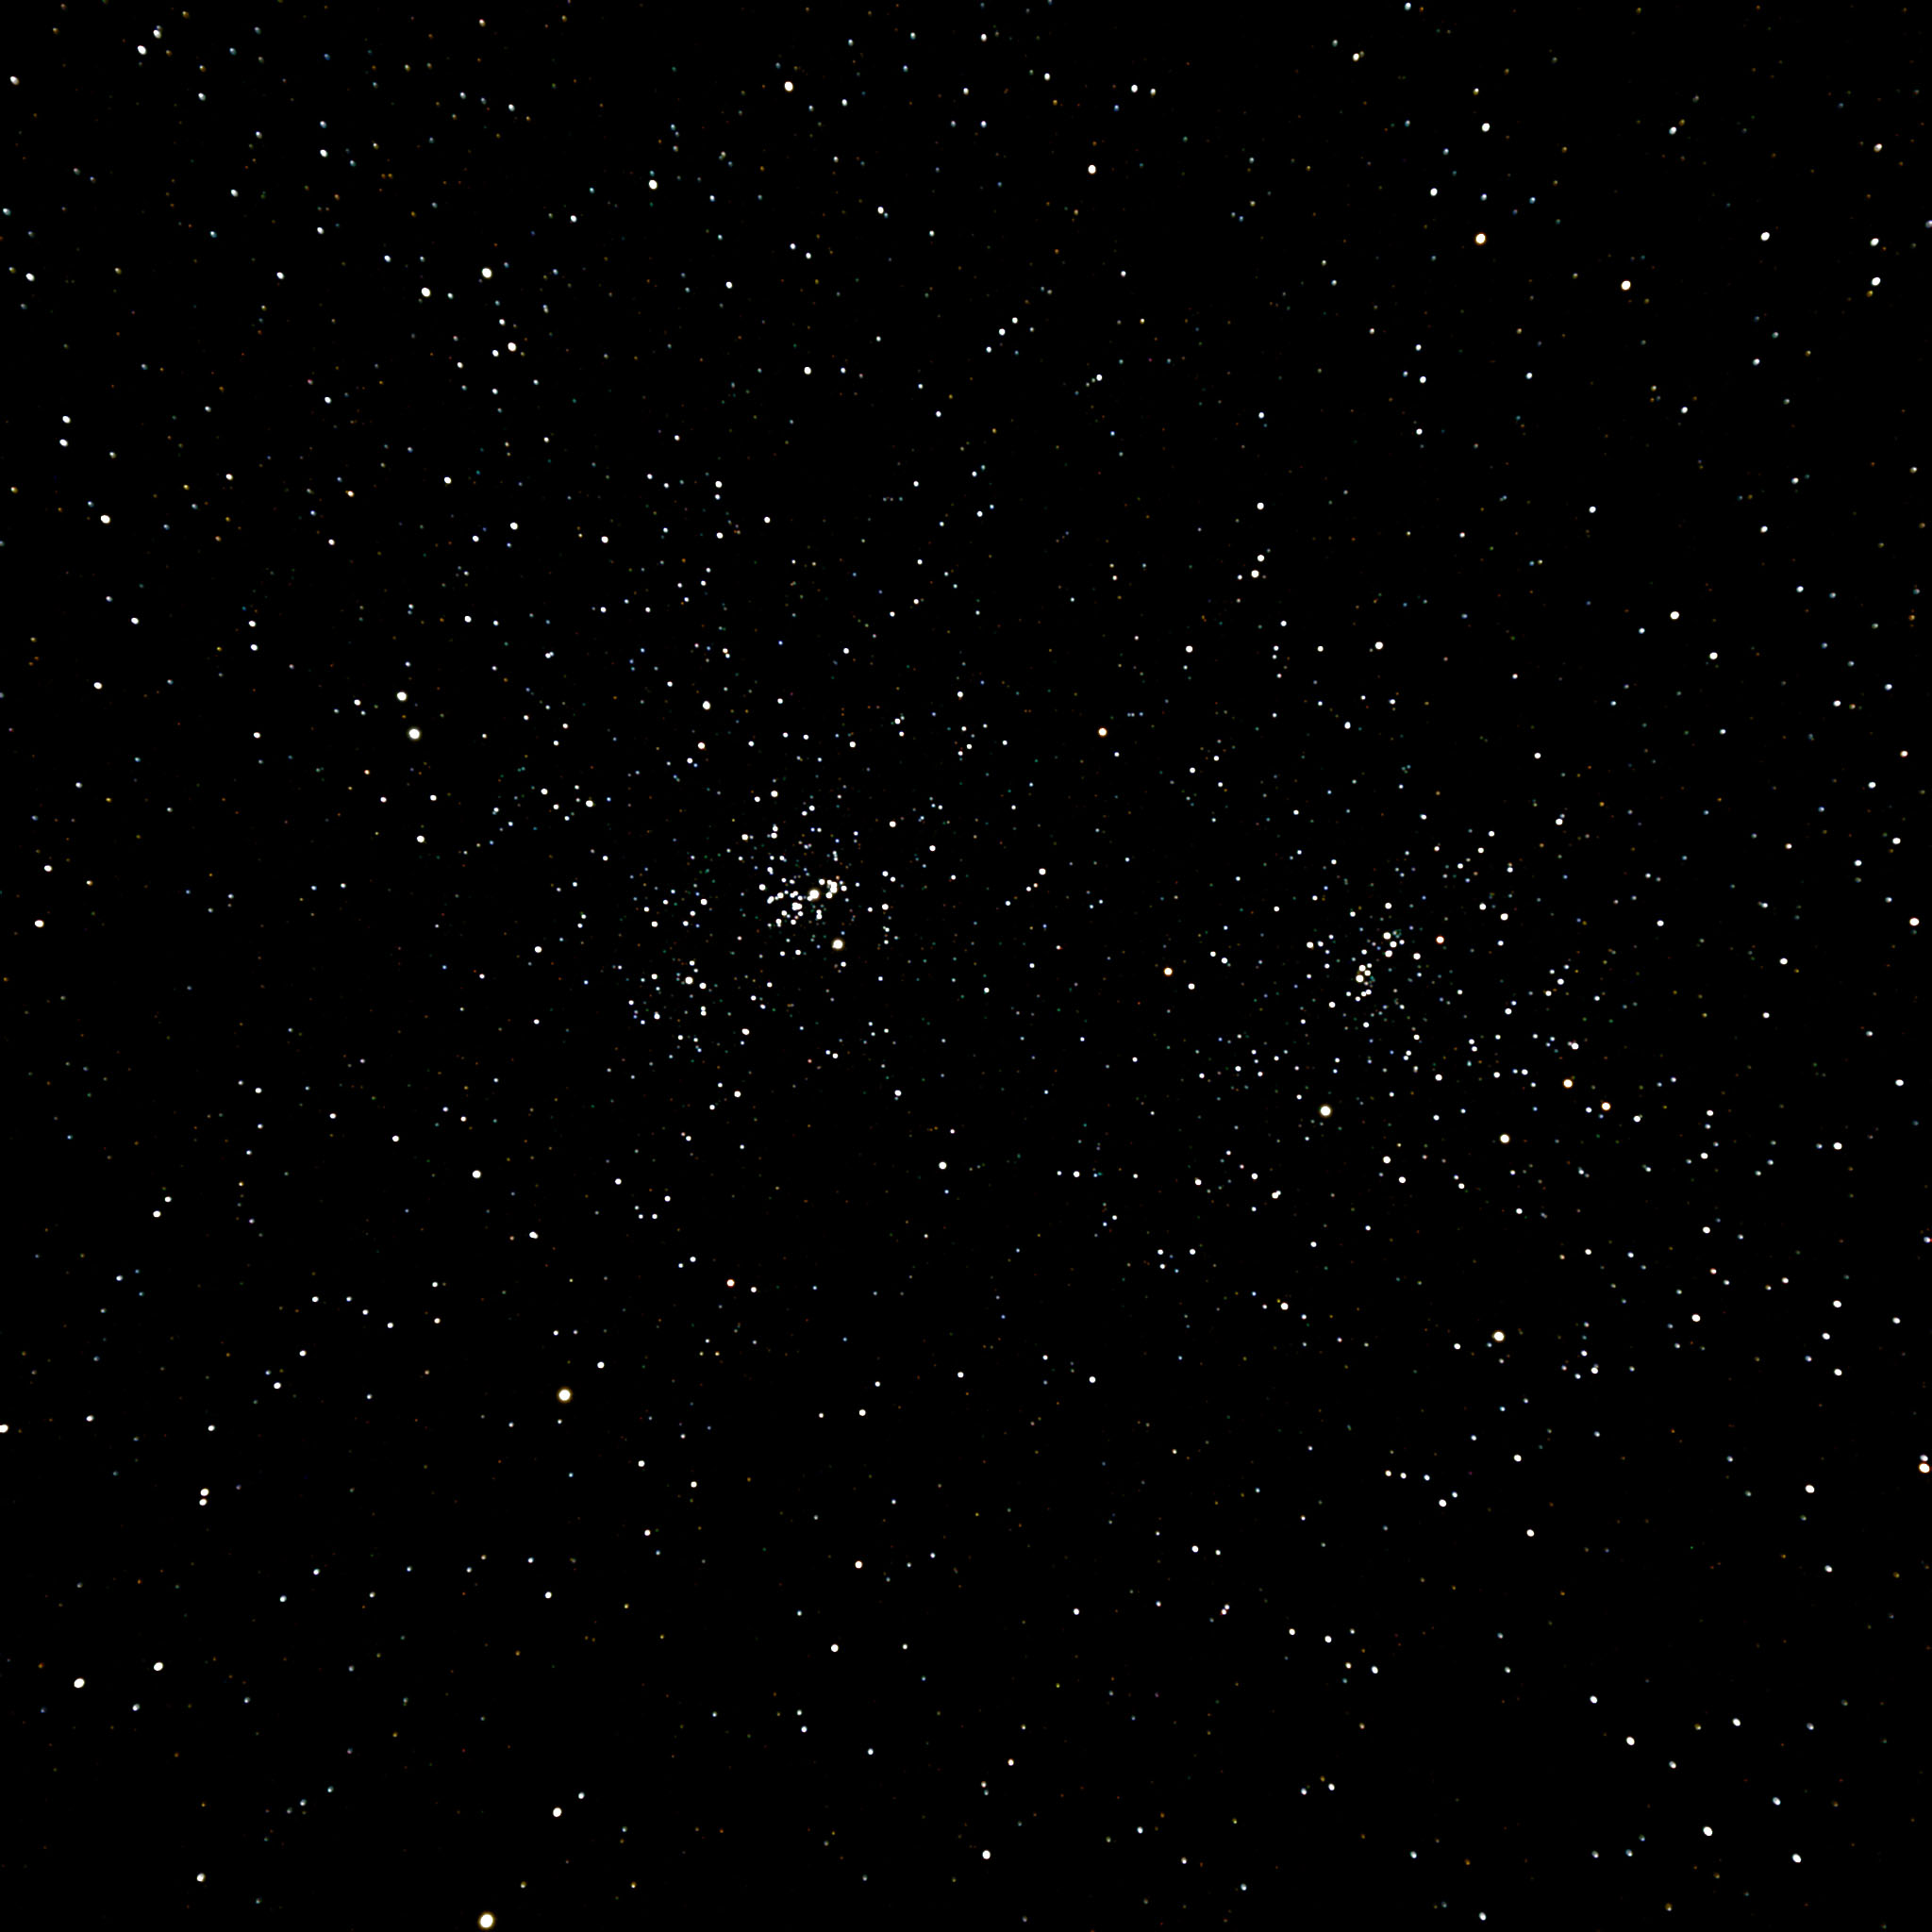
    The Double Cluster between Cassiopeia and Perseus
    The "Double Cluster" between Cassiopeia and Perseus

    The Clear Sky Chart forecast for Desert Center, CA, was dark blue all night for our favorite observing site. The NOAA forecast called for a high of 99 and low of 77. Often a night like this can have uncomfortably hot weather. Chuckwalla Bench is a little higher than Desert Center, so I was hopeful that the night wouldn’t be miserable with heat. It turned out to be lovely shirt-sleeve weather all night.

    Several of us were feeling dark-sky-deprived, so Jane and I were really looking forward to some quiet time with friends in our favorite desert location.

    I took the Astro-Physics Traveler (pictured at the top of my blog in a photo taken at Chuckwalla Bench) to attempt a little low-power astrophotography.

    As I mentioned, I was really rusty with the equipment and procedures, and am a beginner at astrophotography anyway, with a total of about four sessions under my belt. We were all out of practice; I think everyone on the trip left something at home or had some minor trouble.

    After warming up with the Double Cluster as a good focusing target, my main goal of the evening was to make my first real asteroid trail or animation. With Juno very much in mind from Jane’s What’s Up podcast, I decided it would be my second target.

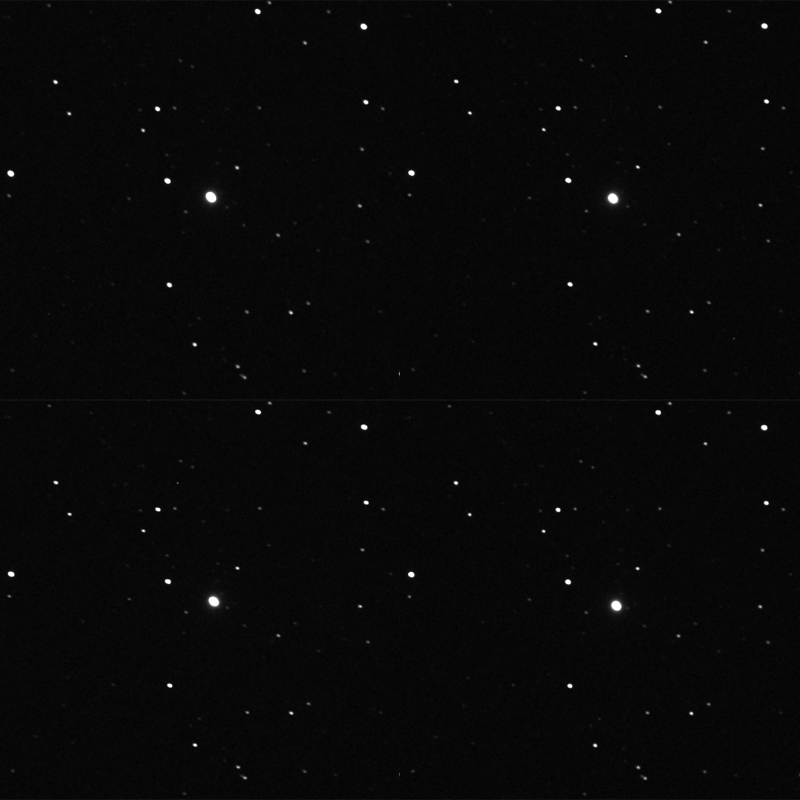
    Animation of four Juno images taken over 50 minutes
    Animation of four Juno images taken over 50 minutes

    Jane and Gary were hunting down Juno visually while I was imaging it. We had a great time using a combination of images and TheSky 6 to make a positive identification of Juno. I collected four ten-minute exposures, and made my first asteroid animation above.

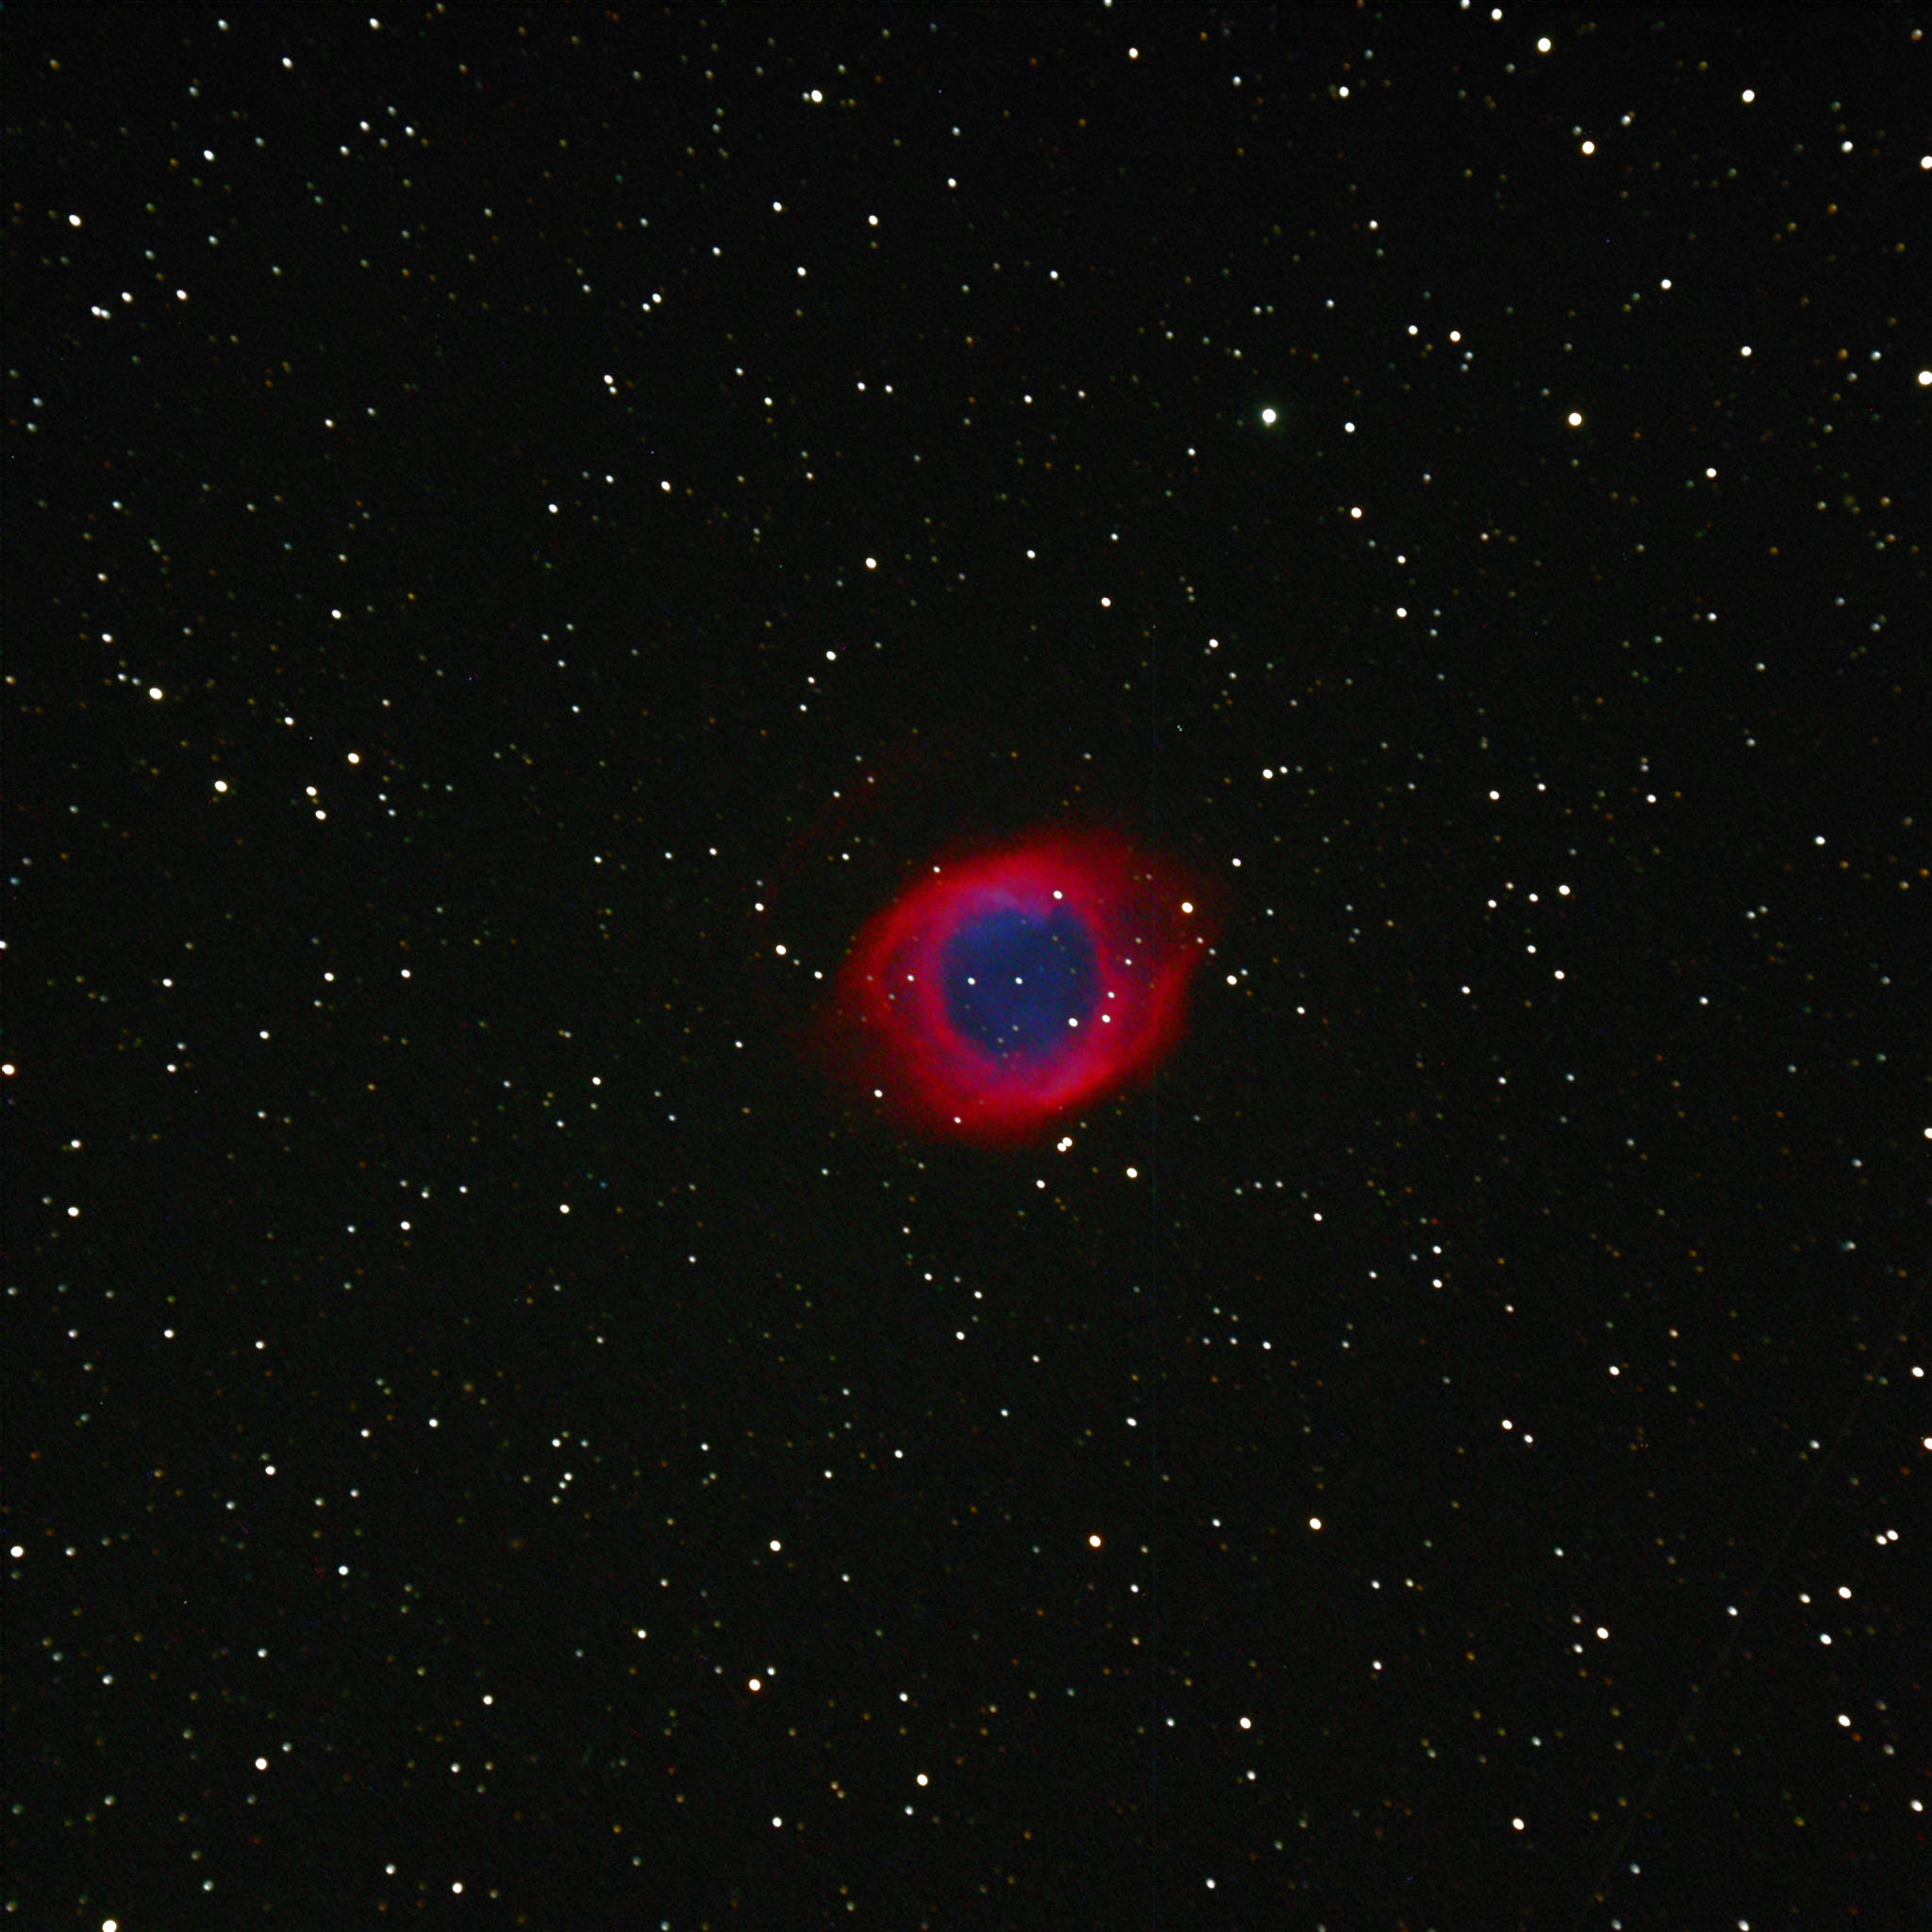
    The Helix planetary nebula, crop from full-frame image.
    The Helix planetary nebula, crop from full-frame image.

    The Helix Nebula NGC 7293 is an irresistible target for a good wide-field telescope and a color camera. I combined three ten-minute exposures. The image above is a crop — click to see the full field image.

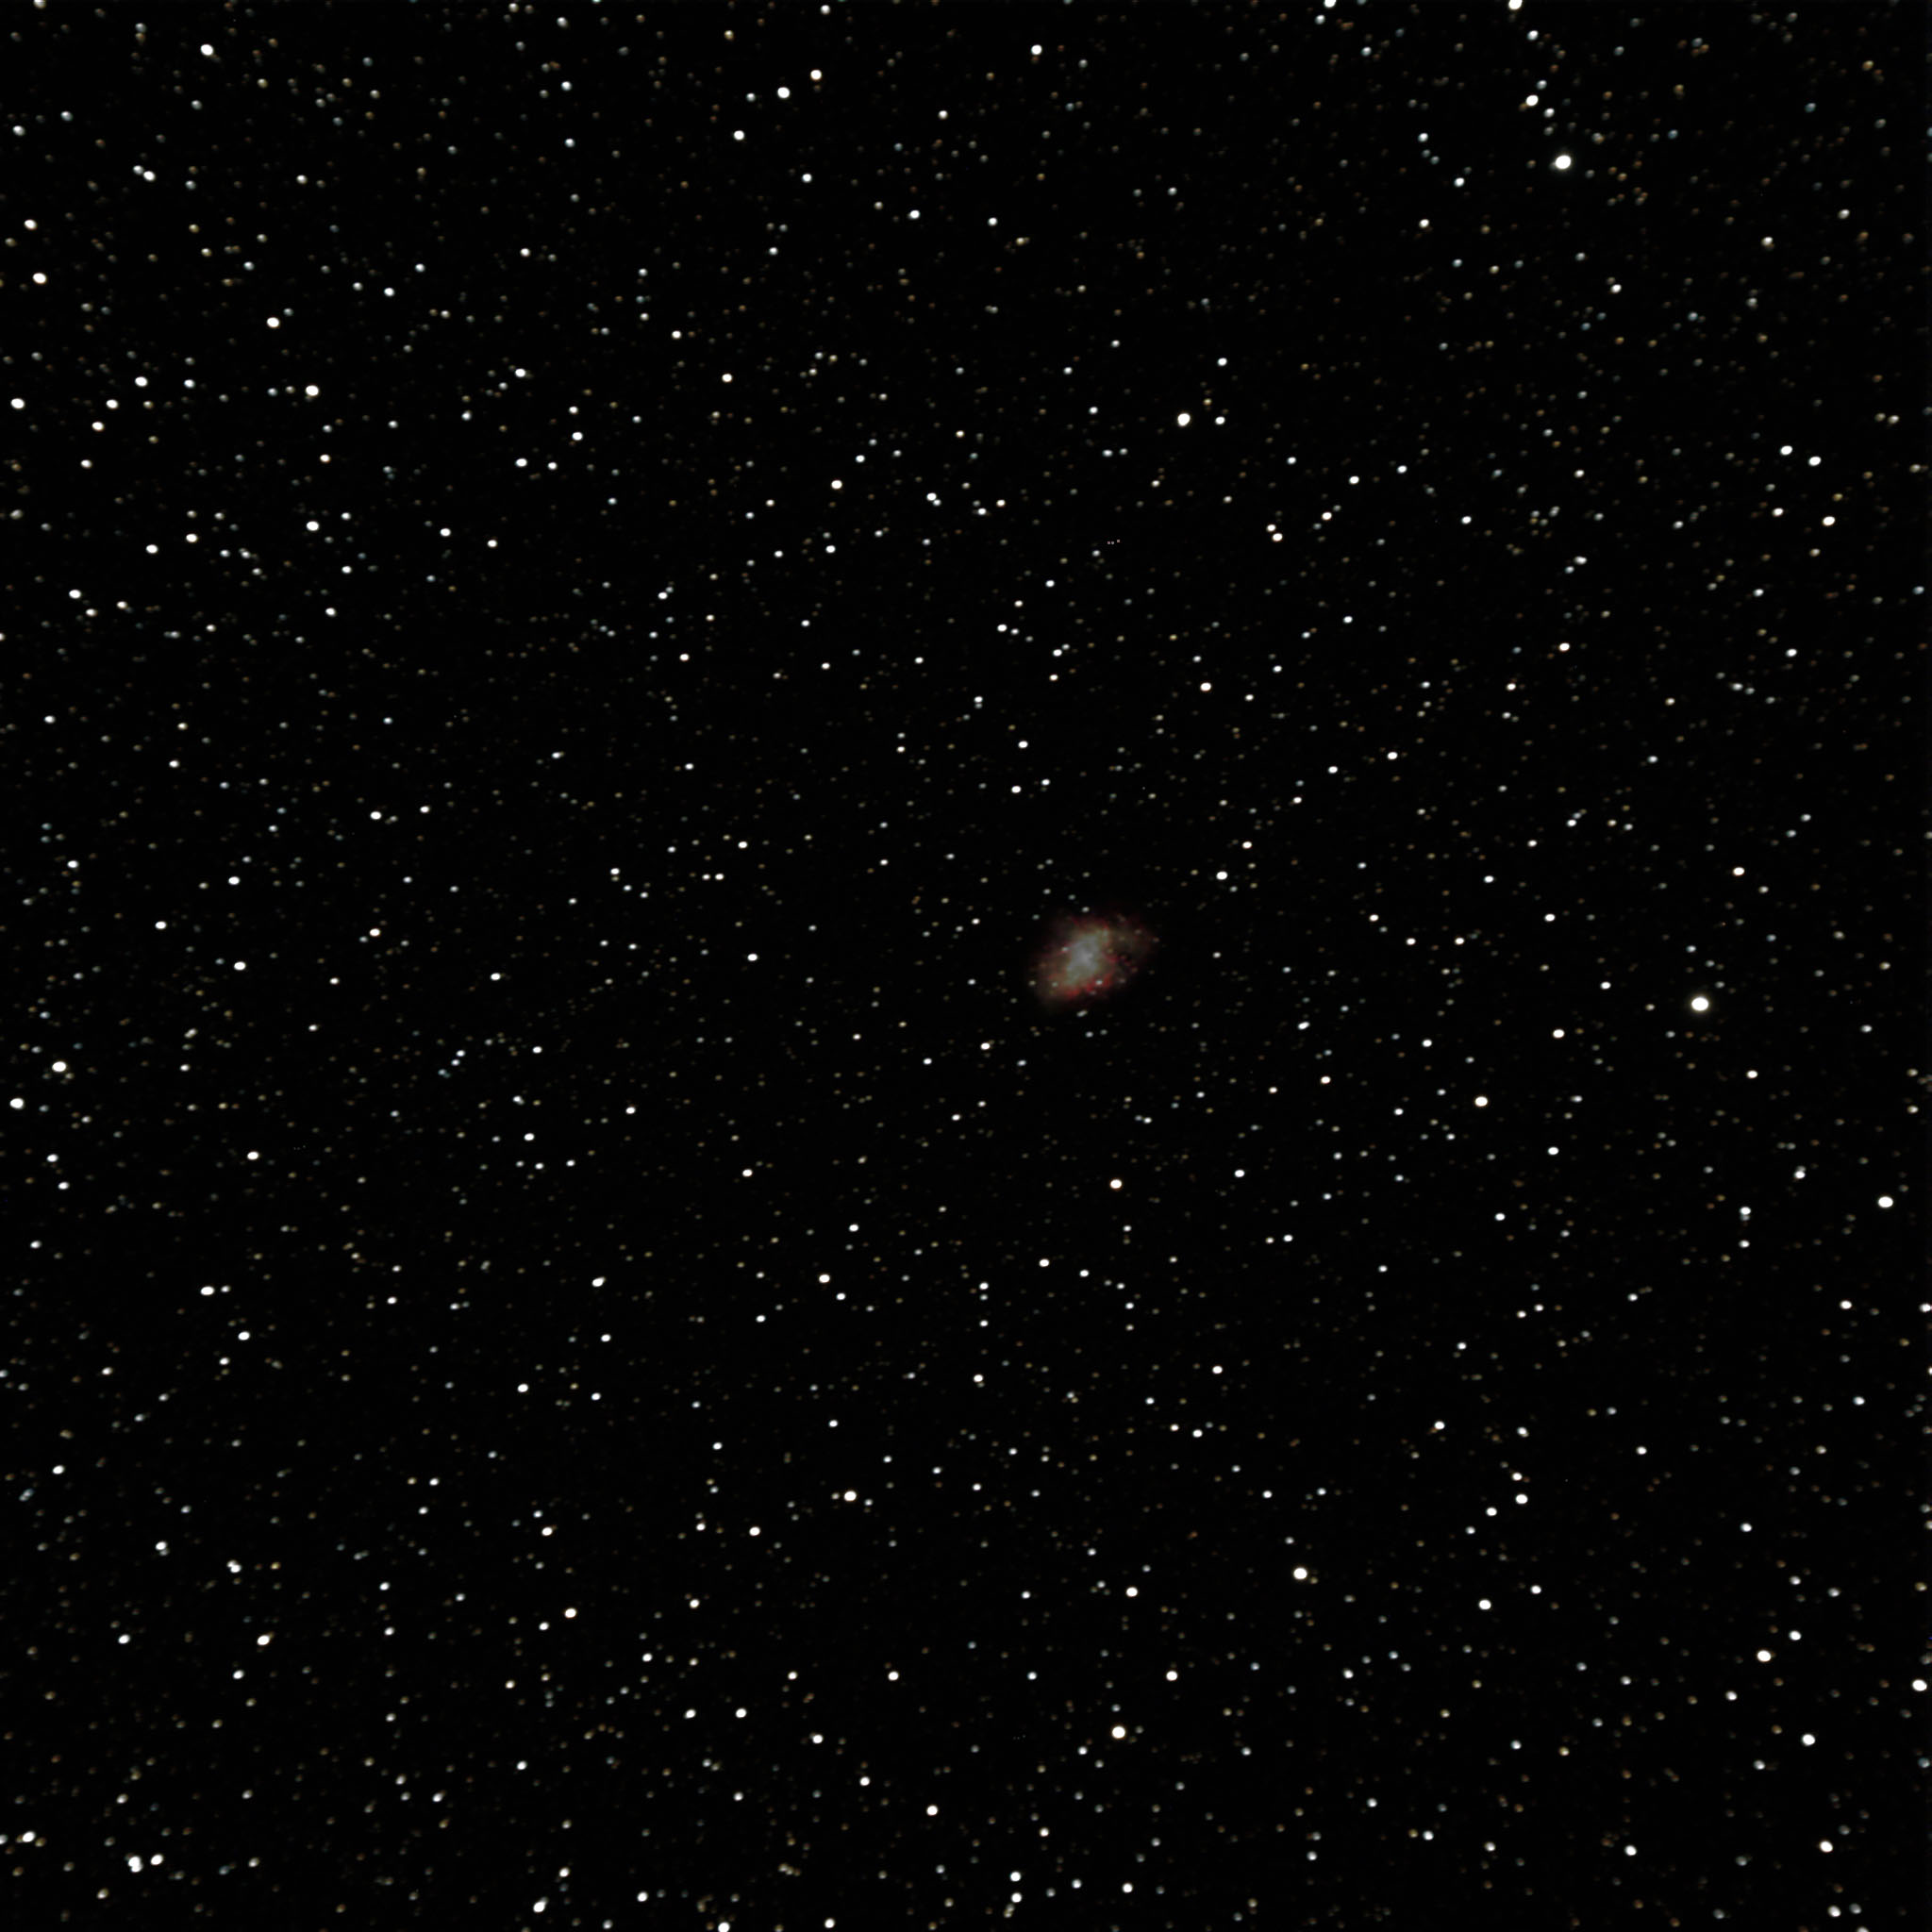
    Crop of M1, The Crab Nebula, click for the full frame.
    Crop of M1, "The Crab Nebula," click for the full frame.

    My Crab Nebula is a combination of three ten-minute exposures. It’s not a great image, but still a treat to see the kind of detail that we don’t get to see visually. The full-frame image (click to see) shows this small target.

    A crop from my M74 image, click for the full frame.
    A crop from my M74 image, click for the full frame.

    I love galaxies, and M74 is a favorite — for being small, hard to find visually, and a difficult “first target” of the Messier Marathons we do in March. I couldn’t resist trying to get an image of this little gem.

    I know I need to put more exposure minutes into my images, especially of my favorite faint targets. My backgrounds are still very noisy; my focusing isn’t perfect. Since I don’t get to do this very often, I get impatient and want to grab several targets over an evening. Practice, practice!

    Gary Spiers snapped pictures as we set up in the desert. Click the image for a link to his photo album from the night.
    Gary Spiers snapped pictures as we set up in the desert. Click the image for a link to his photo album from the night.

    A night in the desert has to be followed by a great breakfast. After catching a couple hours of sleep, we all packed up the site in a gorgeous desert dawn and headed ten miles west to Chiriaco Summit, home of a great diner and the General Patton Memorial museum. Tanks and eggs, four stars! (Ratings and generals.)