I set up the AP180 last night and was able to capture comet NEOWISE as it passed through Ursa Major.
This video is fifty frames covering about 27 minutes, from 9:11 p.m. to 9:38 p.m. on July 19, 2020.
Each frame is a 10-second exposure.
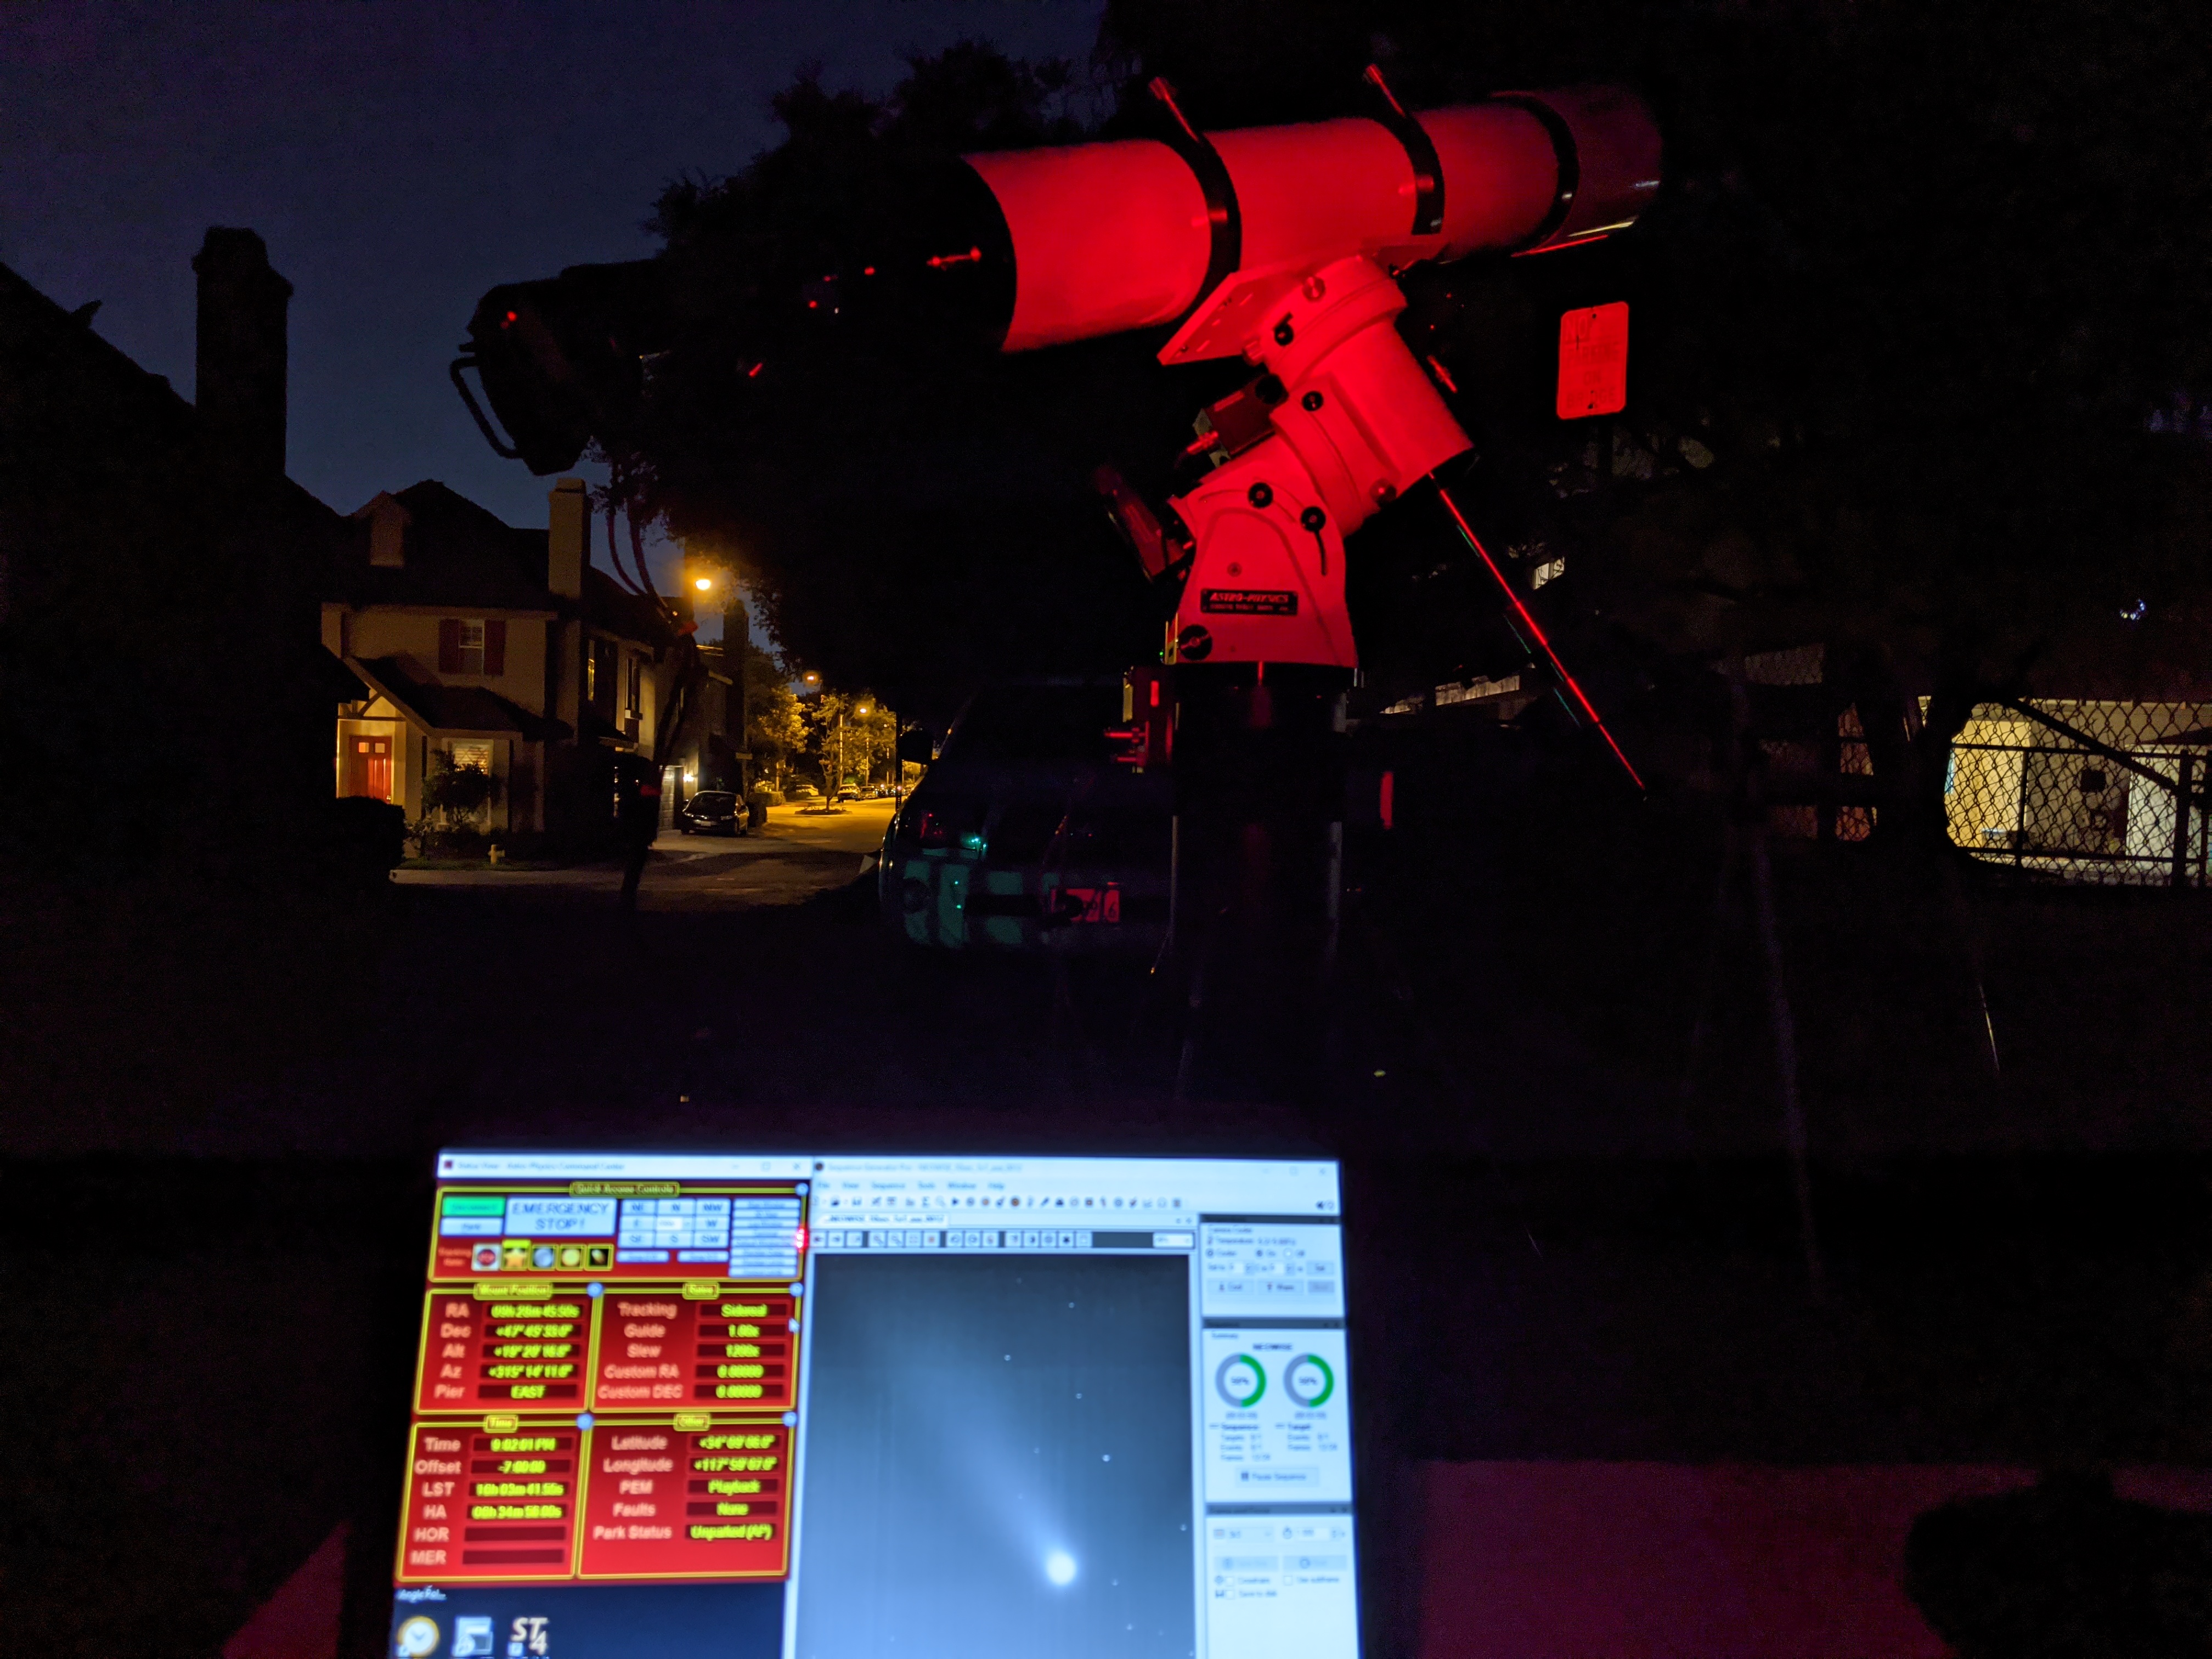

I set up the AP180 last night and was able to capture comet NEOWISE as it passed through Ursa Major.
This video is fifty frames covering about 27 minutes, from 9:11 p.m. to 9:38 p.m. on July 19, 2020.
Each frame is a 10-second exposure.
It’s been many years since I first celebrated being able to autoguide while exposing astrophotos on my CCD camera. (Finally autoguiding from 2009.)
Now with new techniques and software available, I might be able to abandon autoguiding.
The current software and hardware stack for astrophotography is so vastly different and better than what I had to work with in 2009. These are all the new or different things:
Finally what must be the most world-changing addition for me: telescope point mapping, modeling, and correction.
When I upgraded the big telescope mount from a 1997 AP 900 QMD (not a go-to mount!) to a new 1100GTO mount, it came standard with the Astro-Physics Control Center (APCC) and an offer to upgrade to to the “Pro” version that included point mapping and modeling. I declined to upgrade to the pro version.
I thought point mapping and modeling would be silly and useless outside of a permanent observatory. When I set up every evening, and tear down every morning, any previously created pointing model would be totally useless. That’s true, but I was wrong about it being useless!
I brought up the question on the ap-gto email list, and other astronomers told their story of getting great results with a small point map in evening twilight, and doing unguided imaging all evening.
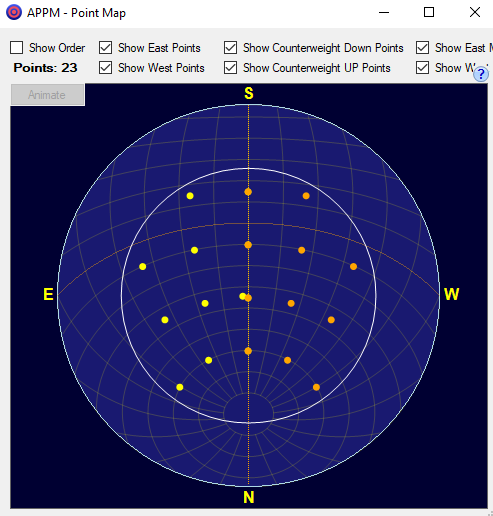
It all starts about ten- to fifteen-minutes after sunset. I can usually see Polaris in my RAPAS (right-angle polar alignment scope) by then. If I start with a level mount, and put Polaris on the right hour angle of the reticle, I get a polar alignment that’s easily within 5 arc-minutes.
The next step is to find a good bright alignment star to use with the Bahtinov mask for focusing. This spring, I’ve been using Arcturus, Spica, or Vega. My focusing is all manual.
I’m finding with a good polar alignment and level mount, I can usually land my focus star on the chip by telling the mount to “go to” that position. It’s a little less likely in the big f/9 AP 180 EDT with its narrower field of view.
Once I have a good focus, I’ll do a few 5-second captures to see if a few stars are appearing in the twilight. It happens very quickly!
On my (old, slow) ASUS Windows laptop, I have installed a local instance of the Astronomy.net plate solver (Google: ANSVR). All the plate solving data I need is downloaded to the local server, and there’s no need for an internet connection. Sequence Generator Pro (SGP) orchestrates the downloading of images from the camera and submitting them to the plate solver with an approximate mount position. When the plate solver has a good “hint” of where the telescope is pointed, it usually converges on an absolute position within a few seconds of an image being submitted.
Now that I have one successful plate solve, I’ll launch into APPM, the Astro-Physics Point Mapper.
It’s somewhat entertaining to watch APPM work through its routine. It starts by pointing to a zenith point. It captures a five-second image (I use 3×3 binning for smaller downloads), and submits the image to the plate solver. It logs the solution from the plate solver and records the deltas from where the mount believes it is positioned.
The process is repeated 23 times, once for each of the points you see in the diagram above. Slew, expose, solve, record. Rinse, repeat. At the end of the process, I install the new model into APCC, and I’m ready to start imaging. By now it’s just about the end of astronomical twilight on a summer evening.
This is a very small point map! If you were operating a fixed observatory, you might dedicate some hours to building a point map of 200 or more points. The model built from that map should be good for quite some time, barring any mechanical changes to the mount.
In my low-resolution wide-field imaging system, the results are magical. Every target selected lands in the center of the imaging chip. I don’t need to spend time doing a plate-solve-and-reposition step. Autoguiding of five-minute exposures is completely unnecessary. The same is probably true for a 15-minute exposure, but I’m completely happy with stacking multiple five-minute exposures.
To configure SGP, I select the “Direct Mount Guide” for its autoguider. I specify a fairly large “dither” amount between frames, so bad pixels won’t be stacked on top of each other. SGP no longer has to launch a massive autoguiding program, that would need its own calibration. I no longer have to hunt for a guide star in my bright Los Angeles County skies. Bad seeing doesn’t jar the scope this way and that as the guider tries to follow it, instead the scope moves smoothly across the sky with the target centered.
There is almost no time spent between targets now! PHD2 doesn’t have to find a new guide star. There’s no need to check-and-correct the pointing. I can collect 30 minutes of data on four targets in just a little over two hours.
I haven’t yet tried building a point model and taking unguided images with the big AP180 and 1100GTO mount, but I have every expectation that it will be a very similar experience.
We had several great clear nights in Monrovia. I had a night where everything clicked. If I hadn’t napped a bit, I might have gotten two or three more Messier objects.
I think now I know the most difficult part of urban astrophotography — at least with the camera I use: Finding suitable guide stars!
I can position quickly and easily to center my target object in the frame, and have no guide stars in the guide camera suitable for guiding. When the available guide stars are all fainter than the sky glow, PHD2 will lock onto any random signal it thinks is a star, then spend the entire exposure hunting for it.
I’ve learned to do the hunting myself before a shot. I can pan in a spiral around the object and watch for a suitably bright guide star to show up. As a result, many of my objects in these two nights of imaging are not quite framed the way I’d hoped.
Now my planning is going to be tougher. I may not be able to fill in many of the missing targets I didn’t catch this month until almost next year.
All of these images are 30 minutes of data, using six 5-minute subexposures. The telescope is an f/9 180mm Astro-Physics Starfire AP180EDT, mounted on an AP1100GTO mount. The camera is an SBIG ST-4000XCM one-shot color CCD.
Click on any of the pictures to link to the full resolution version, mostly twice the size (and half the sharpness).
From the evening of May 24:
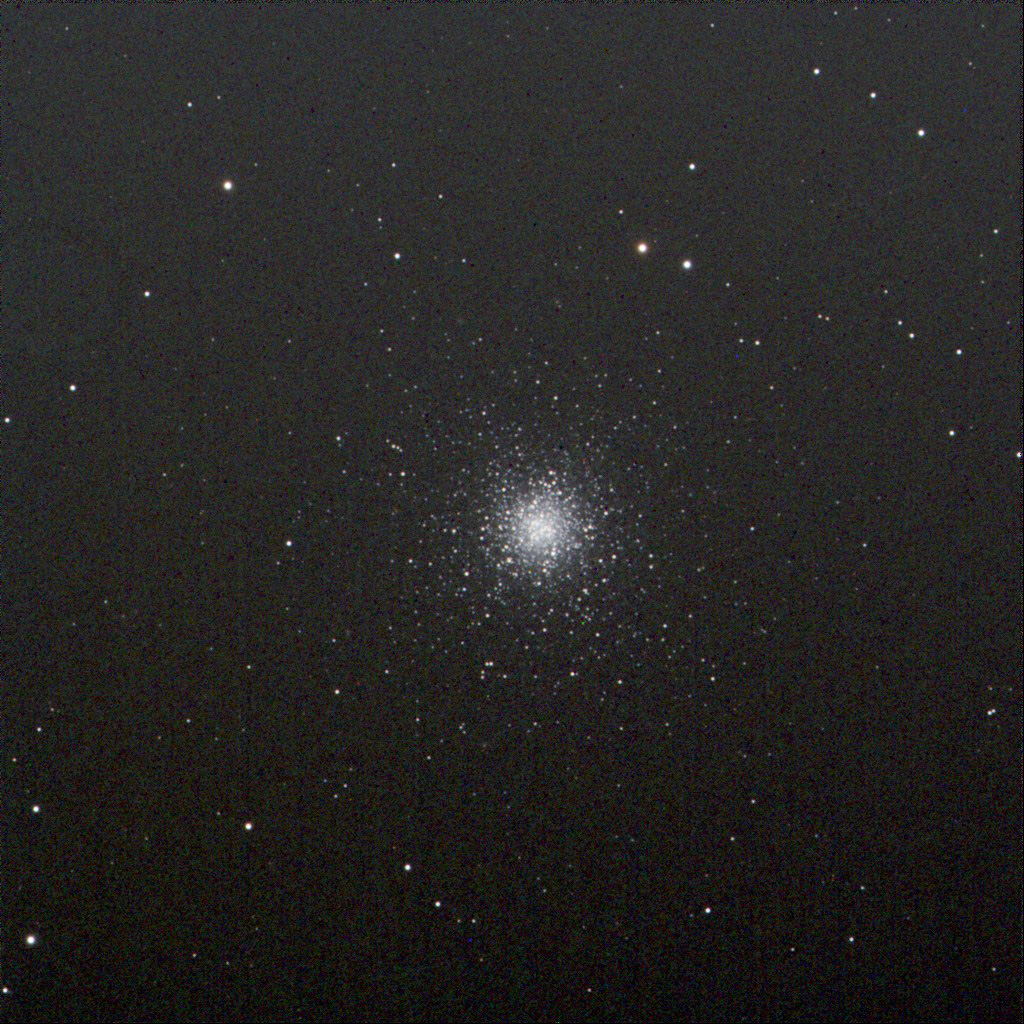
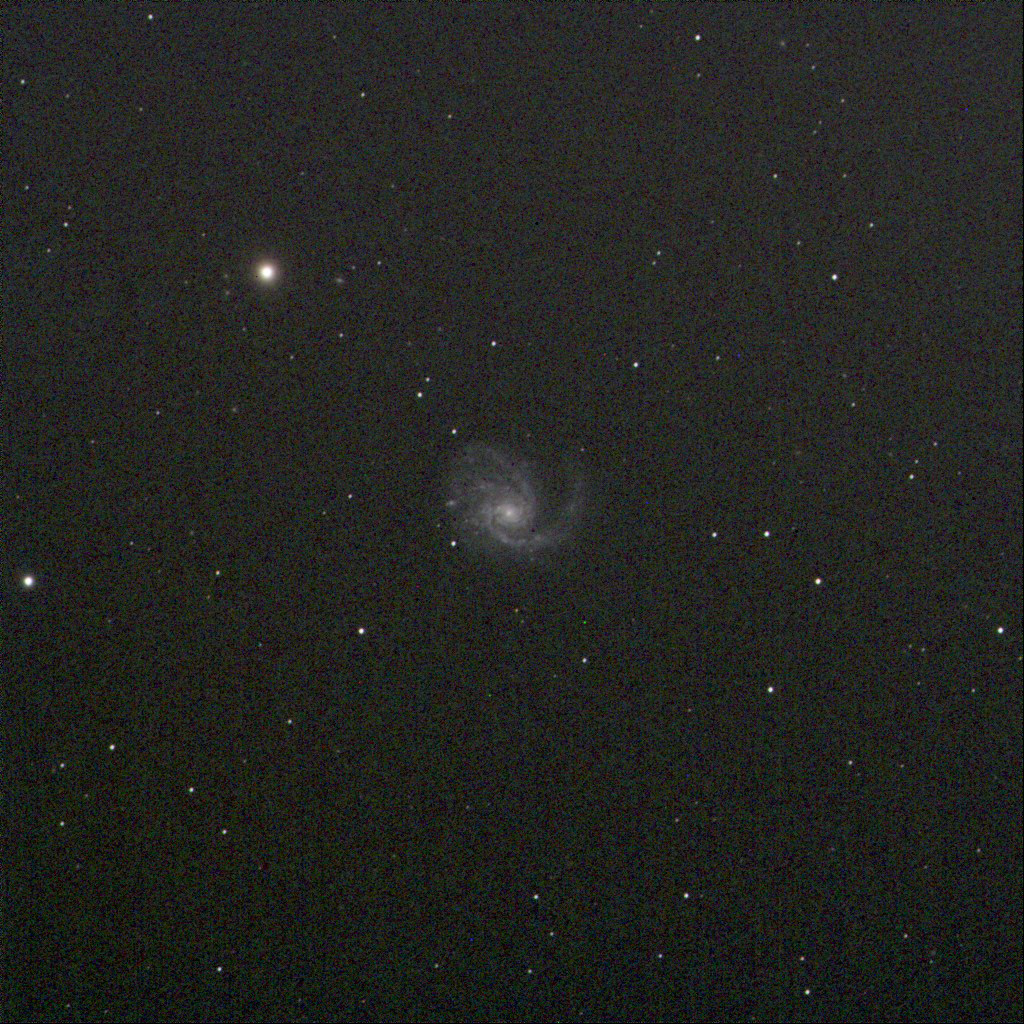
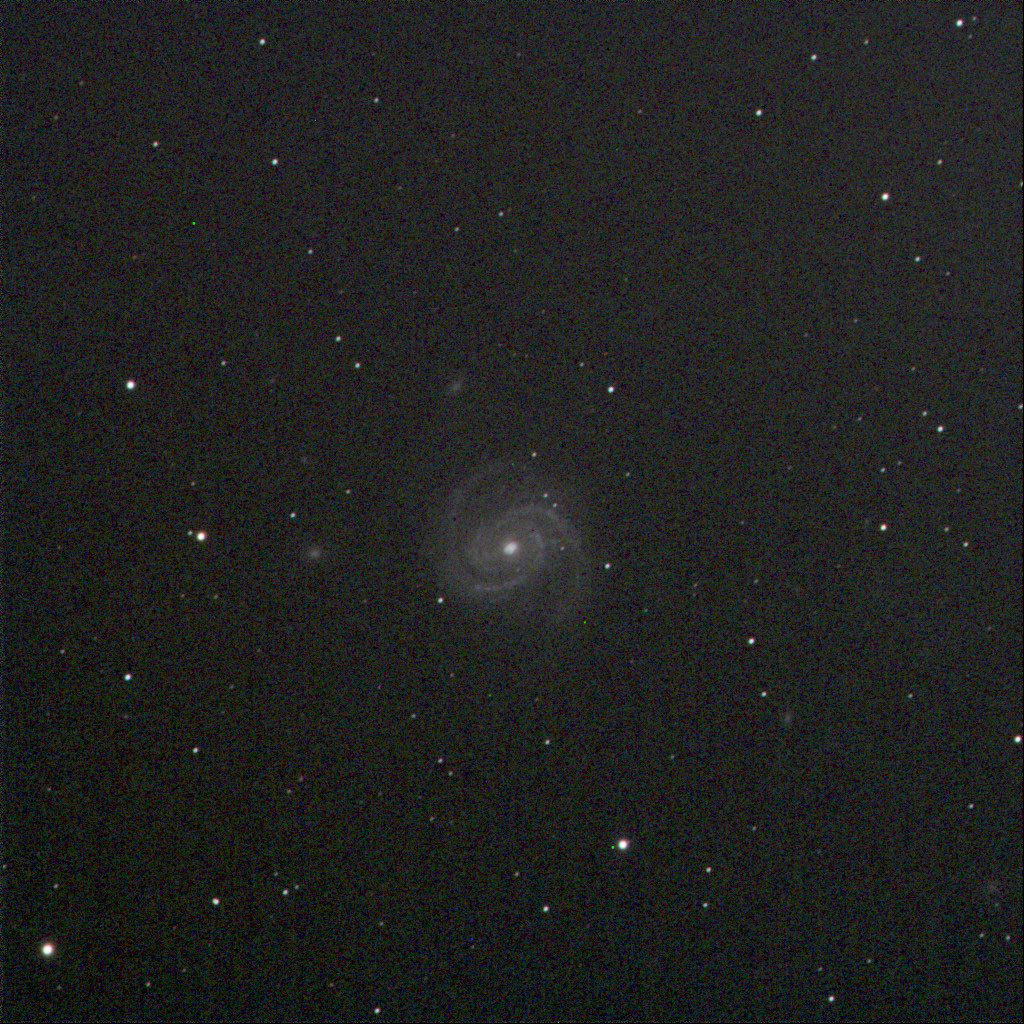
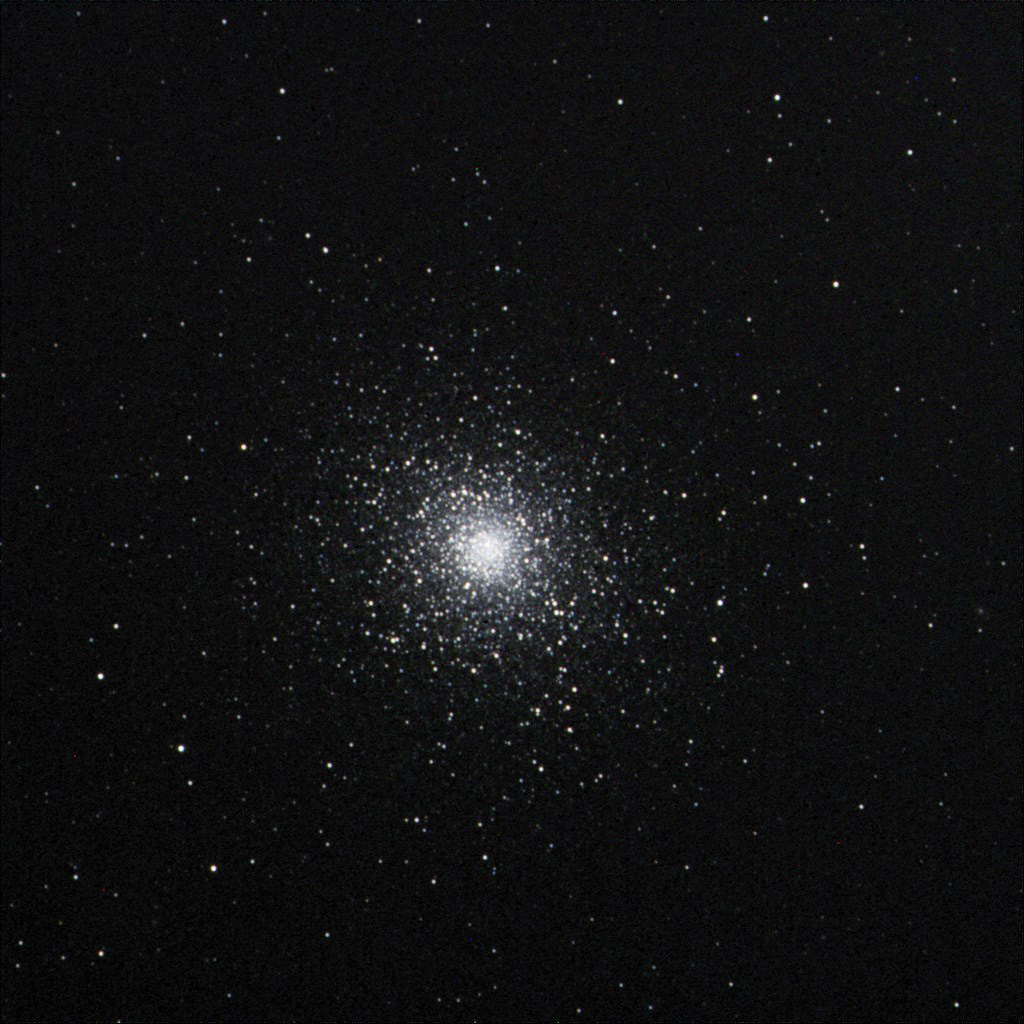
My best image of that night was this one of M5. It could just be the excellent signal-to-noise ratio, but it’s possible that a fog layer was reducing the sky glow from Los Angeles.
The next night, May 25, I had more trouble finding guide stars.
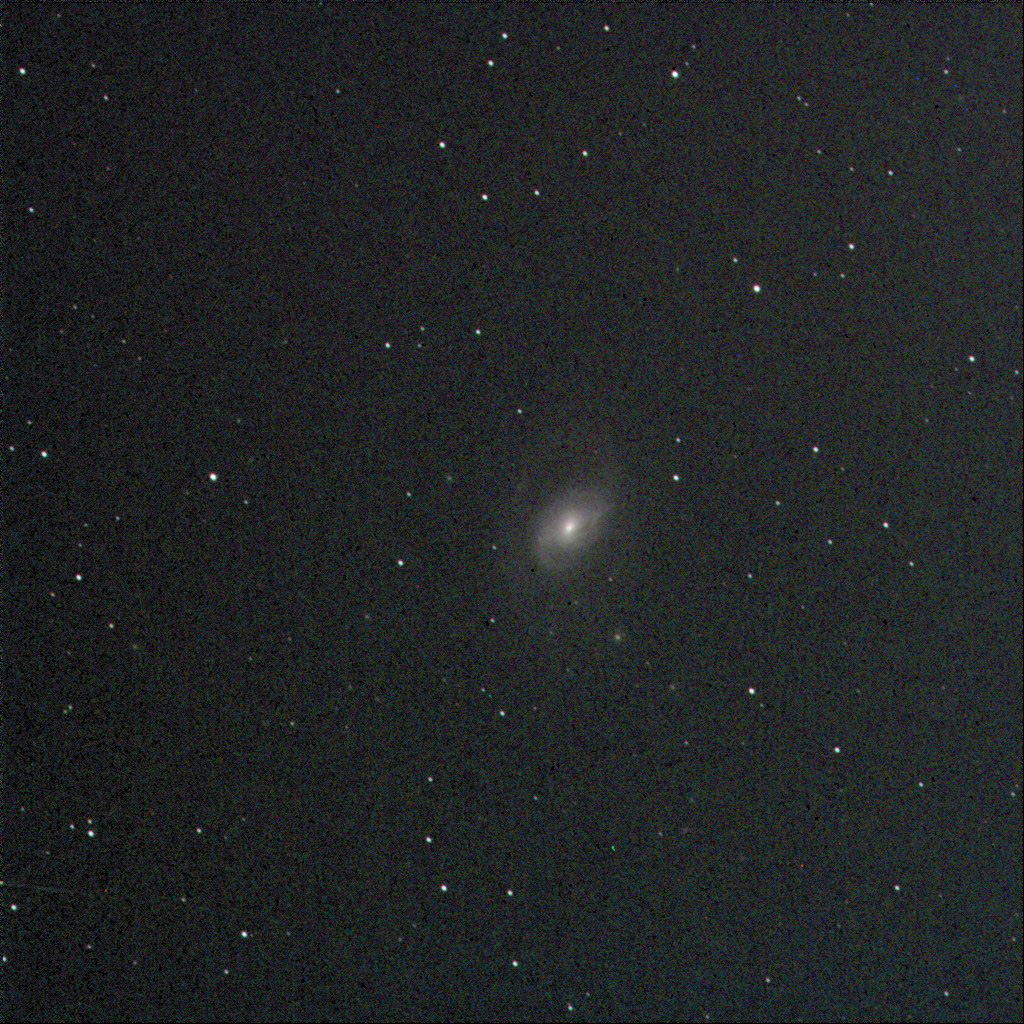
I shot M61 because it was next in my list, but Jane recalled seeing that it had an active supernova. It’s there in the image. I’ll let you discover which star is the supernova.
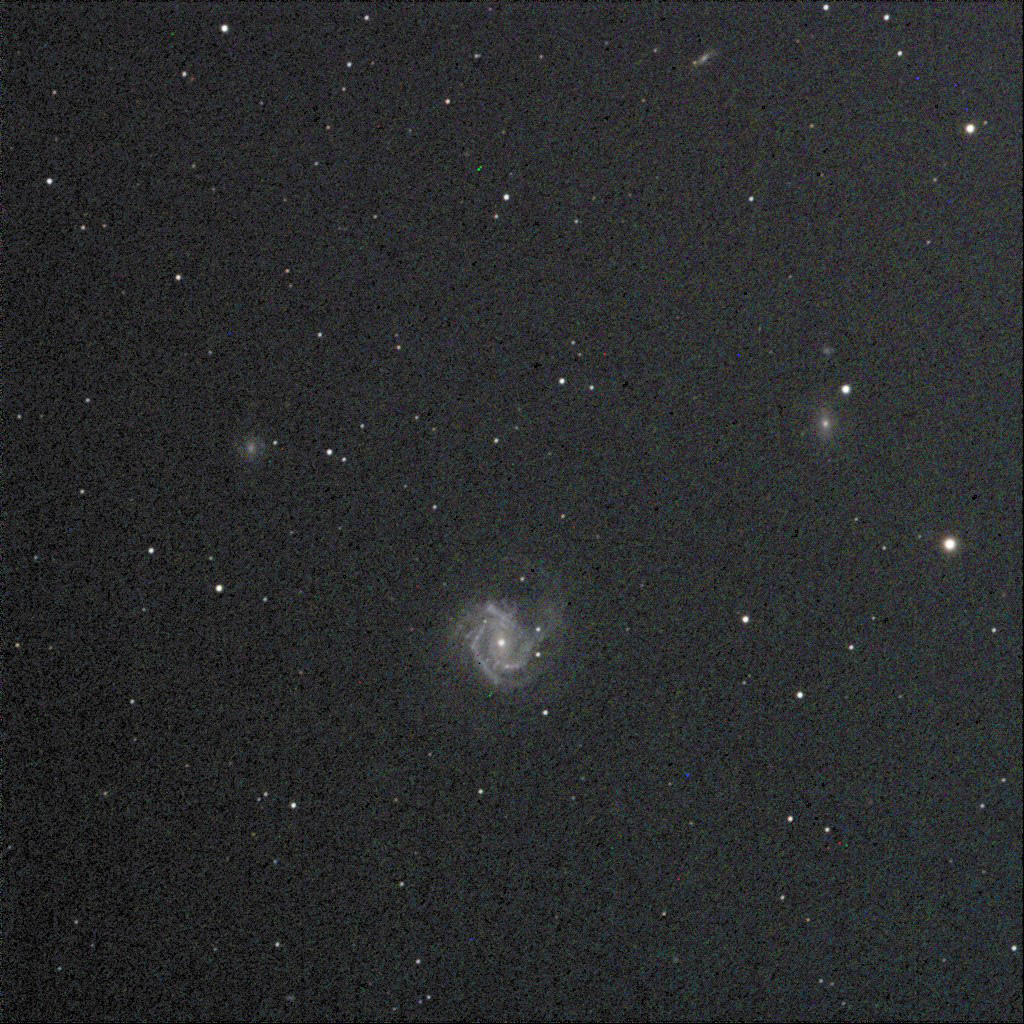
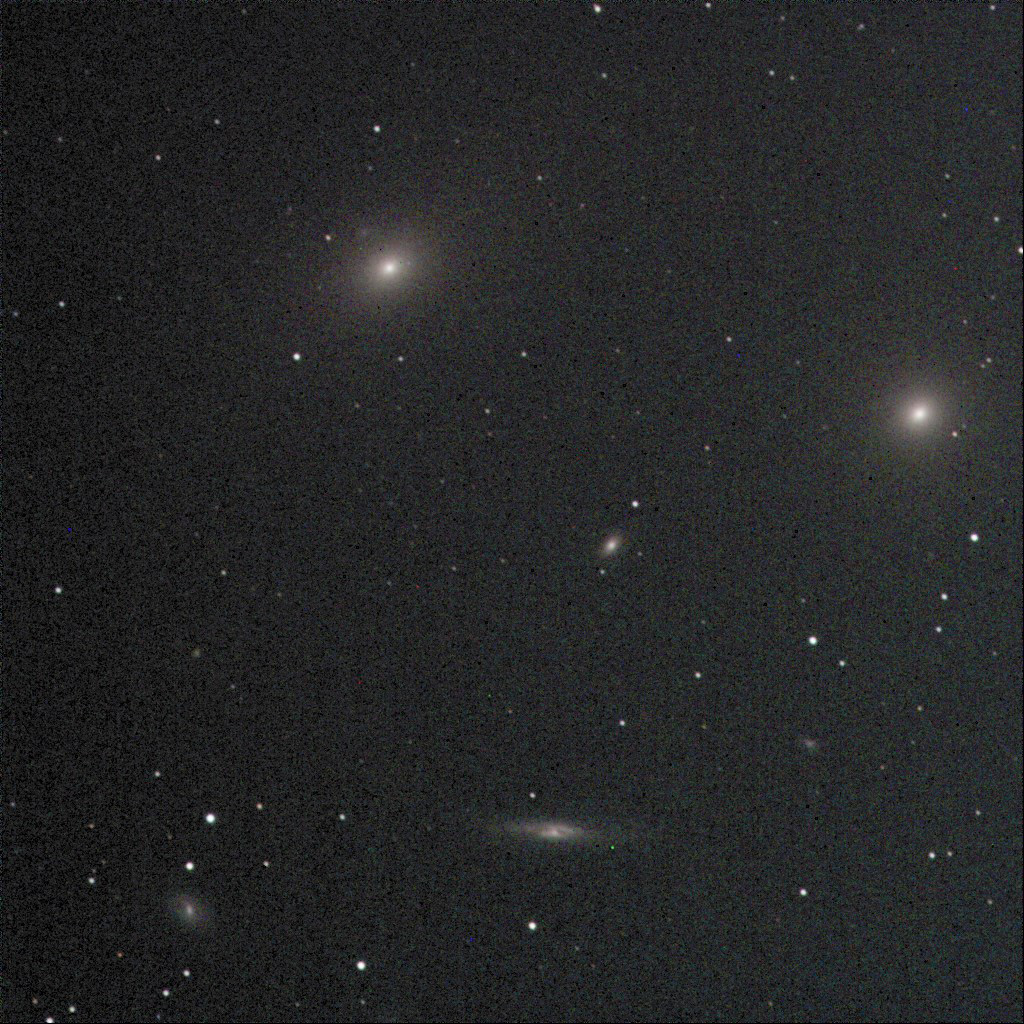
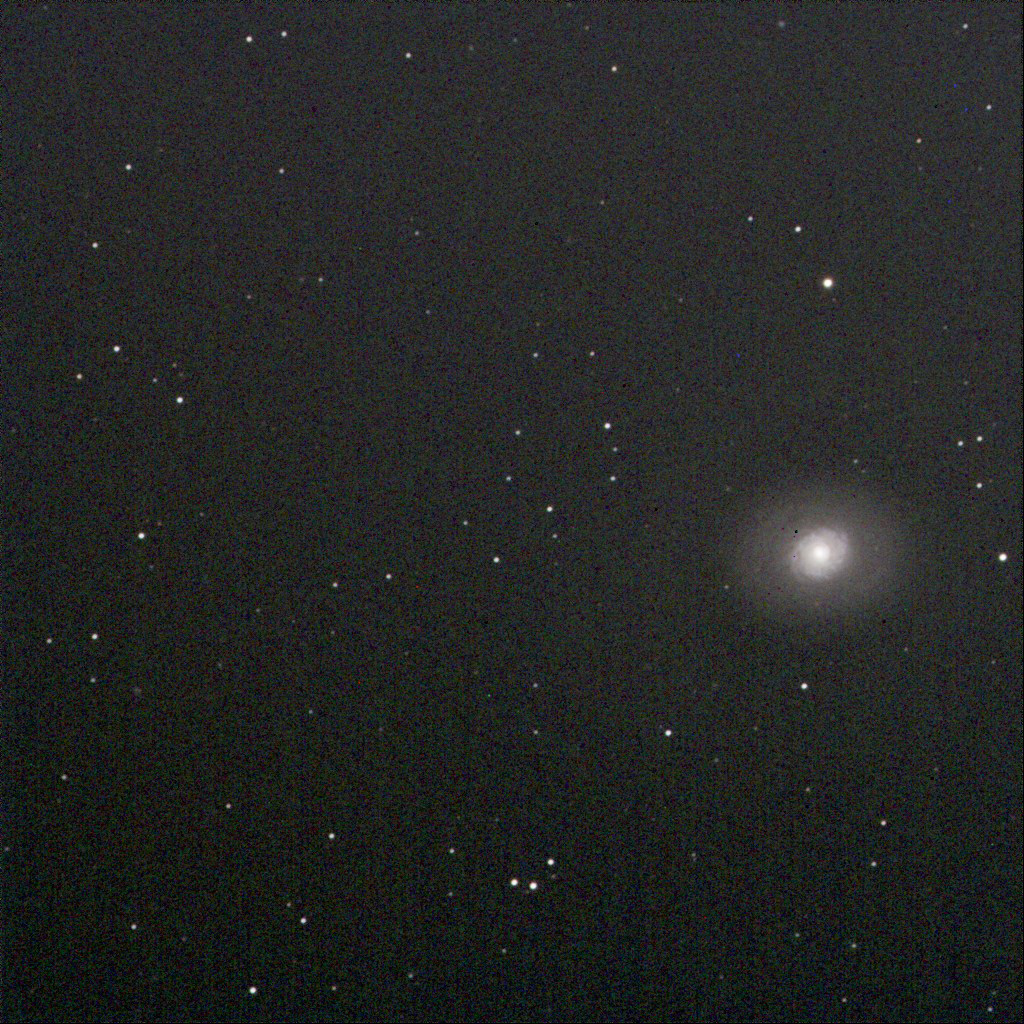
Last night (Saturday, May 23, 2020) was a beautiful dark clear night in Monrovia. Tonight is forecast to be even better and warmer. I can’t resist! When will I sleep?
By the end of evening twilight, I was aligned, focused, calibrated, synced, and ready to image.
I’ve been cherry picking Messier objects that were near their highest altitude for the evening. There’s a trio of galaxies near each other in Leo, M95, M96, and M105. I thought I’d start with these.
This is where I discovered the real weakness of urban astrophotography. For M95 and M96, I could not find a guide star anywhere nearby. I took a couple of images only to have the guiding software (PHD2) hunting around and guiding on what it thought were stars. The results were all squiggly lines. So I mostly gave up on those two for tonight.
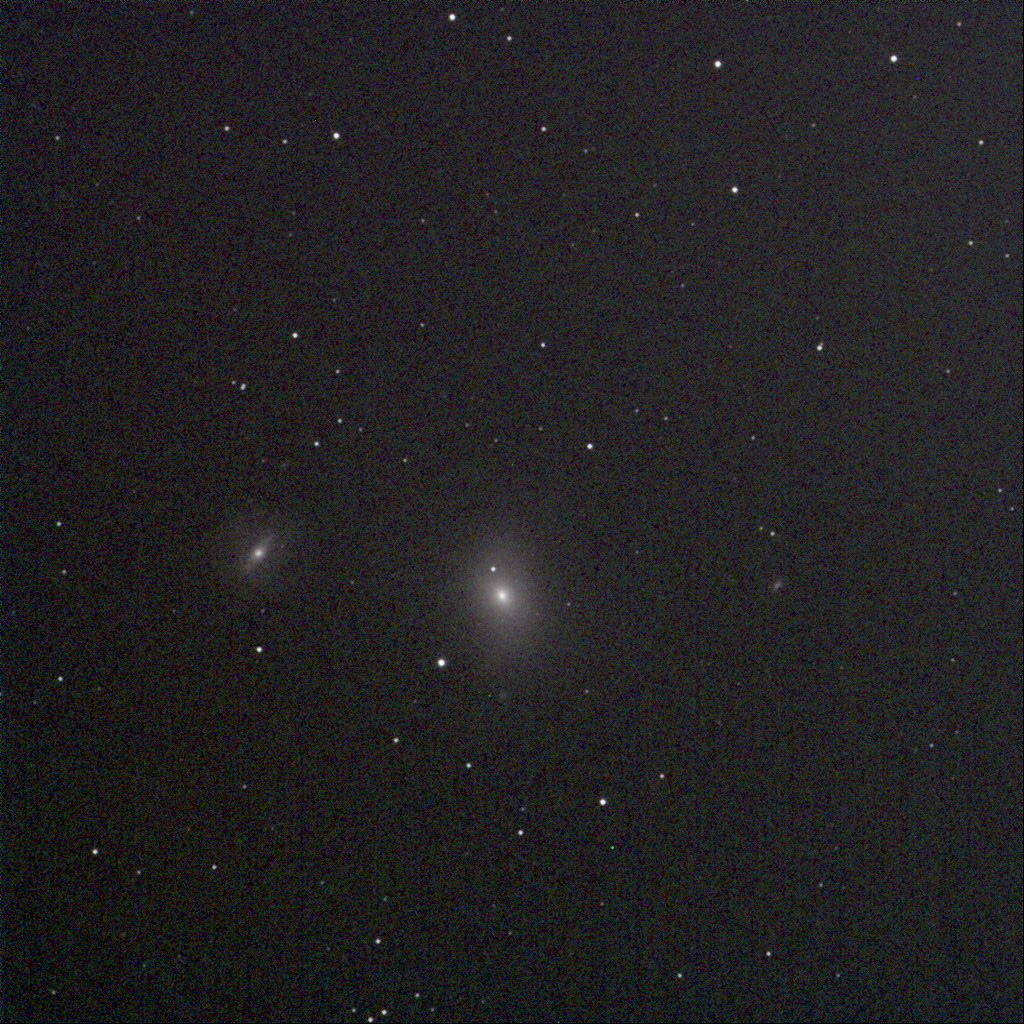
I had better luck with M105, and got a nice image of it with two nearby NGC objects.
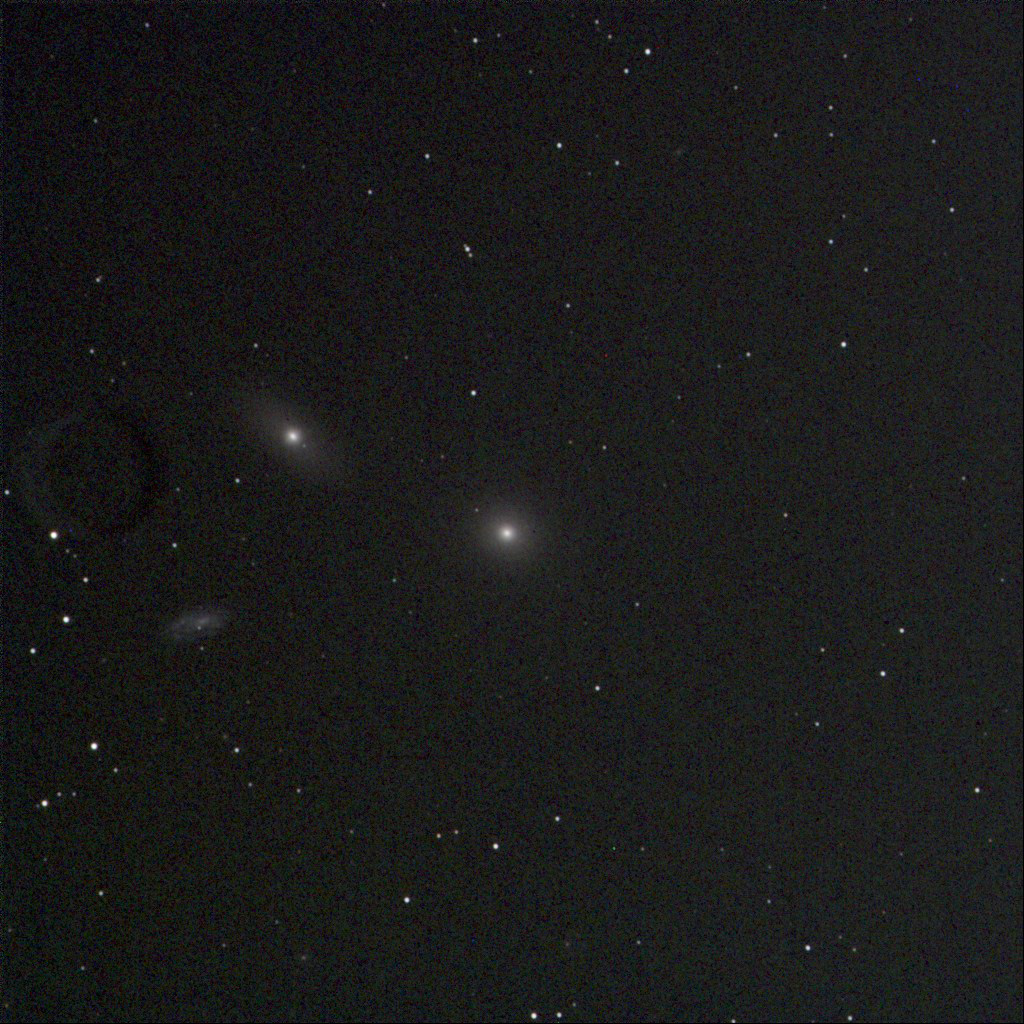
But wait, there’s an interesting detail. You might not see it if you’re in a bright room, or with a bright background. You might click on the image for the full resolution version.
Do you see that odd circle in the background, left center?
That’s nothing mystical, it’s just caused by a mote of dust on the imaging glass of my camera. The mote is “out of focus” so it appears as a shaded circle. I correct for those by taking a series of flat images at the end of the night. I point the telescope at the zenith and put a light panel on top of the scope. I calibrate the timing so it generates a flat grey image around 50% of the camera’s dynamic range. (I’ll take a picture of that process tonight to show you.)
Here’s the flat from last night’s imaging run, stretched in contrast so the differences show a little more:
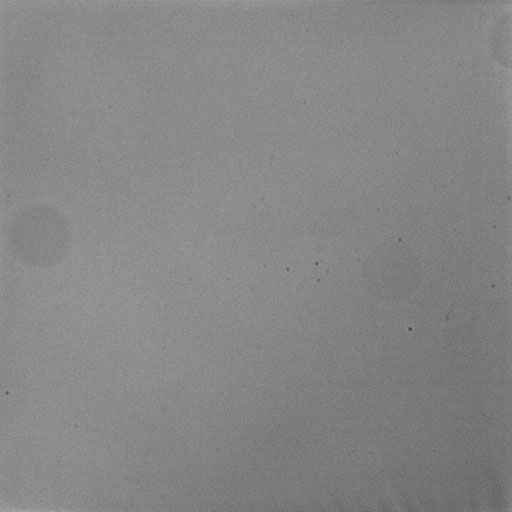
I didn’t shoot flats for years because I couldn’t figure out how to get a neutral grey image target in the field, and calibrate it for a 50% image. Now that’s handled by my light panel and software that calculates the right image duration.
You can see the dark circle on the flat that matches up with the circle in the background of the M105 image. That leaves a mystery — why didn’t the flat correct for the dust mote, like it usually does?
As a test, I recalibrated the image without the flat, and the circle was still there, but it didn’t have the “3D” look to it from the calibrated image.
You can see the same problem in two other images from last night:
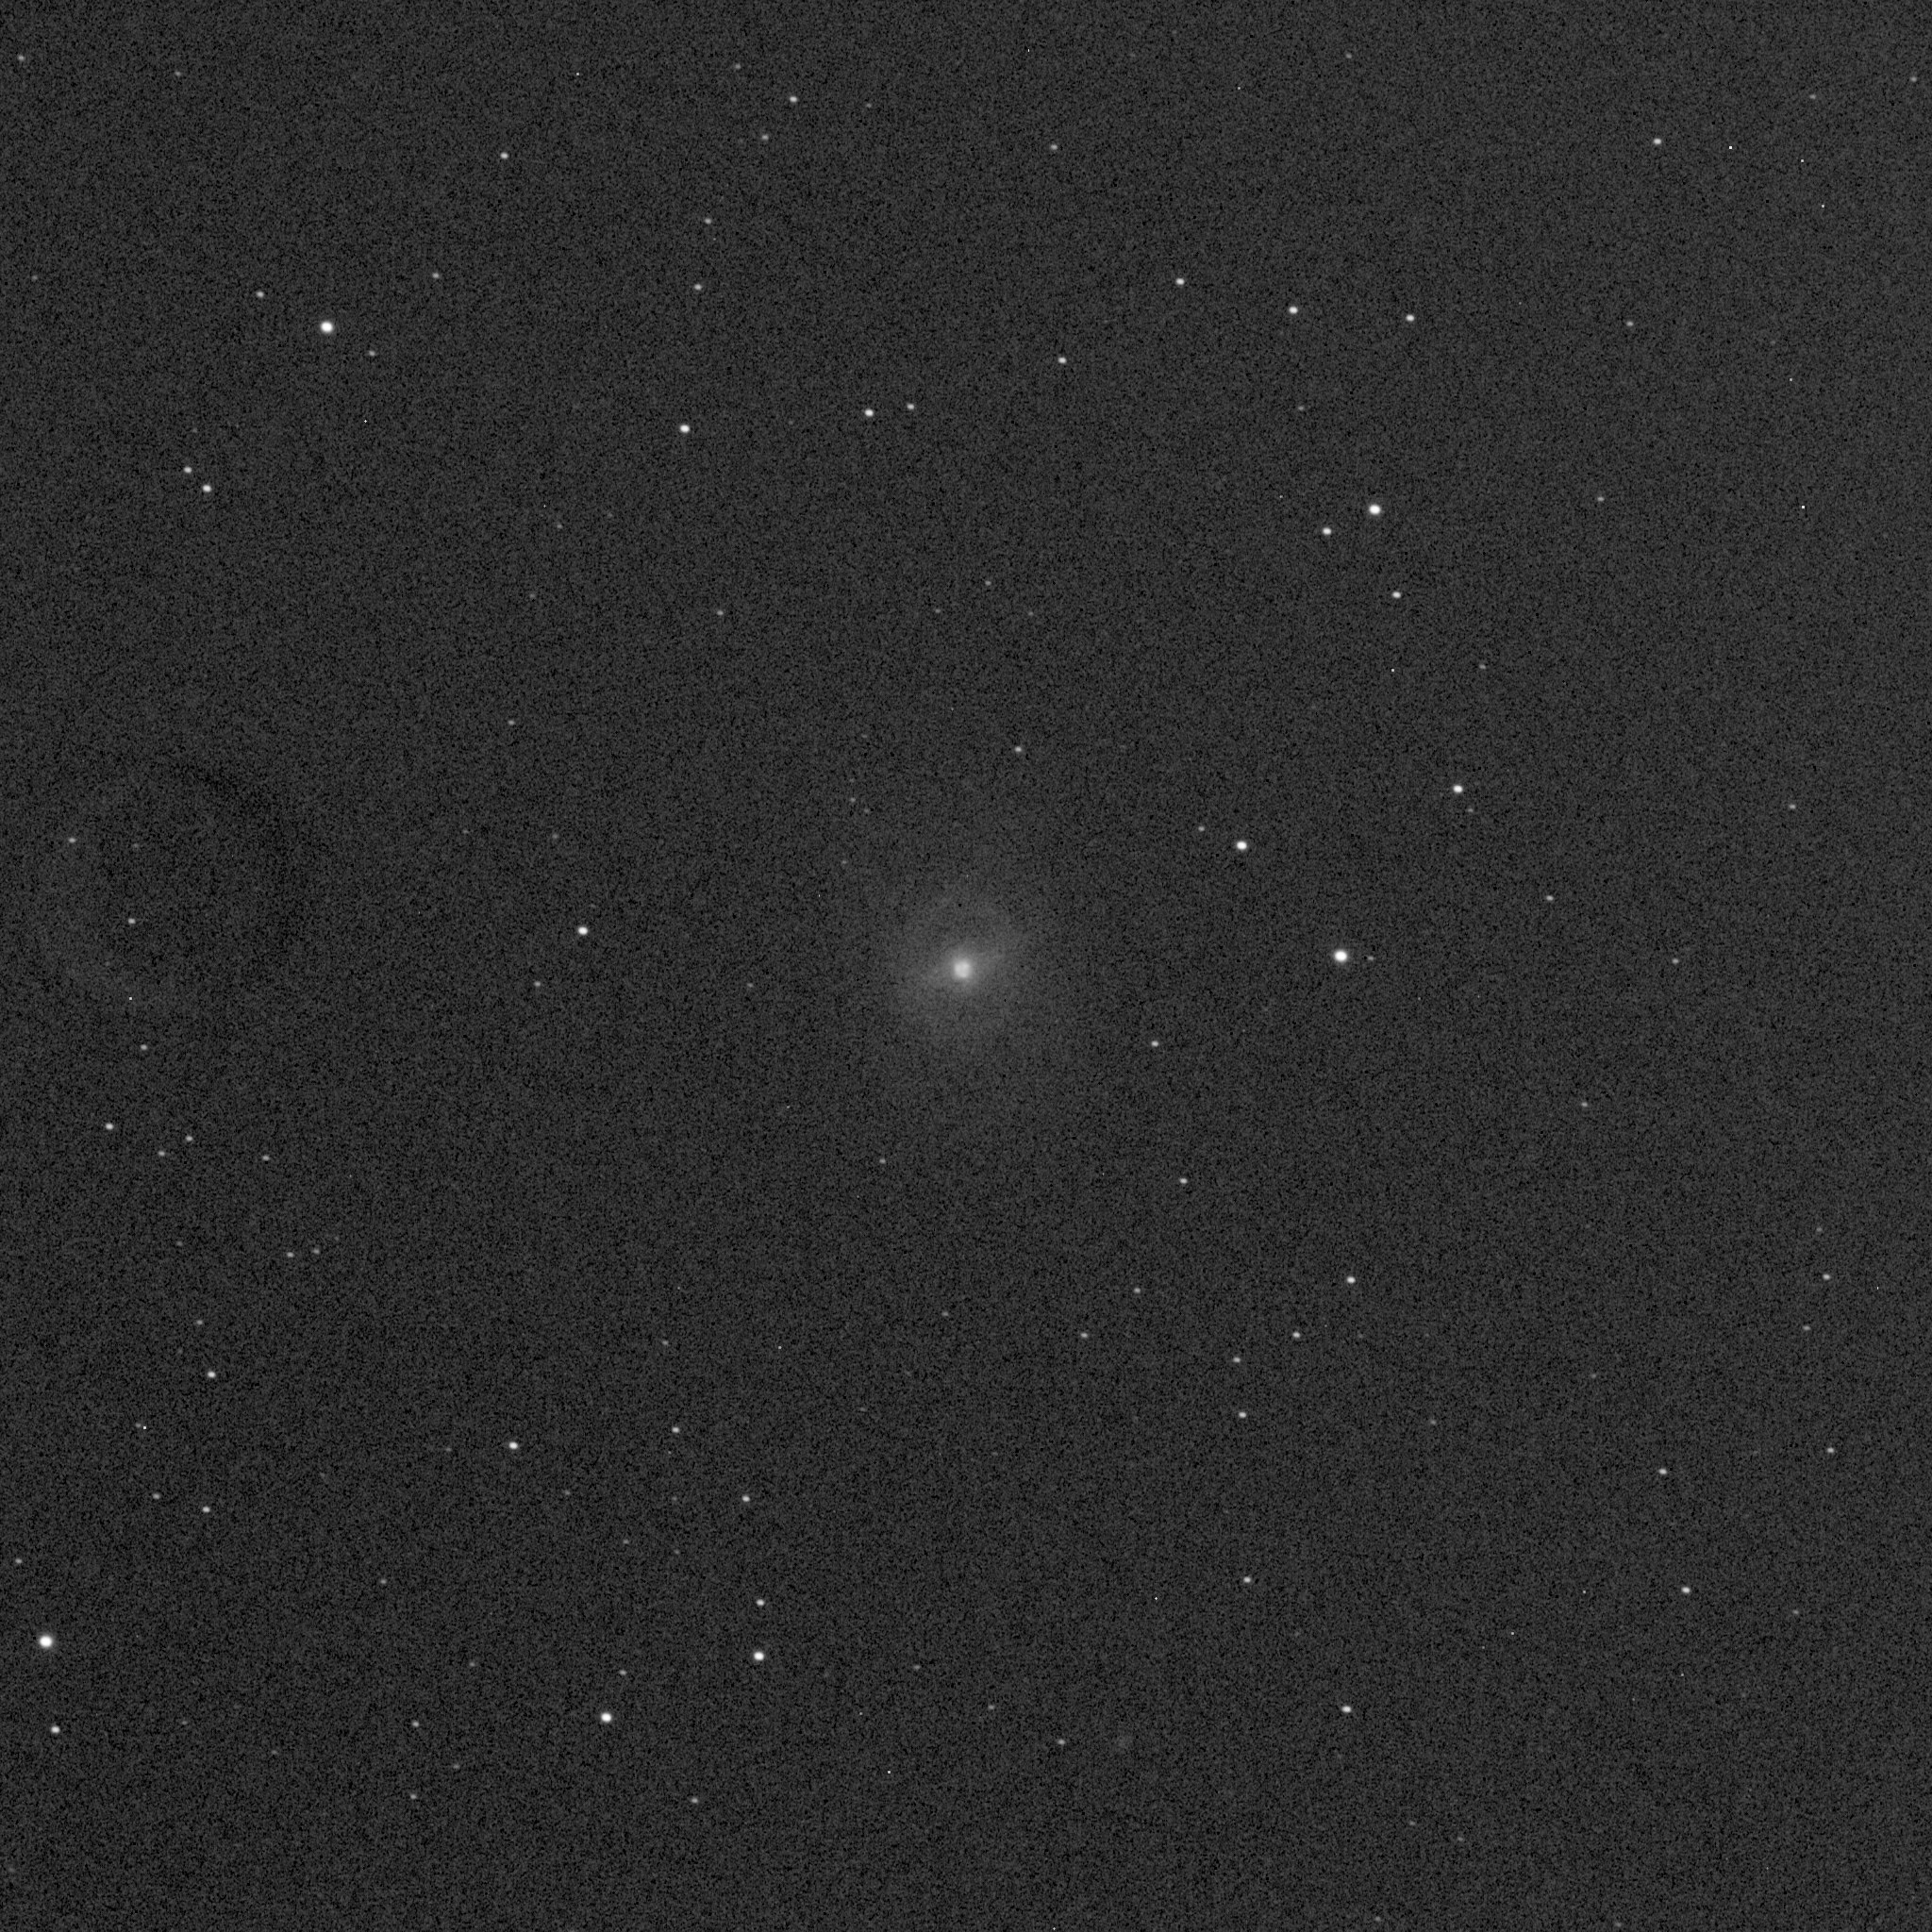
Look, there it is again — that dust mote circle in the left center of the image.
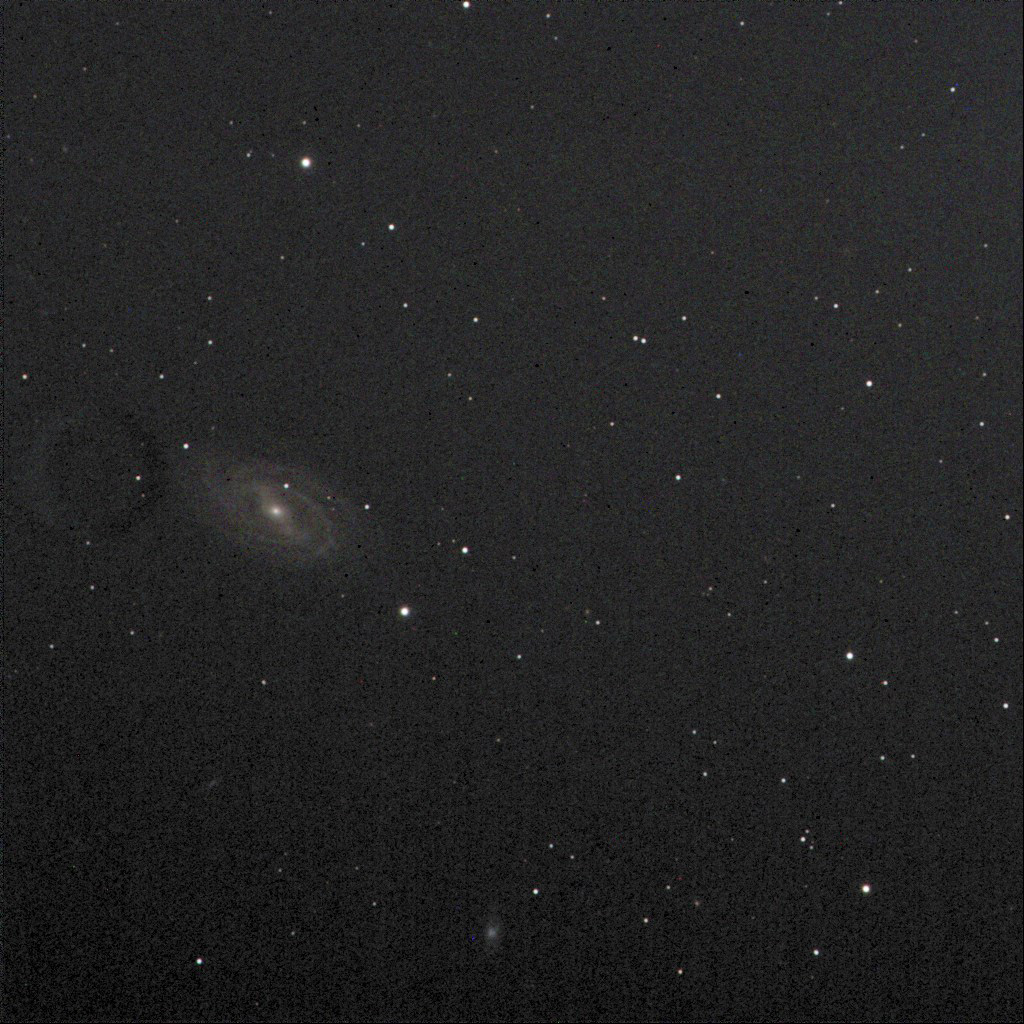
And yet again, there’s the circle just to the left of M109.
Now here’s the last image from last night. Under the circumstances, I thought this was a beautiful shot of M63 the “Sunflower” galaxy.
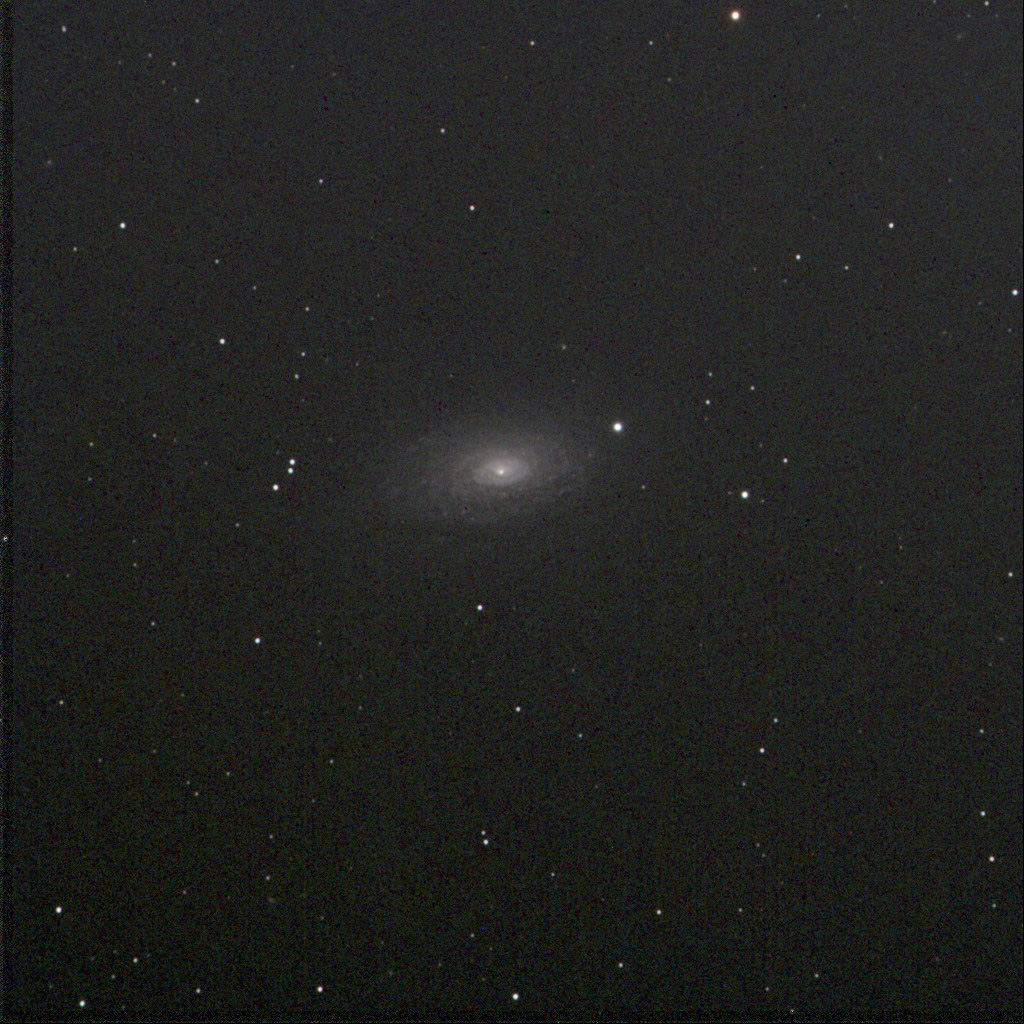
Wait, where did the dust circle go? It’s not there! The flat worked perfectly for my M63 image.
That mystery dust circle was a puzzle as I was processing the images in the wee hours of Sunday. When I saw this last one, I understood what happened. Can you guess?
I always shoot my flats at the end of the evening. It’s that one dreaded task I have to do before packing up the gear in the wee hours. It has to be done while it’s still dark.
The flat worked perfectly for my last image. It could only mean one thing:
The dust mote that made the circle shifted position during all the telescope movements during the evening.
During the early evening exposures, it was in a slightly different spot on the glass cover than it was during the last image. You can see the effect — the flat compensation shows extra bright on one side, and extra dark on the other. That’s what gives it the “3D” raised, or depressed, effect.
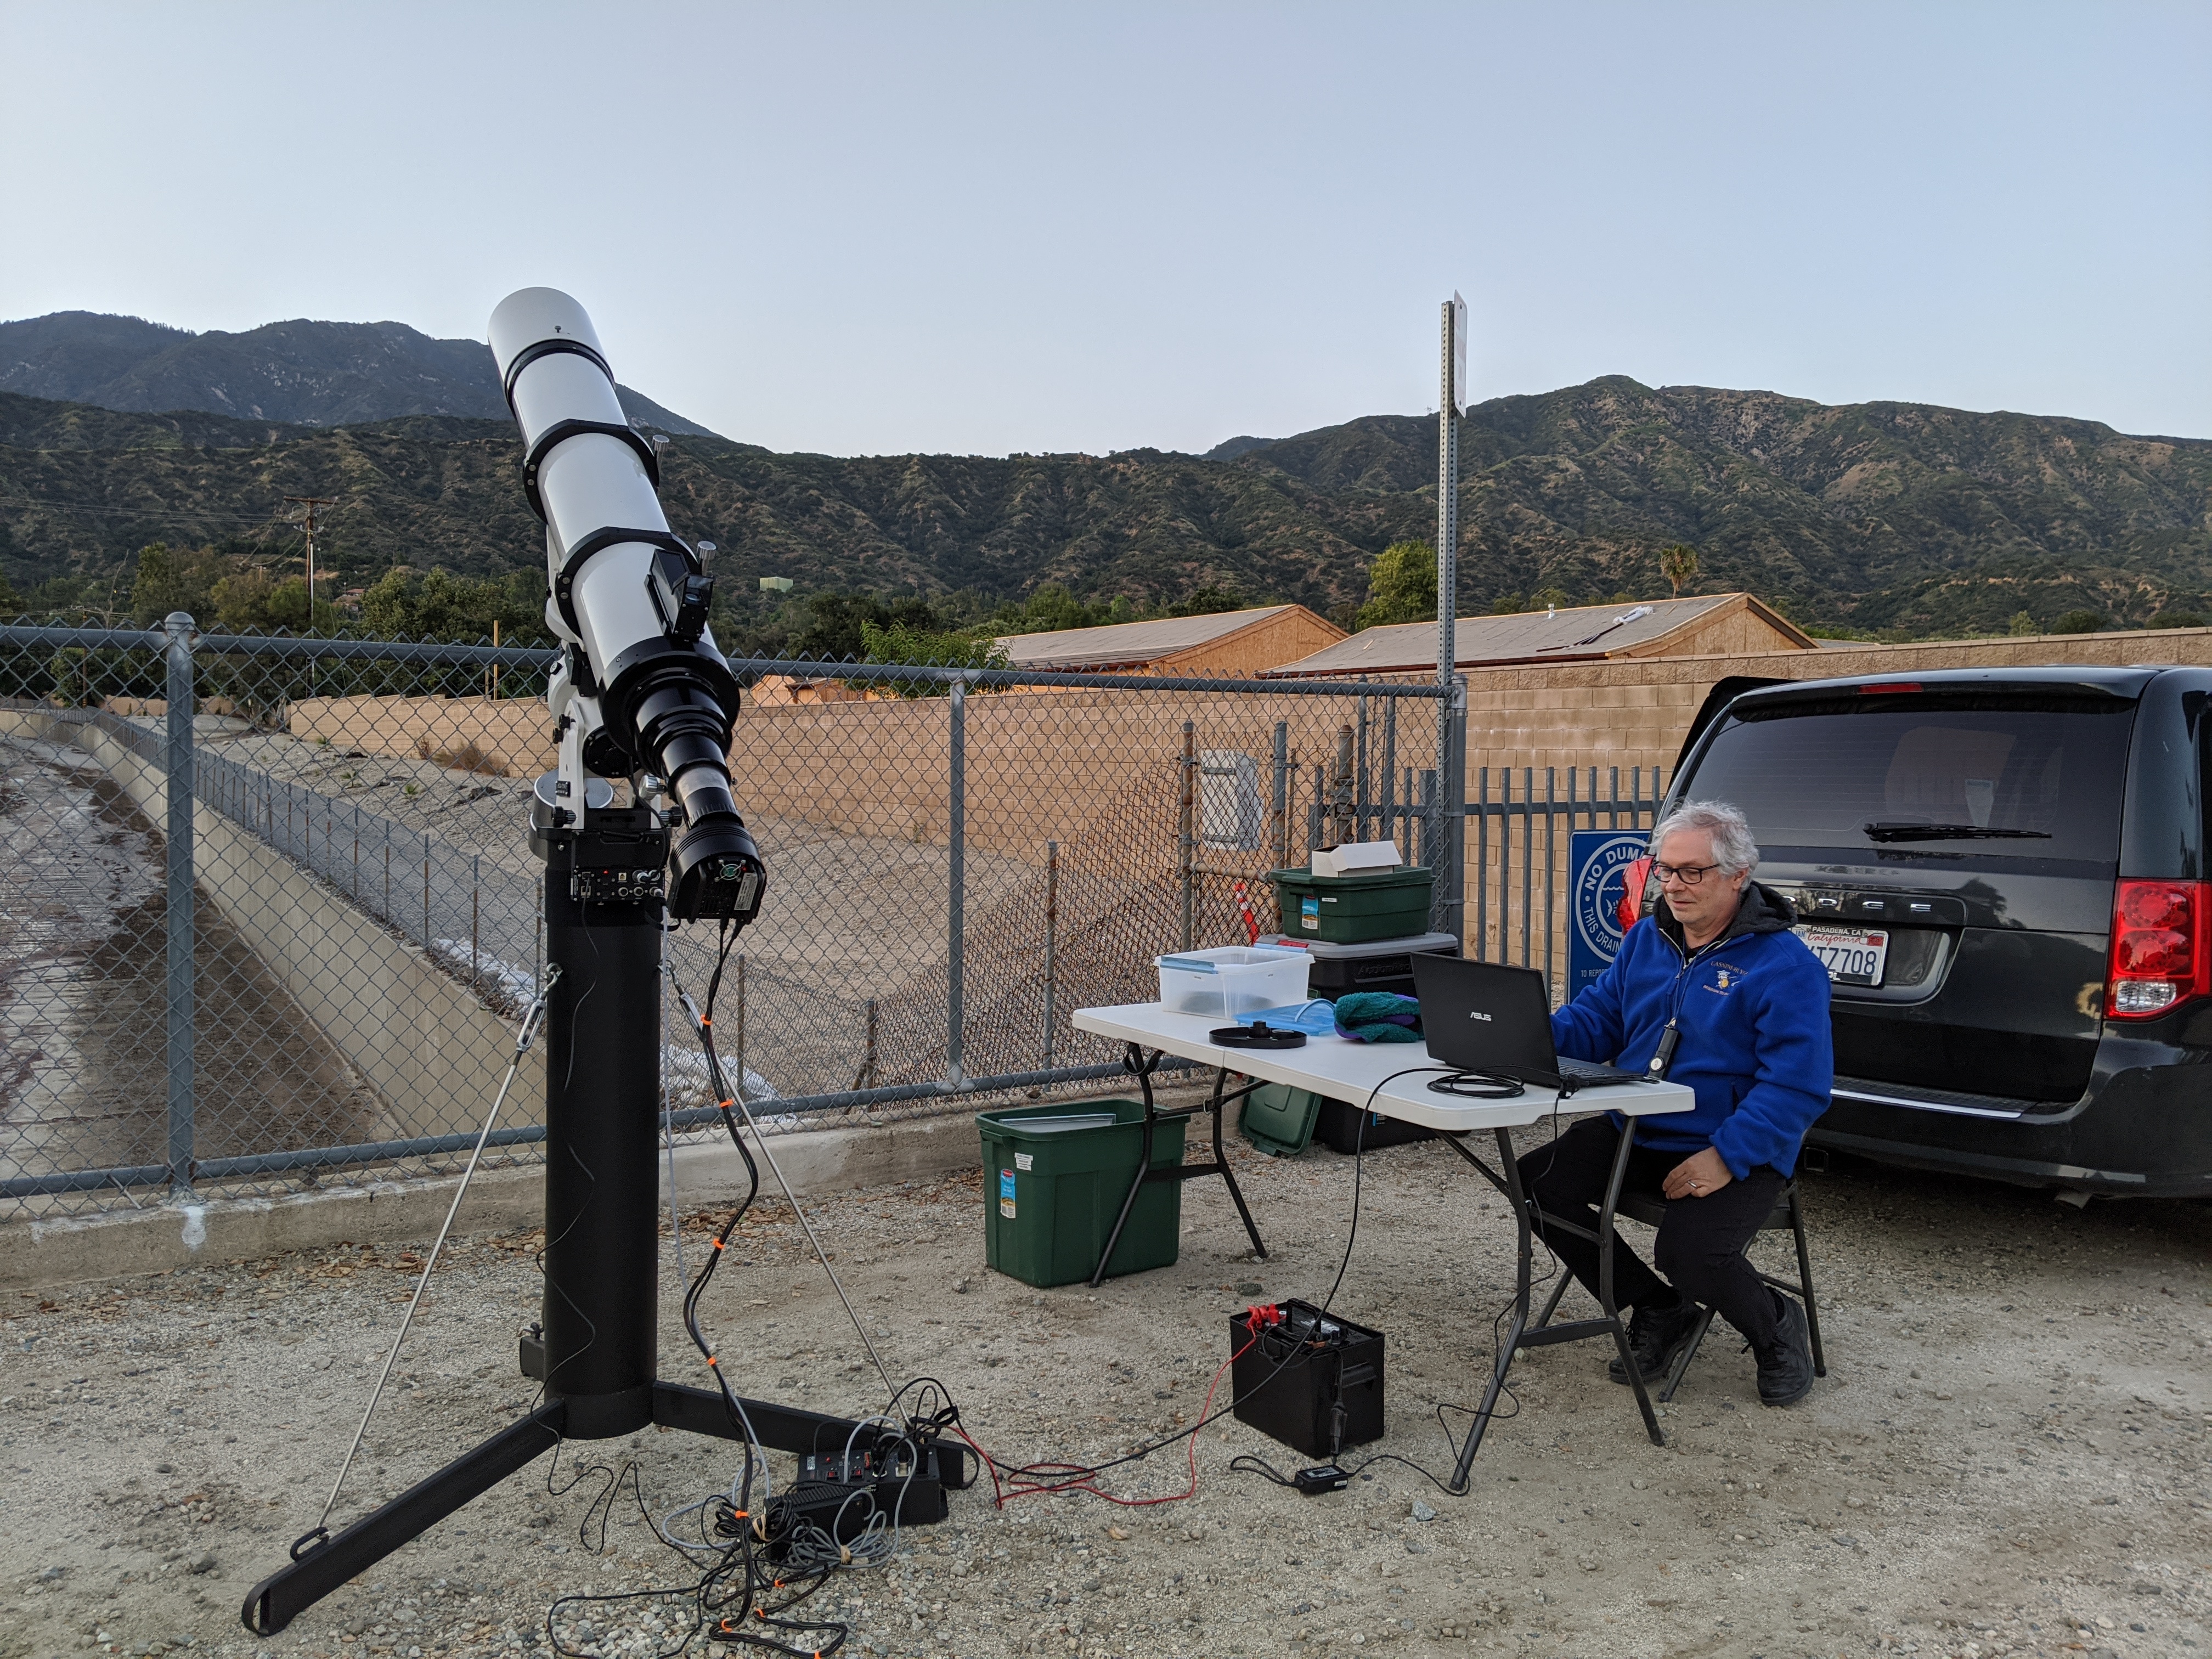
The previous post mentions how I started trying out photographing Messier objects from my home in Monrovia, using my Astro-Physics Traveler 105mm f/6 refractor. The results were encouraging enough that I had to bring out the giant AP180EDT and see how that would go.
This is not a one-person telescope. It really takes two to lift it into the mount rings, and dismount it after the session. I’m heavily dependent on Jane for the setup and (most importantly) the takedown. It turns out she’s a full supporter of the project, and offered to help me take down even when it would mean waking her at 2:30 or 3:00 a.m. That’s true love!
While we’ve had the telescope for about twenty years, the original mount has been replaced with an AP1100GTO. That should make it an astrophotography demon. Without the ability to “goto” an object, this project would be all but impossible in the city sky glow.
My experience with the equipment consists of about two evenings testing, and one evening of actual observing, so there was a lot of tinkering, calibrating, and adjusting. I was fixing and tuning the hardware, and learning the software. I spent hours doing fine polar alignments, recording “bad pixel” maps for the guider, diagnosing guiding errors, and such.
That said, I still managed to capture what I consider stunning images for such a bright location. I’ve been logging two more Messier objects each evening, and with several good clear moonless nights in a row, I haven’t been able to resist.
I’ll just put all the comments in the captions. If you click on any of the images it will link to the highest resolution version, with every wart visible. 🙂
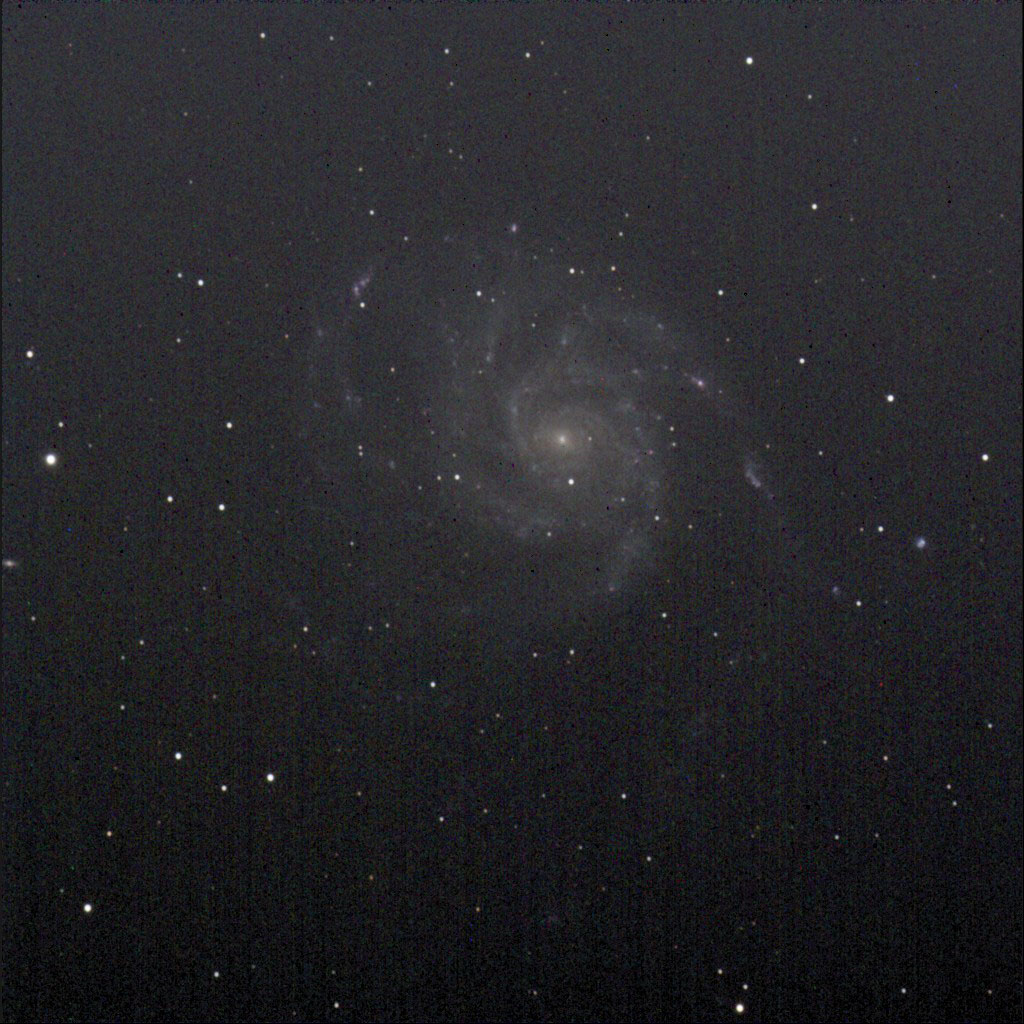
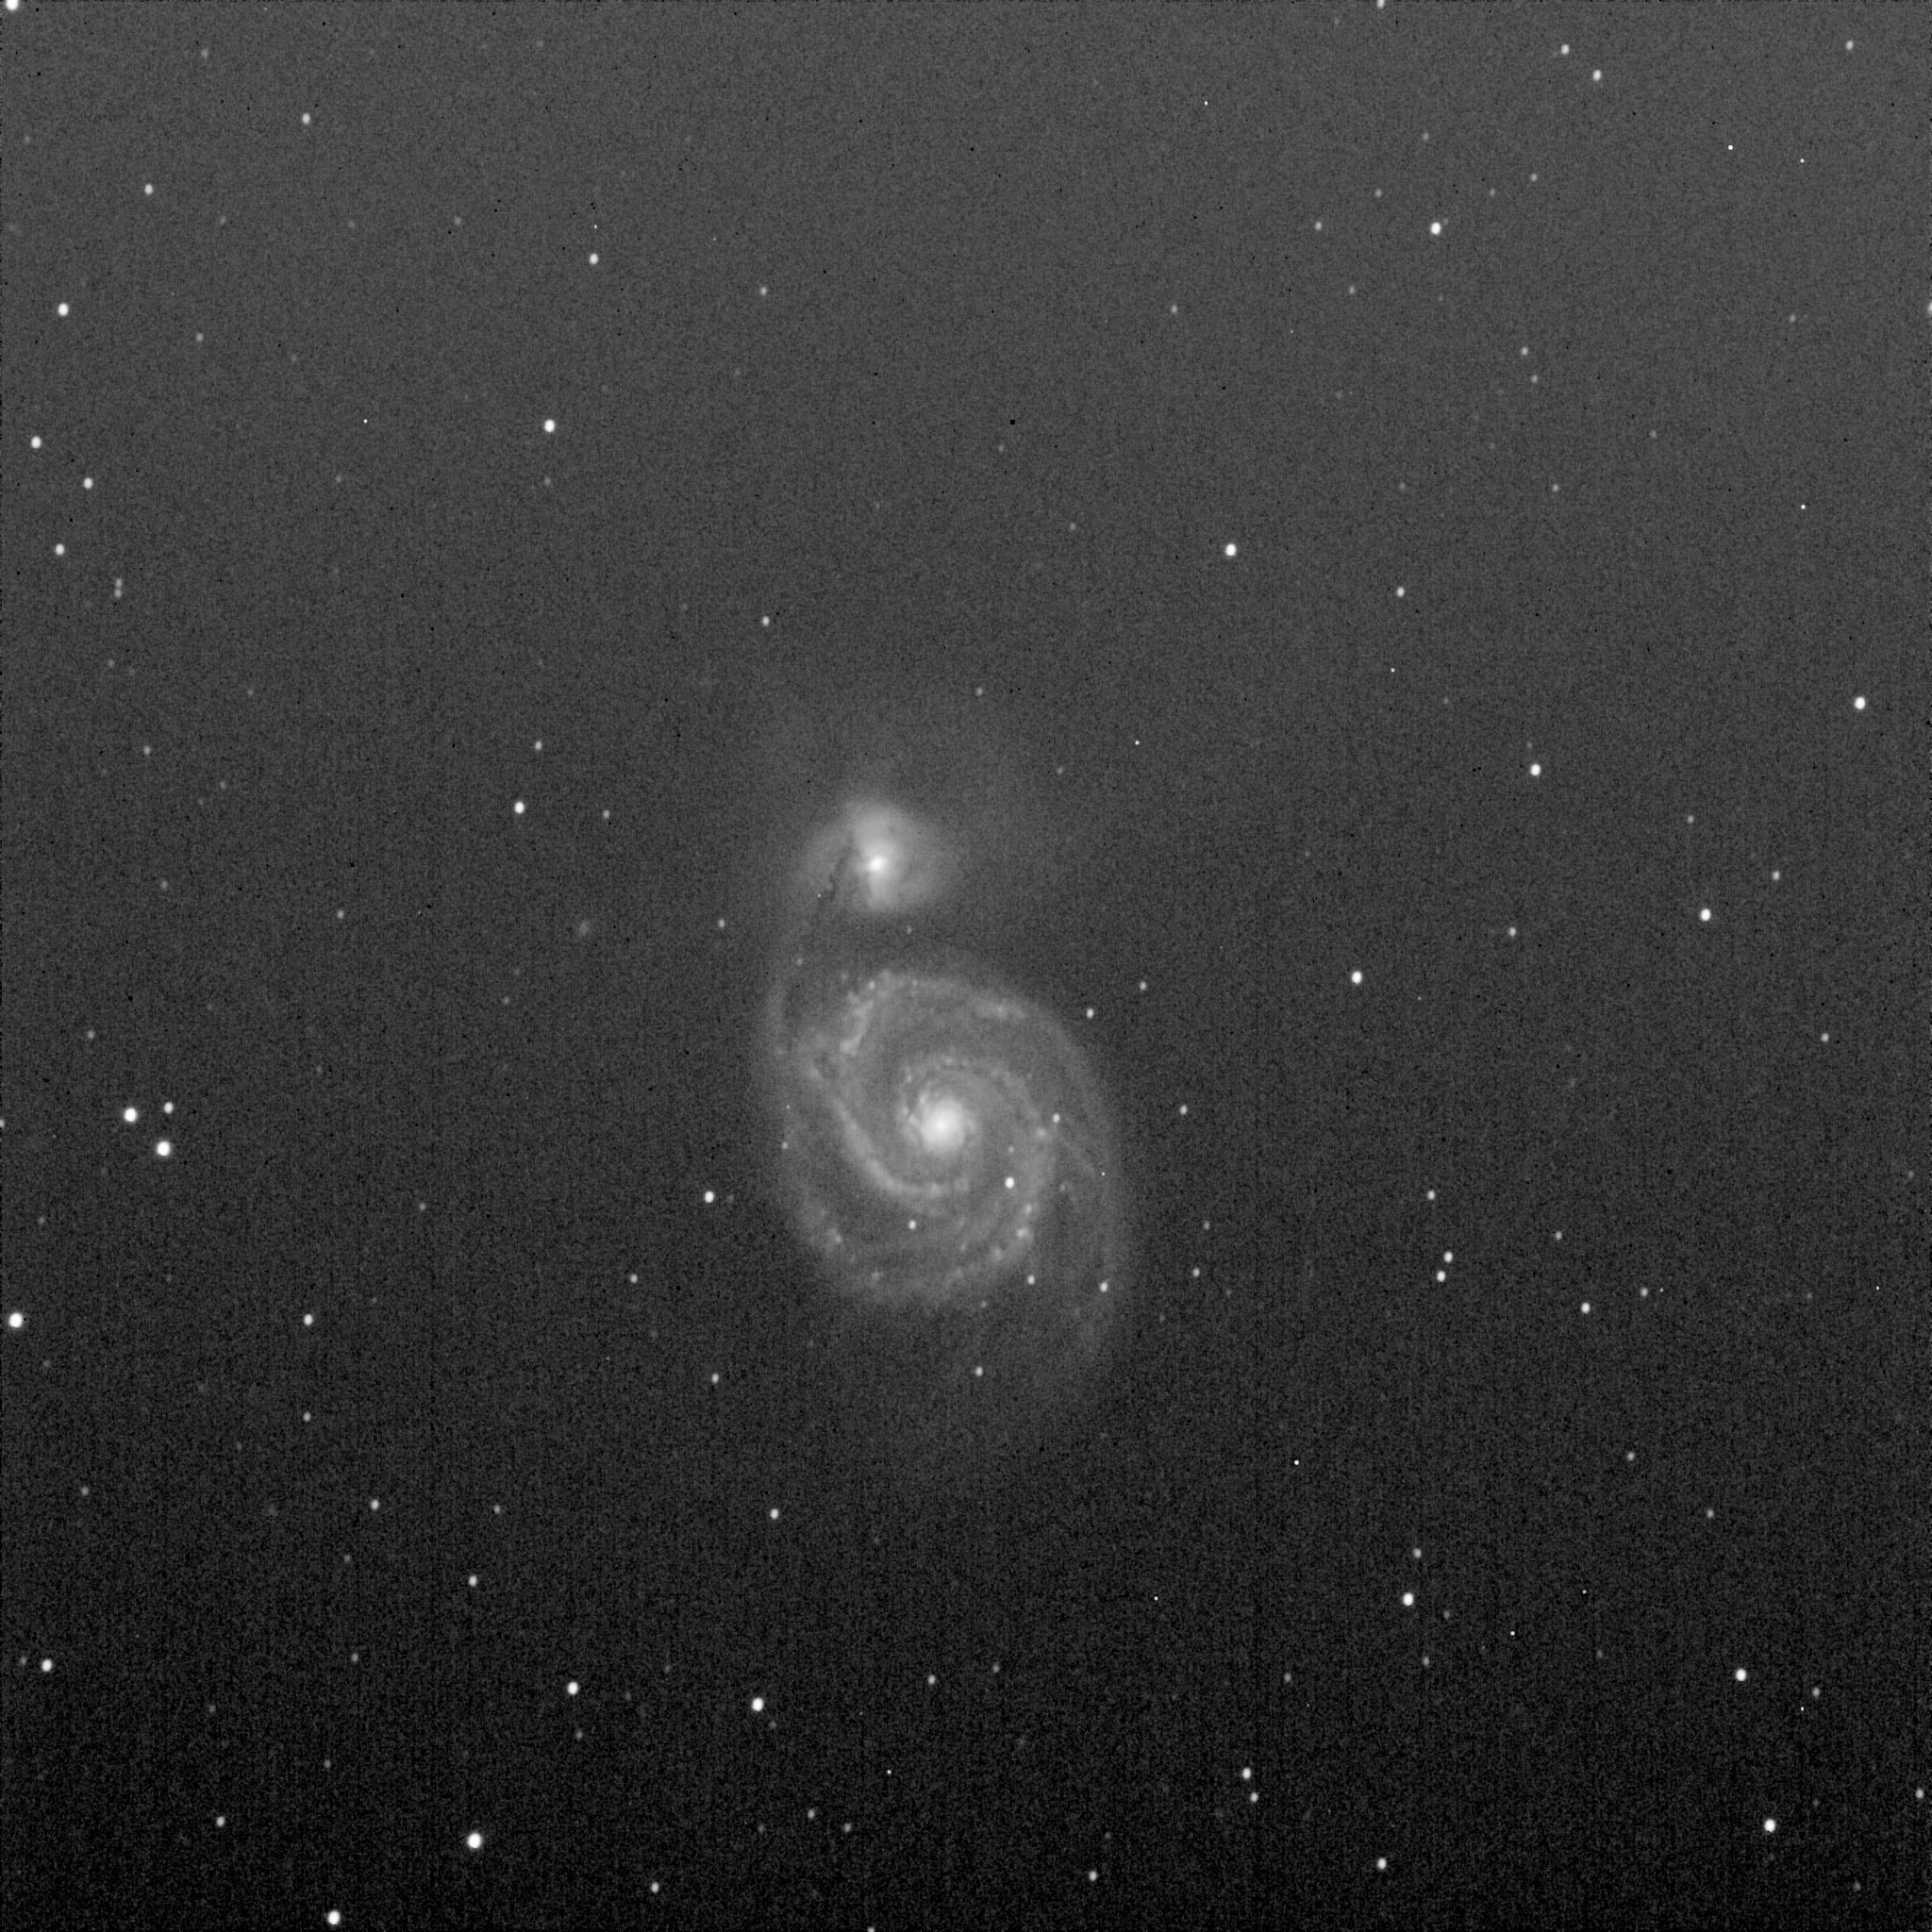
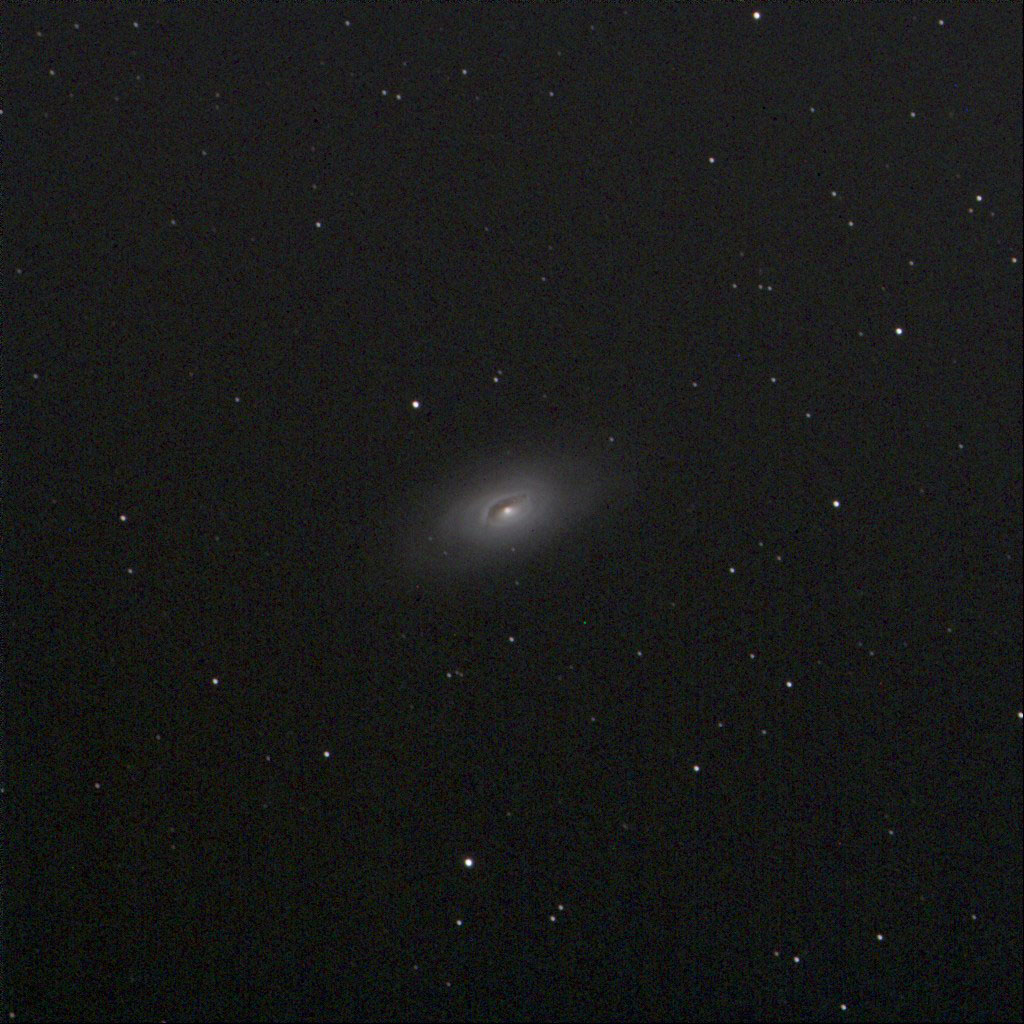
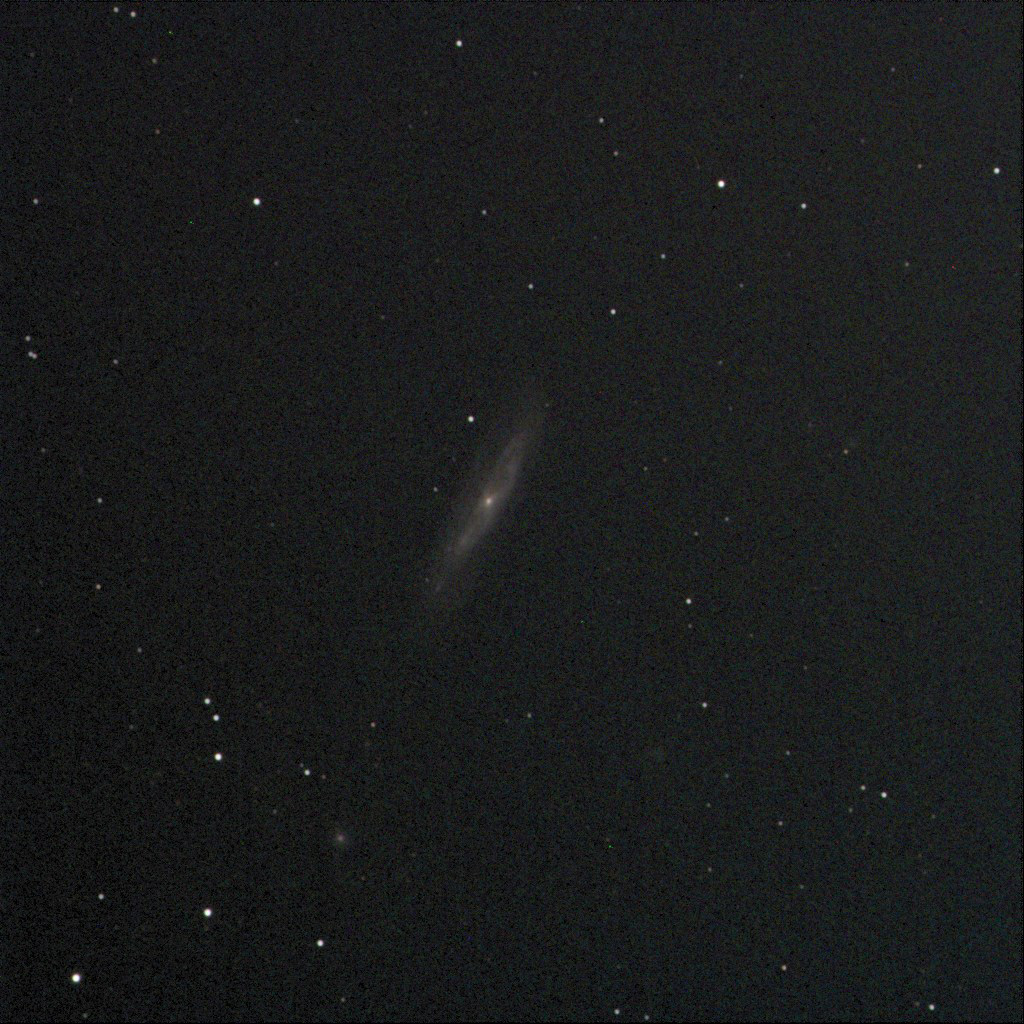
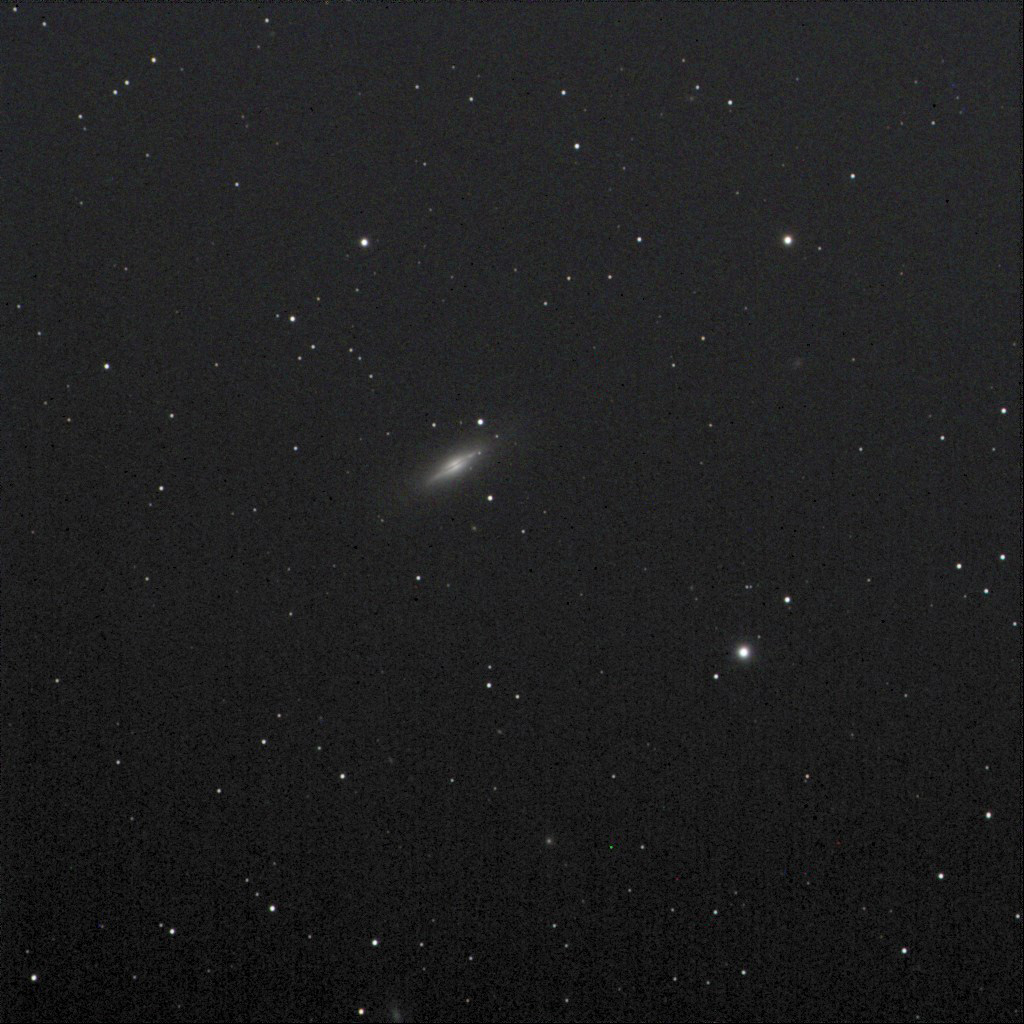
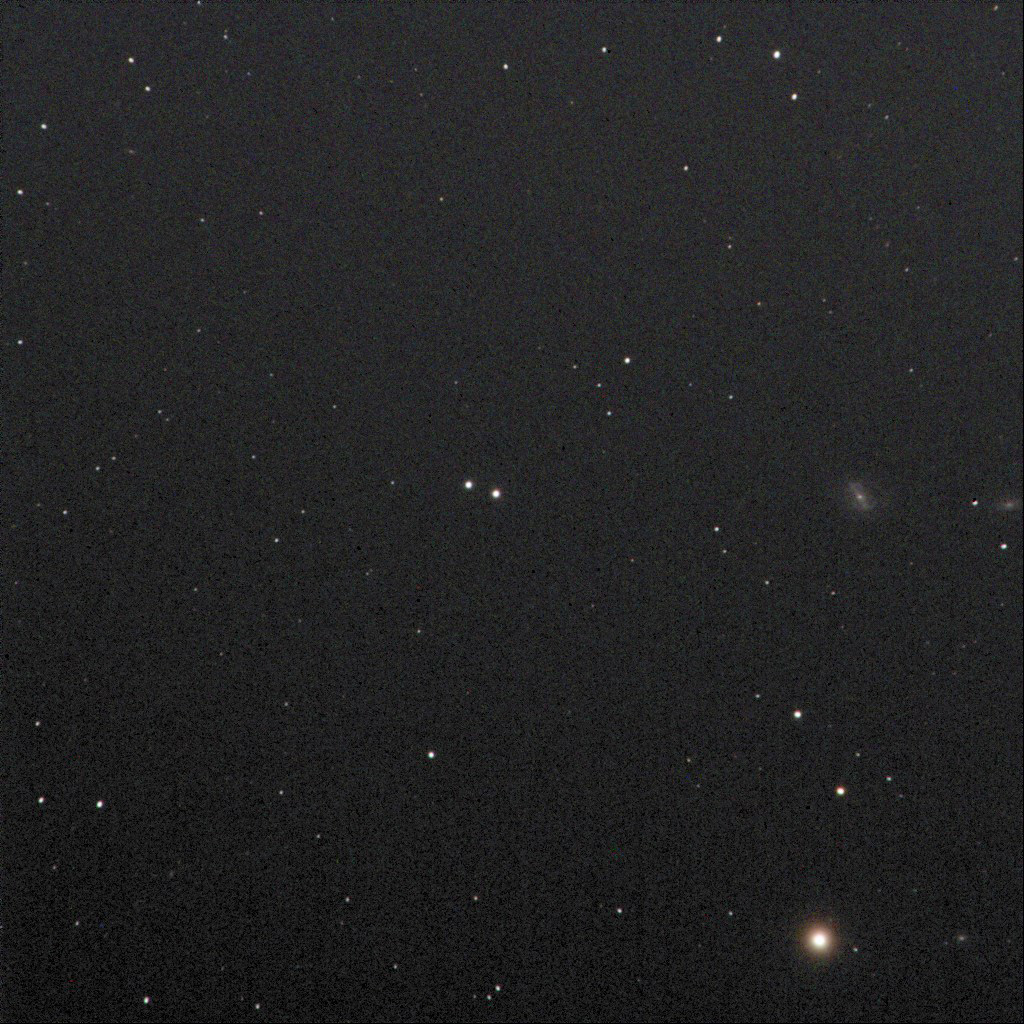
Tech details:
All of the images here were made by collecting 30 minutes of light, as six 5-minute exposures. The images were processed with CCDStack2.
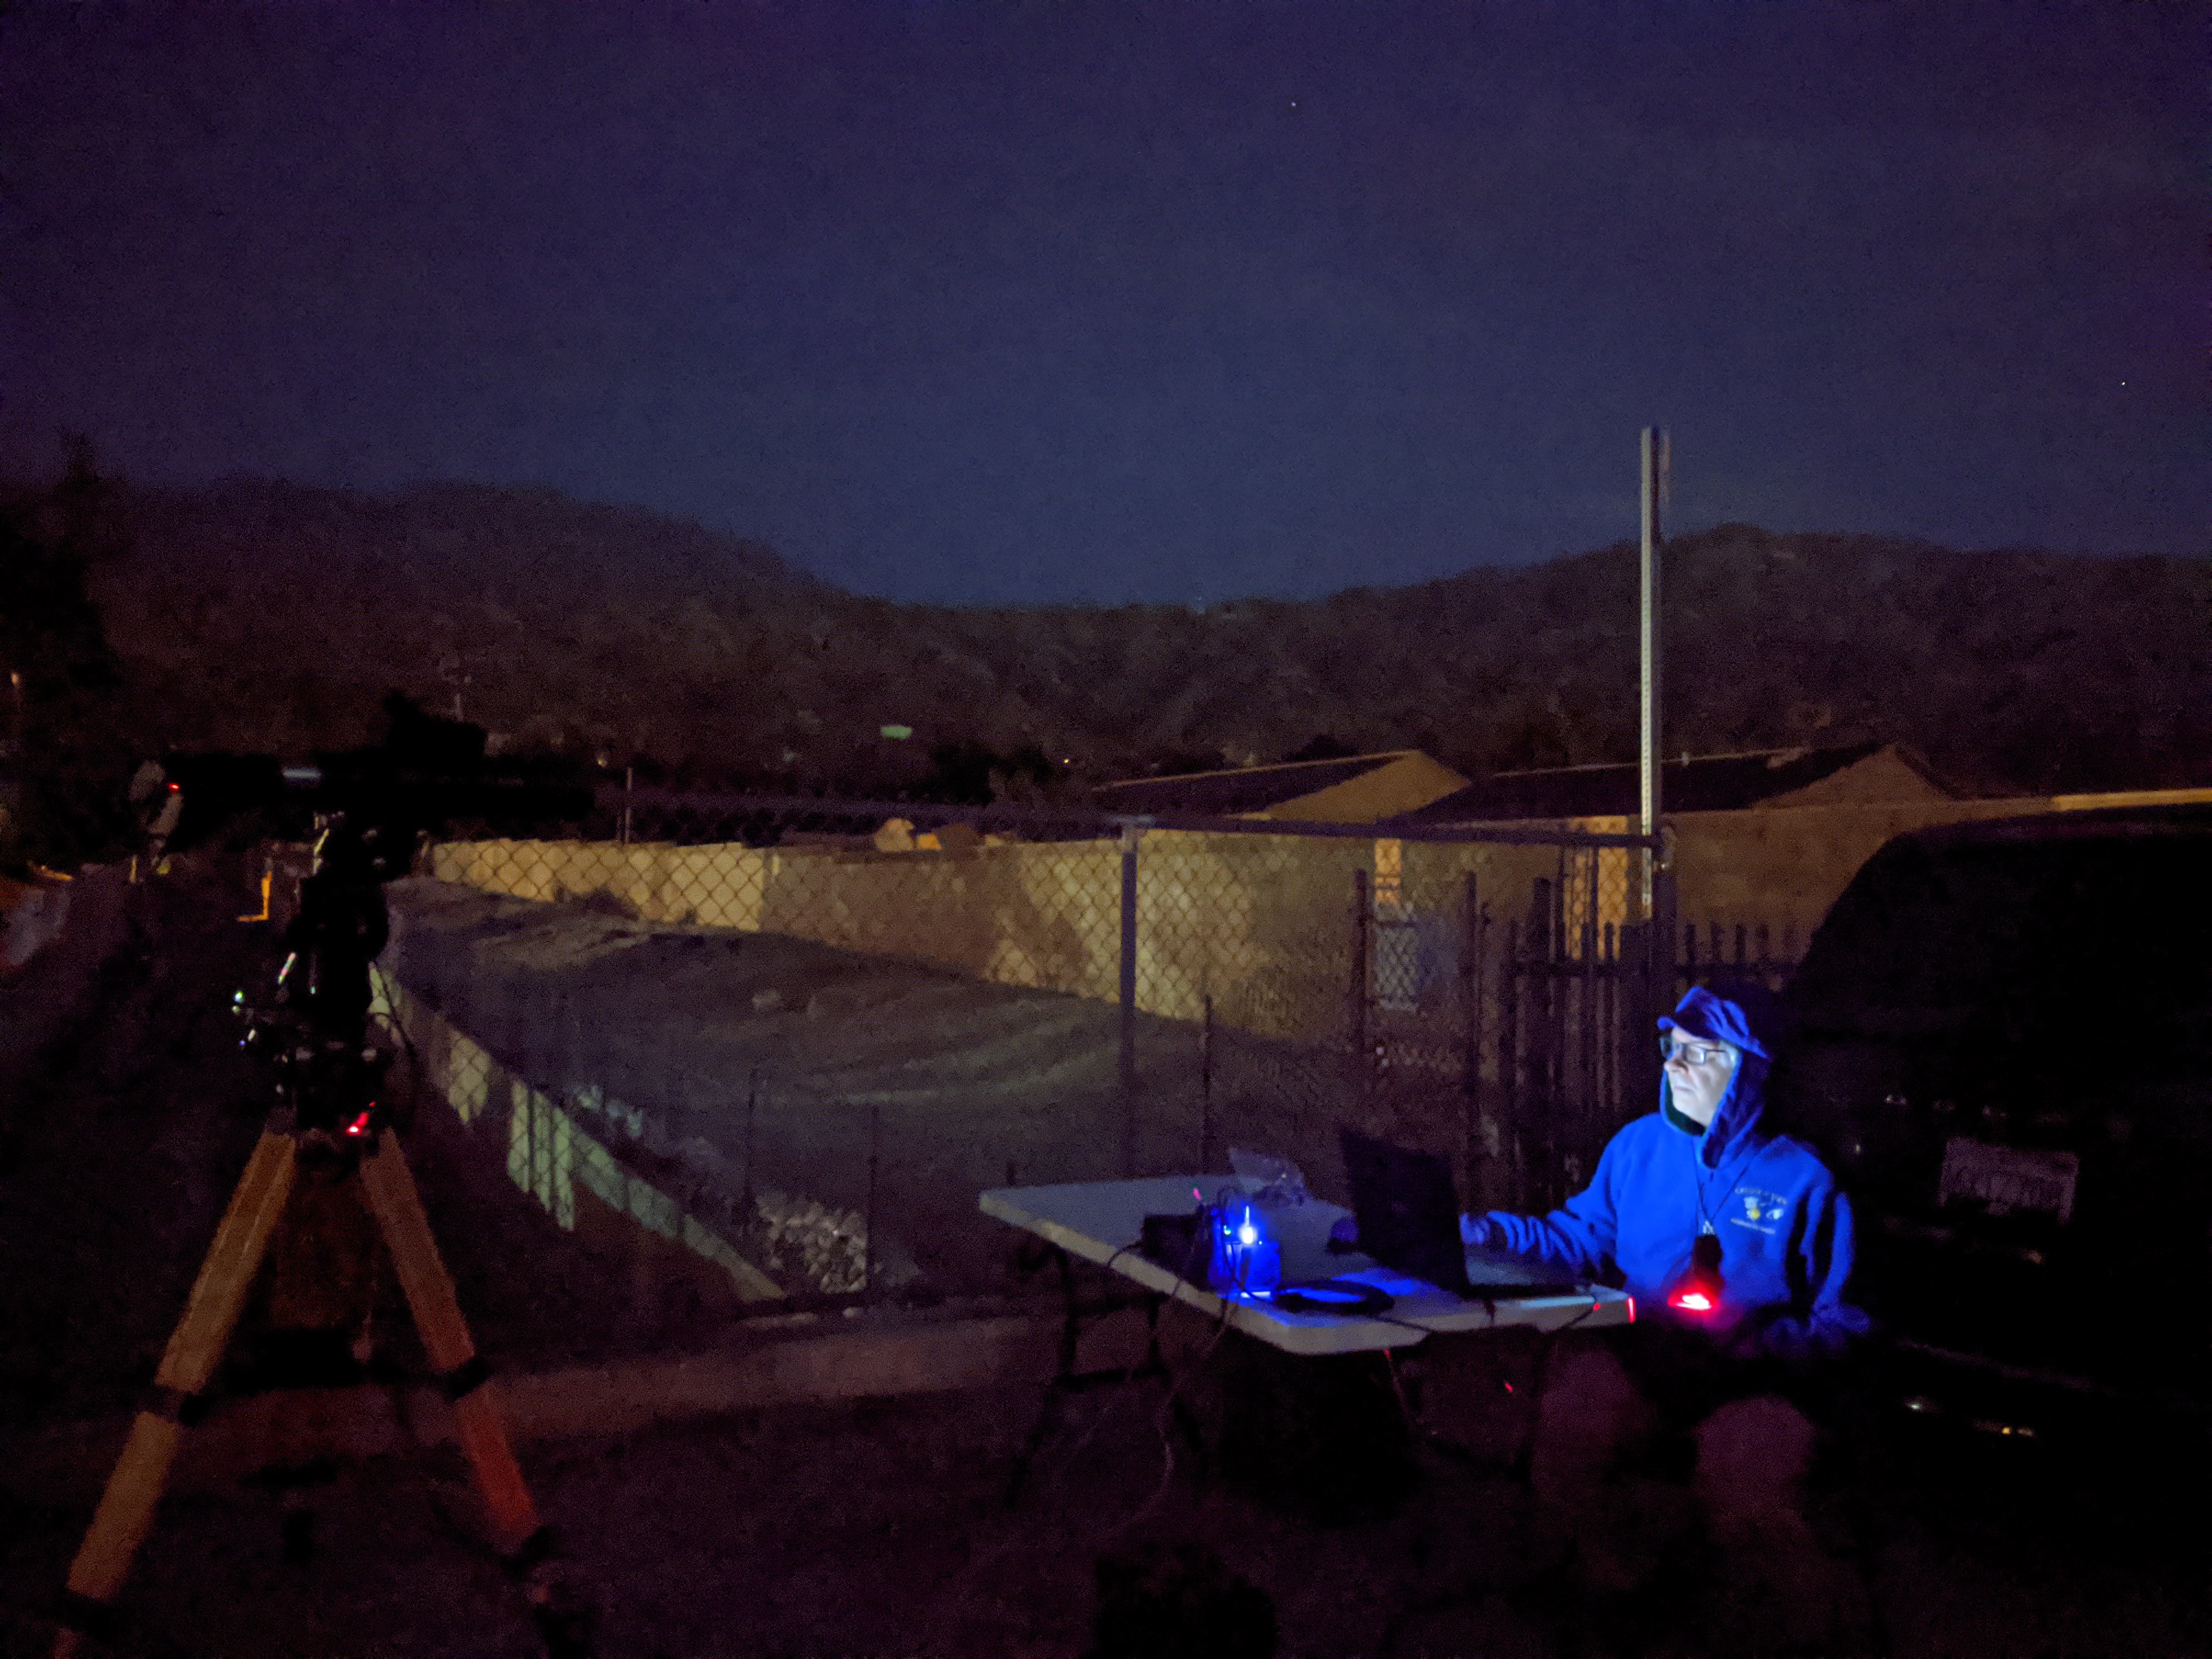
Normally I wouldn’t even have considered trying this project. I’m known for hauling my telescopes to a dark sky site in the desert to do deep sky astronomy — visual or photographic.
But here we all are, staying home for the duration.
I have a spot about 50 yards from my front door. It’s a bridge over Sawpit Wash, partially paved, partially gravel. It has really good horizons, and no serious outdoor lighting nearby. When Jane and I first moved in we thought it might be our home astronomy site. We’ve done a little planet observing there. She famously counted meteors from there.
I thought maybe I could at least image a few bright open clusters, maybe a bright galaxy here and there.
I started with the Traveler, a 105mm f/6 refractor, and looked for targets that would be high overhead, into the darkest part of the sky. Leo was high, and the trio of galaxies including M65 and M66 looked promising. The results were encouraging.
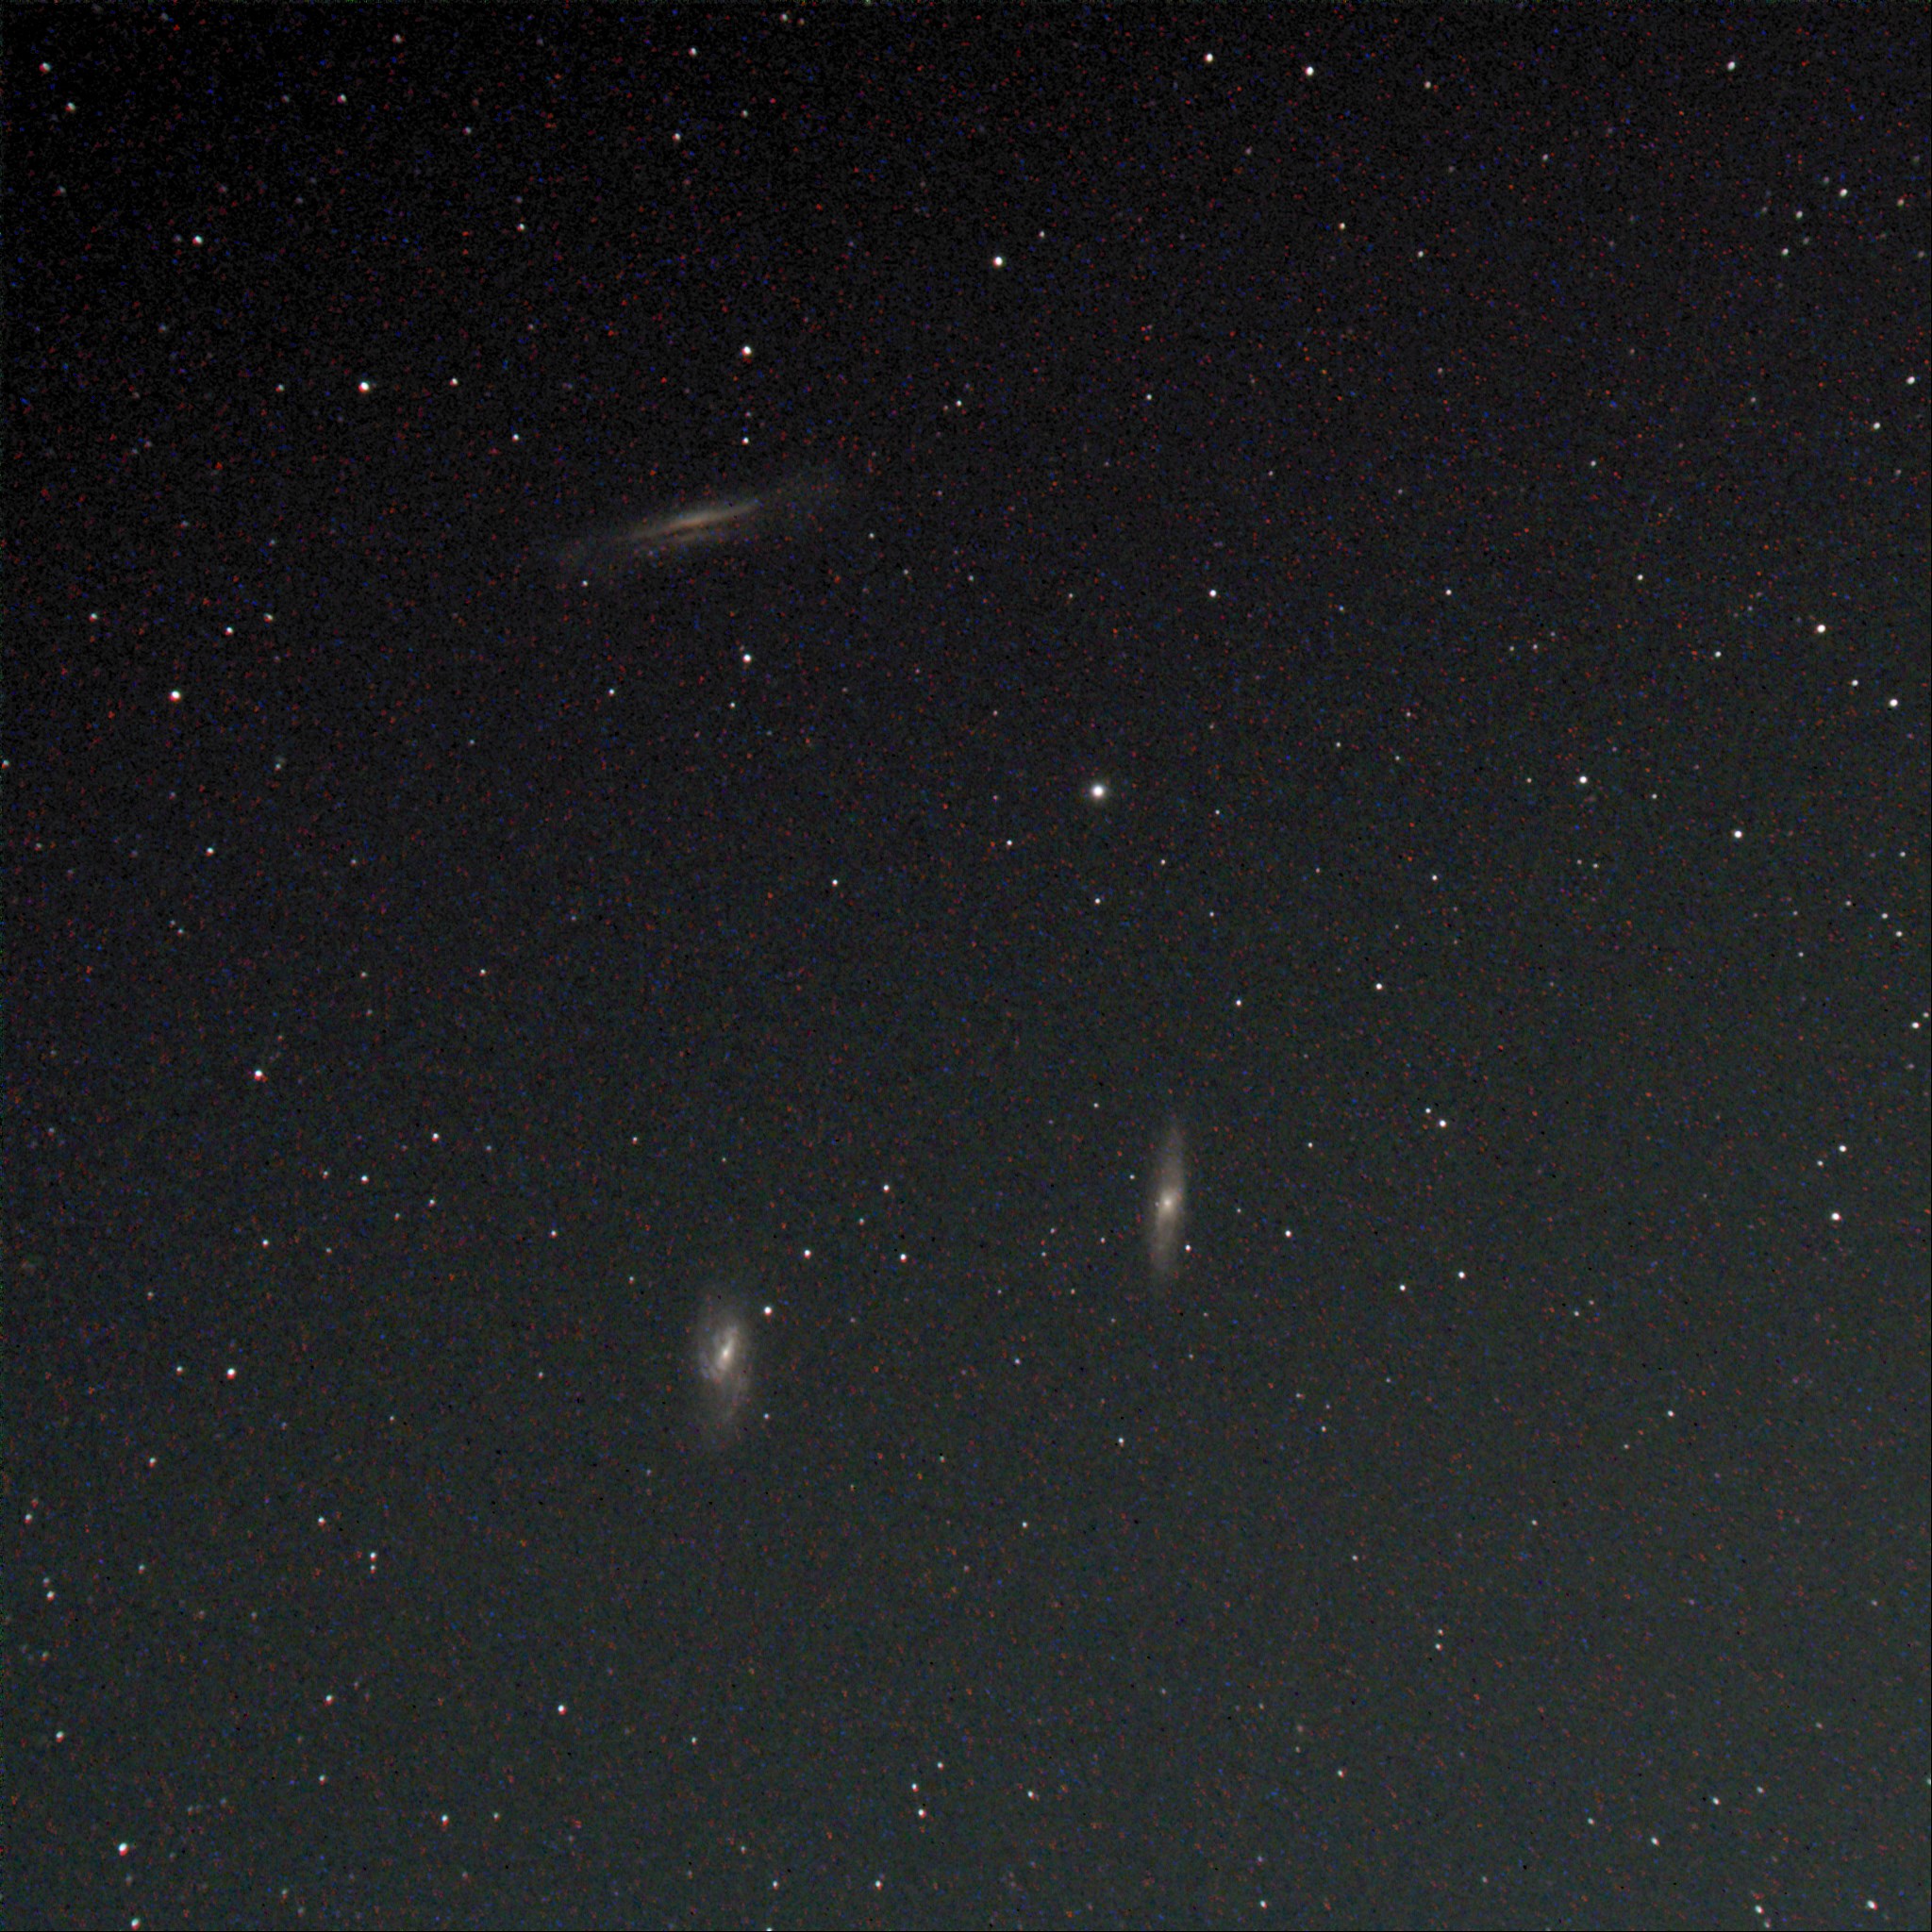
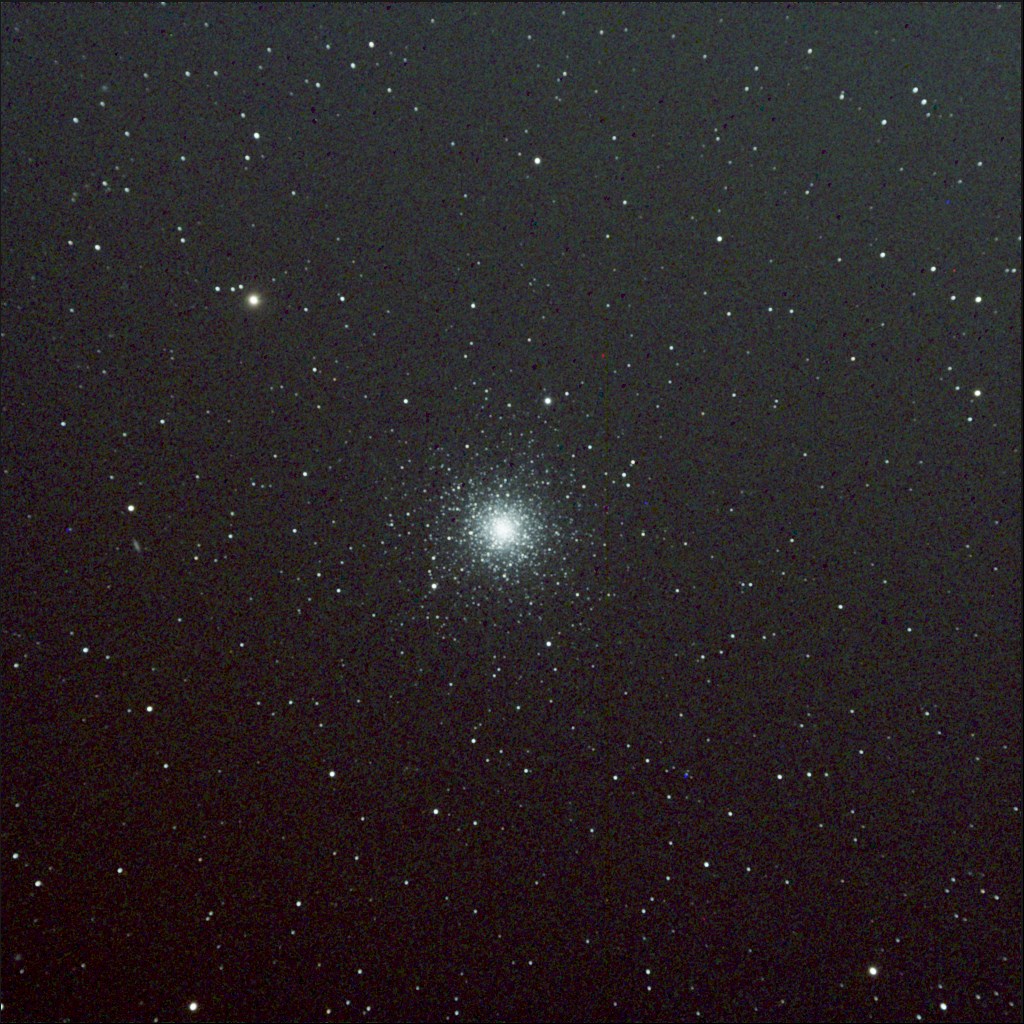
The results were so promising, I thought I’d try my favorite globular cluster, M3.
M3 and I have history. It was one of the first deep sky objects I attempted to observe visually from home in Campbell, CA, deep in the San Jose light dome. I was observing from my street corner almost directly under a street light, with a Celestron 8-inch SCT. I spent about two hours hunting, and finally found a barely visible fuzzball in the eyepiece. I was ecstatic!
Now here it is from the Los Angeles light dome with a good astrophotography camera.
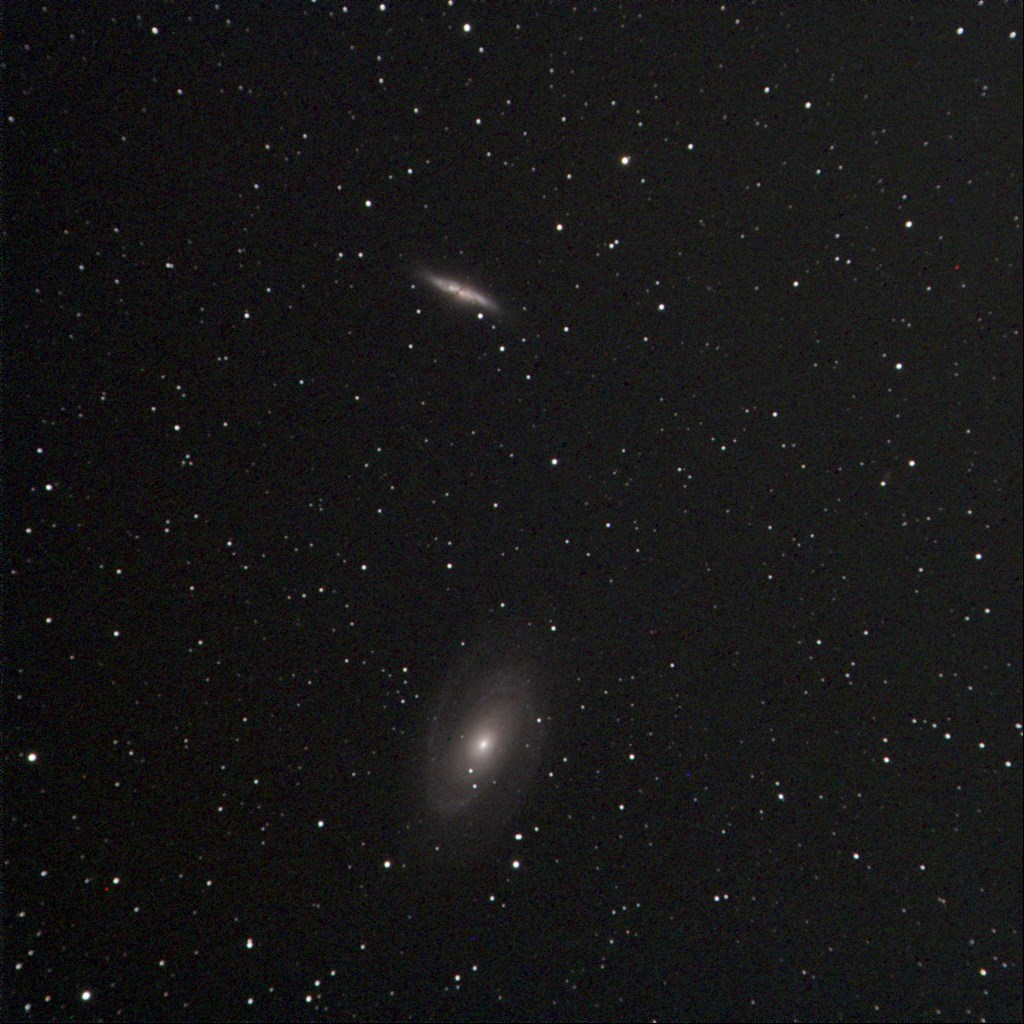
I had great fun with the Traveler over the next few clear nights. I think it’ll be a fun challenge to see if I can photograph all of the Messier objects from Sawpit Wash. I’ve started picking them off two or three in an evening.
Here’s my capture of a favorite pair of galaxies in Ursa major, lovely spiral M81 and turbulent M82.
If I could grab all the Messiers two at a time, this would be easier. Here’s M108 and M97 the owl. In this one you can see the effects of the sky glow gradient from city lights:
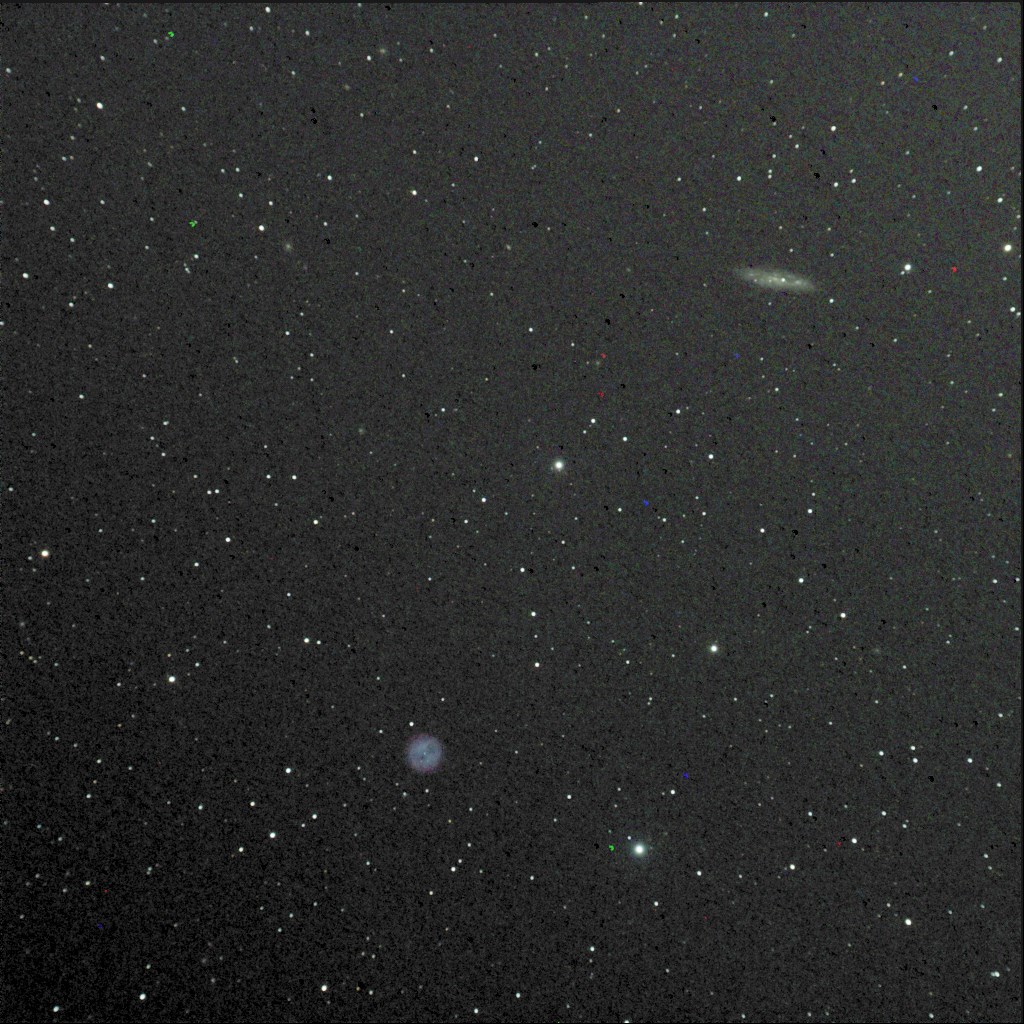
The city lights affect everything about this astrophotography. What’s really surprising is how effective the photos can be, even so.
After several evenings with the 4-inch telescope, I was really itching to spend some quality time with our AP180EDT refractor. That’ll be the next blog post.
This would be my first night observing from a powered telescope pad at GMARS, Riverside Astronomical Society’s Goat Mountain Astronomical Research Station, in Landers, CA. It was a beautifully clear but cold February Sunday evening. It was also the first real observing night for a new mount, plus a new and unfamiliar collection of astrophotography tools.
In preparation for the night, I’d spent hours setting up and practicing with the hardware and software at home. I felt like I’d accomplished everything I could with the hardware and power distribution. Everything was working well.
My astrophotography computer was another matter. While Jane and I enjoyed traveling for our first year of retirement, my familiar inexpensive Asus laptop hadn’t been turned on for about a year. With any Windows PC, that leads to an immediate trip through “update hell.” Not only did I need hours of download and update time, the internal battery was completely toast.
Getting the battery replaced turned out to be painless, and during the downtime I was able to research the more modern tools imagers were using to navigate and capture data. I was ready to move past the old days of ST-4 guiding, into the world of ASCOM and PHD2.
The new mount is an Astro-Physics AP1100 GTO. It was acquired to support our mammoth AP180EDT refractor, replacing a somewhat aging and clumsy AP900 mount. I had only used the big refractor once to capture decent images over ten years ago, and had been unsuccessful since that time.
The AP1100 GTO is truly decades advanced from the old mount. It feels elegant and precise, even with the massive telescope on top. I added power and data distribution from Kendrick, and I was able to reduce the number of cables from computer to telescope to one USB 3.0 cable.
There was a clear night coming, leaving me with the mild anxieties of an unfamiliar site, on a “school night,” carrying a telescope that needs two people to mount into its rings and unload into its case.
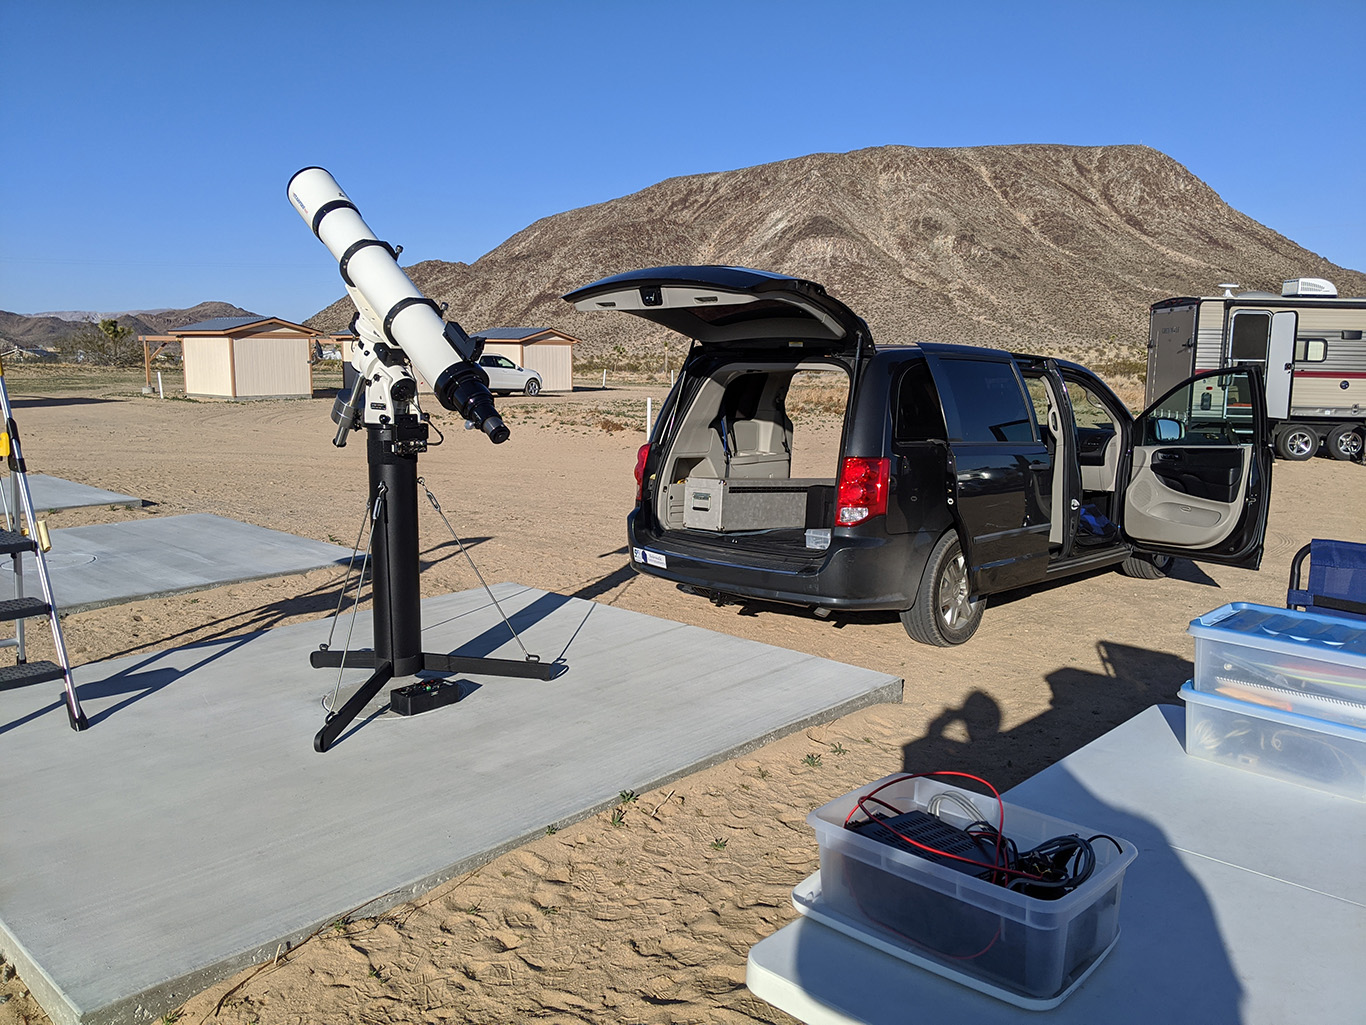
I arrived mid-afternoon and parked at my newly assigned pad, discovering plenty of friendly company — even some old friends from our in-town Sidewalk Astronomy group, Kay and Ken Hoevel. They were happy to help lift the telescope tube, and even insisted on feeding me marvelous grilled steak kebabs in the gorgeous evening twilight.
I made lots of other new friends, discovering shared interests that seem common among astronomers — things like airplanes and ham radio.
Kay told me one of her discoveries about GMARS: No matter what it is you left at home, there’s usually someone there who has one to lend you. In my case, it was a red flashlight, and a replacement 3V lithium battery. She managed to find spares of both in her kit.
I spent a wonderful time under a clear dark sky. I had a comfortable observing chair and binoculars to enjoy the winter Milky Way while the camera was capturing ancient photons. The chatter of nearby observers was familiar and comforting.
The new mount and old camera were both working like a dream. I was able to bounce around the late-winter early-spring sky, shooting 30 minutes of data on several old favorites for practice. I wrapped up about 1:00 a.m. by taking some flats to calibrate the data. I was ready to get out of the old. I couldn’t sleep though; I spent another few hours in my warm van doing some data reduction and stacking, relearning all my rusty skills.
The night was beautifully clear, but the seeing matched the forecast of fairly poor. That would be evident in the large stars and soft detail in the images. I’m still delighted with the results, and excited about the prospects.
Here are the targets for the evening:
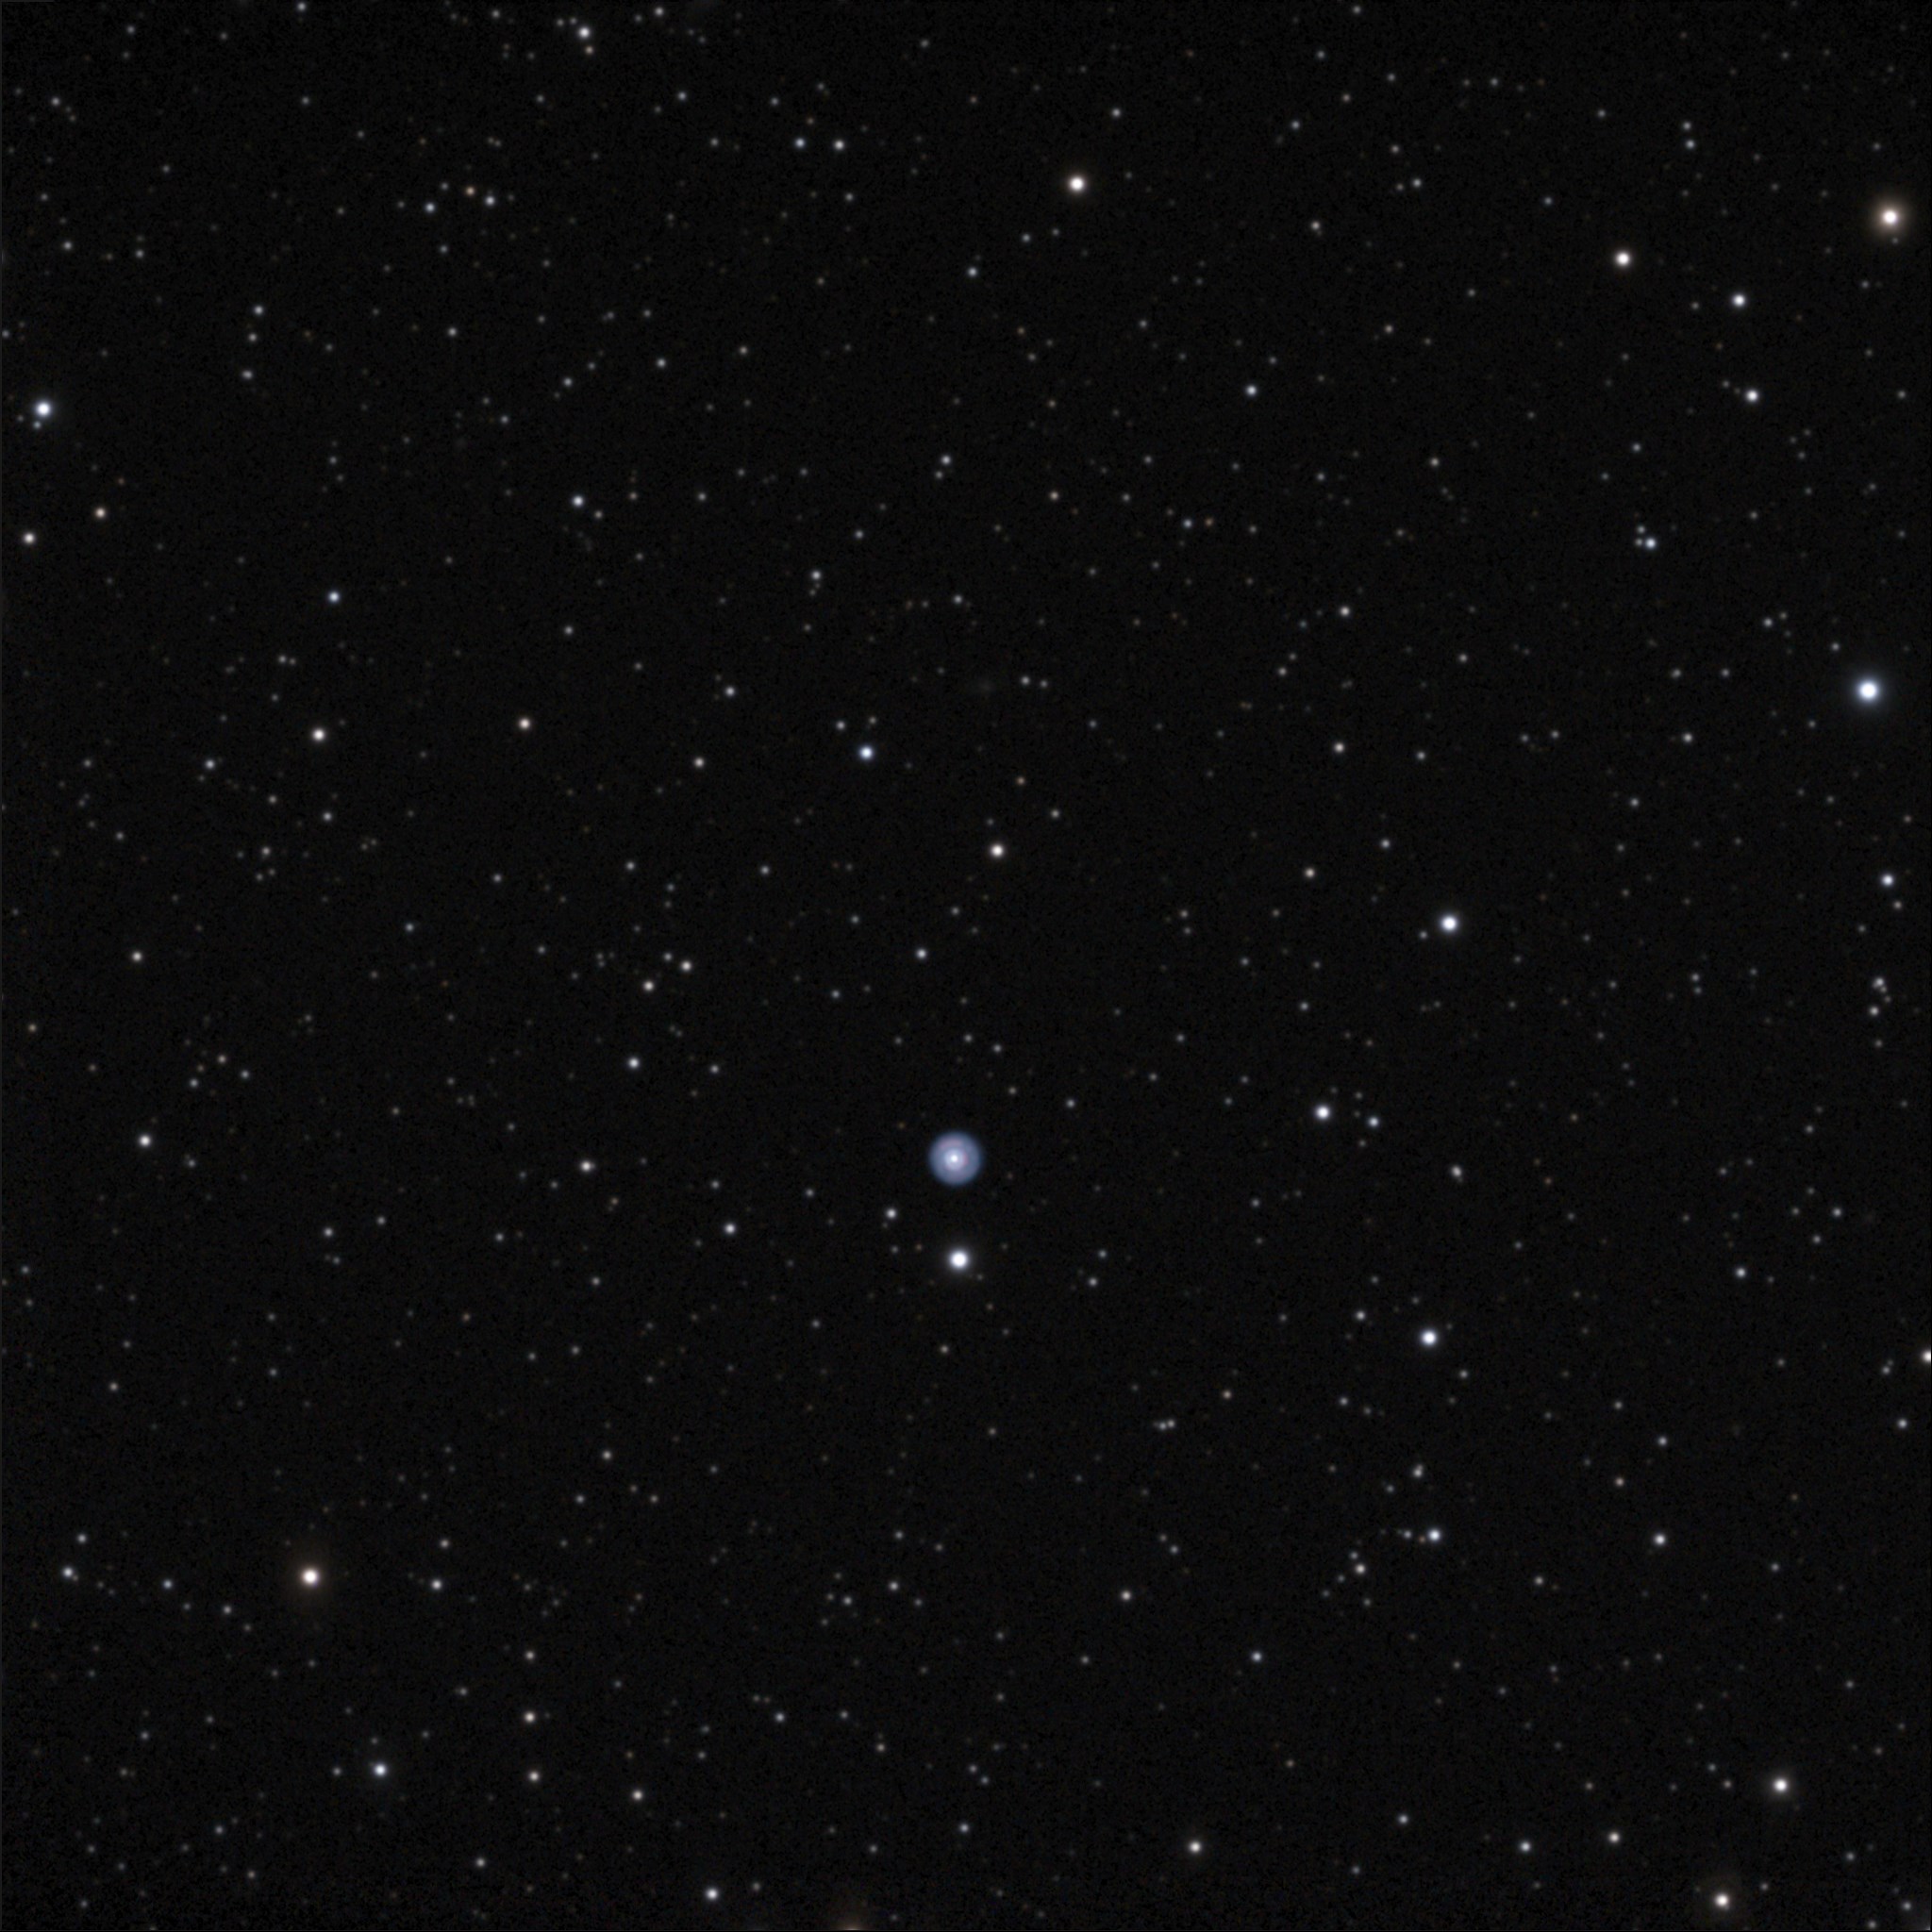
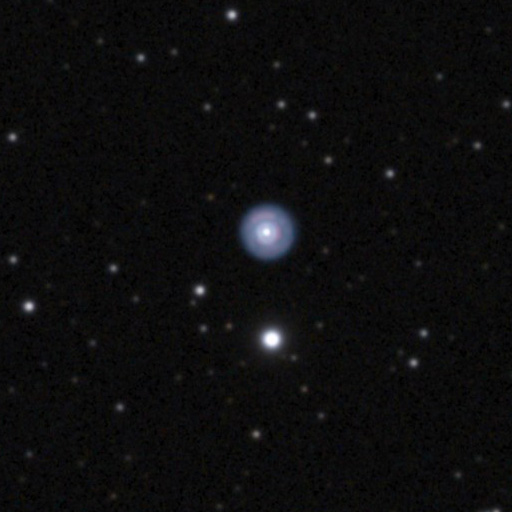
My first selection was a bit ambitious. With the f/6 Traveler it’s difficult to get enough pixels on small planetary nebulae to render much detail. I wanted to see how the f/9 180 would do. I chose the Eskimo, NGC 2392, in Gemini. The full field still dwarfs the little planetary, but look how much detail is visible in a full-resolution crop.
Here’s the cropped center of the image.
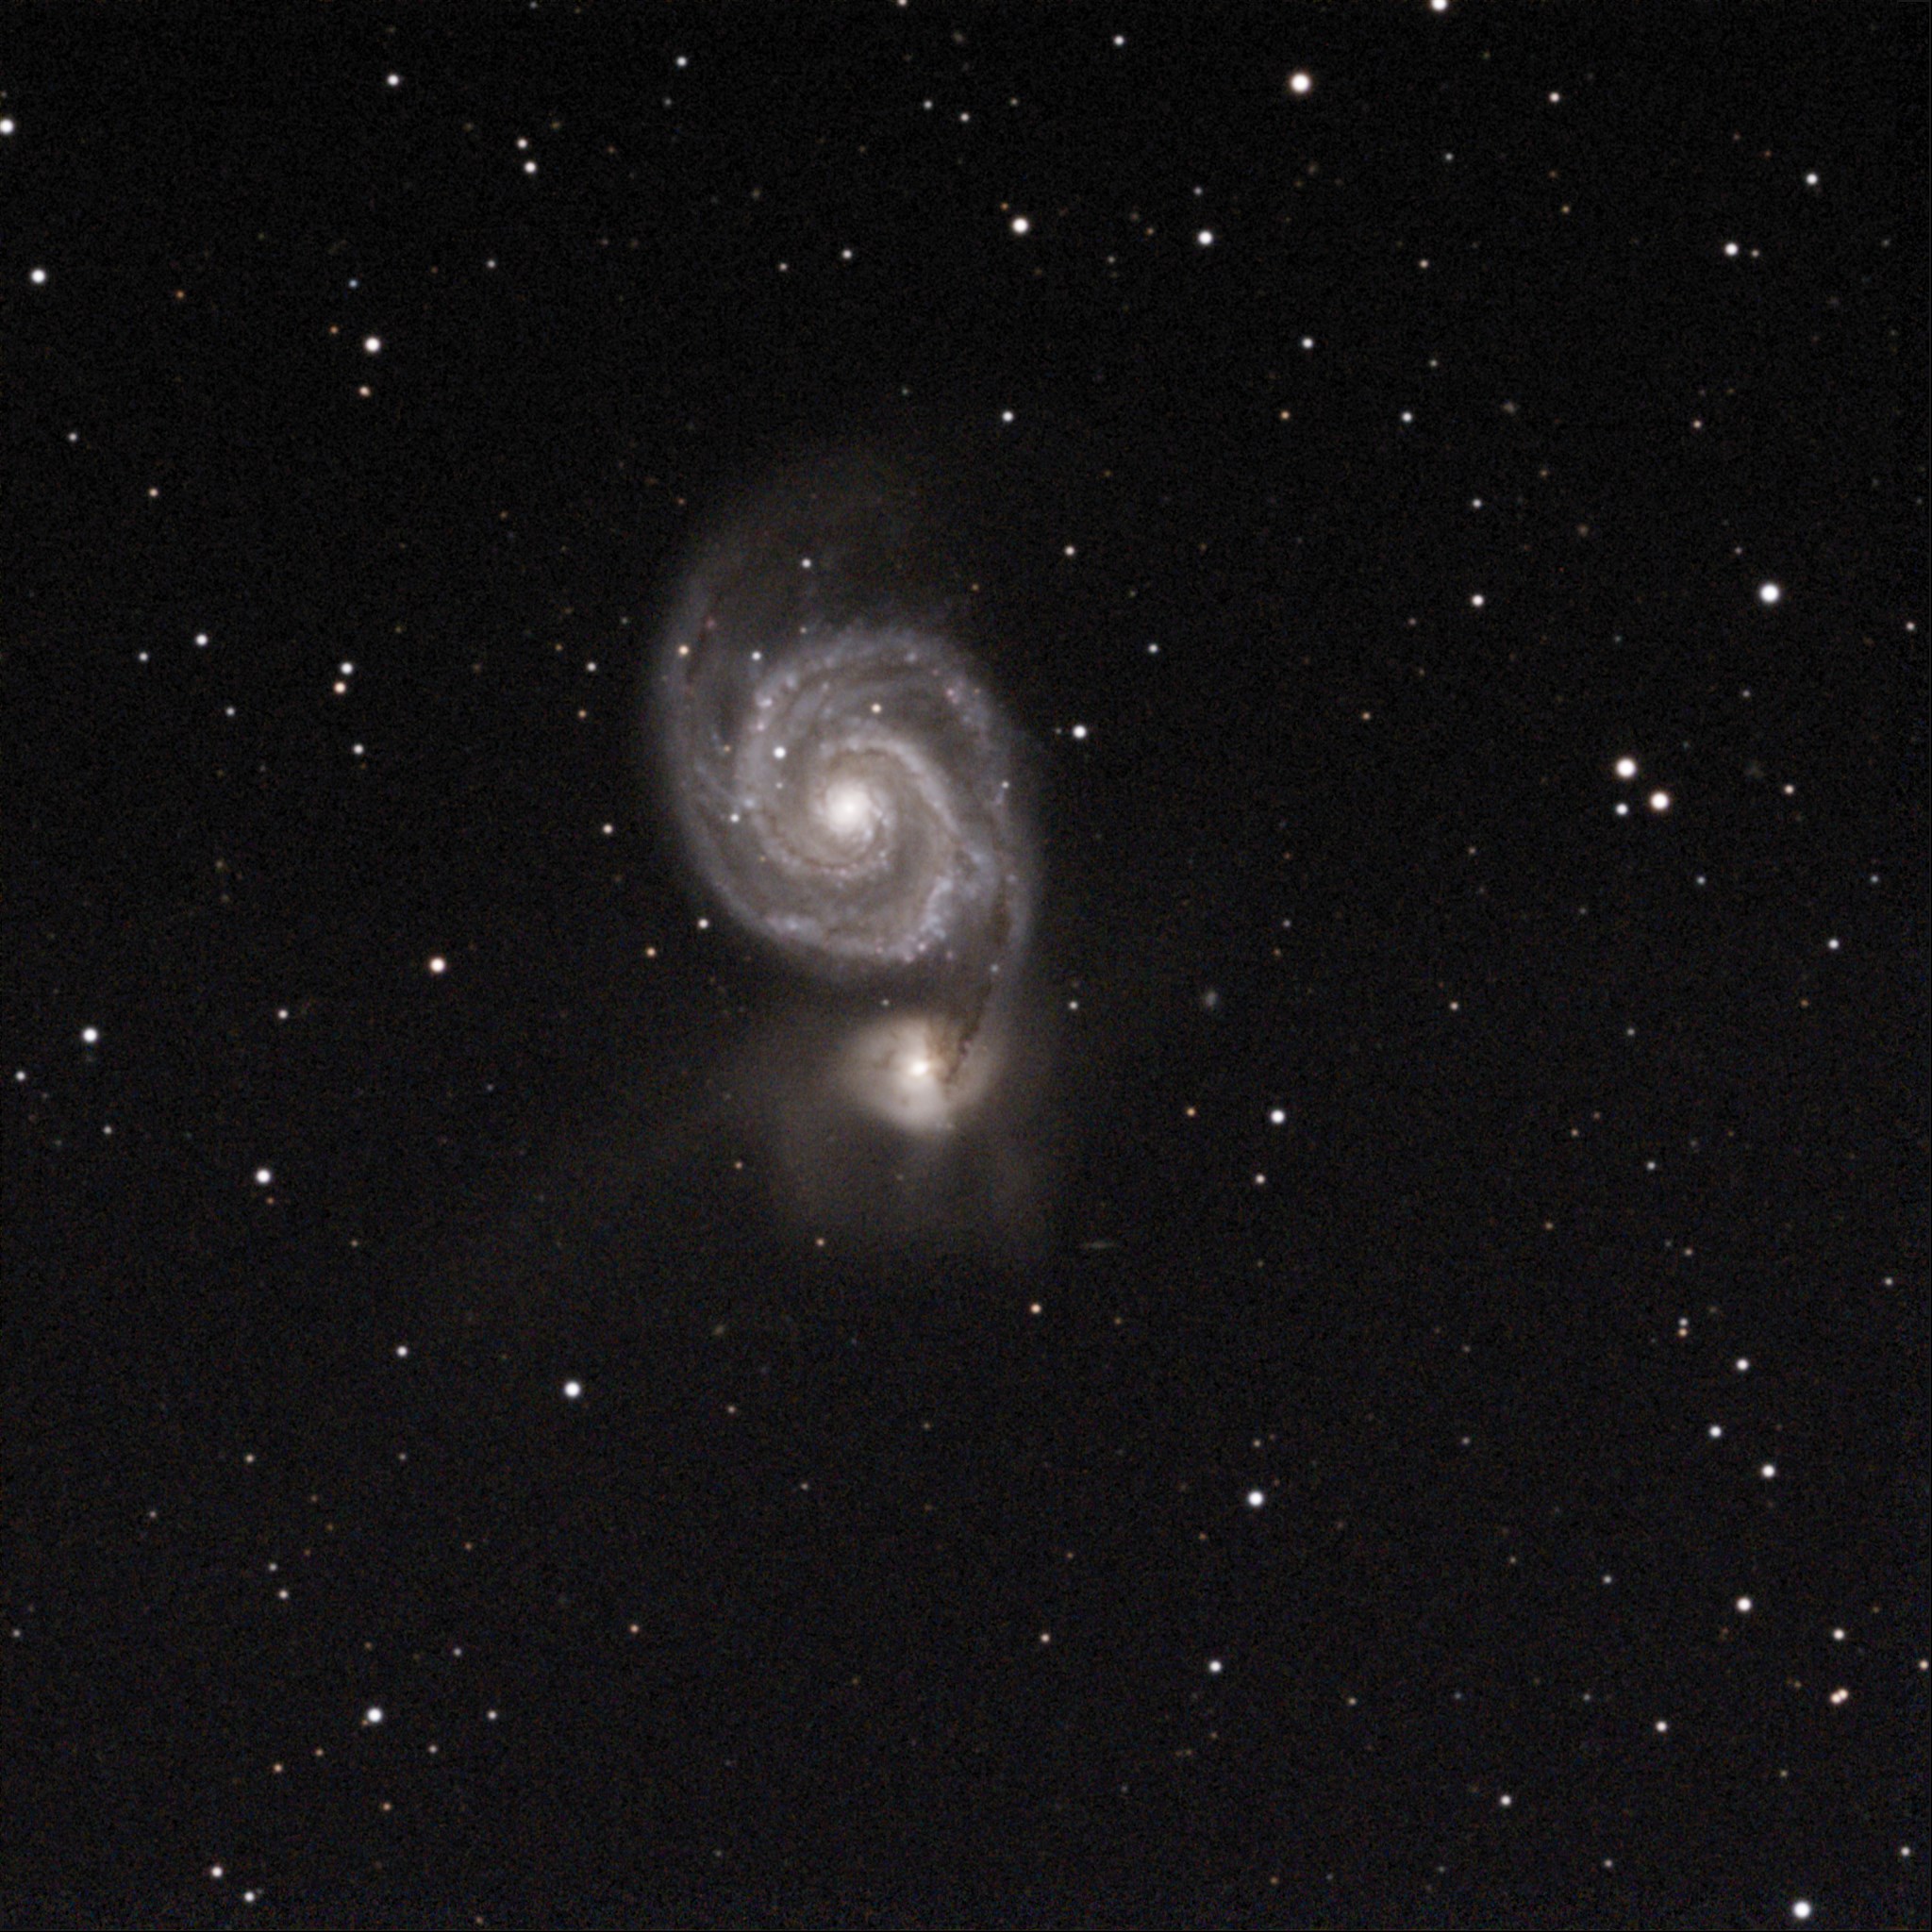
Ursa Major was in prime position, so I thought I’d grab several favorites from there, starting with M51 the Whirlpool.
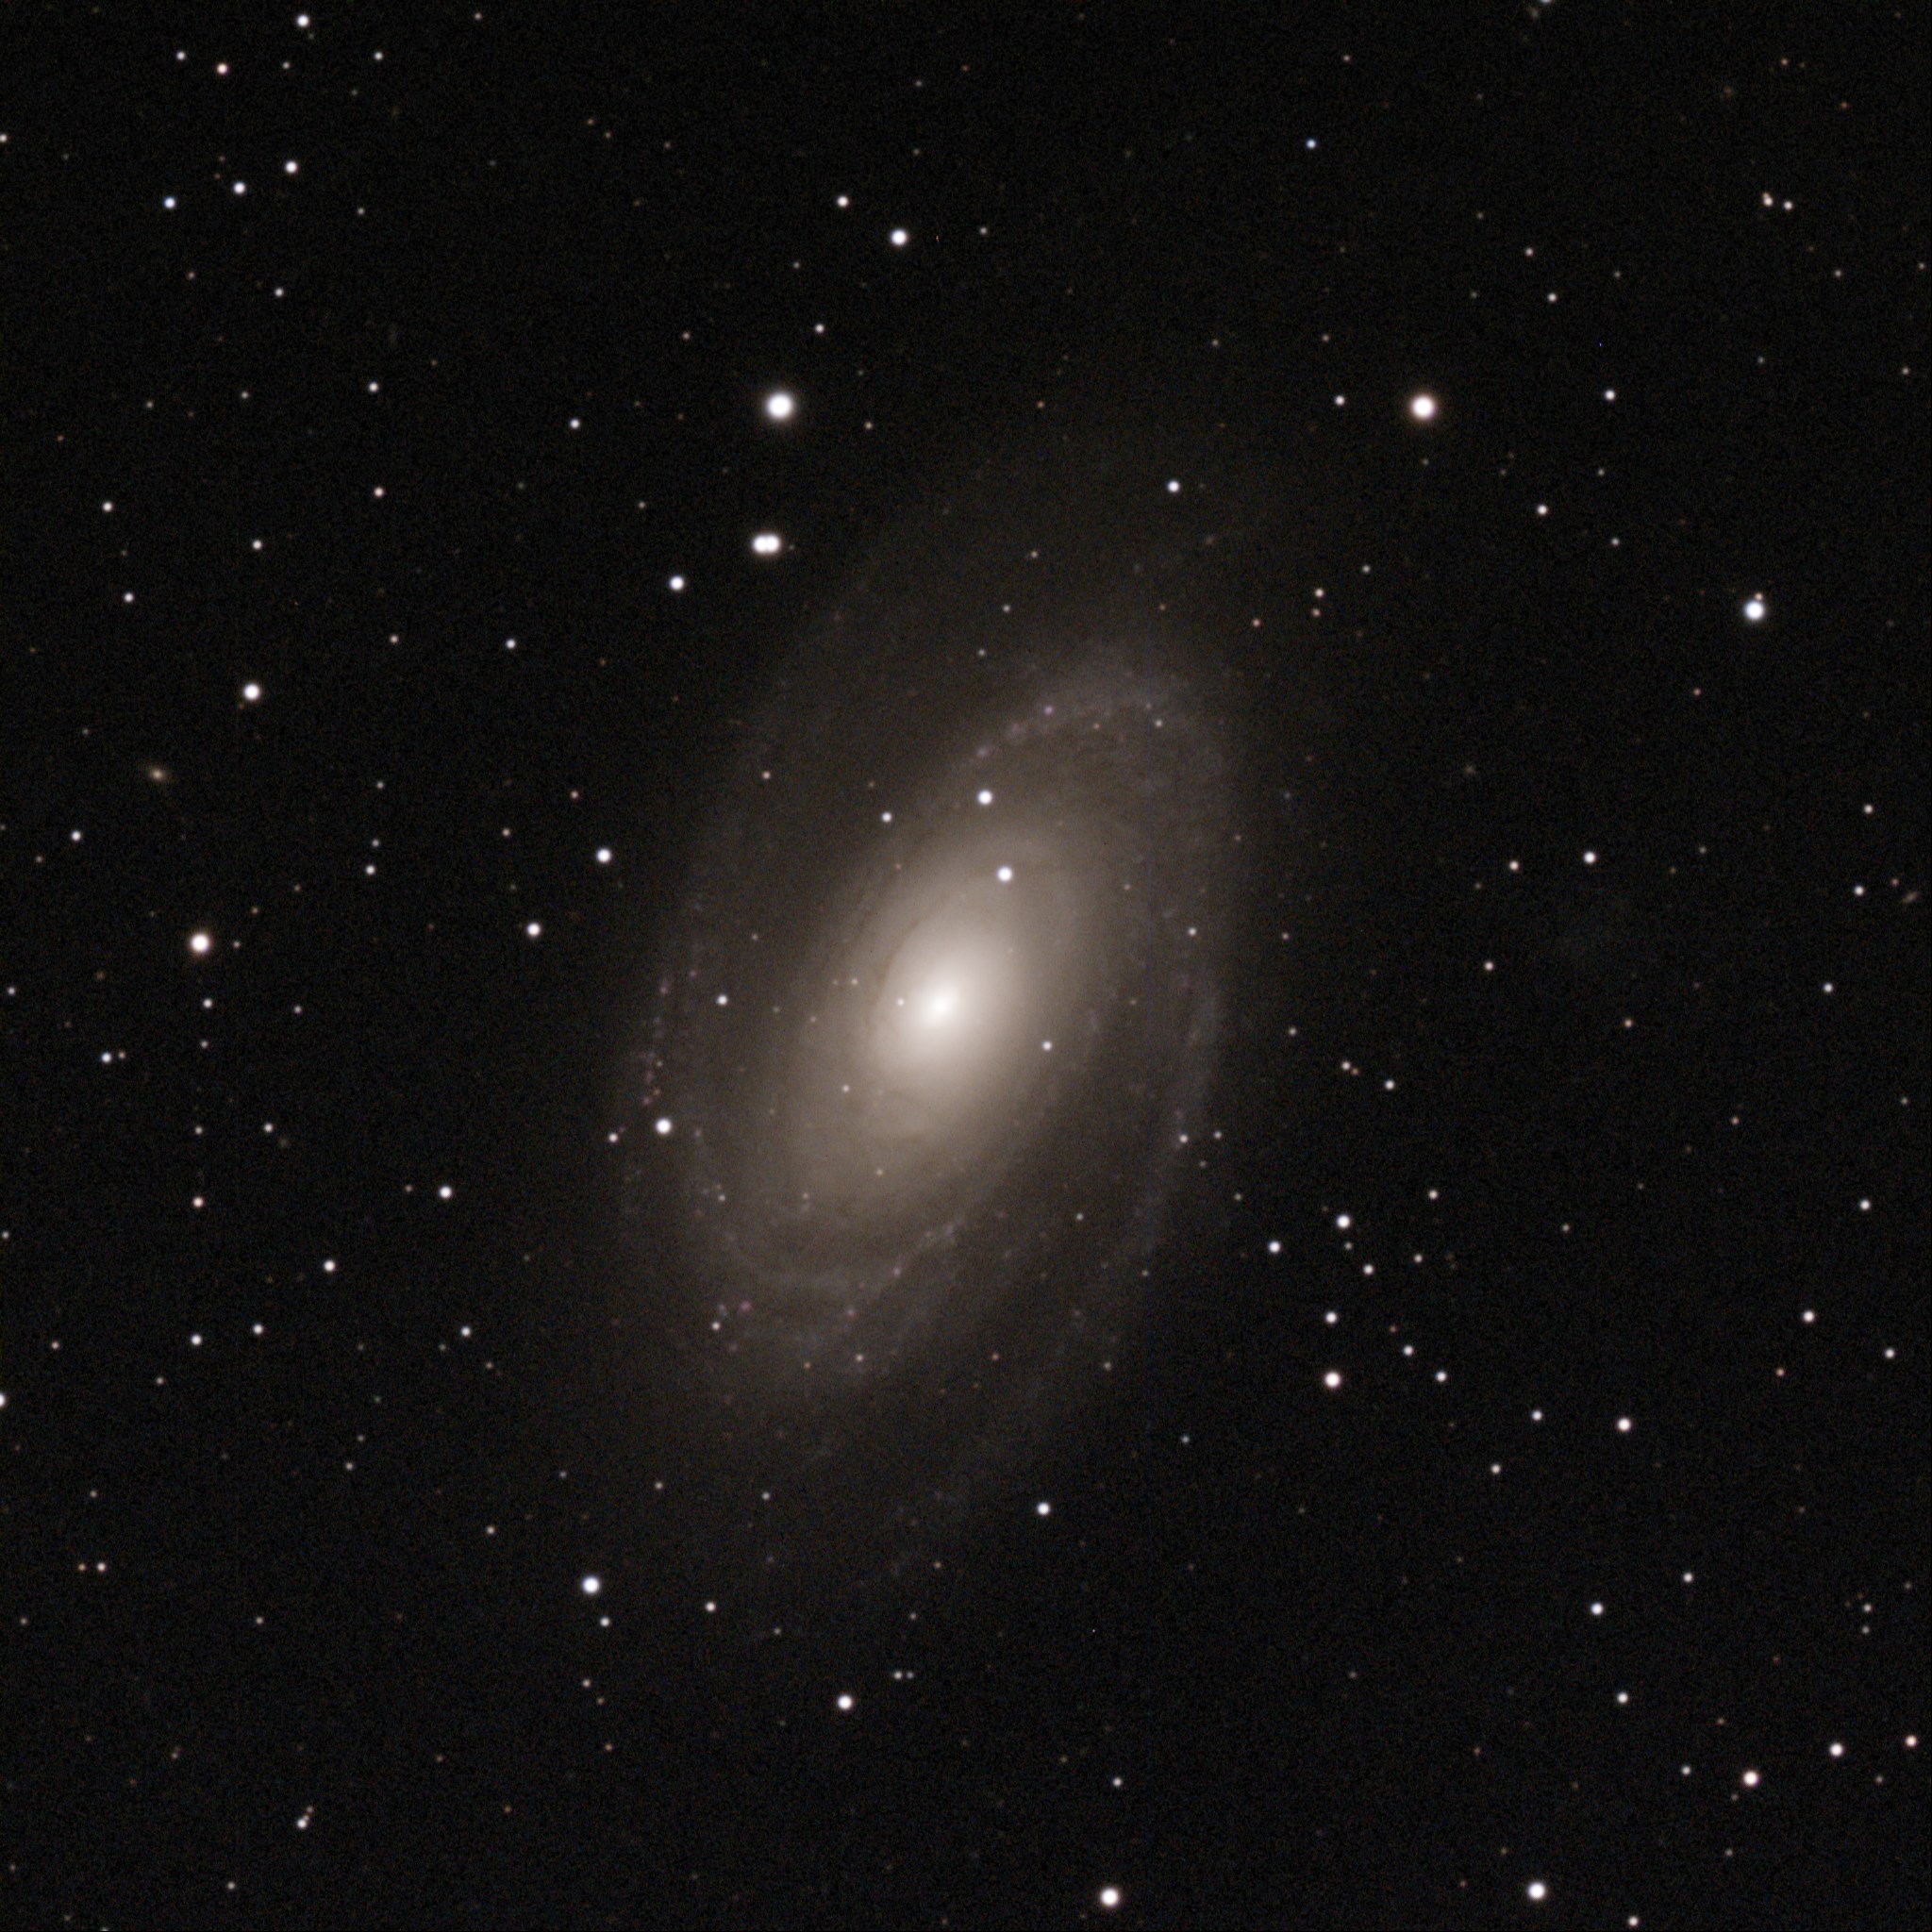
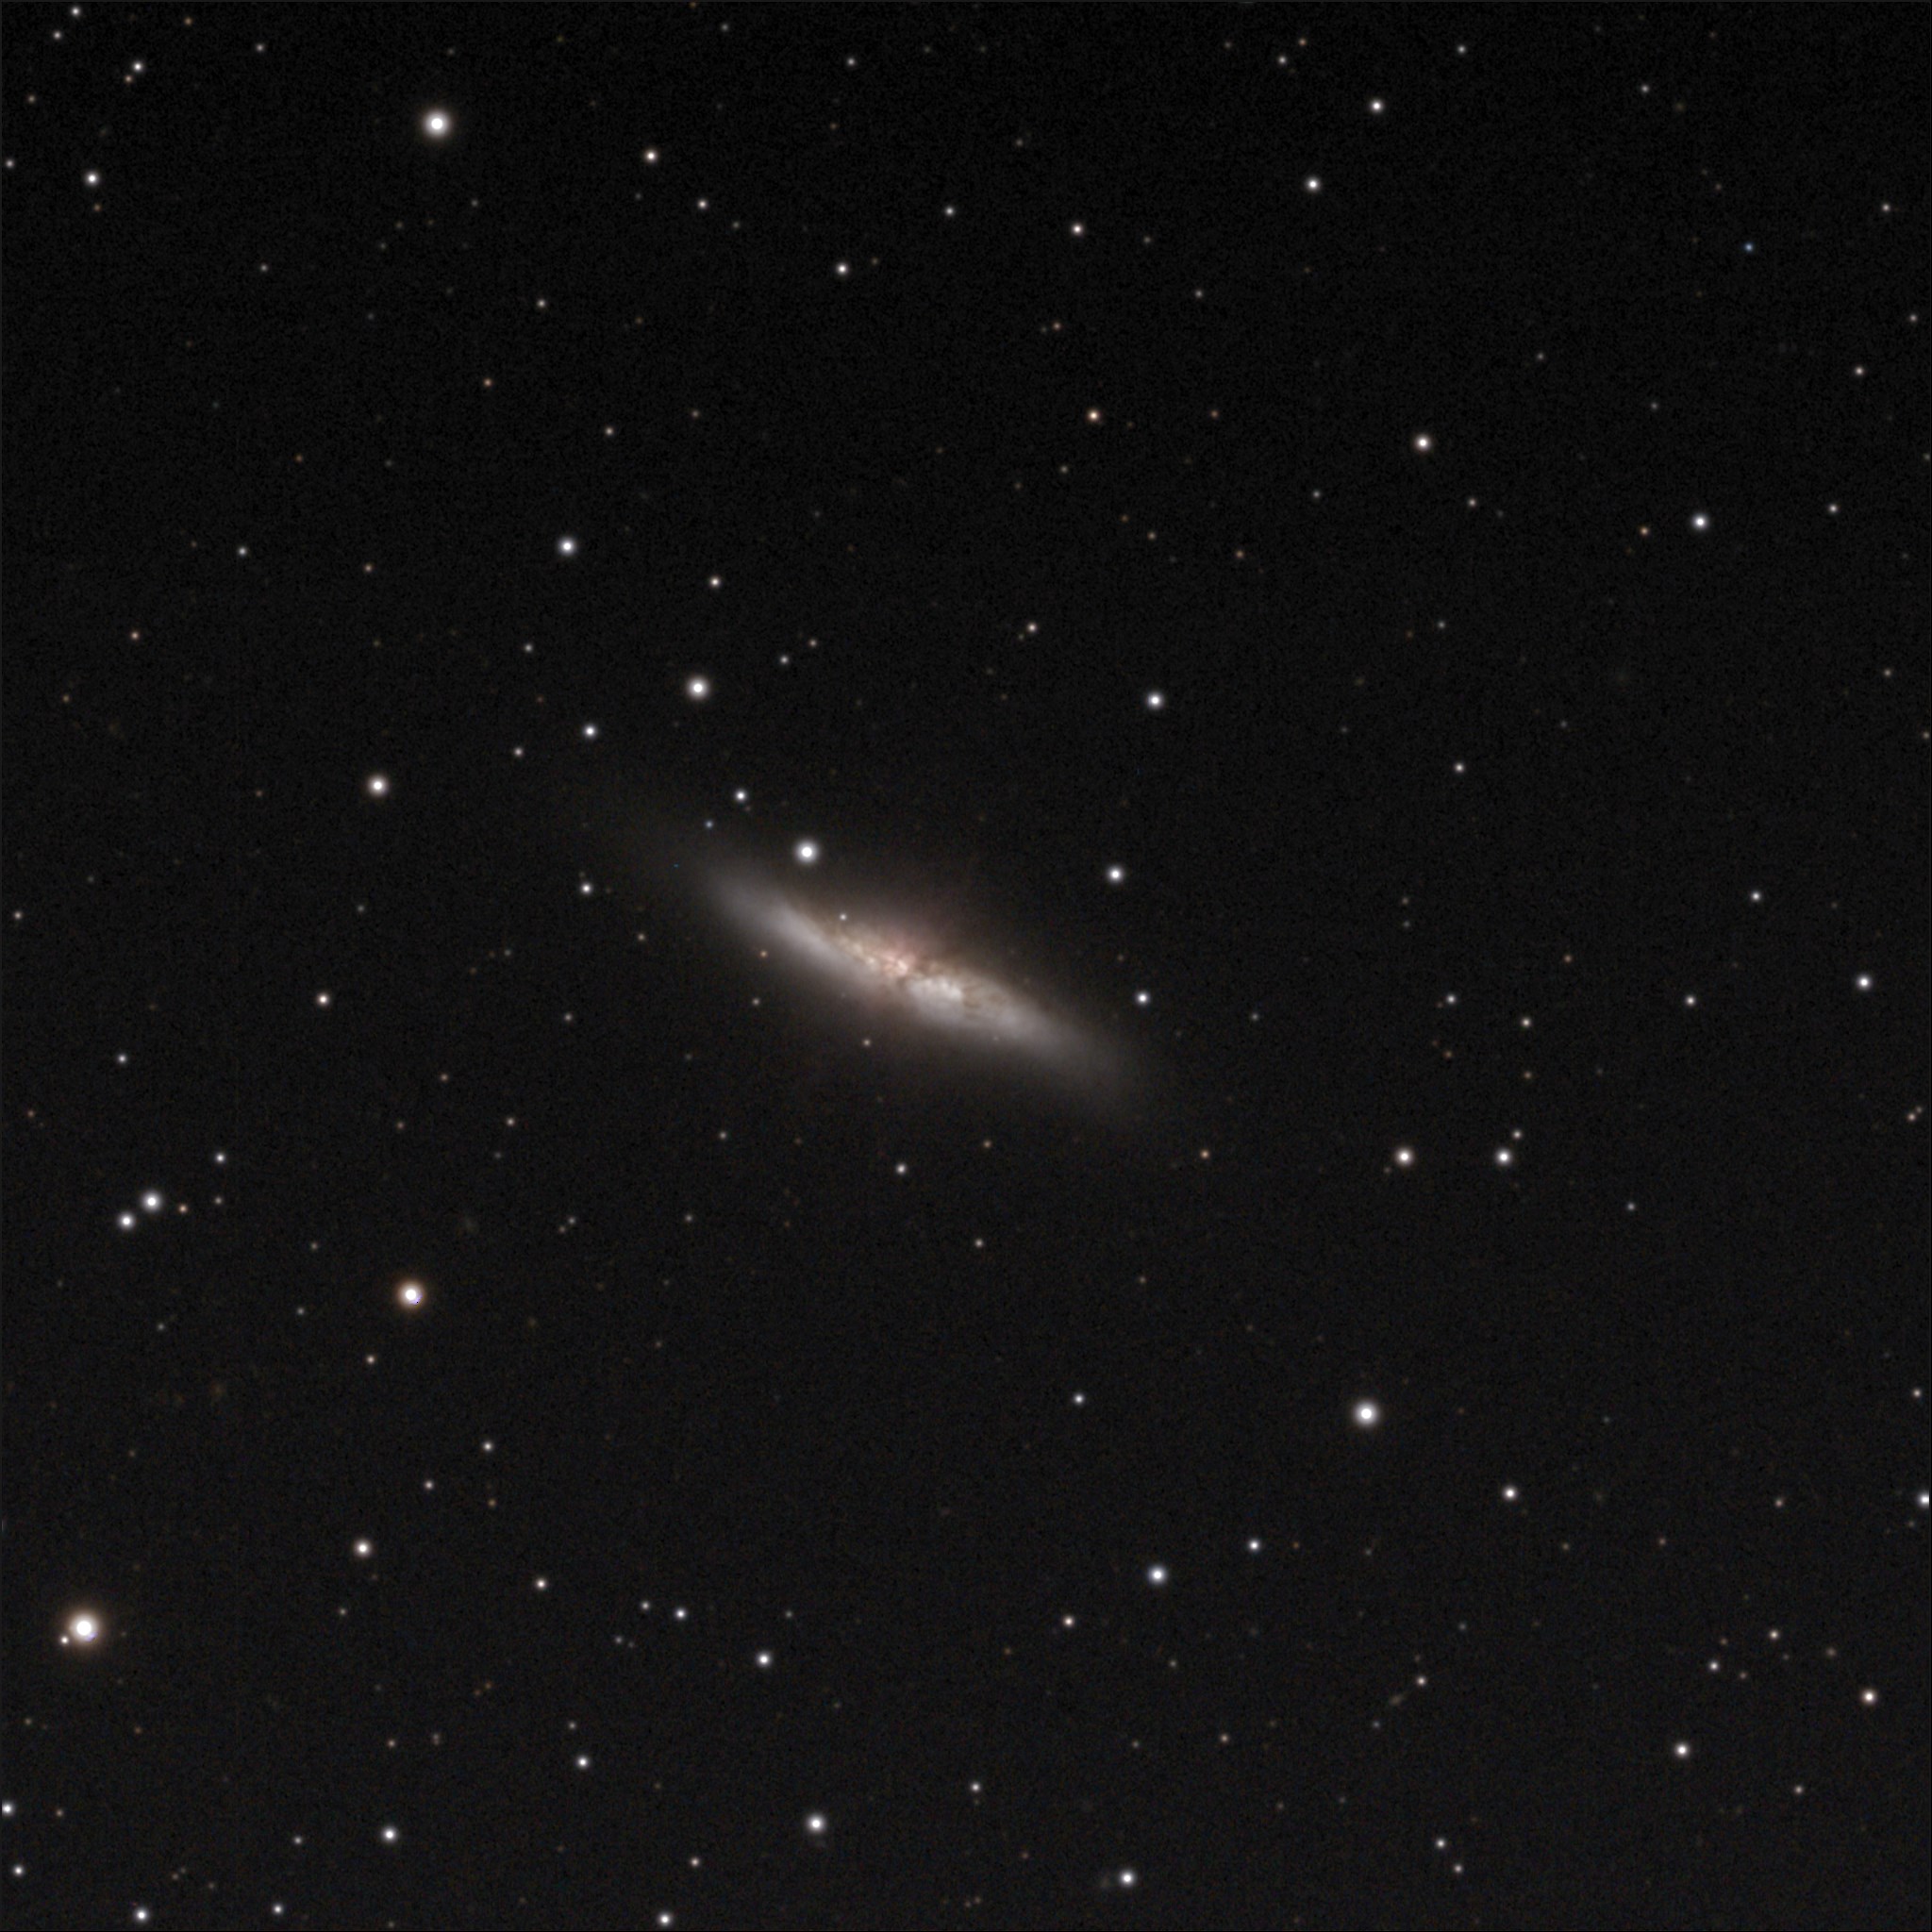
In the big long-focus telescope, M81 and M82 won’t fit in a single field, so I had to capture them separately. Well worth doing. Here’s M81:
M82 also reveals lots of detail in the tangled center of this irregular galaxy:
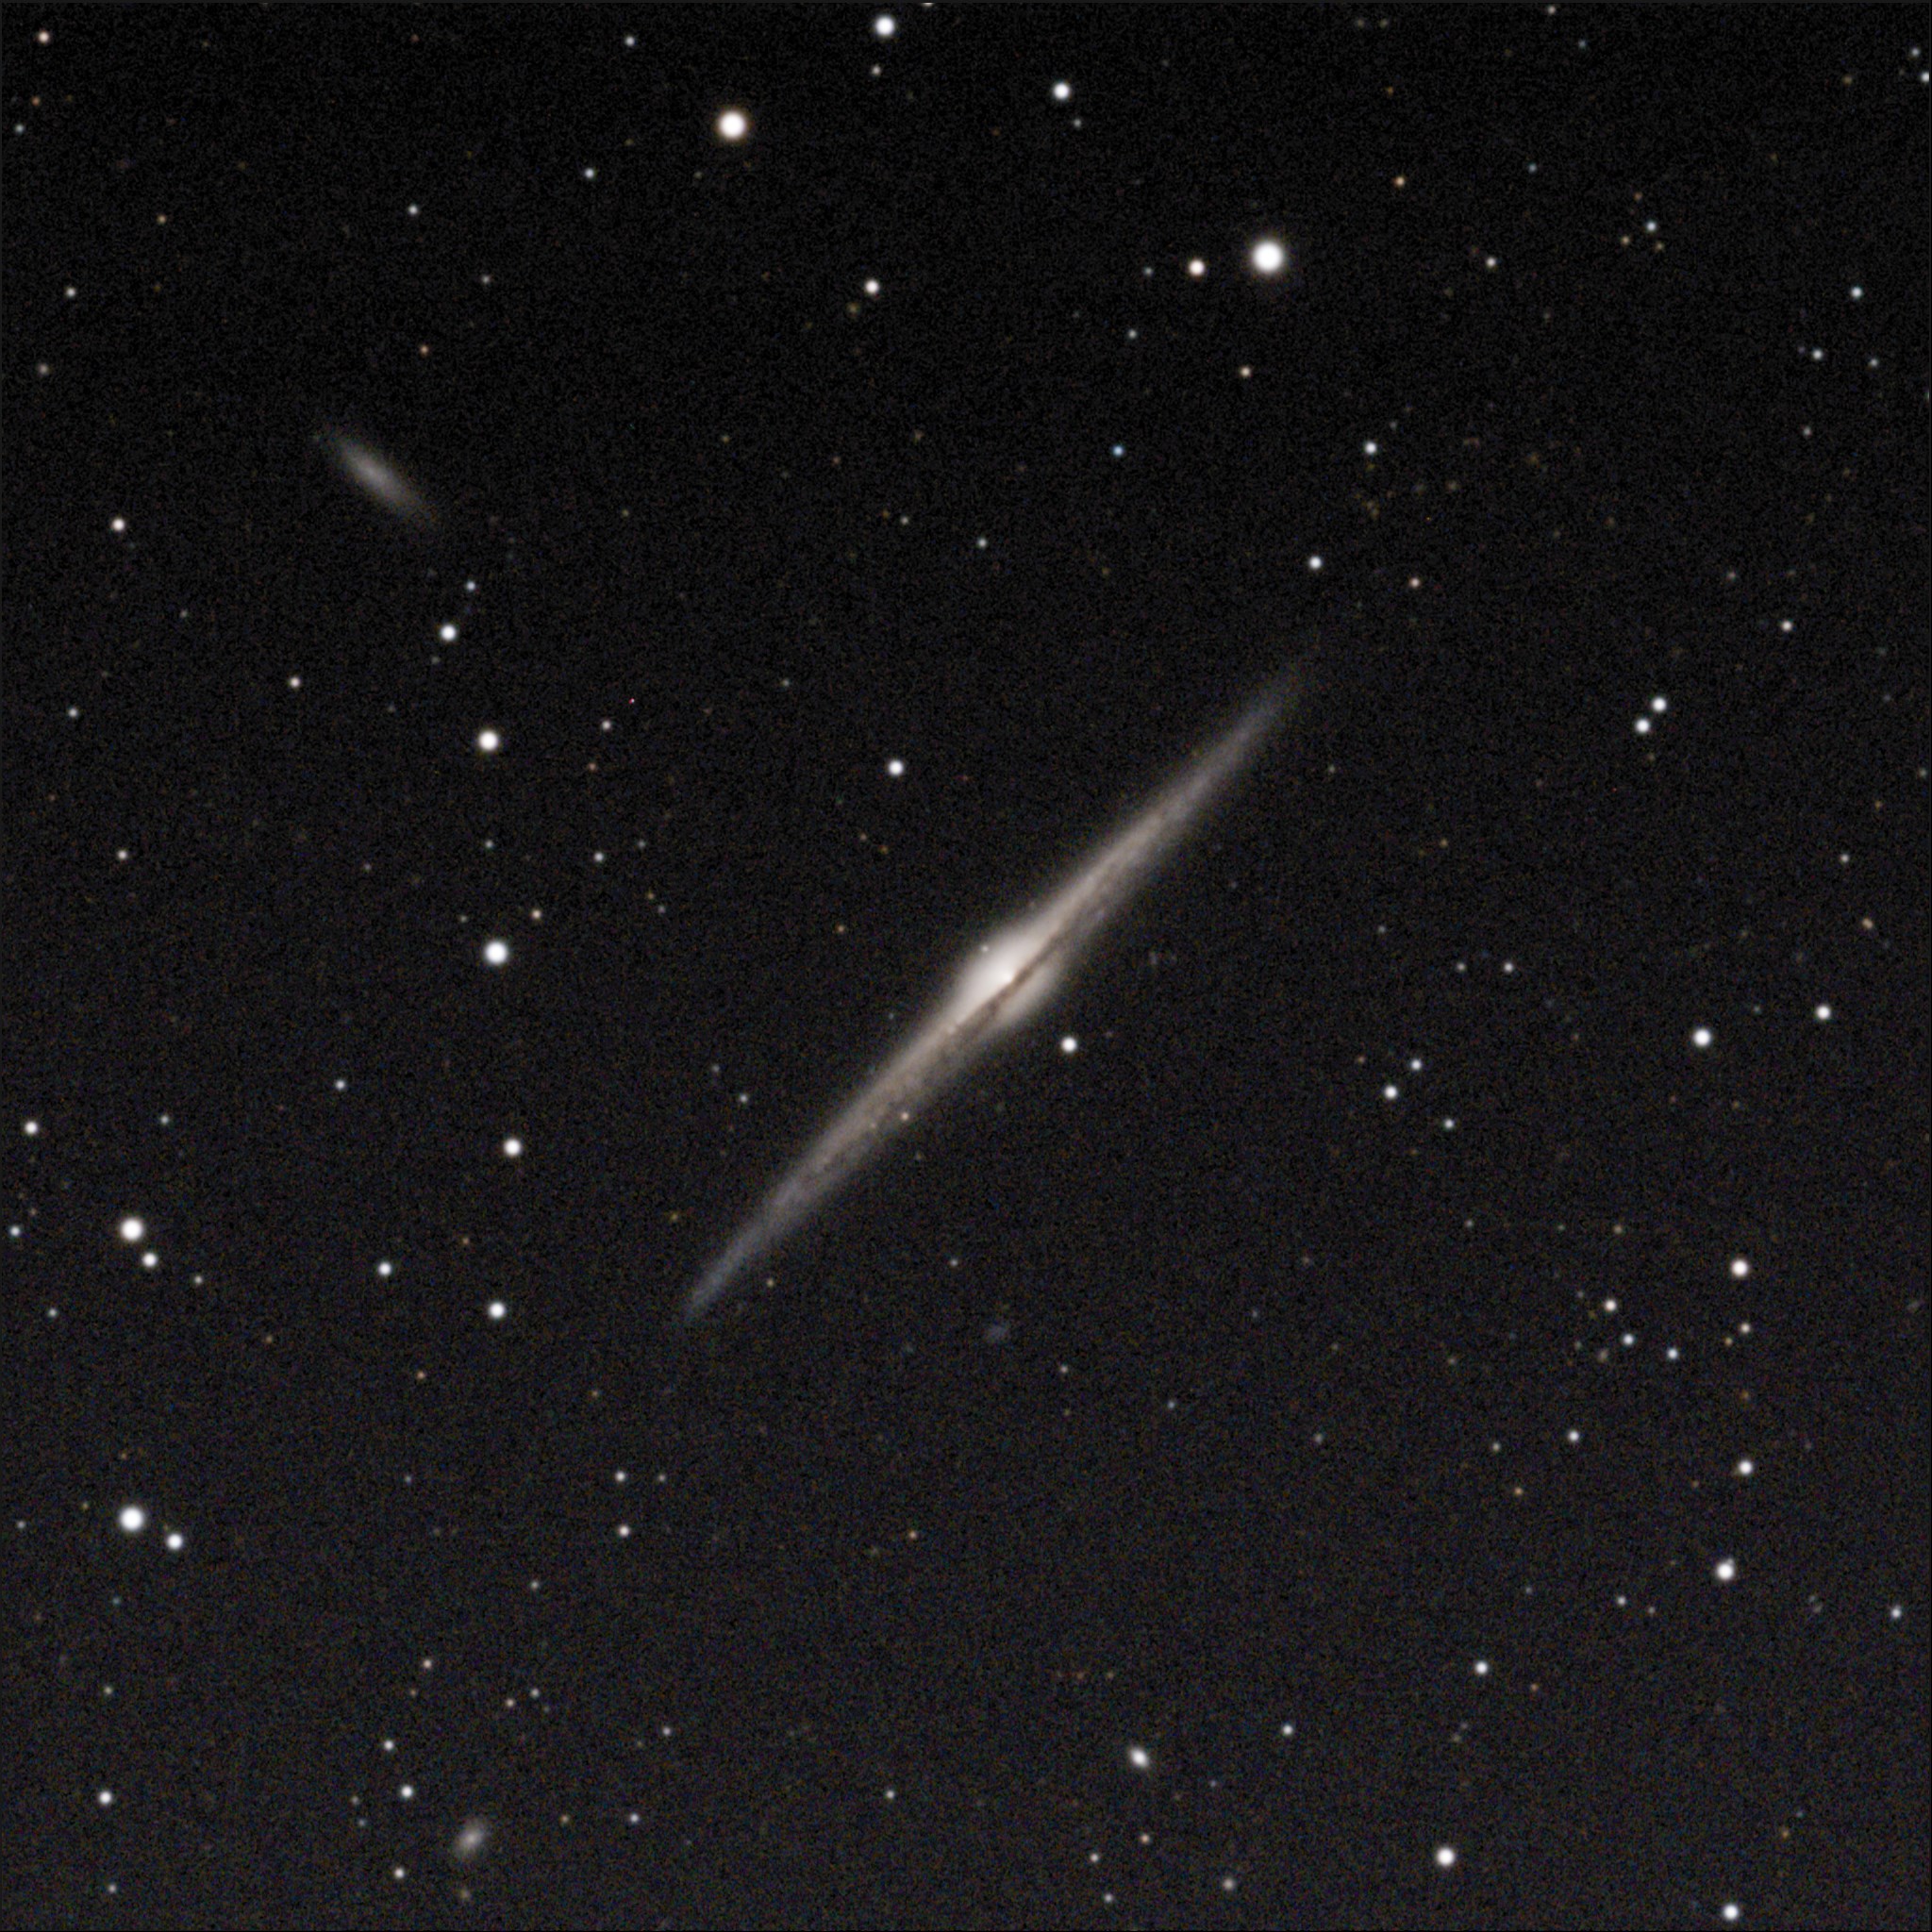
Seeing Coma Berenices rise in the dark eastern sky, I knew i had to grab the edge-on spiral NGC 4565:
Clicking on any of the images above should give you the full 2048×2048 image.
This is the first new blog post from me in four years, and long overdue.
Why blog now?
I enjoy writing and reporting about stuff in my life: astronomy, travel, bridge, wine, photography, network systems.
And Facebook is Dead To Me.
Since my last post, Jane and I have both retired, I opened and closed a weekly bridge club, we cruised half the globe on Seabourn and Crystal (teaching and directing bridge games along the way), purchased a Tesla Model S and drove it to the bridge nationals in Memphis and Las Vegas, and acquired a new telescope mount.
Now I’m in the preparatory stages of opening a new full-time bridge club in Pasadena.
I’ll be working again soon, and working hard. I think I’m going to love it, but with that sense that I need to take advantage of this slow time to do things I won’t get to do as often.
I’ll be building a new website (Drupal 8) for the Pasadena Bridge Club soon. I have bridgemojo.com for posting bridge feature articles, and I’ll plan to continue that.
Our poor WordPress sites have gotten very little love. I’m sure Jane would appreciate a facelift as much as I would. At the very least, I should move them to a new server with a current version of PHP. (I see I really need to add SSL certificates, too.)
I need to build a new mail server and develop the habits of keeping it patched and current. The old one is like a pair of comfy shoes that feels so comfortable even while I know the soles are starting to get holes and they need to be thrown out.
The Pasadena Bridge Club is going to test all of my skills to build and maintain a comfortable, attractive, high-tech (without looking it), full-time bridge club. I should be documenting the process. (How do I support multiple computer screens in different rooms? Working on that.)
During our travels, we did “research” visiting bridge clubs large and small scattered around the world: Spain, Oxford, London, New York, and all around Southern California. I should write trip reports.
I’m going to start with an astronomy observing report. It was my first all-night excursion in about a year, taken while Jane is enjoying traveling in Europe with her sister. Optimistic that we’d be able to do some mid-week observing this year, we signed up for two observing pads at GMARS, the observing site of the Riverside Astronomical Society.
I had a great shakedown night, dusting off the cobwebs of a year’s disuse (and all of the associated software upgrades). I’ll post photos, an observing report, and an update on the new tools I adopted for doing astrophotography in upcoming posts.
Saving that for later … right now I have a bridge game to play in.
Thanks for lending an ear …
— Mojo
Last year, I had some really bad luck with astrophotography.
I replaced my old laptop (Dell, Windows XP) and installed a new suite of tools to replace the somewhat ancient and unsupported camera software. At one point during my first “shakeout” evening (October 2014), the new software started spinning my telescope around the declination axis. It made at least two full loops (720°), wrapping the cables around the mount and stressing the camera case.
Afterward, the shutter was not working, or making noise. In my attempts to solve that problem in the dark, I dislodged a small optical window.
Back at home, I disassembled the camera, and found that I could move the optical window back into position, but it wasn’t held there firmly. Everything else seemed fine though. The shutter worked well, and the electronics all worked.
All of the equipment has been put away since then, over a year.
The time was coming to get back into the game. I knew I’d have several hours of work to update the software suite, not to mention Windows 10. The most delicate update was for the firmware in the keypad of my Mach1GTO telescope mount. I spent an hour and a half on that one update, following all of the procedures carefully. The rest took another few hours: TheSkyX, CCDStack, SbigControl, PEMPro, Skytools3, MaxIm DL6, ASCOM drivers, all the manuals. I hooked up all the cabling, the USB-to-serial adapter for the mount, and the camera itself. All of the software components worked — I could control the mount and the camera and take pictures.
I also had to consider the condition of my camera. Had I damaged it beyond use? Beyond repair? I called SBIG technical support and described what had happened.
The support rep, Tim, was audibly chagrined. “Oh nooo! How did that happen? Are you sure?” I learned that the optical window is supposed to be firmly sealed, maintaining a bone dry chamber that keeps out dust, and prevents condensation and frost from forming on the sensor chip. (During a session, the chip is cooled to well below freezing to reduce the amount of thermal noise in the images.)
Next I exchanged some email with Bill in Santa Barbara who repairs SBIG cameras. He said I should send in the camera at my convenience. In the shop, he’ll affix the window, dry the camera severely in a chamber, and seal it all back up. He also suggested that I could probably use it this weekend, but with the seal broken it would “likely frost up, but then that usually dissipates after a while.”
With expectations of little or no success, Jane and I headed off to Amboy Crater on Saturday (April 2). The forecast was for ideal conditions. I’d never seen a Clear Sky Chart that black; little or no wind, severe clear skies, near perfect seeing, a low temperature forecast of 56°F. My plan was to experiment with all of the unfamiliar software and learn how to do this again.
With the mount polar aligned and all hooked up, I went to an old favorite as a test photo: the “Leo Trio,” M65, M66, and NGC 3628. At the site, the raw data looked really promising. Back home the next day, it was obvious that the image was marred by frost or condensation or both.
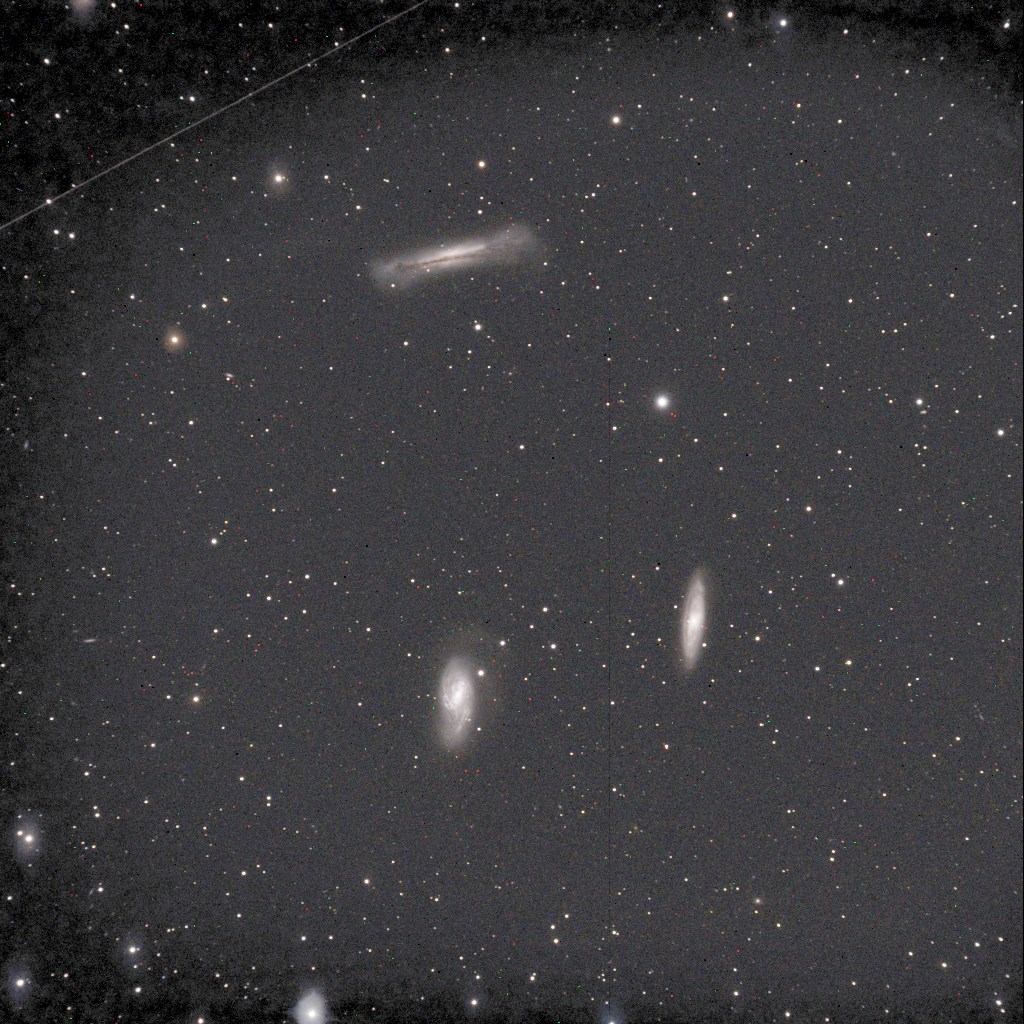
Afterward, I spent 90 minutes or so learning to use PEMPro, and ended up with a polar alignment within one arcminute of the pole. It’s an excellent program, and I’ll be much quicker at it on the next go-around.
Meanwhile, there was some excitement among my fellow observers who were seeing the famous and very southerly Omega Centauri globular cluster. This object never rises more than a few degrees above the southern horizon. It’s known for being the largest globular cluster in our sky — probably the largest of all the globulars in the Milky Way’s halo. I couldn’t resist giving it a try.
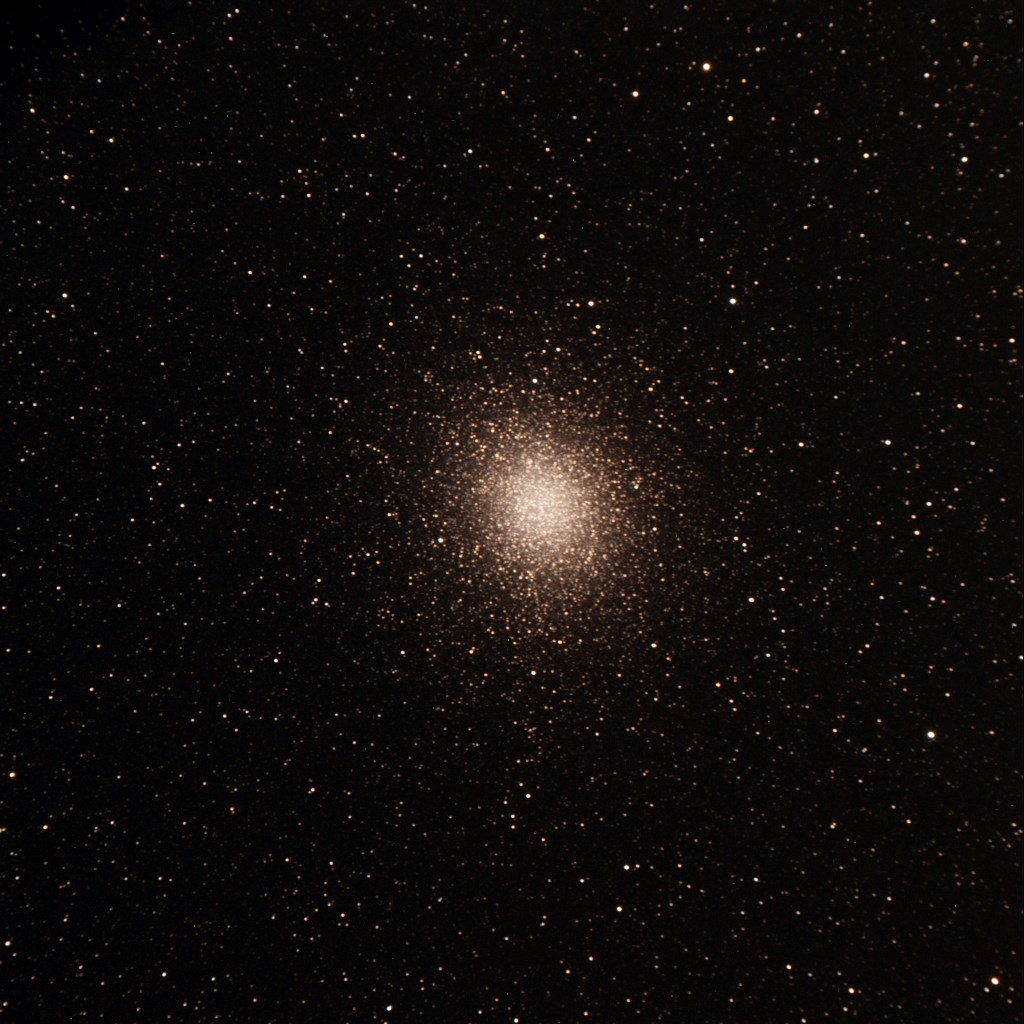
With that in the bag, I had to get Centaurus A, the famous “Hamburger” galaxy, just barely north of Omega Centaurus.
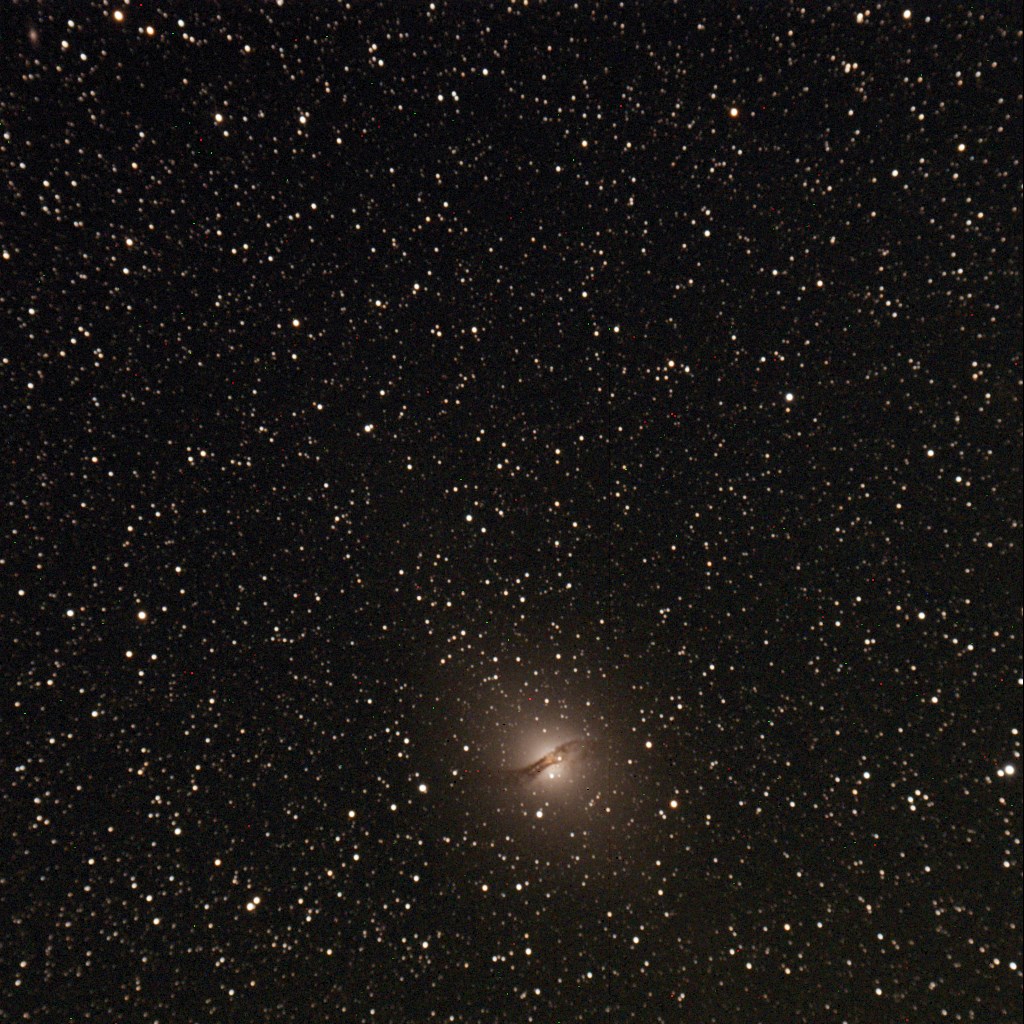
Then before crawling into the van for a nap, I shot a random field in the Virgo galaxy cluster, around M87.
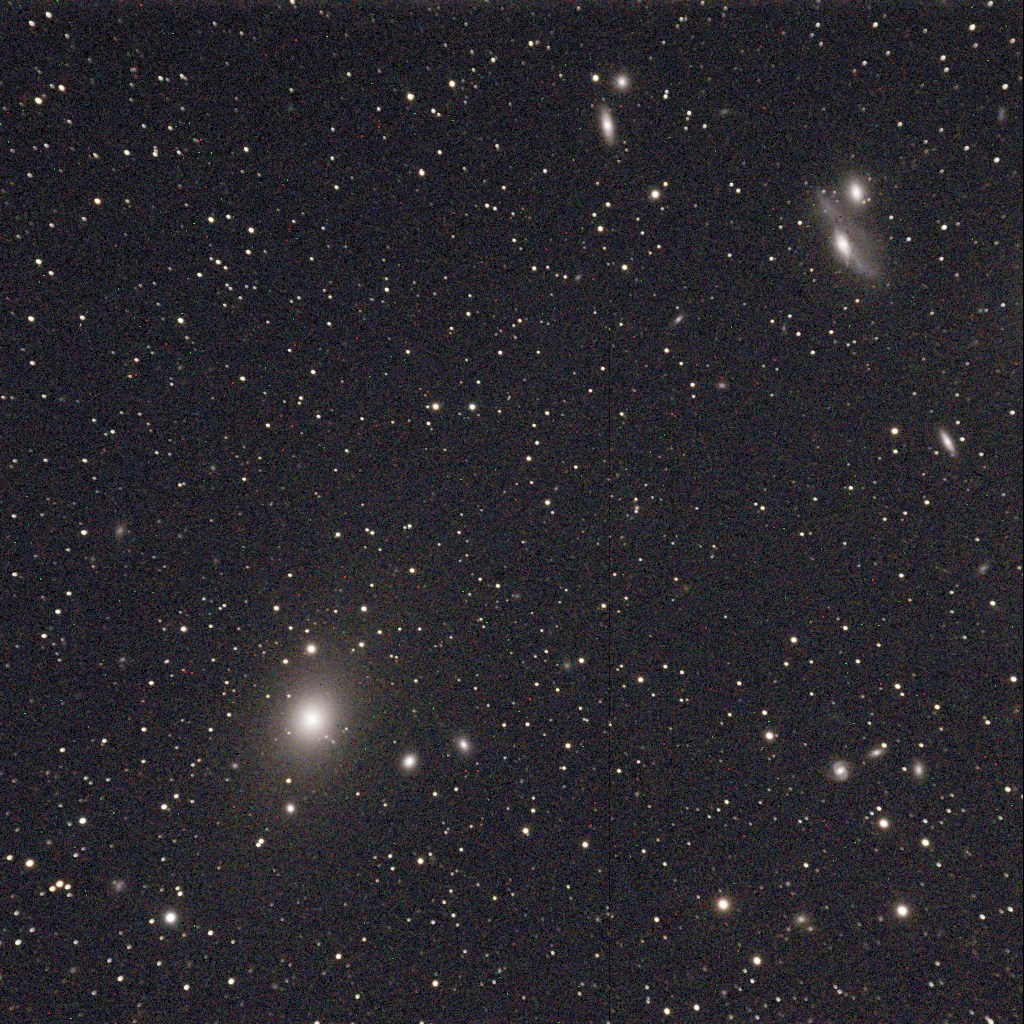
After a nap, I did something I haven’t yet been able to do successfully in astrophotography: I shot some flat frames.
A “flat” is created by evenly illuminating the sensor to pick up imperfections in the optical train. It’s used to correct things like vignetting and dust spots, and produce a calibrated image.
With the new software for capture, SbigControl, and data reduction, CCDStack, making flats turned out to be quick and easy. I used my iPad with a grey image on the screen as a light source. I pointed the telescope to the zenith, and rested the iPad on top of the dew shield.
Here is my master flat, made by combining several raw images:
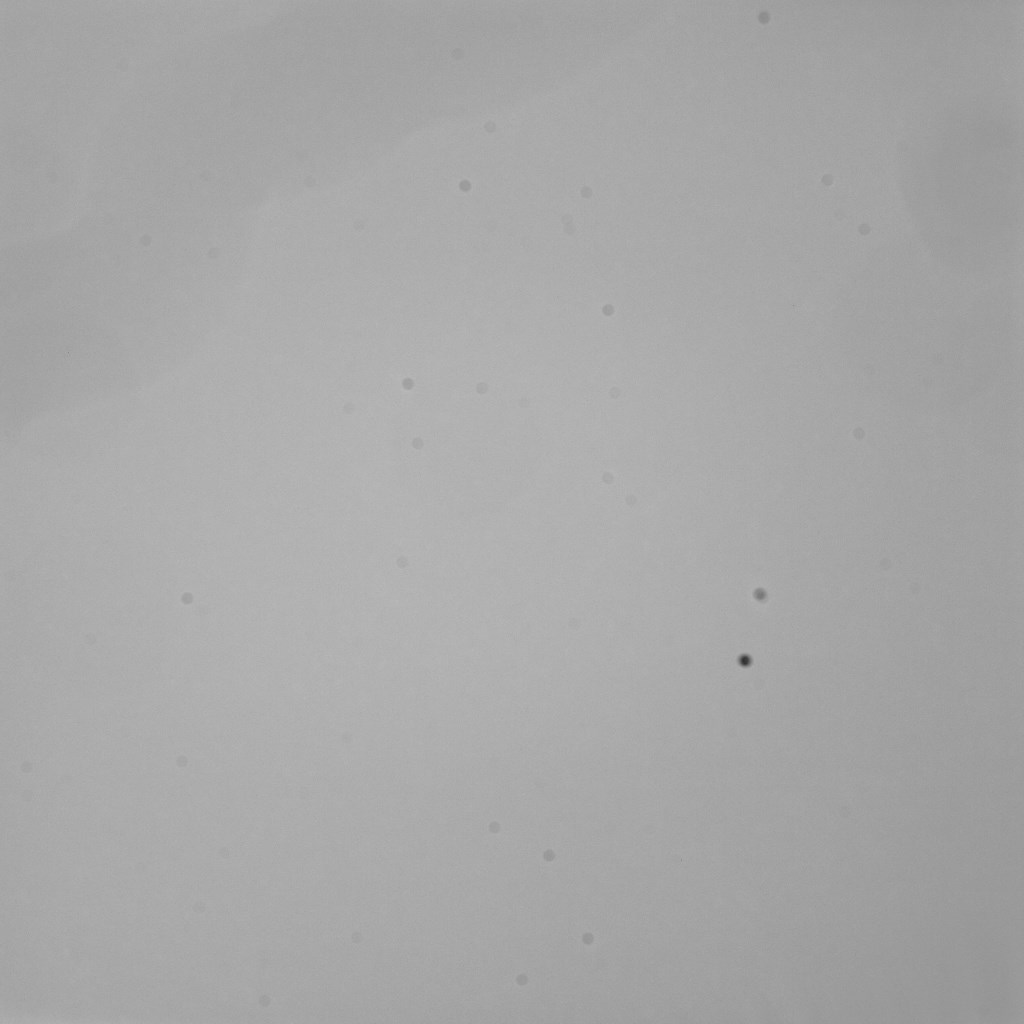
Oh gracious, that seems like a lot of dust to me! I’m sure I (un)sealed my fate by opening the dry chamber of the camera, allowing a few specks to settle on the sensor cover glass.
All-in-all it was one of my most satisfying astrophotography expeditions. I’m really looking forward to getting the camera back from SBIG. I’m not expecting anything magic — it’s not going to take better pictures than these. But I do expect fewer images marred by frost haze. I imagine I’ll be able to shoot earlier in the evening and have the images be usable. With the modern software in place, I might be able to try some more ambitious projects.
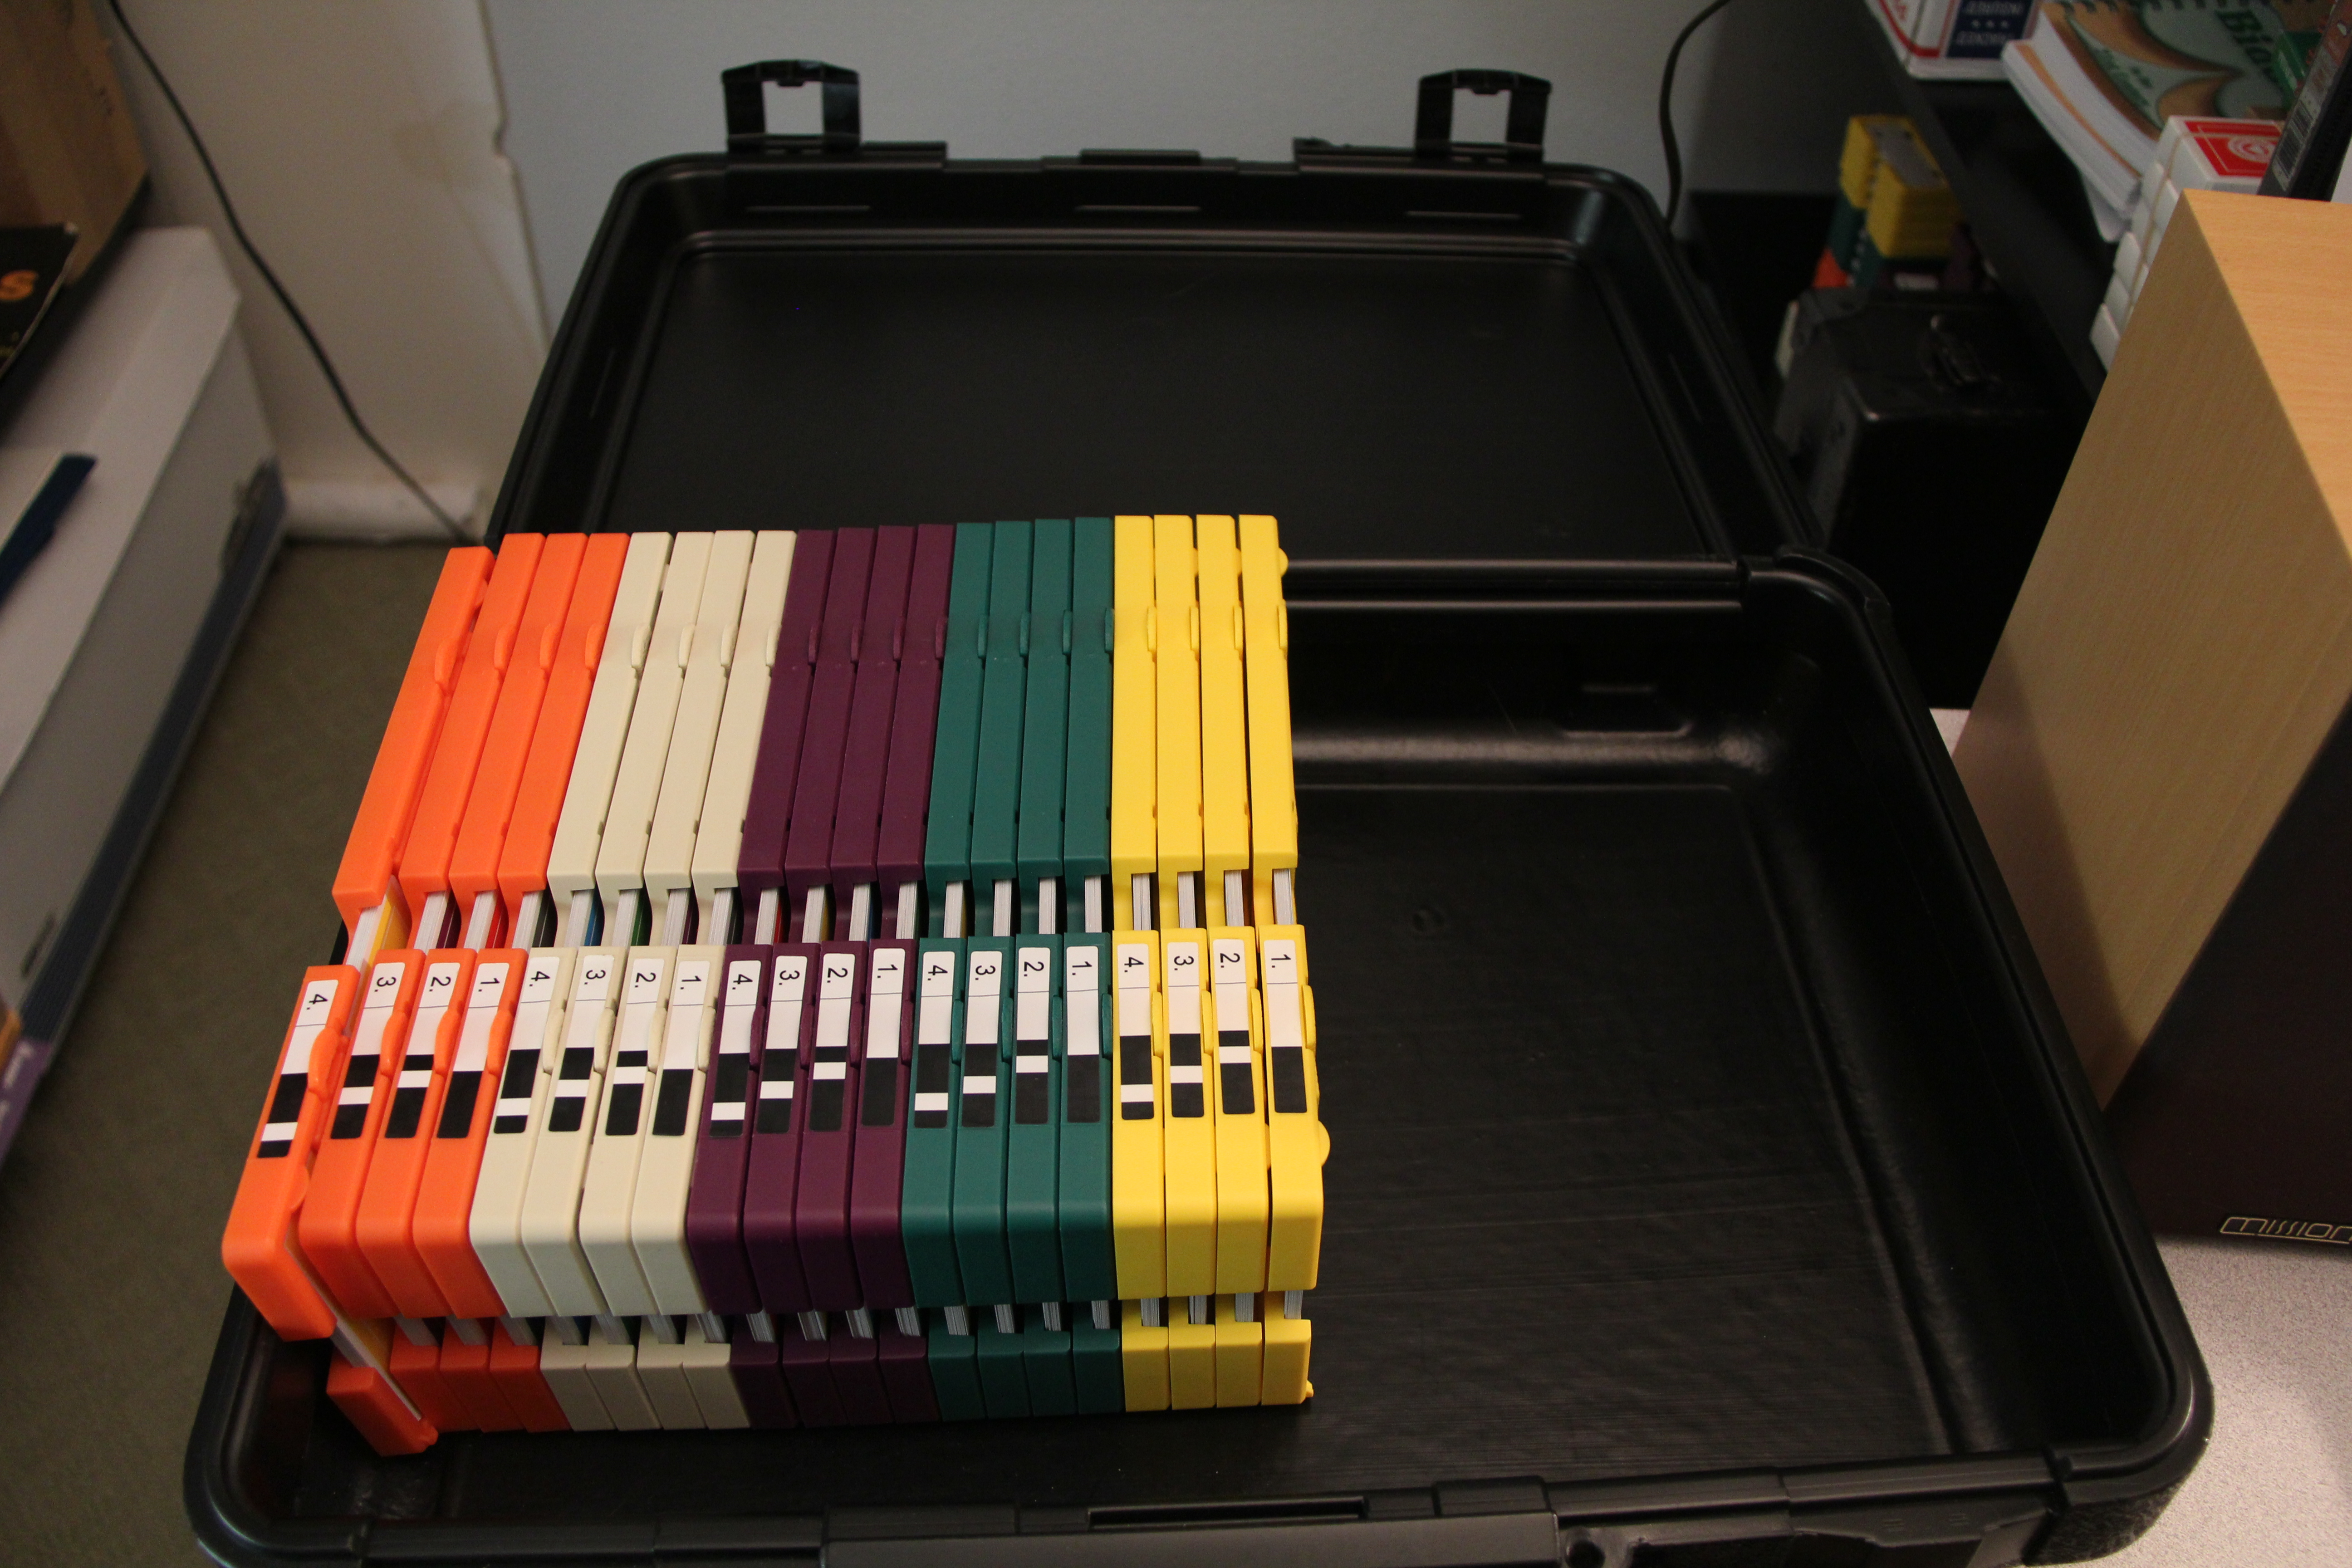
Last month I took a leap and purchased a bridge hand dealing machine. The PlayBridgeDealer4 is very popular with bridge clubs and tournament managers for preparing pre-dealt hands and duplicating them across many sections of a tournament.
Some day down the road I may find myself directing bridge games for a local club. When I do, I’ll use the machine to prepare randomly shuffled hands before the game, and provide hand records with analysis afterward.
Meanwhile, I can put the machine to excellent use for preparing hands for my bridge classes.
The Dealer4 comes with some excellent Windows-based software for generating random deals, doing hand analysis, and printing hand records. It also works very effectively for constructing bridge hands manually. I’ve prepared hands for the first three class series from the ACBL curriculum, the club, diamond, and heart series classes. In fact, you can download each series as a zip archive of .PBN files from whiteoaks.com here.

Before I had the Dealer4, I was a great fan of the special cards prepared by the ACBL specifically for these classes. The backs of the cards are marked in a way that lets the students sort out the hands manually during class. It’s (mostly) foolproof, and requires no more preparation on my part than dropping a deck of these cards on each table of students.
I can’t really say that having the dealing machine has made class prep “easier” in that regard. I’m not saving time in class preparation.
But I am saving time during class itself. Sorting the cards is a common source of frustration for the students, and it eats up a lot of class time. When the sorts don’t always come out exactly right, it takes more time to correct the problem.
Plus this classroom card sorting exercise is not something that has the slightest bit of value later on in their bridge playing, either at home or the duplicate club.
So the benefit of pre-dealing the hands is for the classes. It means that I spend more time fretting and worrying. I’ve had nightmares where I show up for class with the wrong hands sorted into the boards, or a mix of hands in the wrong boards. I find that I just have to be more careful with class preparation. So far everything has come out perfectly, but I still have to spot-check my work.
So now that I could deal hands magically and reliably, I had to get a little playful with the process as well. What if I could provide pre-sorted hands for the students?
Having sorted hands is meaningless at the bridge club. When a hand is played once, it will no longer be sorted. In class though, it again saves time the students might have spent sorting their hand and laying them out double-dummy for study. It’s true that hand-sorting is a useful skill, but they have plenty of time to pick that up with their own shuffled decks.
If I start with a completely sorted deck of cards in the Dealer4, the hands that arrive in the pockets will be sorted as well. So the puzzle for me was how to use the Dealer4 to sort the decks before dealing them into four hands.
Sorting by suits is trivial, simply send all the spades to one hand, the hearts to another, and so on. But I wanted to sort the cards by rank as well.
I came up with a two-pass deal that gives me an approximate rank sort as well as a suit sort. For the first pass, I send all the lowest ranked cards to North, the next highest to East, next to West, and the highest-ranked to South. Here’s the deal I use:
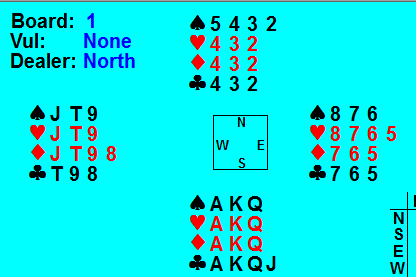
That gives me a deck with all the low cards on the bottom, and the high cards on the top. Then I pass the deck through again for a sort by suit:
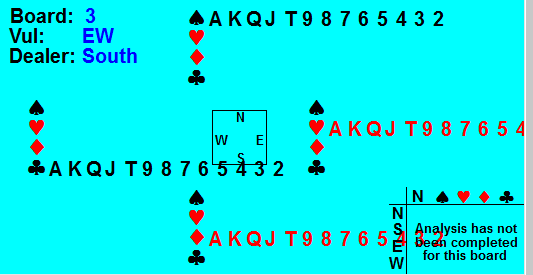
The result is a full deck that is sorted by suits, and approximately sorted by rank as well.
Since the Dealer4 needs to have two decks in the hopper, I work on two decks at a time to get this sort. So after four passes through the machine, I have two mostly-sorted decks of cards.
Then I use these sorted decks to populate my boards for class, and know that I’m the coolest bridge teacher in my zip code. 🙂
Postscript: I now have a three-pass deal that returns fully sorted hands. I’ll write it up in a followup blog post. 🙂
The card dealing machine is a fascinating bit of mechanical engineering, and I know you can’t resist seeing it in operation. So I made a little video (3:00 minutes) that shows how I feed decks into the machine for the pre-sort, then load boards into the machine to set up hands.