Mojo's blog banner

Category: Astronomy

  • Maybe not autoguide!

    It’s been many years since I first celebrated being able to autoguide while exposing astrophotos on my CCD camera. (Finally autoguiding from 2009.)

    Now with new techniques and software available, I might be able to abandon autoguiding.

    The current software and hardware stack for astrophotography is so vastly different and better than what I had to work with in 2009. These are all the new or different things:

    Finally what must be the most world-changing addition for me: telescope point mapping, modeling, and correction.

    When I upgraded the big telescope mount from a 1997 AP 900 QMD (not a go-to mount!) to a new 1100GTO mount, it came standard with the Astro-Physics Control Center (APCC) and an offer to upgrade to to the “Pro” version that included point mapping and modeling. I declined to upgrade to the pro version.

    I thought point mapping and modeling would be silly and useless outside of a permanent observatory. When I set up every evening, and tear down every morning, any previously created pointing model would be totally useless. That’s true, but I was wrong about it being useless!

    I brought up the question on the ap-gto email list, and other astronomers told their story of getting great results with a small point map in evening twilight, and doing unguided imaging all evening.
    mapping-points
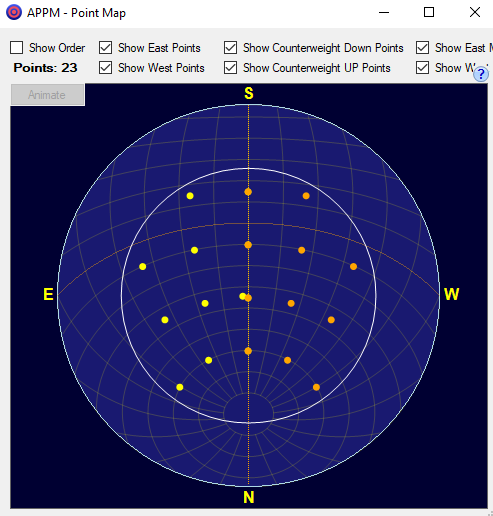
    Example of my small point map used for building a pointing model early in the evening before shooting images.

    It all starts about ten- to fifteen-minutes after sunset. I can usually see Polaris in my RAPAS (right-angle polar alignment scope) by then. If I start with a level mount, and put Polaris on the right hour angle of the reticle, I get a polar alignment that’s easily within 5 arc-minutes.

    The next step is to find a good bright alignment star to use with the Bahtinov mask for focusing. This spring, I’ve been using Arcturus, Spica, or Vega. My focusing is all manual.

    I’m finding with a good polar alignment and level mount, I can usually land my focus star on the chip by telling the mount to “go to” that position. It’s a little less likely in the big f/9 AP 180 EDT with its narrower field of view.

    Once I have a good focus, I’ll do a few 5-second captures to see if a few stars are appearing in the twilight. It happens very quickly!

    On my (old, slow) ASUS Windows laptop, I have installed a local instance of the Astronomy.net plate solver (Google: ANSVR). All the plate solving data I need is downloaded to the local server, and there’s no need for an internet connection. Sequence Generator Pro (SGP) orchestrates the downloading of images from the camera and submitting them to the plate solver with an approximate mount position. When the plate solver has a good “hint” of where the telescope is pointed, it usually converges on an absolute position within a few seconds of an image being submitted.

    Now that I have one successful plate solve, I’ll launch into APPM, the Astro-Physics Point Mapper.

    It’s somewhat entertaining to watch APPM work through its routine. It starts by pointing to a zenith point. It captures a five-second image (I use 3×3 binning for smaller downloads), and submits the image to the plate solver. It logs the solution from the plate solver and records the deltas from where the mount believes it is positioned.

    The process is repeated 23 times, once for each of the points you see in the diagram above. Slew, expose, solve, record. Rinse, repeat. At the end of the process, I install the new model into APCC, and I’m ready to start imaging. By now it’s just about the end of astronomical twilight on a summer evening.

    This is a very small point map! If you were operating a fixed observatory, you might dedicate some hours to building a point map of 200 or more points. The model built from that map should be good for quite some time, barring any mechanical changes to the mount.

    In my low-resolution wide-field imaging system, the results are magical. Every target selected lands in the center of the imaging chip. I don’t need to spend time doing a plate-solve-and-reposition step. Autoguiding of five-minute exposures is completely unnecessary. The same is probably true for a 15-minute exposure, but I’m completely happy with stacking multiple five-minute exposures.

    To configure SGP, I select the “Direct Mount Guide” for its autoguider. I specify a fairly large “dither” amount between frames, so bad pixels won’t be stacked on top of each other. SGP no longer has to launch a massive autoguiding program, that would need its own calibration. I no longer have to hunt for a guide star in my bright Los Angeles County skies. Bad seeing doesn’t jar the scope this way and that as the guider tries to follow it, instead the scope moves smoothly across the sky with the target centered.

    There is almost no time spent between targets now! PHD2 doesn’t have to find a new guide star. There’s no need to check-and-correct the pointing. I can collect 30 minutes of data on four targets in just a little over two hours.

    I haven’t yet tried building a point model and taking unguided images with the big AP180 and 1100GTO mount, but I have every expectation that it will be a very similar experience.
  • Many firsts at GMARS

    Many firsts at GMARS

    Observing report, February 23, 2020

    This would be my first night observing from a powered telescope pad at GMARS, Riverside Astronomical Society’s Goat Mountain Astronomical Research Station, in Landers, CA. It was a beautifully clear but cold February Sunday evening. It was also the first real observing night for a new mount, plus a new and unfamiliar collection of astrophotography tools.

    In preparation for the night, I’d spent hours setting up and practicing with the hardware and software at home. I felt like I’d accomplished everything I could with the hardware and power distribution. Everything was working well.

    My astrophotography computer was another matter. While Jane and I enjoyed traveling for our first year of retirement, my familiar inexpensive Asus laptop hadn’t been turned on for about a year. With any Windows PC, that leads to an immediate trip through “update hell.” Not only did I need hours of download and update time, the internal battery was completely toast.

    Getting the battery replaced turned out to be painless, and during the downtime I was able to research the more modern tools imagers were using to navigate and capture data. I was ready to move past the old days of ST-4 guiding, into the world of ASCOM and PHD2.

    The new mount is an Astro-Physics AP1100 GTO. It was acquired to support our mammoth AP180EDT refractor, replacing a somewhat aging and clumsy AP900 mount. I had only used the big refractor once to capture decent images over ten years ago, and had been unsuccessful since that time.

    The AP1100 GTO is truly decades advanced from the old mount. It feels elegant and precise, even with the massive telescope on top. I added power and data distribution from Kendrick, and I was able to reduce the number of cables from computer to telescope to one USB 3.0 cable.

    There was a clear night coming, leaving me with the mild anxieties of an unfamiliar site, on a “school night,” carrying a telescope that needs two people to mount into its rings and unload into its case.

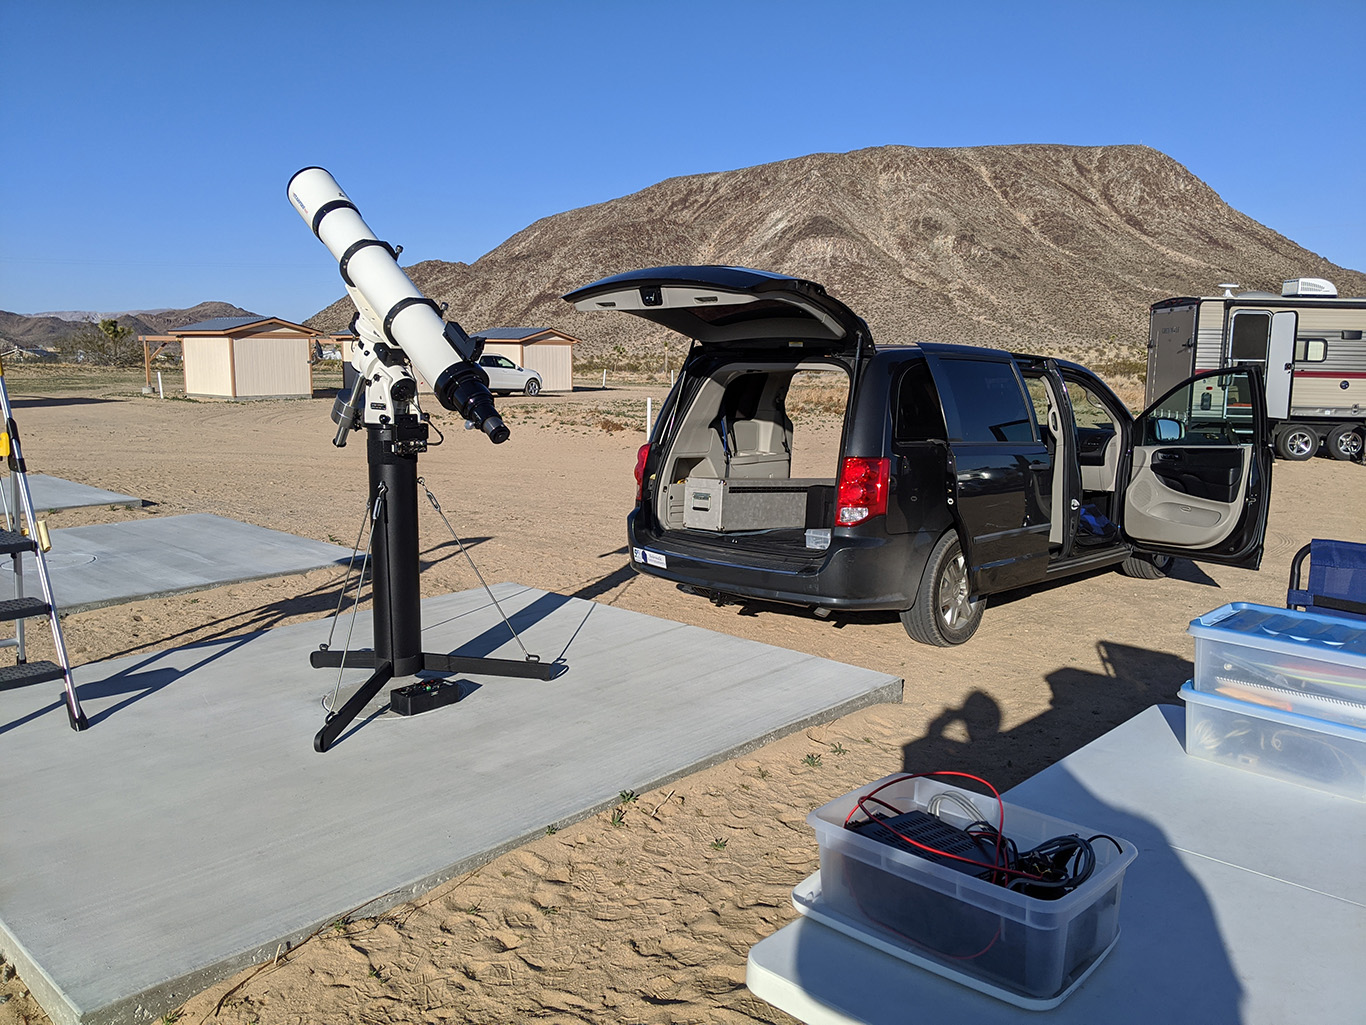
    AP180 telescope and mount.
    The AP180 EDT on its new AP1100GTO mount and portable pier.

    I arrived mid-afternoon and parked at my newly assigned pad, discovering plenty of friendly company — even some old friends from our in-town Sidewalk Astronomy group, Kay and Ken Hoevel. They were happy to help lift the telescope tube, and even insisted on feeding me marvelous grilled steak kebabs in the gorgeous evening twilight.

    I made lots of other new friends, discovering shared interests that seem common among astronomers — things like airplanes and ham radio.

    Kay told me one of her discoveries about GMARS: No matter what it is you left at home, there’s usually someone there who has one to lend you. In my case, it was a red flashlight, and a replacement 3V lithium battery. She managed to find spares of both in her kit.

    I spent a wonderful time under a clear dark sky. I had a comfortable observing chair and binoculars to enjoy the winter Milky Way while the camera was capturing ancient photons. The chatter of nearby observers was familiar and comforting.

    The new mount and old camera were both working like a dream. I was able to bounce around the late-winter early-spring sky, shooting 30 minutes of data on several old favorites for practice. I wrapped up about 1:00 a.m. by taking some flats to calibrate the data. I was ready to get out of the old. I couldn’t sleep though; I spent another few hours in my warm van doing some data reduction and stacking, relearning all my rusty skills.

    The night was beautifully clear, but the seeing matched the forecast of fairly poor. That would be evident in the large stars and soft detail in the images. I’m still delighted with the results, and excited about the prospects.

    Here are the targets for the evening:

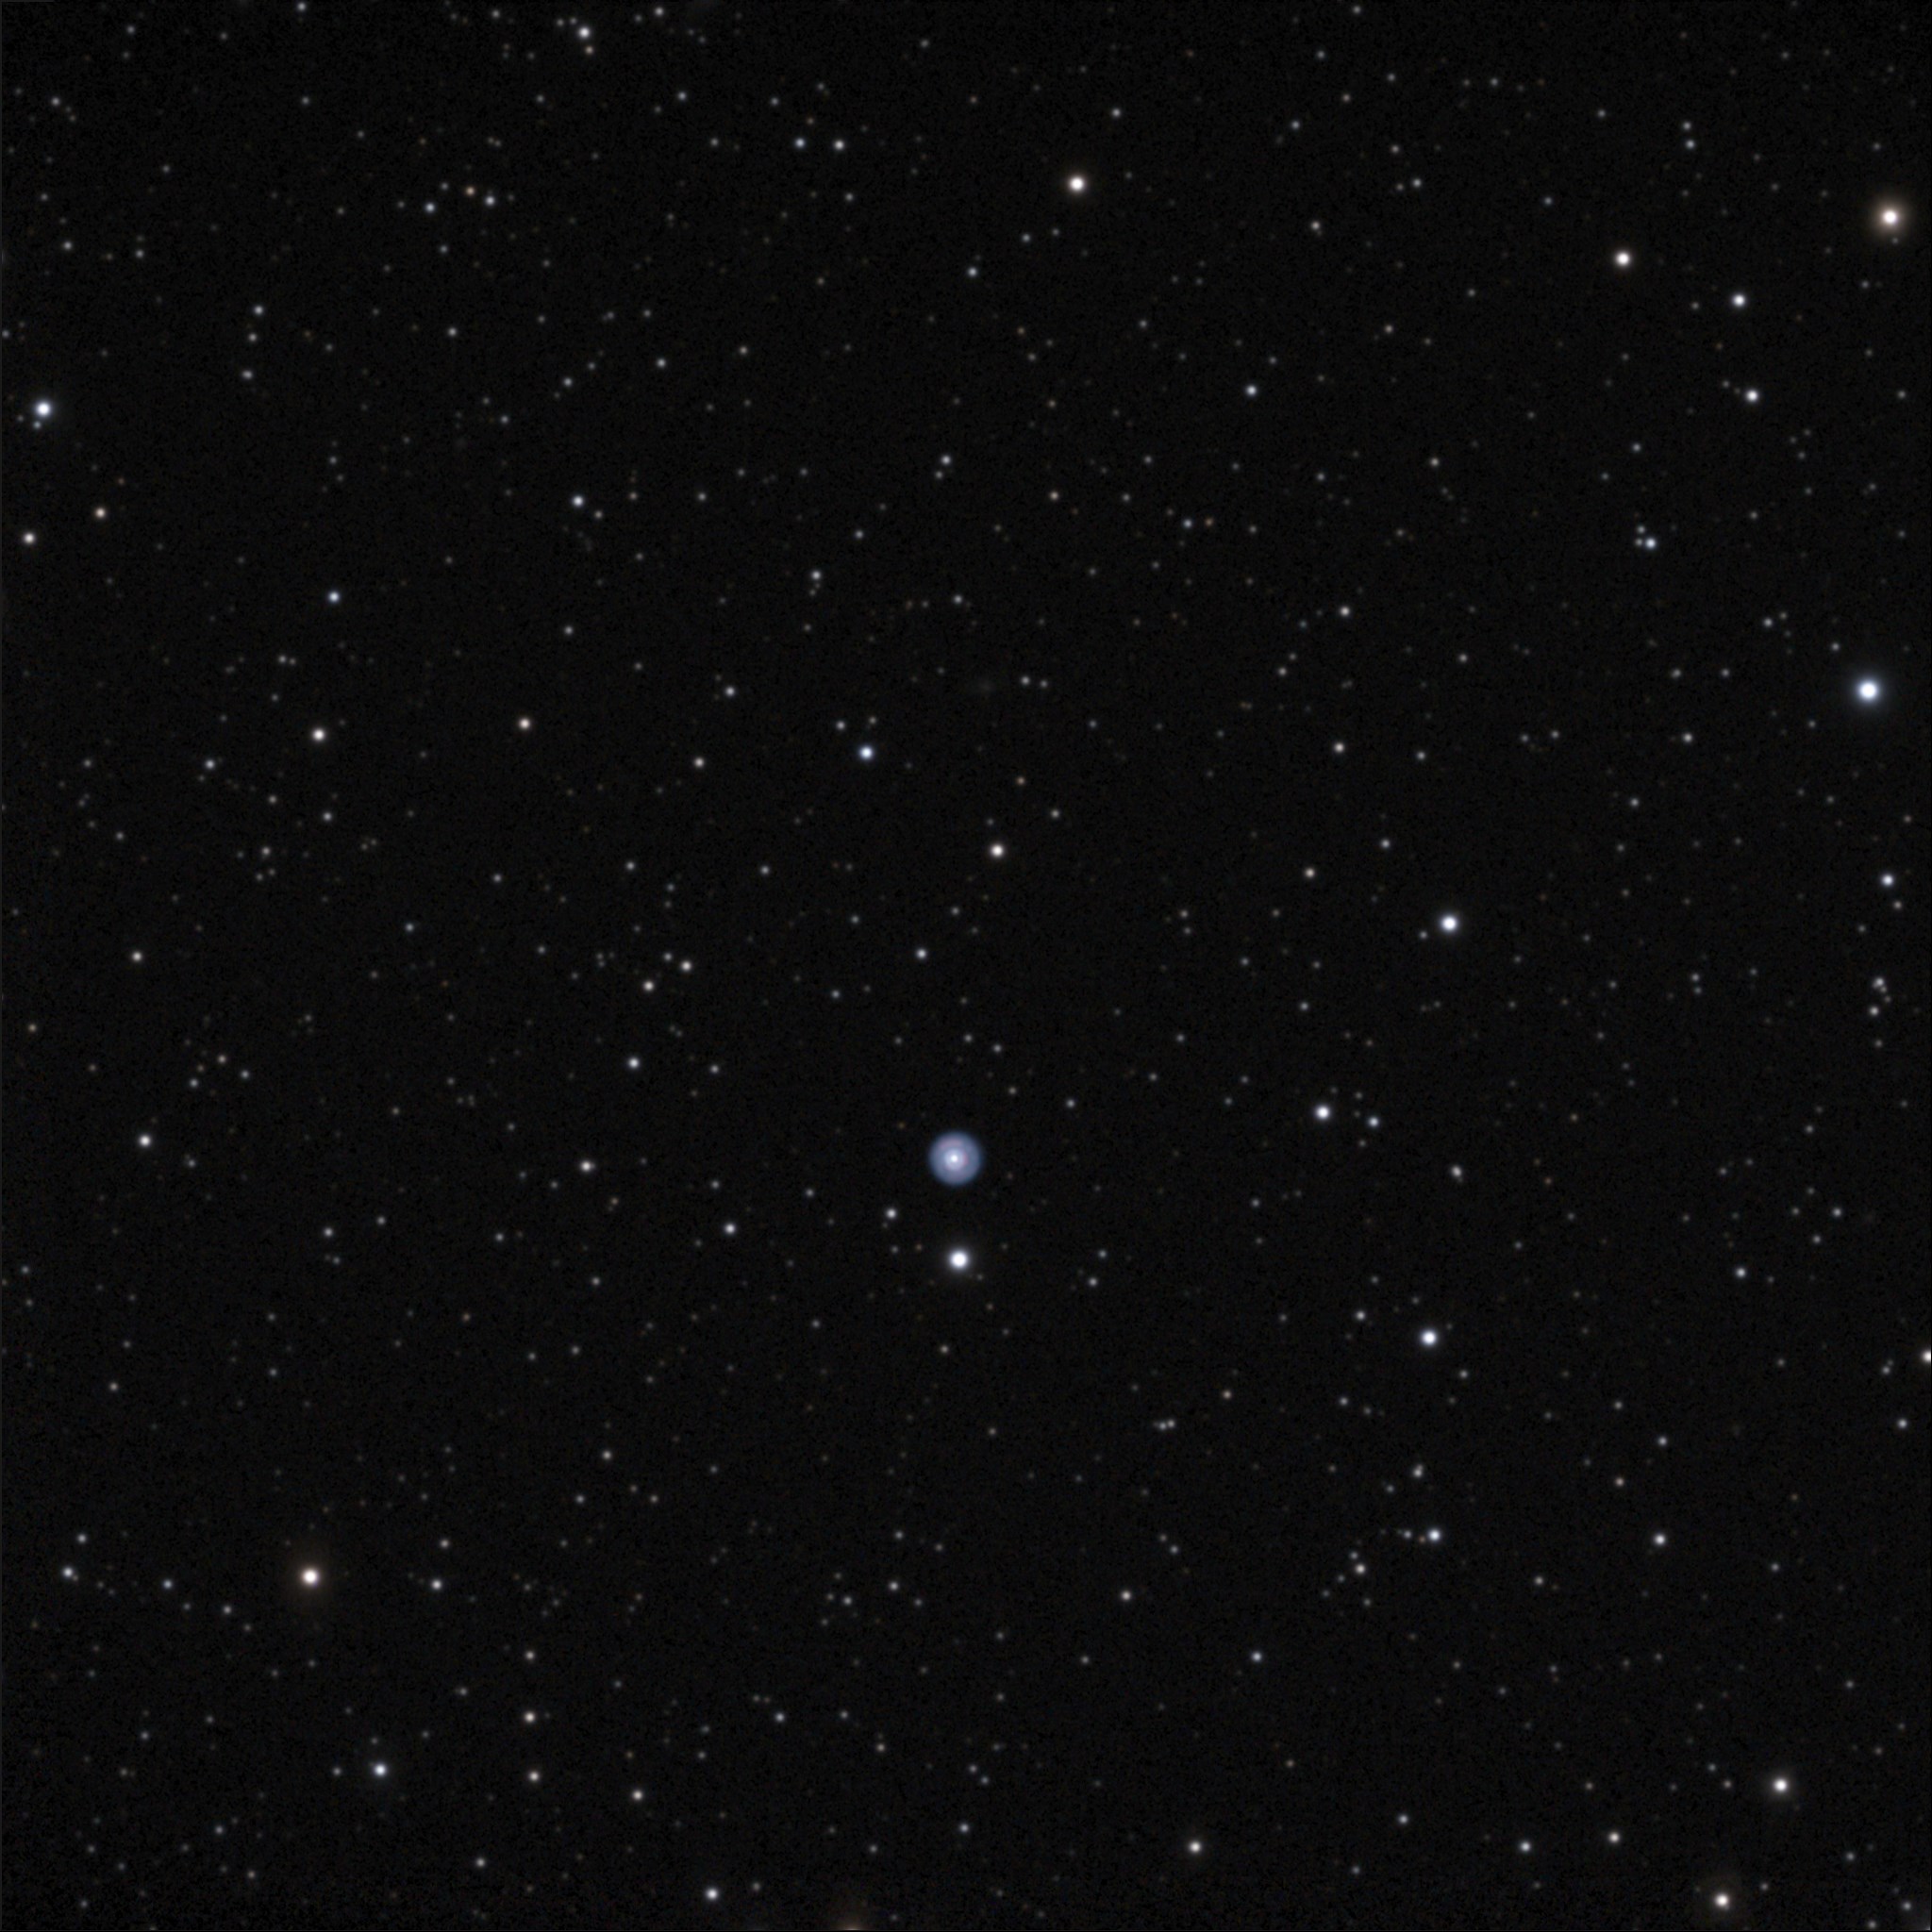
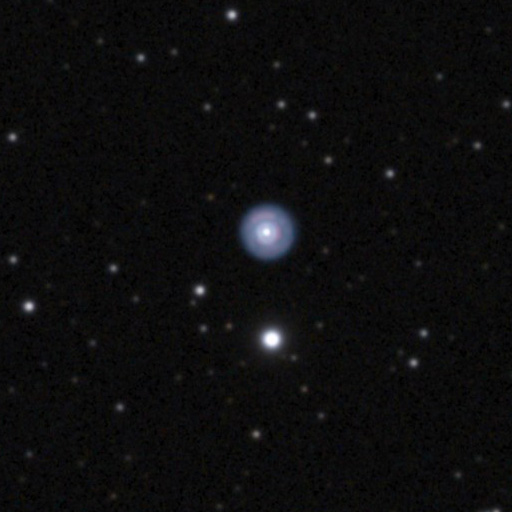
    My first selection was a bit ambitious. With the f/6 Traveler it’s difficult to get enough pixels on small planetary nebulae to render much detail. I wanted to see how the f/9 180 would do. I chose the Eskimo, NGC 2392, in Gemini. The full field still dwarfs the little planetary, but look how much detail is visible in a full-resolution crop.

    NGC2392
    The Eskimo, NGC2392, planetary nebula in Gemini

    Here’s the cropped center of the image.

    NGC 2392
    Center full-resolution crop from the full-field NGC 2392 above, showing the interesting detail in the Eskimo.

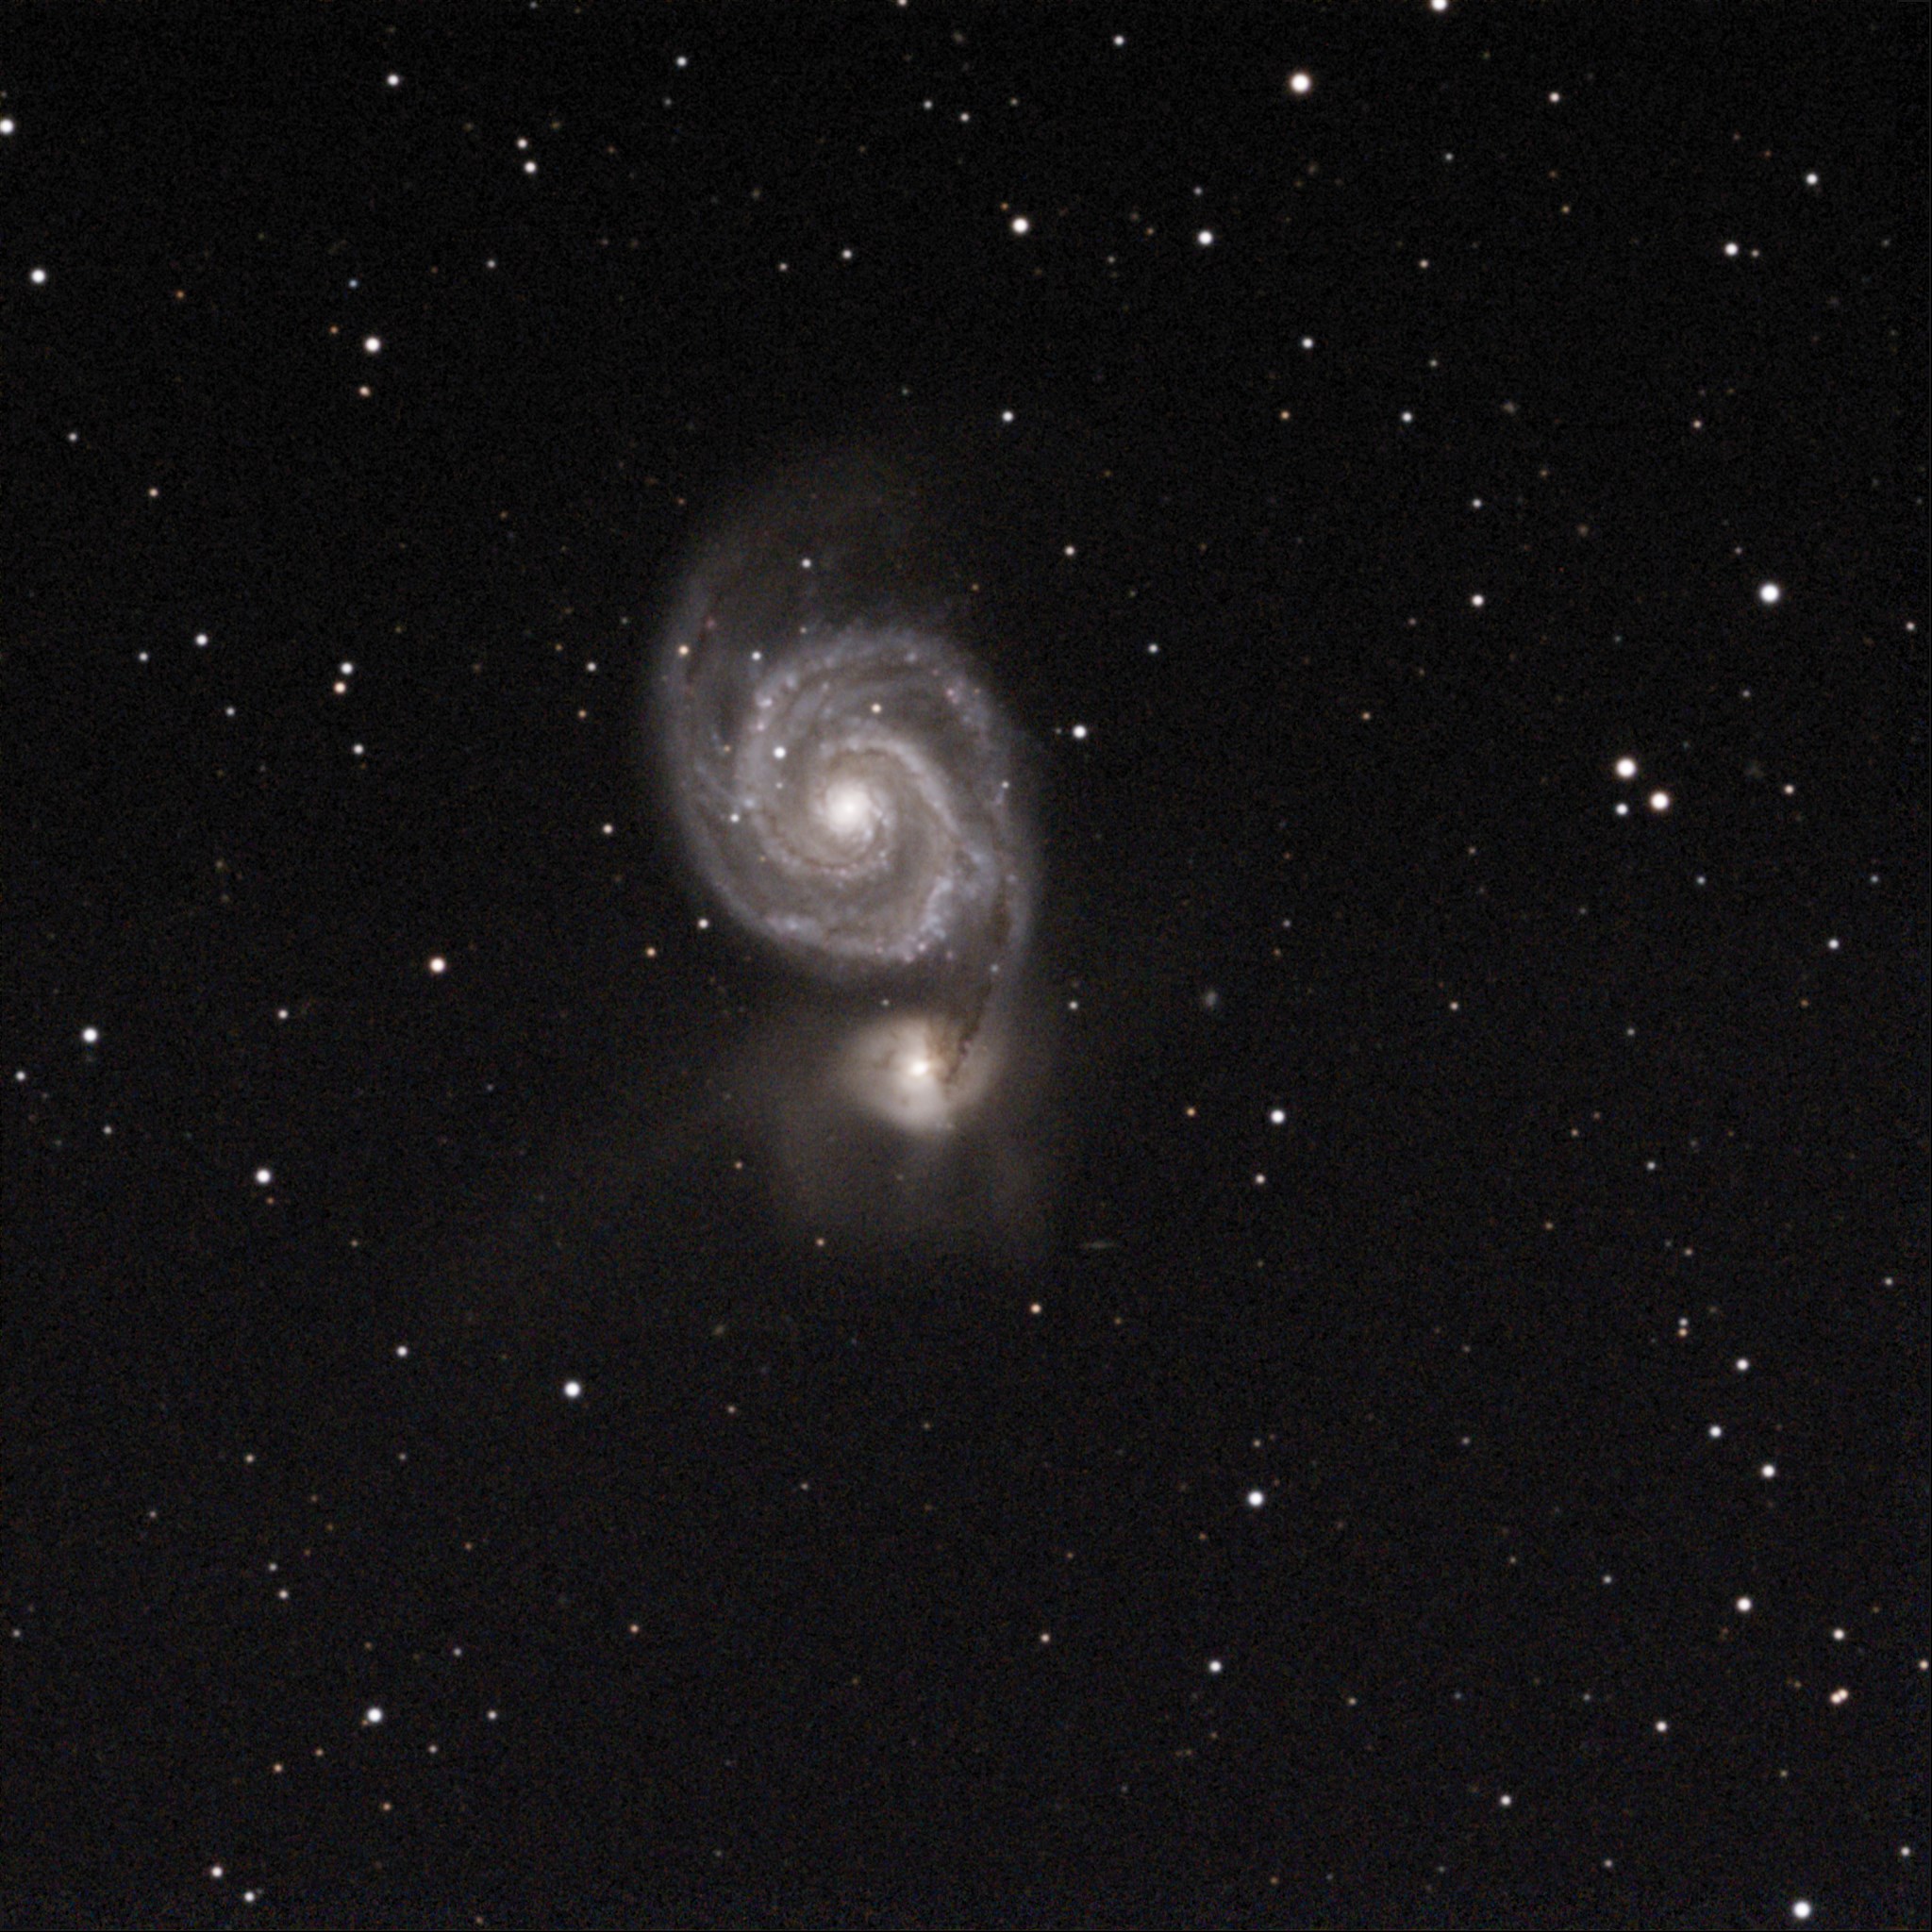
    Ursa Major was in prime position, so I thought I’d grab several favorites from there, starting with M51 the Whirlpool.

    M 51
    M51 the Whirlpool Galaxy in Ursa Major.

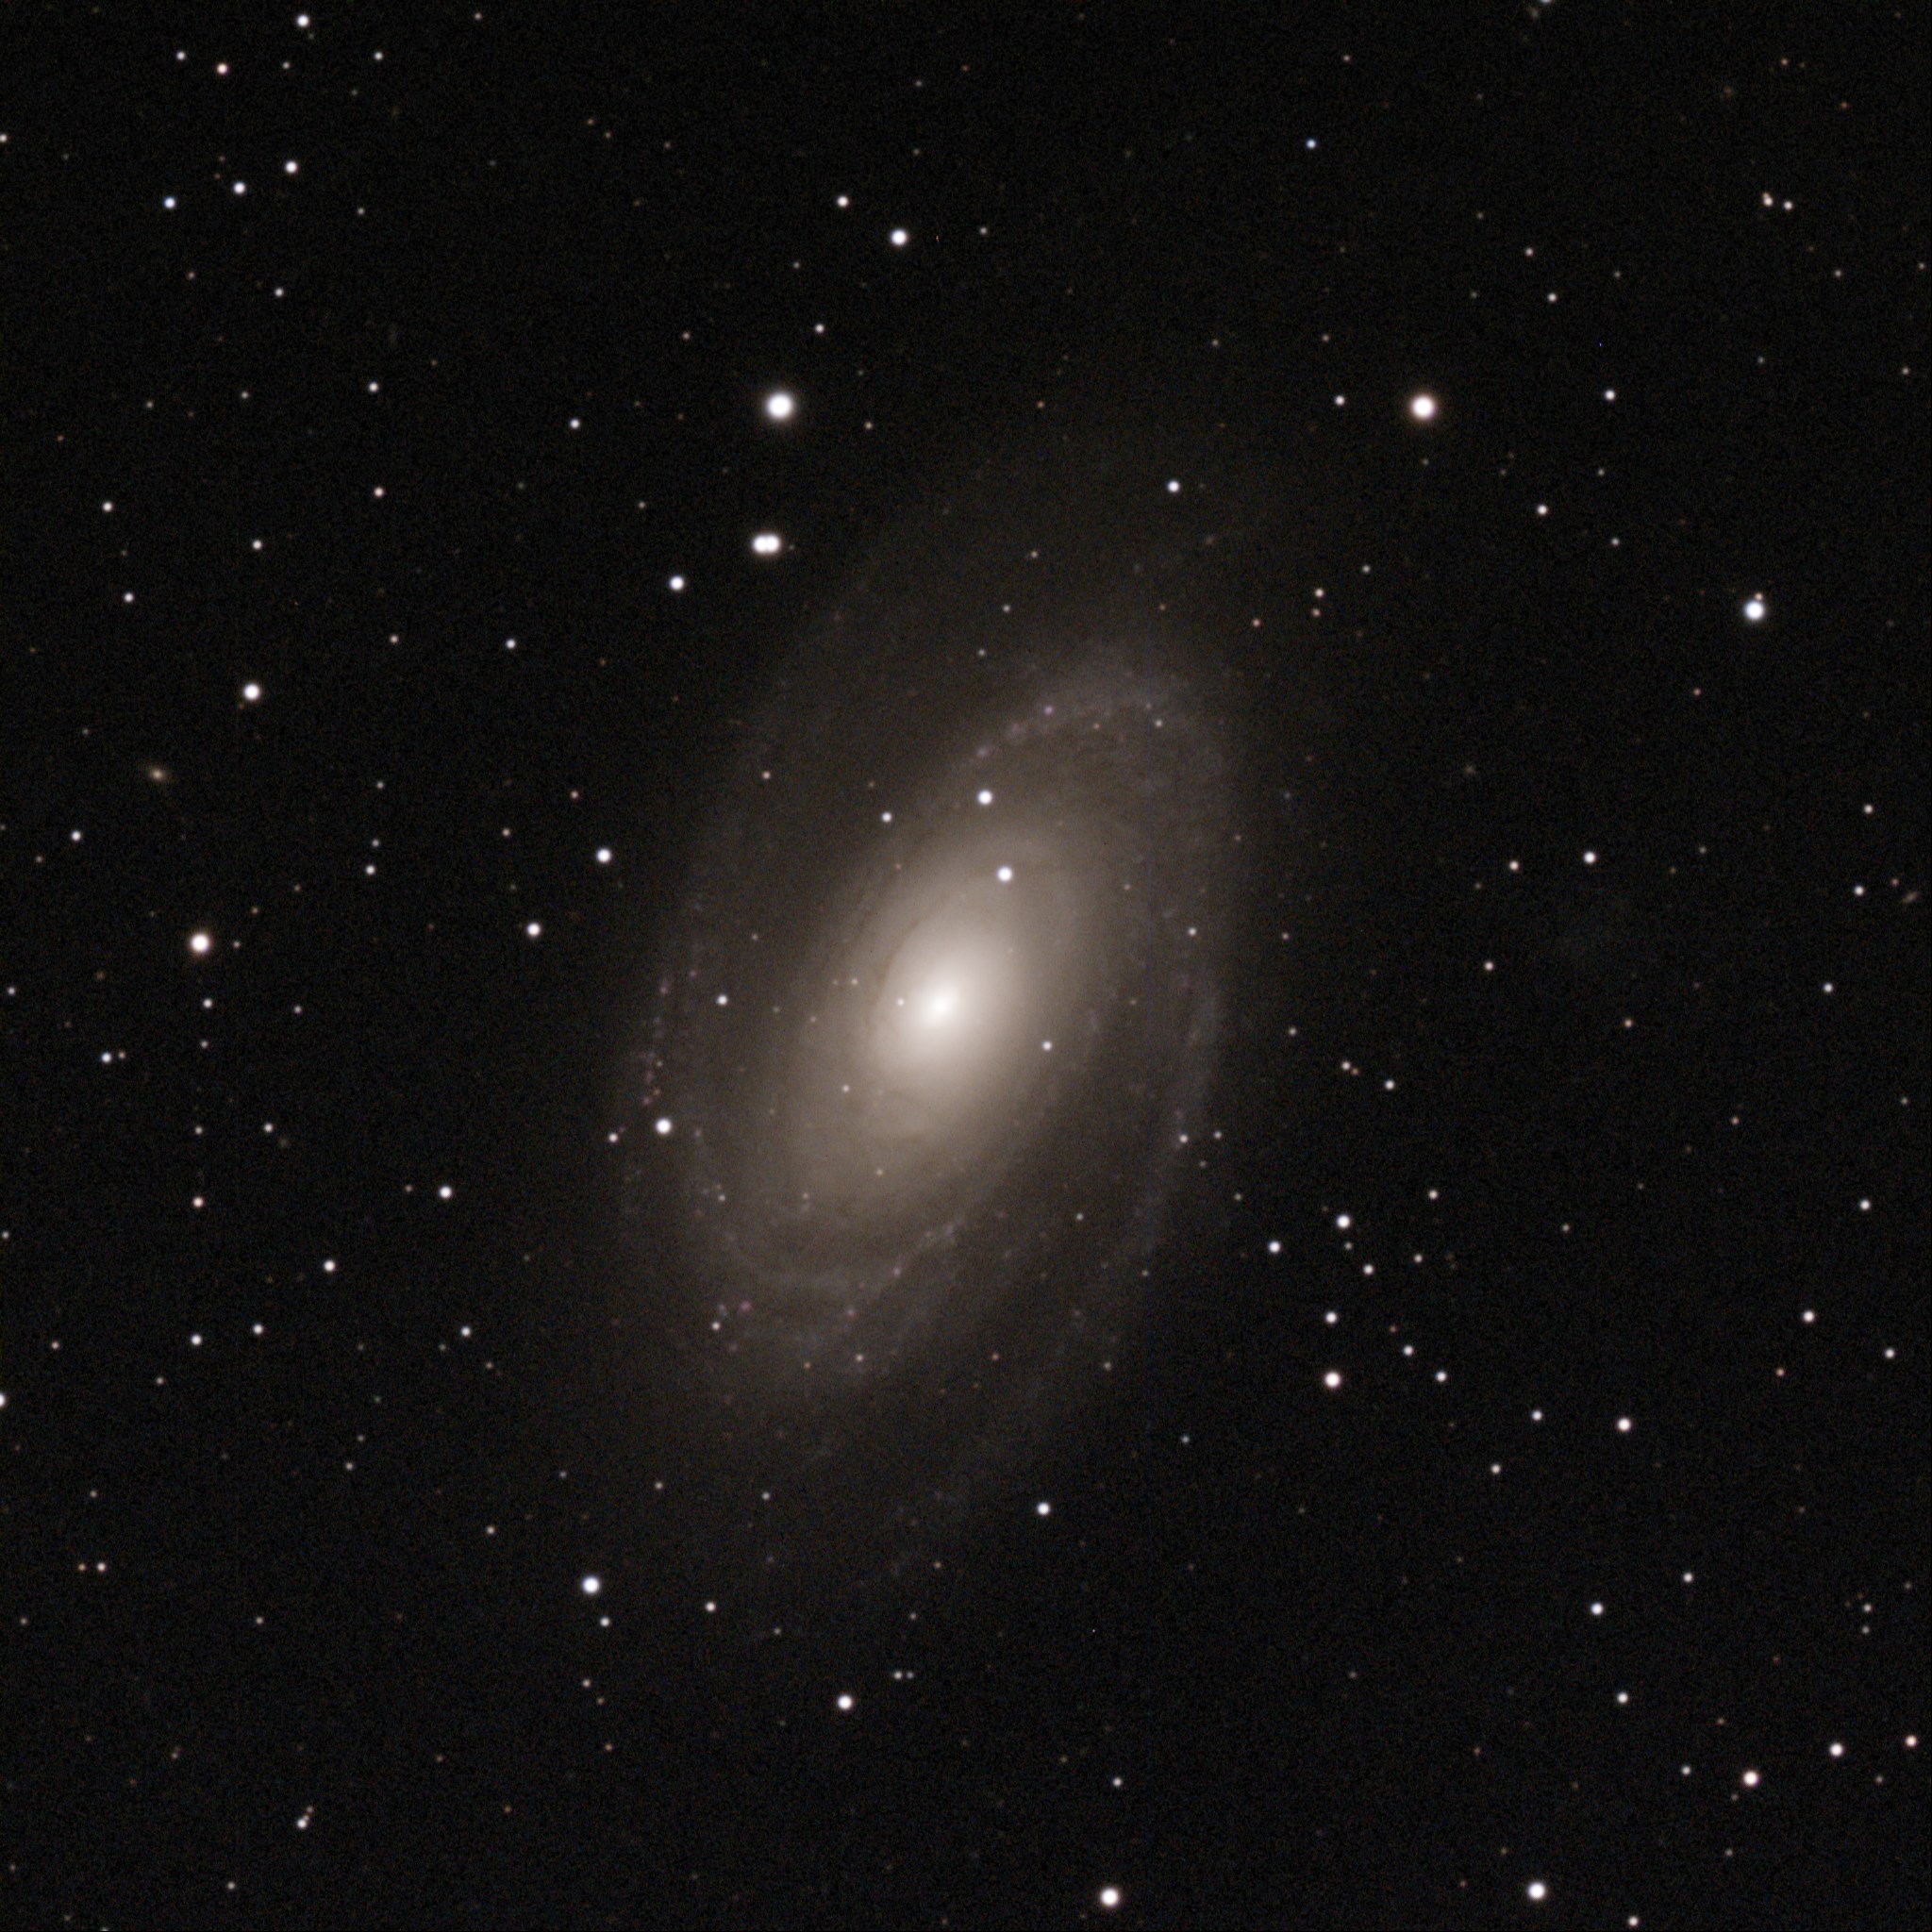
    In the big long-focus telescope, M81 and M82 won’t fit in a single field, so I had to capture them separately. Well worth doing. Here’s M81:

    M81
    M81 spiral galaxy in Ursa Major

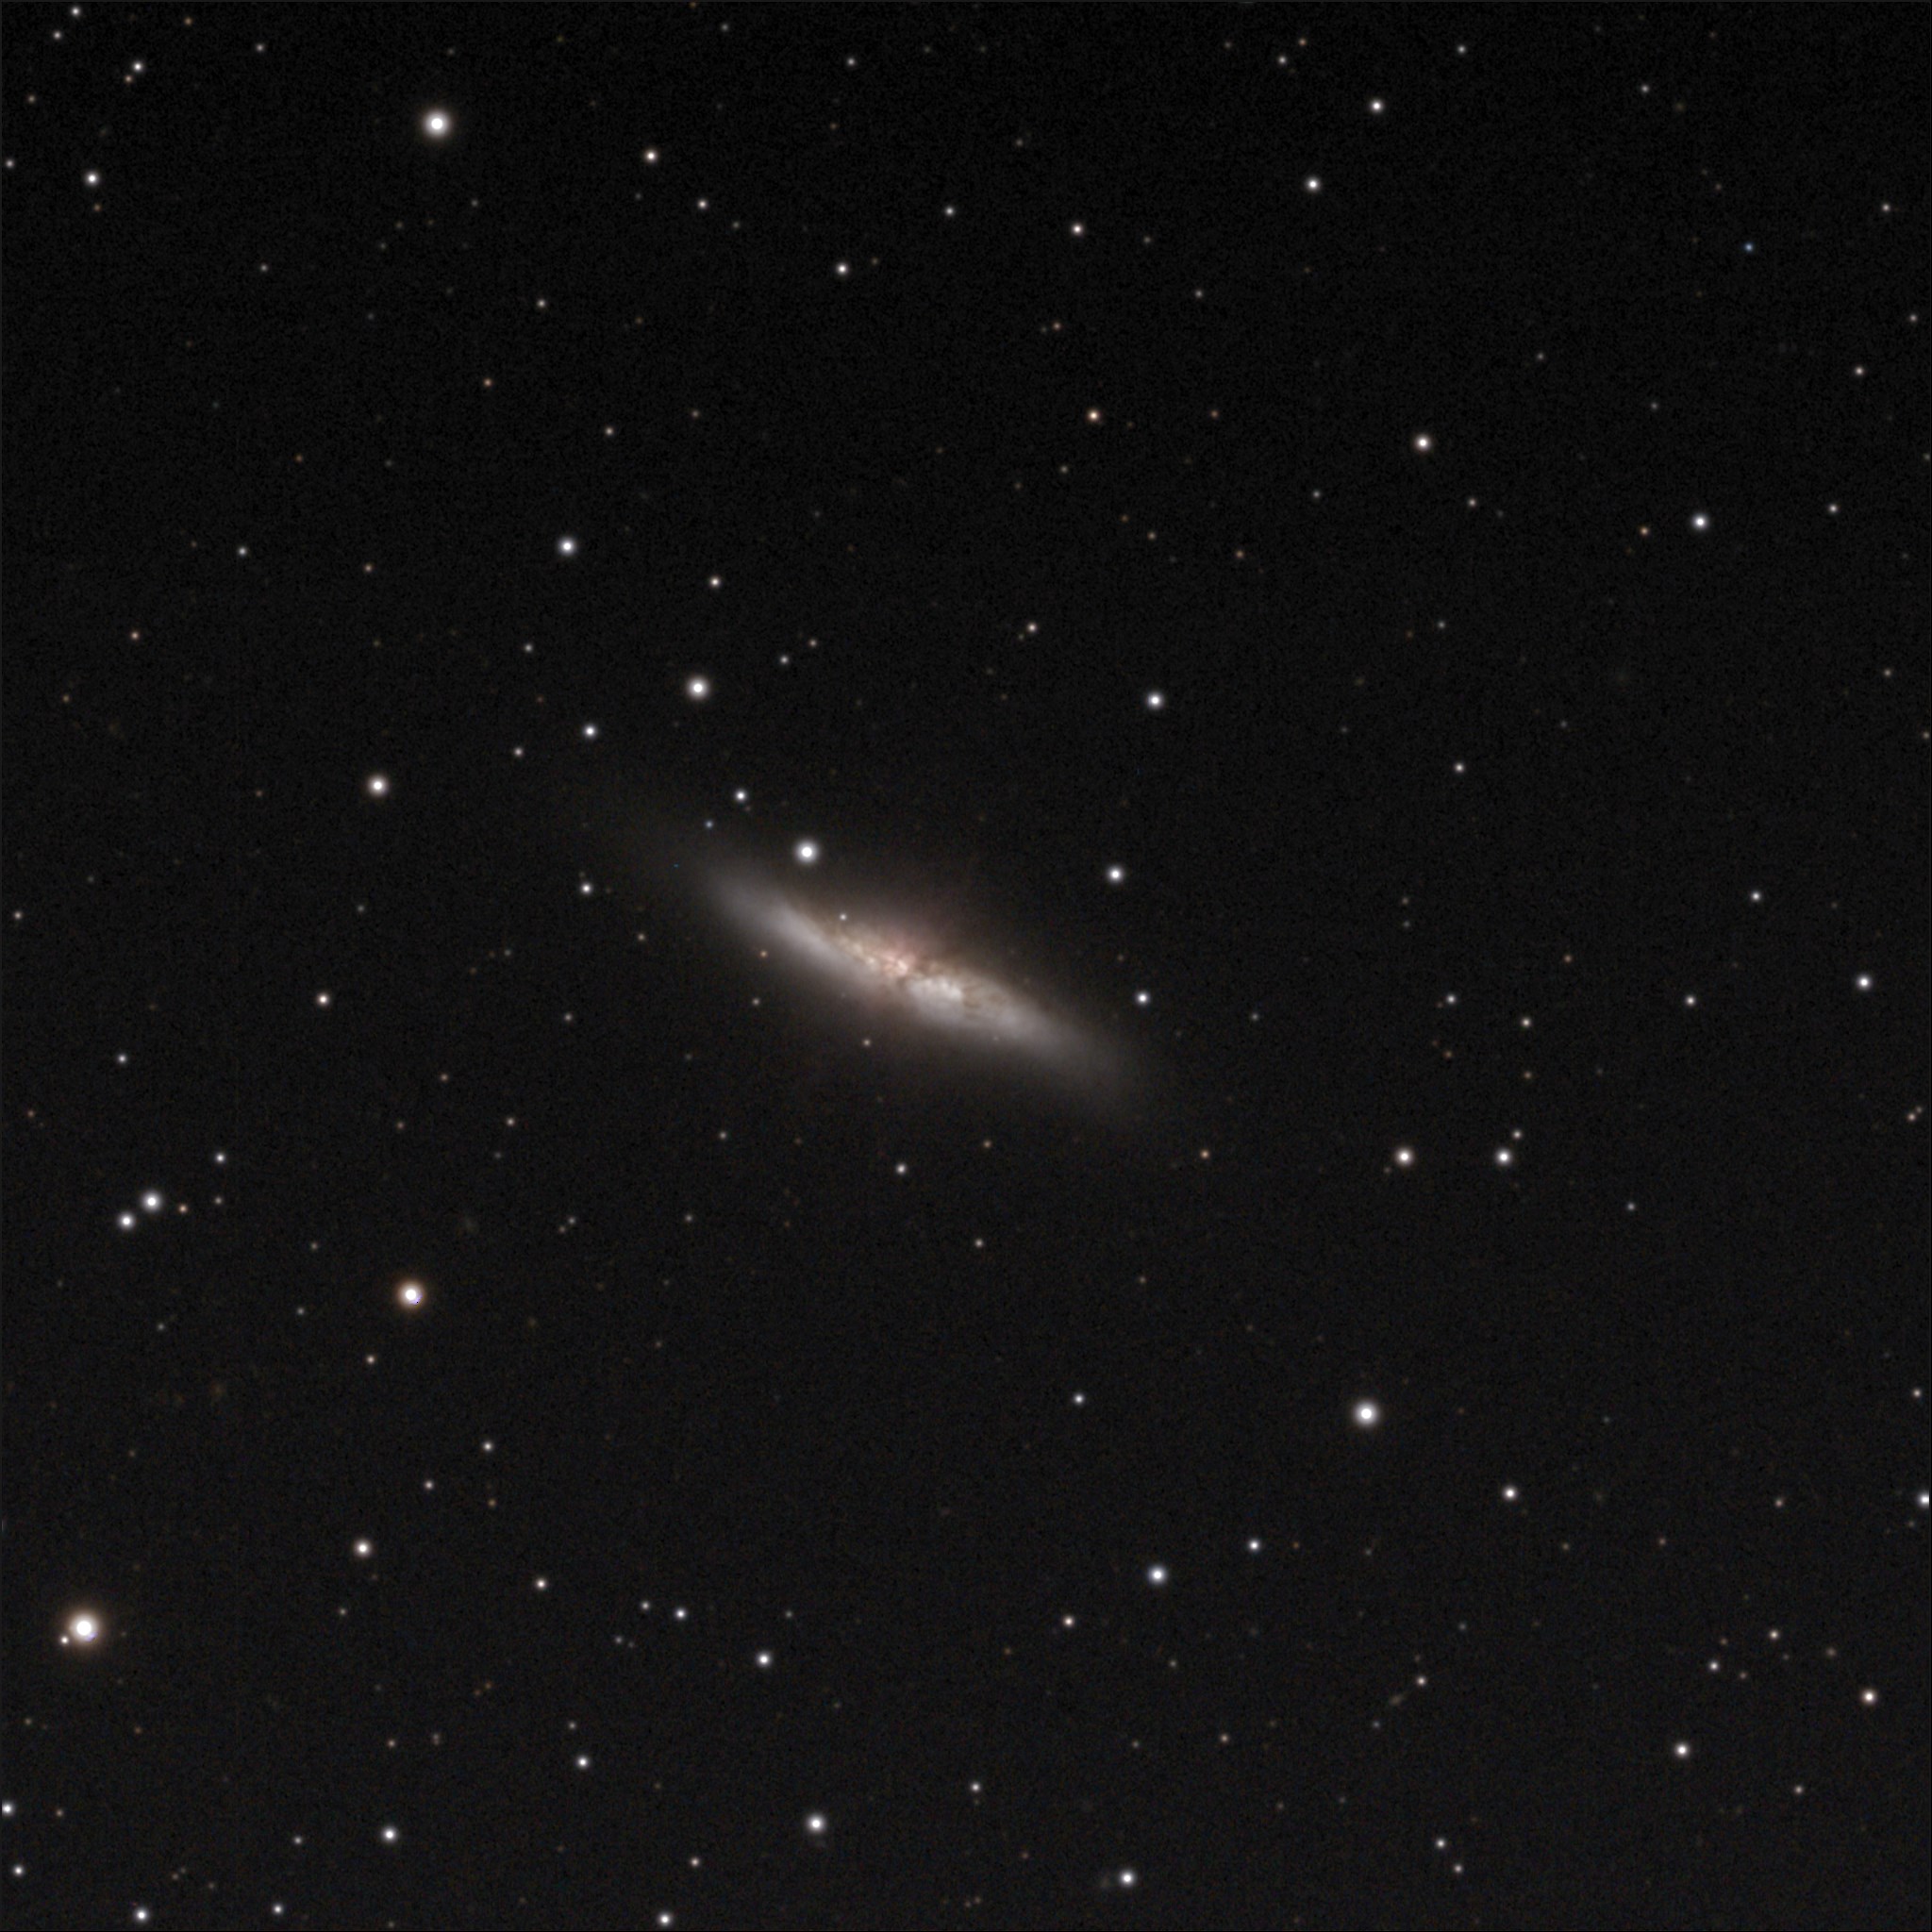
    M82 also reveals lots of detail in the tangled center of this irregular galaxy:

    M82
    M82 irregular galaxy in Ursa Major

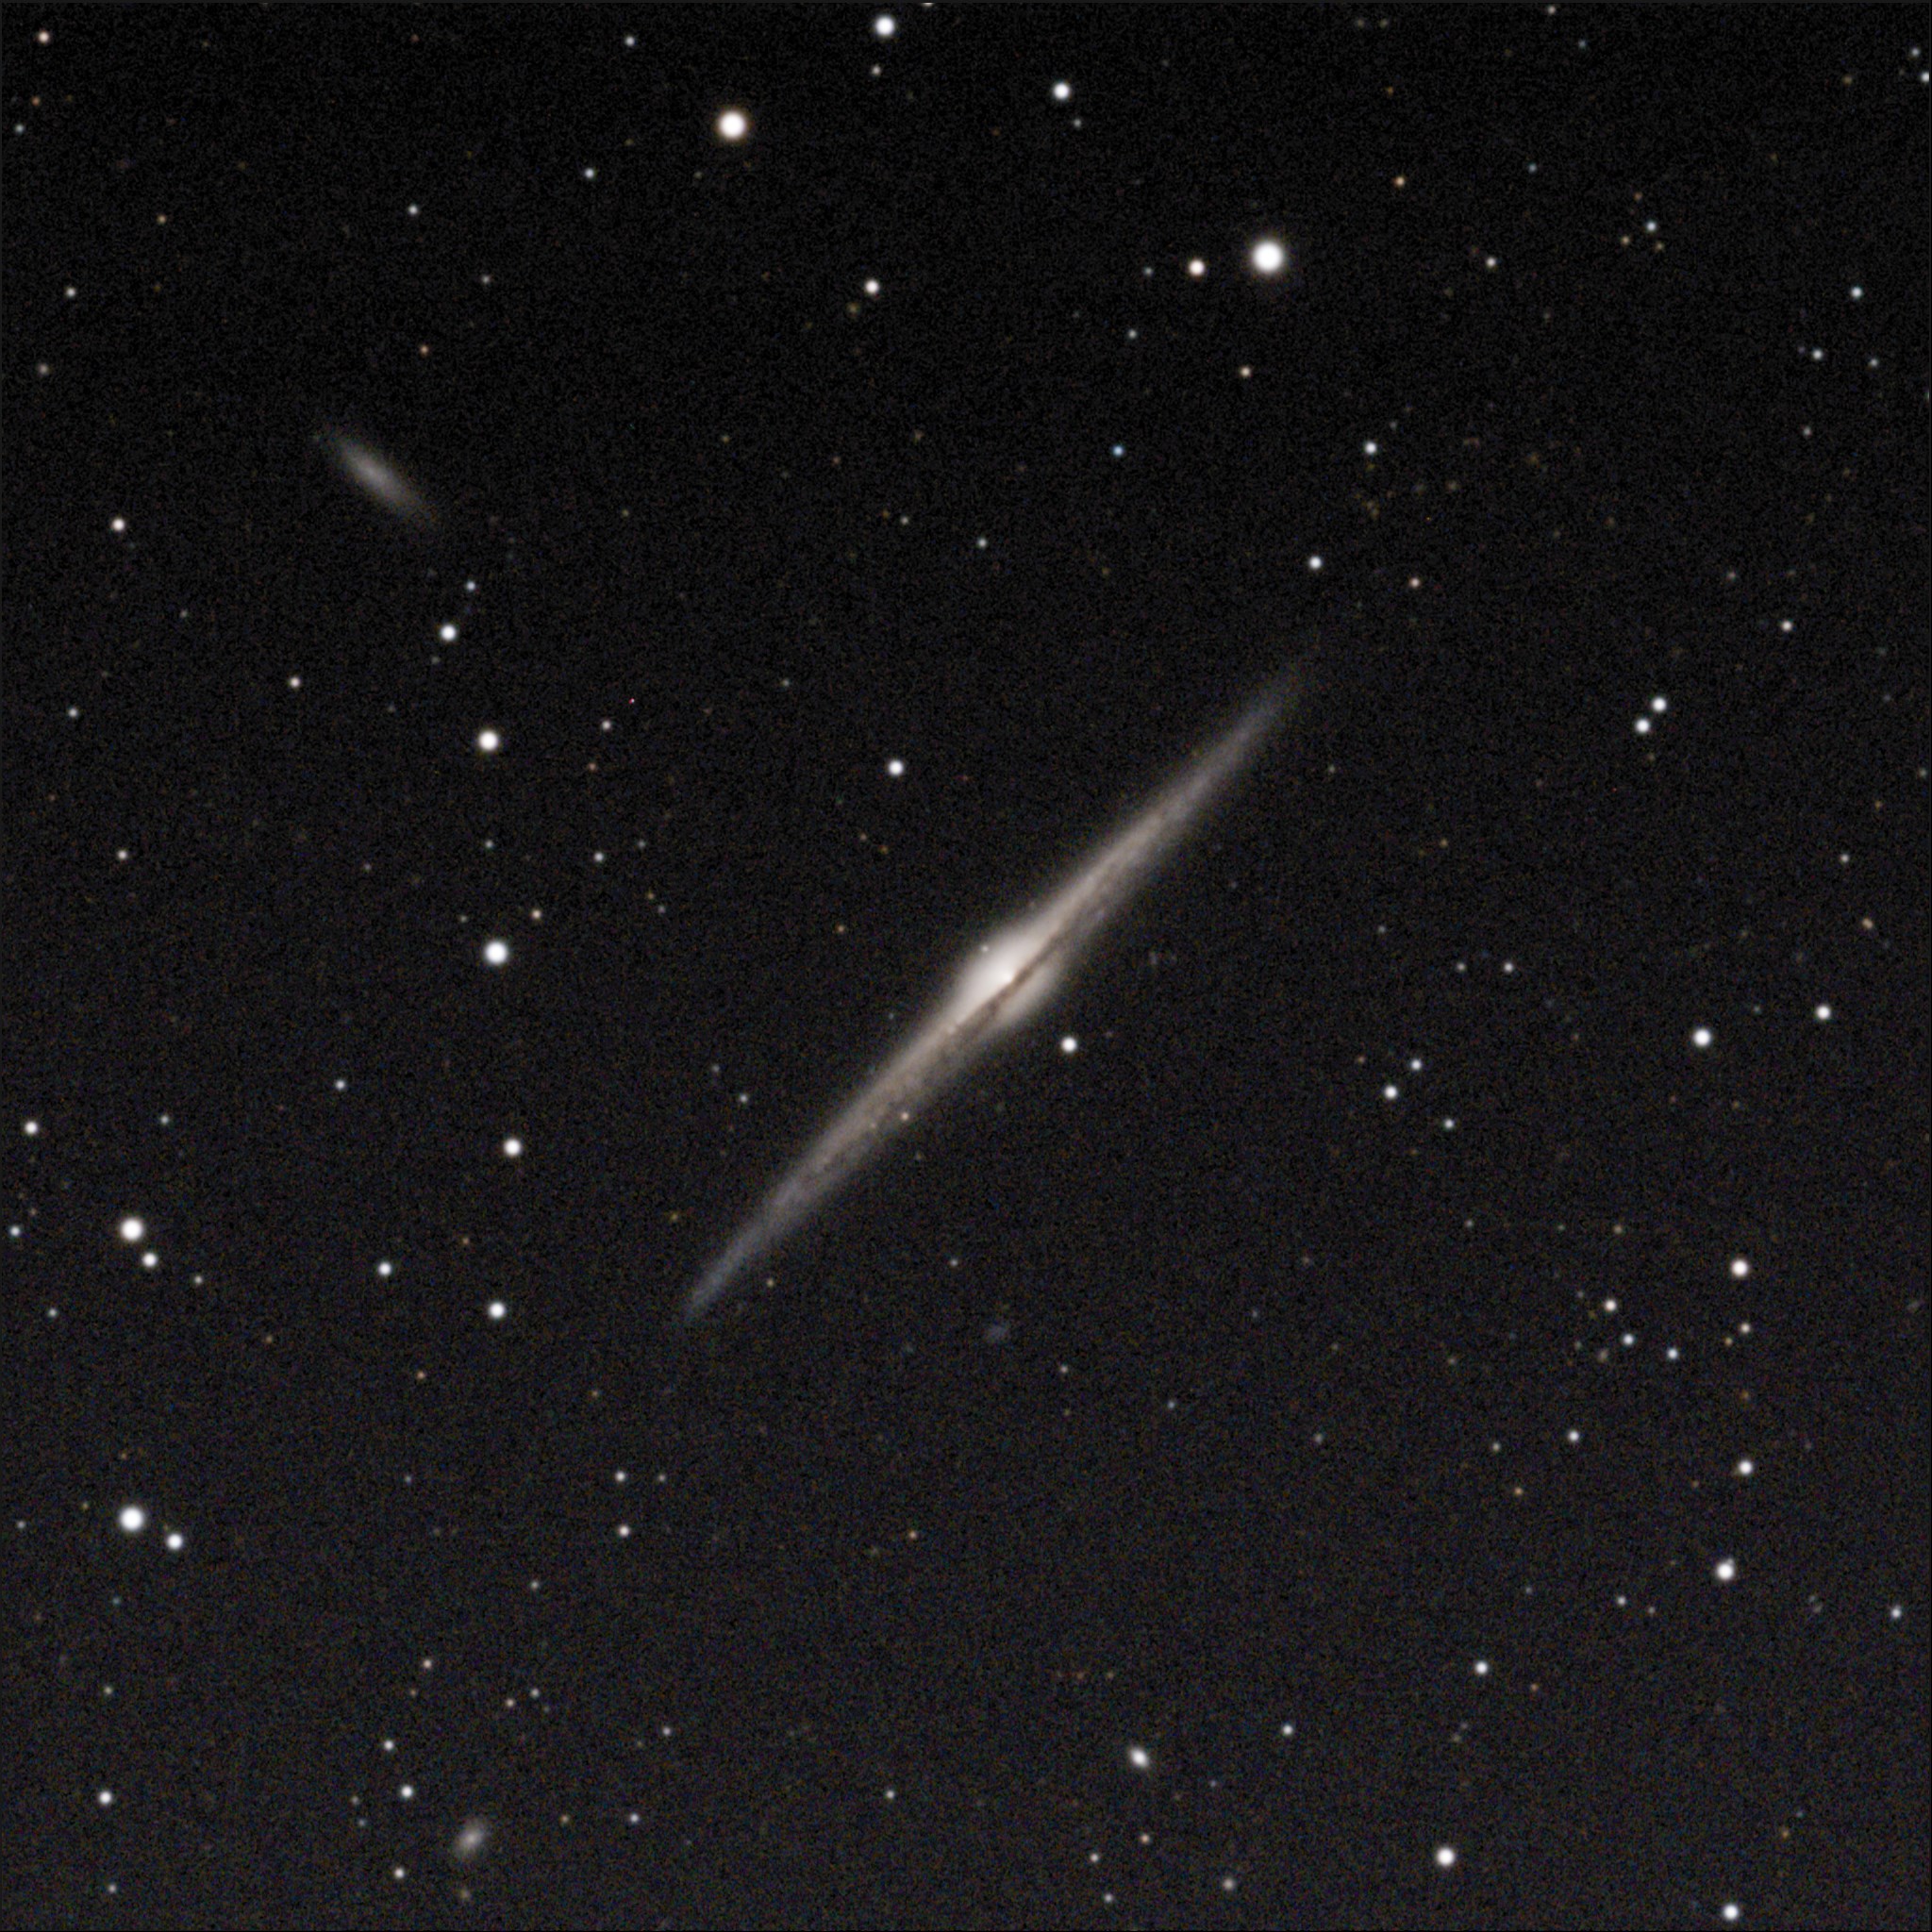
    Seeing Coma Berenices rise in the dark eastern sky, I knew i had to grab the edge-on spiral NGC 4565:

    NGC 4565
    NGC 4565 in Coma Berenices

    Clicking on any of the images above should give you the full 2048×2048 image.

  • Working with a broken astronomy camera

    Last year, I had some really bad luck with astrophotography.

    I replaced my old laptop (Dell, Windows XP) and installed a new suite of tools to replace the somewhat ancient and unsupported camera software. At one point during my first “shakeout” evening (October 2014), the new software started spinning my telescope around the declination axis. It made at least two full loops (720°), wrapping the cables around the mount and stressing the camera case.

    Afterward, the shutter was not working, or making noise. In my attempts to solve that problem in the dark, I dislodged a small optical window.

    Back at home, I disassembled the camera, and found that I could move the optical window back into position, but it wasn’t held there firmly. Everything else seemed fine though. The shutter worked well, and the electronics all worked.

    All of the equipment has been put away since then, over a year.

    The time was coming to get back into the game. I knew I’d have several hours of work to update the software suite, not to mention Windows 10. The most delicate update was for the firmware in the keypad of my Mach1GTO telescope mount. I spent an hour and a half on that one update, following all of the procedures carefully. The rest took another few hours: TheSkyX, CCDStack, SbigControl, PEMPro, Skytools3, MaxIm DL6, ASCOM drivers, all the manuals. I hooked up all the cabling, the USB-to-serial adapter for the mount, and the camera itself. All of the software components worked — I could control the mount and the camera and take pictures.

    I also had to consider the condition of my camera. Had I damaged it beyond use? Beyond repair? I called SBIG technical support and described what had happened.

    The support rep, Tim, was audibly chagrined. “Oh nooo! How did that happen? Are you sure?” I learned that the optical window is supposed to be firmly sealed, maintaining a bone dry chamber that keeps out dust, and prevents condensation and frost from forming on the sensor chip. (During a session, the chip is cooled to well below freezing to reduce the amount of thermal noise in the images.)

    Next I exchanged some email with Bill in Santa Barbara who repairs SBIG cameras. He said I should send in the camera at my convenience. In the shop, he’ll affix the window, dry the camera severely in a chamber, and seal it all back up. He also suggested that I could probably use it this weekend, but with the seal broken it would “likely frost up, but then that usually dissipates after a while.”
    With expectations of little or no success, Jane and I headed off to Amboy Crater on Saturday (April 2). The forecast was for ideal conditions. I’d never seen a Clear Sky Chart that black; little or no wind, severe clear skies, near perfect seeing, a low temperature forecast of 56°F. My plan was to experiment with all of the unfamiliar software and learn how to do this again.

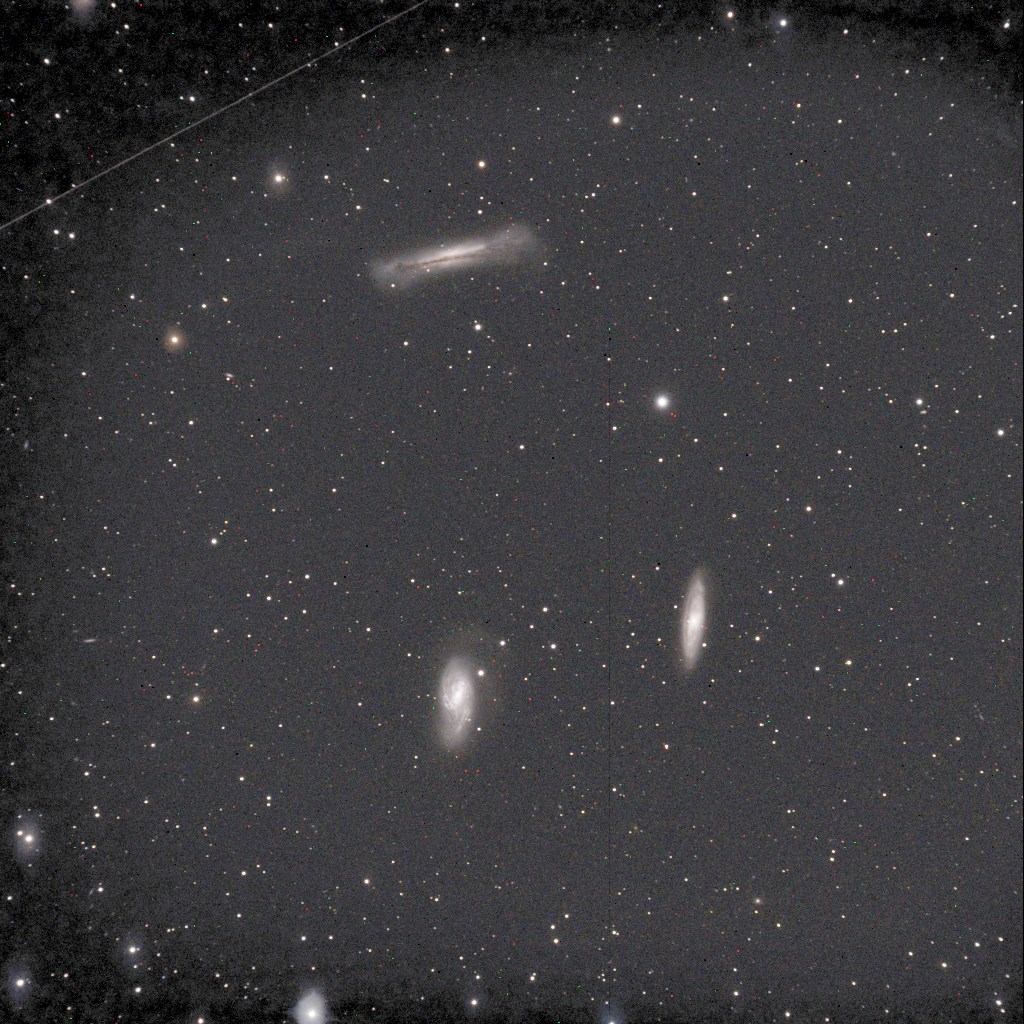
    With the mount polar aligned and all hooked up, I went to an old favorite as a test photo: the “Leo Trio,” M65, M66, and NGC 3628. At the site, the raw data looked really promising. Back home the next day, it was obvious that the image was marred by frost or condensation or both.

    M65, M66, NGC 3628
    The “Leo Trio,” NGC 3628 at the top, M65 and M66 below. Also a likely satellite streak in the upper left, and haze from frost or condensation on the imaging sensor. (Click for full resolution.)

    Afterward, I spent 90 minutes or so learning to use PEMPro, and ended up with a polar alignment within one arcminute of the pole. It’s an excellent program, and I’ll be much quicker at it on the next go-around.

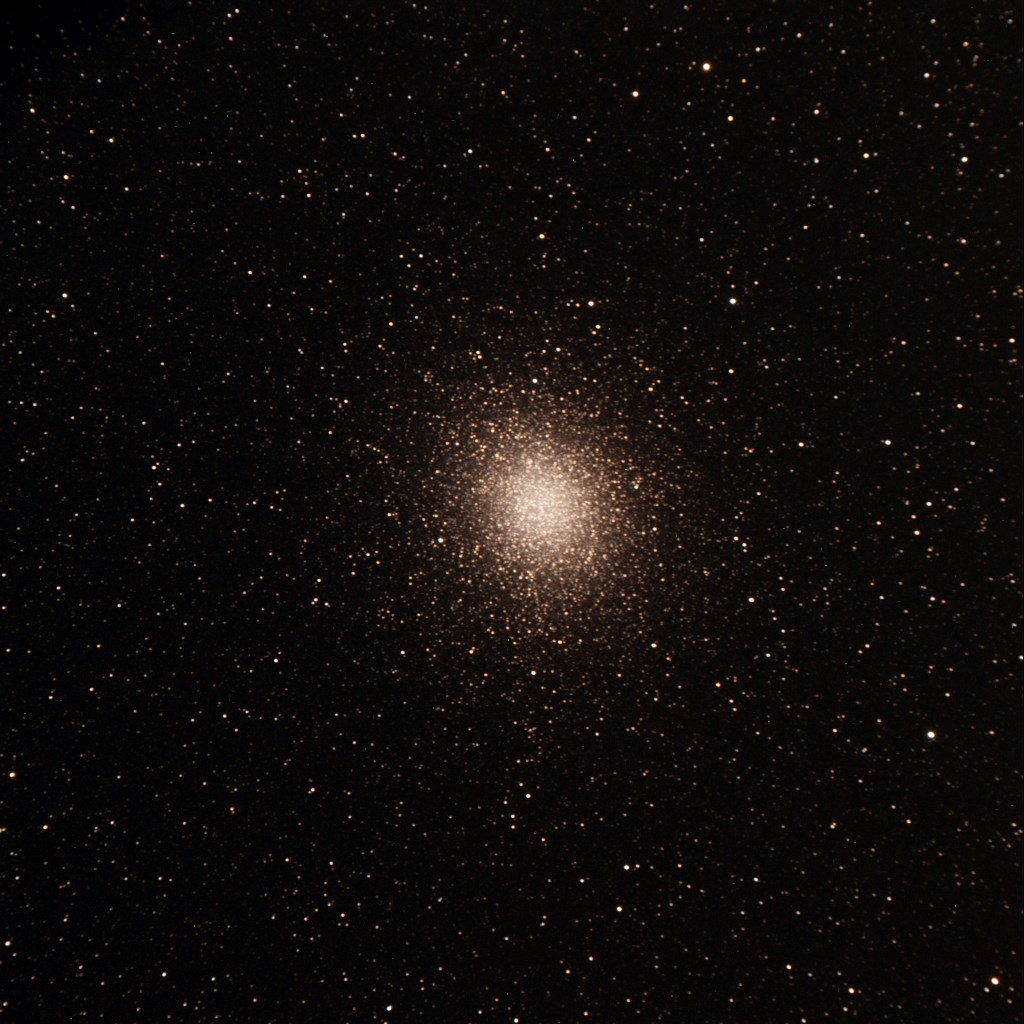
    Meanwhile, there was some excitement among my fellow observers who were seeing the famous and very southerly Omega Centauri globular cluster. This object never rises more than a few degrees above the southern horizon. It’s known for being the largest globular cluster in our sky — probably the largest of all the globulars in the Milky Way’s halo. I couldn’t resist giving it a try.

    Omega Centauri
    Omega Centauri, 15 minute exposure (one exposure, not stacked). Astro-Physics Traveler 105mm f/6 refractor. SBIG ST-4000XCM one-shot color camera. (Click to embiggen.)

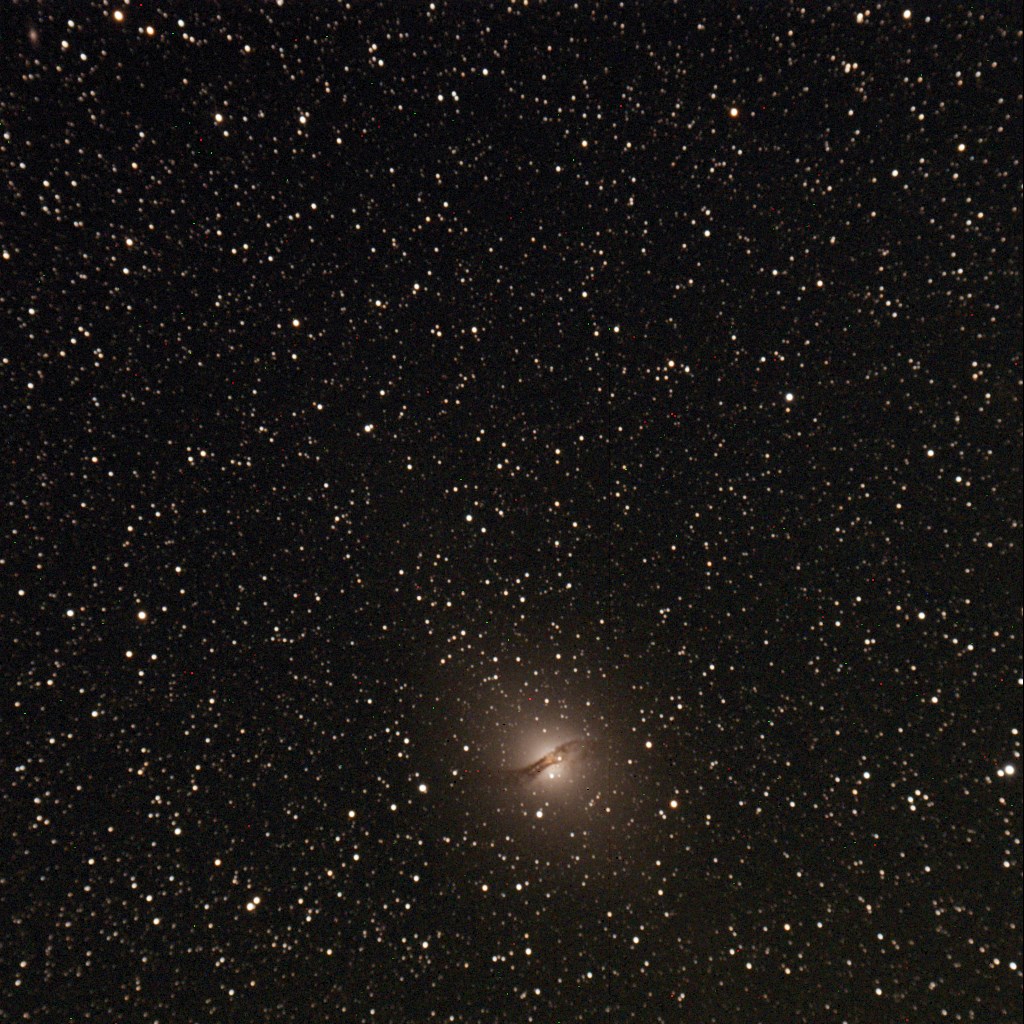
    With that in the bag, I had to get Centaurus A, the famous “Hamburger” galaxy, just barely north of Omega Centaurus.

    Centaurus A
    Centaurus A, active galaxy. (Click to biggify.)

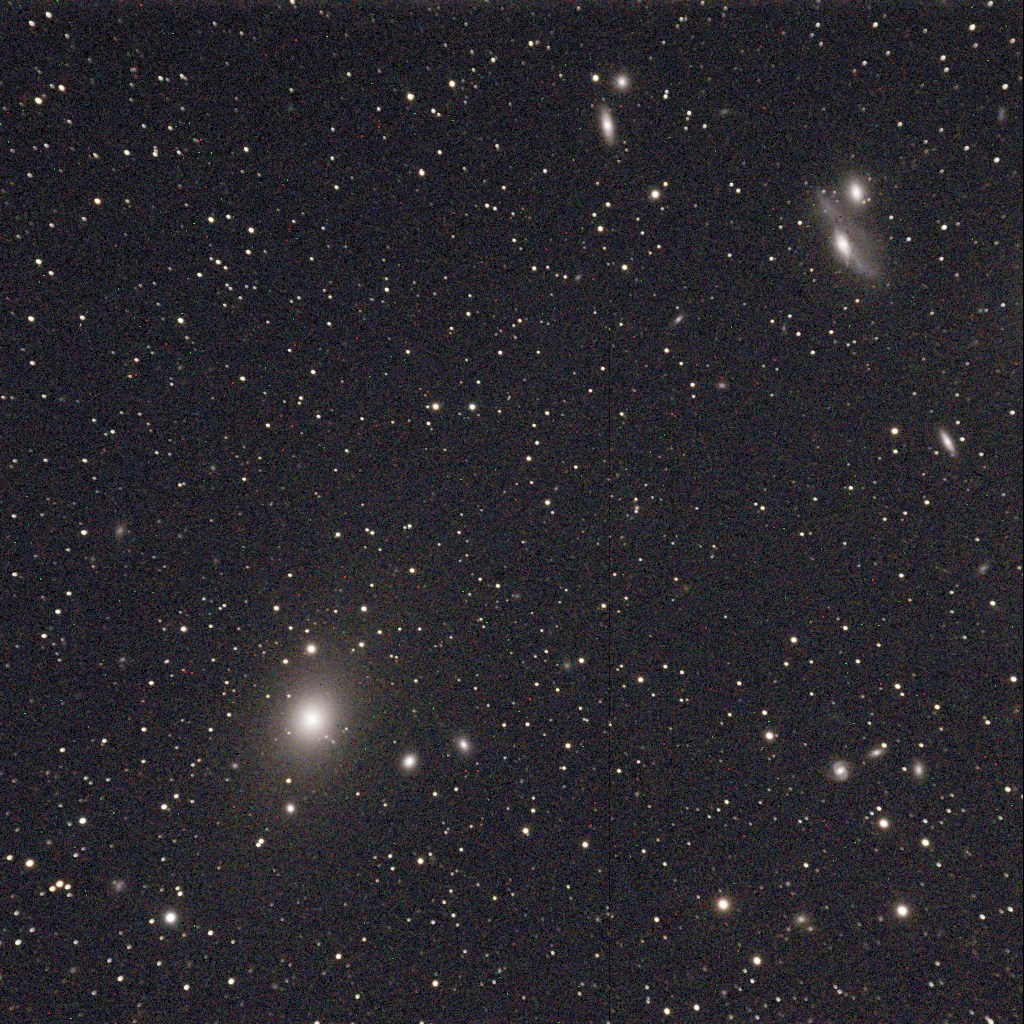
    Then before crawling into the van for a nap, I shot a random field in the Virgo galaxy cluster, around M87.

    M87 and Virgo cluster galaxies. (Click to embiggenate.)
    M87 and several nearby galaxies from the Virgo cluster

    After a nap, I did something I haven’t yet been able to do successfully in astrophotography: I shot some flat frames.

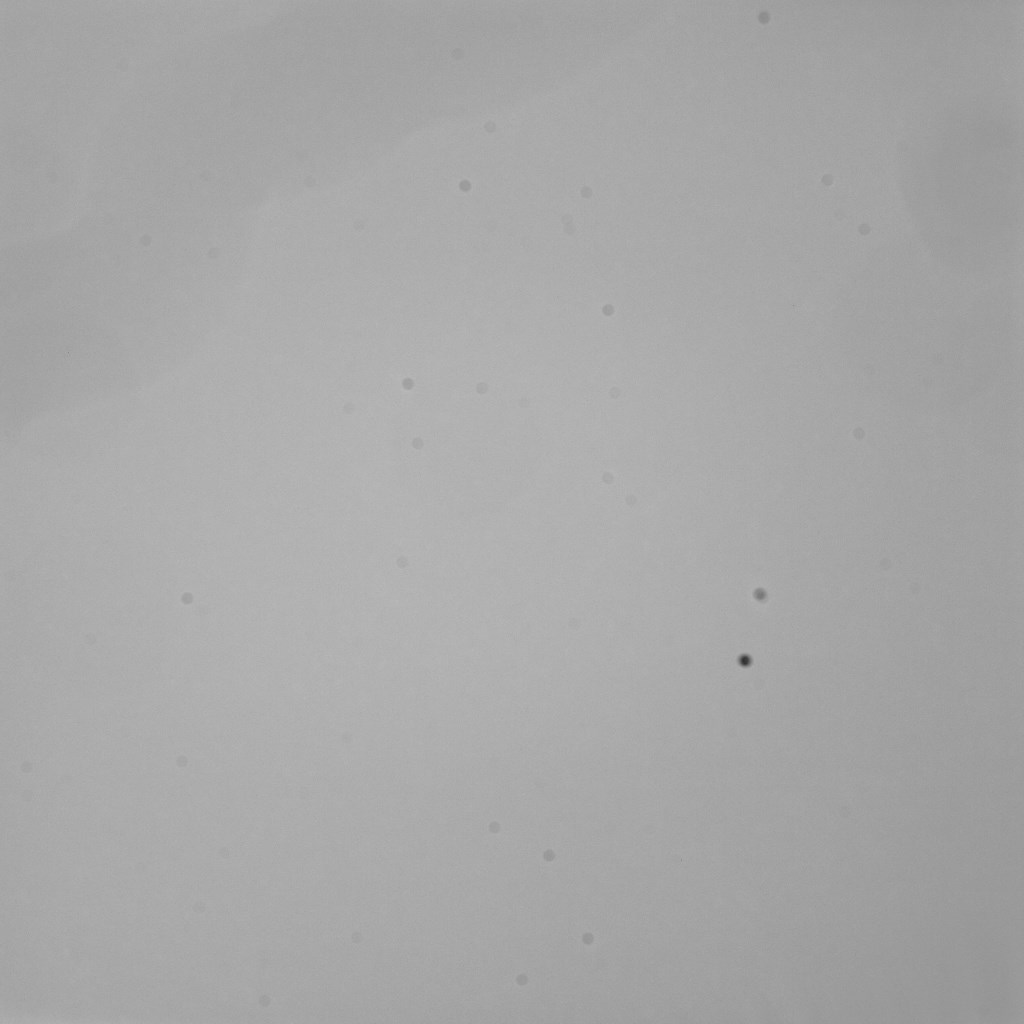
    A “flat” is created by evenly illuminating the sensor to pick up imperfections in the optical train. It’s used to correct things like vignetting and dust spots, and produce a calibrated image.

    With the new software for capture, SbigControl, and data reduction, CCDStack, making flats turned out to be quick and easy. I used my iPad with a grey image on the screen as a light source. I pointed the telescope to the zenith, and rested the iPad on top of the dew shield.

    Here is my master flat, made by combining several raw images:

    Flat image with dust specks and vignetting.
    Master “flat” image taken in the morning after the previous shots, and used to calibrate the images. Notice all the dust specks! (Click for … god, why?)

    Oh gracious, that seems like a lot of dust to me! I’m sure I (un)sealed my fate by opening the dry chamber of the camera, allowing a few specks to settle on the sensor cover glass.

    All-in-all it was one of my most satisfying astrophotography expeditions. I’m really looking forward to getting the camera back from SBIG. I’m not expecting anything magic — it’s not going to take better pictures than these. But I do expect fewer images marred by frost haze. I imagine I’ll be able to shoot earlier in the evening and have the images be usable. With the modern software in place, I might be able to try some more ambitious projects.

  • April Observing: Supernova and a Comet

    The weather forecast for our favorite spot, Amboy Crater, called for decent conditions but high winds. (Why do we care about the wind? Here are four reasons I can think of: simple comfort, blowing charts and equipment, maintaining a target in a telescope, and blowing dust.)

    The best forecast in the area was at our old favorite spot in the Colorado Desert south of Joshua Tree National Park, an area of BLM land below Chuckwalla Mountain called Chuckwalla Bench. We had mostly abandoned Chuckwalla Bench because the unmaintained dirt road (Red Cloud Mine Rd.) was getting a bit treacherous. Someone suggested a different road, following a nearby train track, that got us to the same observing spot a lot more reliably.

    Conditions seemed near perfect, with calm to light winds, clear skies, comfortable temperatures, and pretty good seeing. The nighttime temperatures may have dipped a bit below 60 degrees F, but not a lot.

    Jane had our 14.5-inch dob, and reported that visual observing conditions were quite excellent. Her report is fabulous, and I wish I’d tried for those low southern objects! The Chuckwalla Bench location does have a light dome to the south, but nothing ventured …. [Read Jane’s report here.]

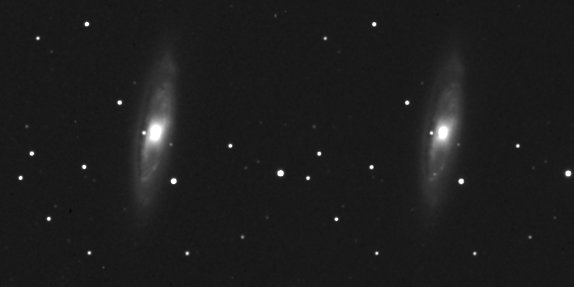
    I started with a galaxy in Leo that I shot last month, M65. Since shooting it last month, a supernova was discovered in the galaxy. I did one 15-minute exposure, and had fun today making a “blink comparitor” animation. Can you see the supernova?

    m65-sn2013am
    Two images of M65, one shot on 3/9/13, one shot on 4/6/13.

    At the end of the post, I’ll mark where it is. 🙂

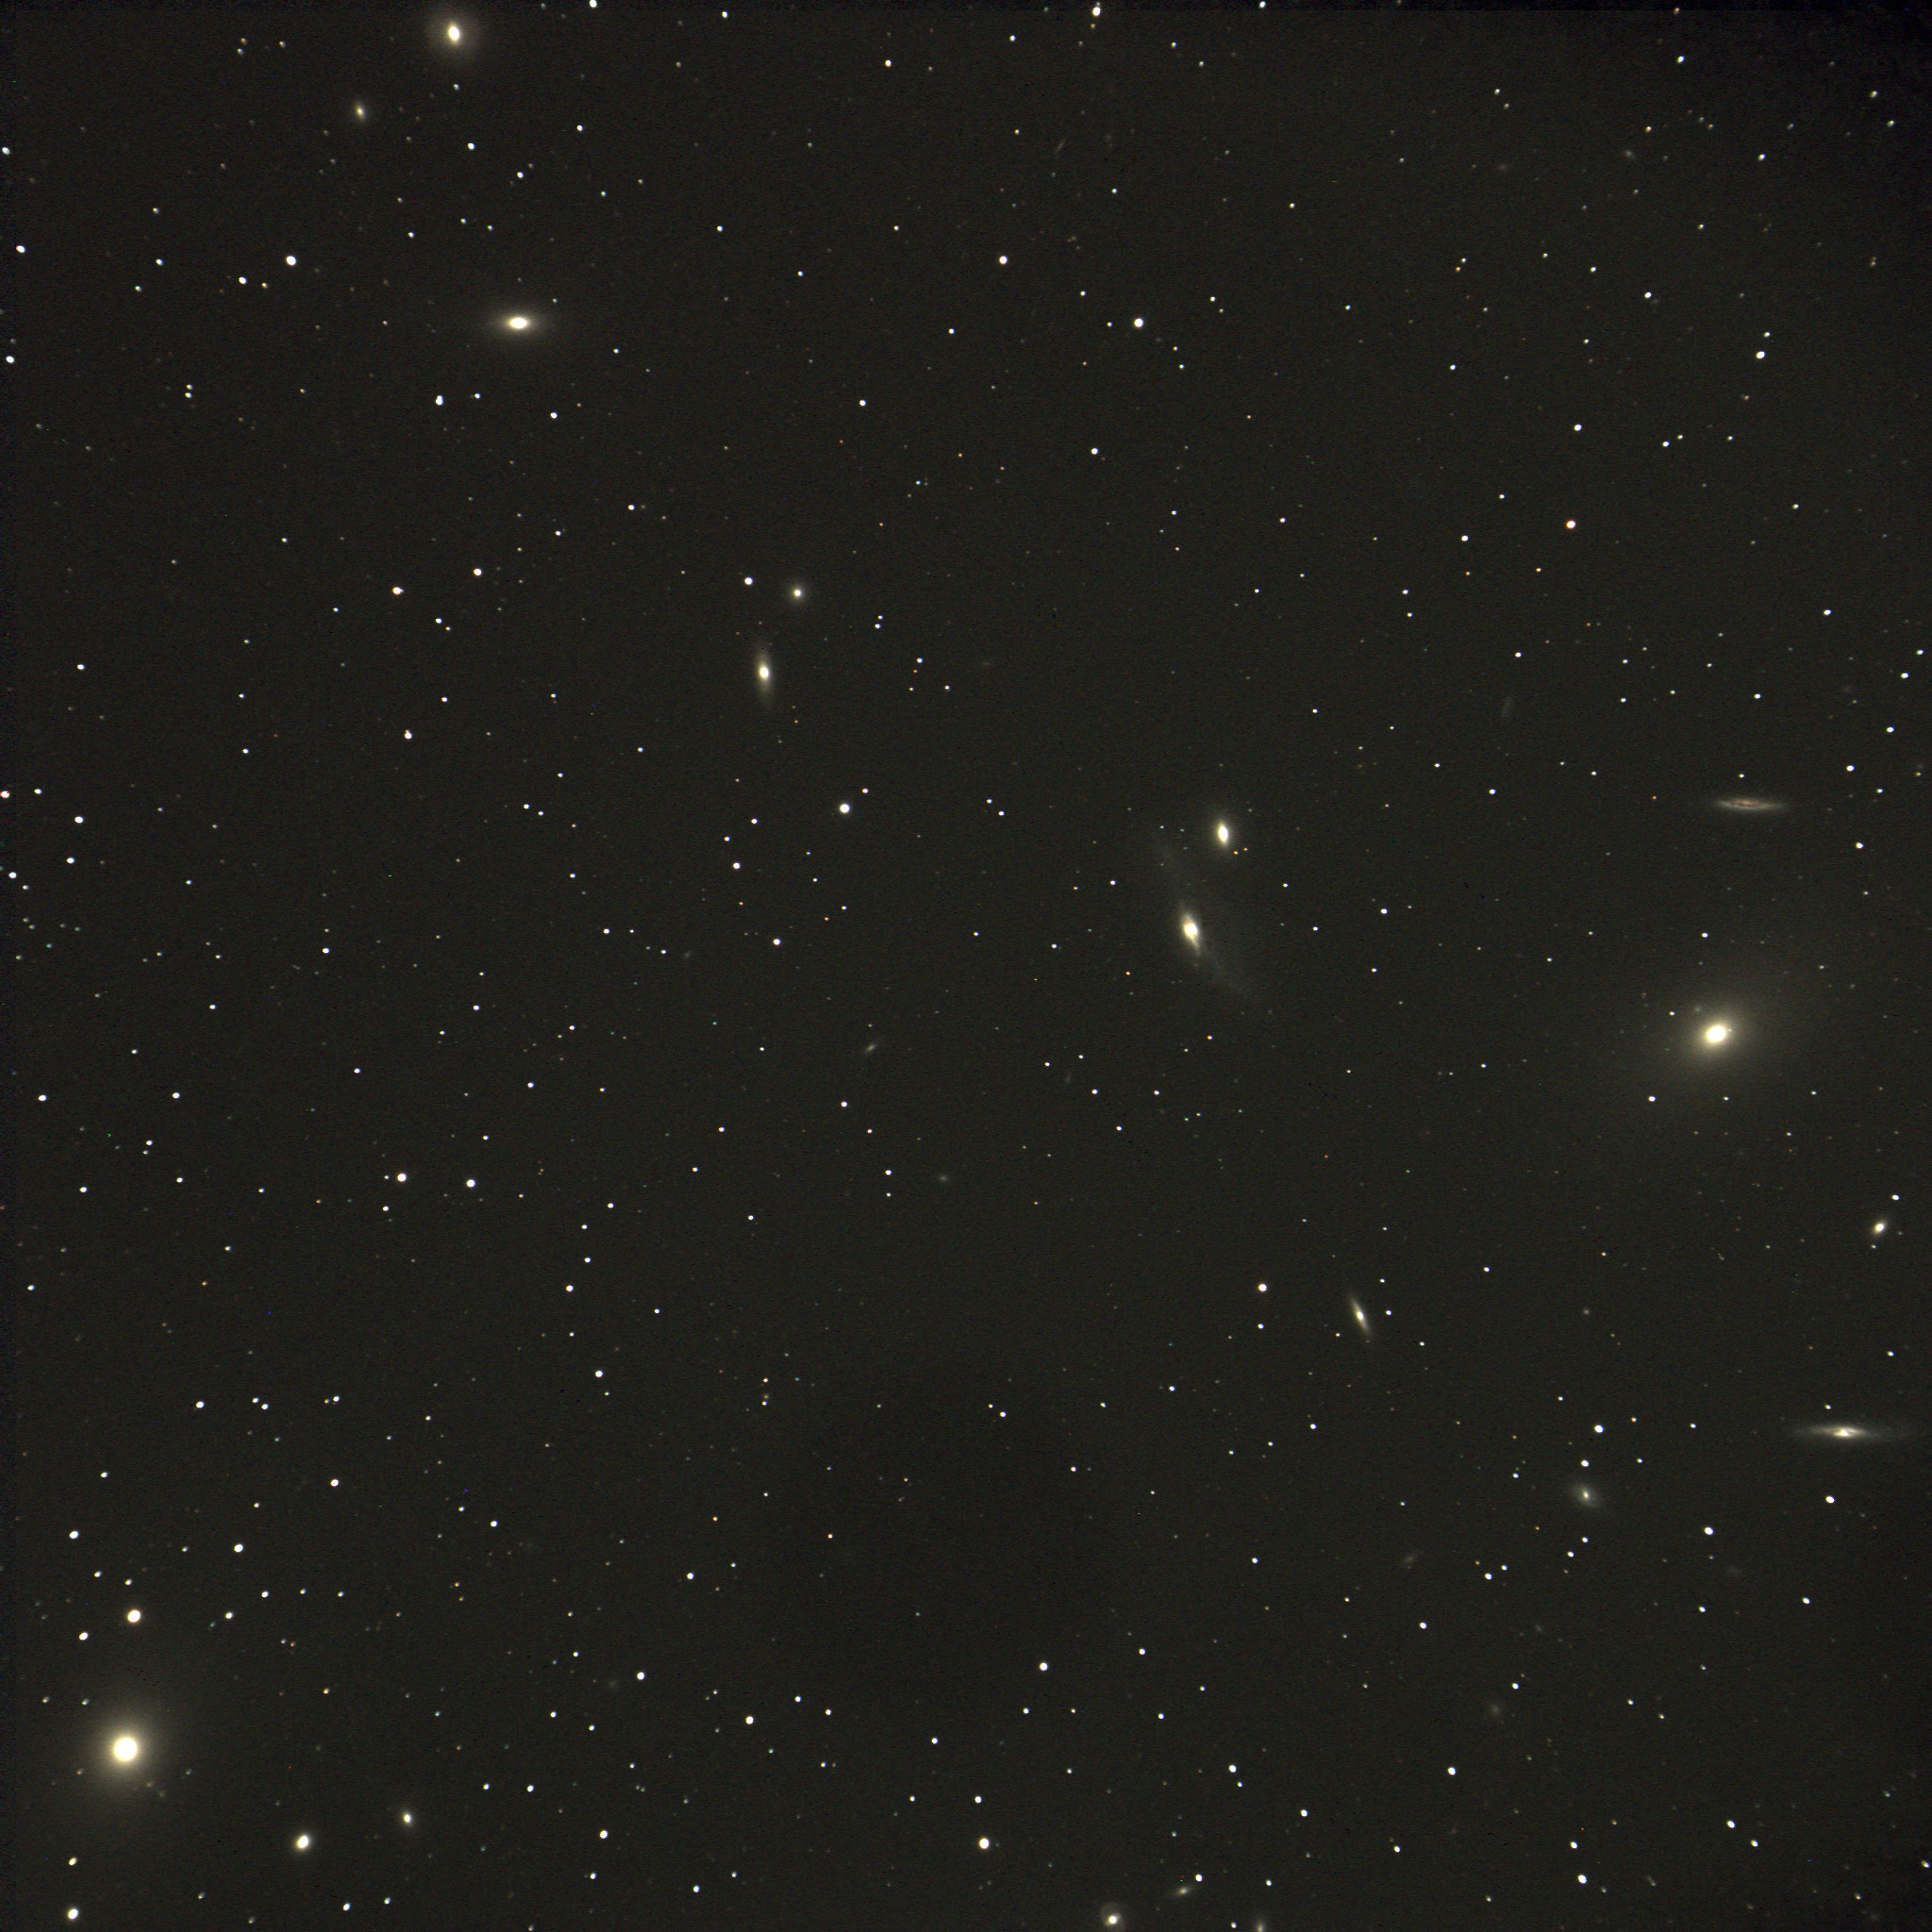
    Being spring, I wanted to collect some galaxies. I started with a string of galaxies in the nearby Virgo cluster, called Markarian’s Chain. The chain extends from the middle-right of the image, to the left and upward. In the lower left corner is giant elliptical galaxy M87.

    markarians-chain
    A portion of Markarian’s Chain in Virgo, with giant M87 in the lower left

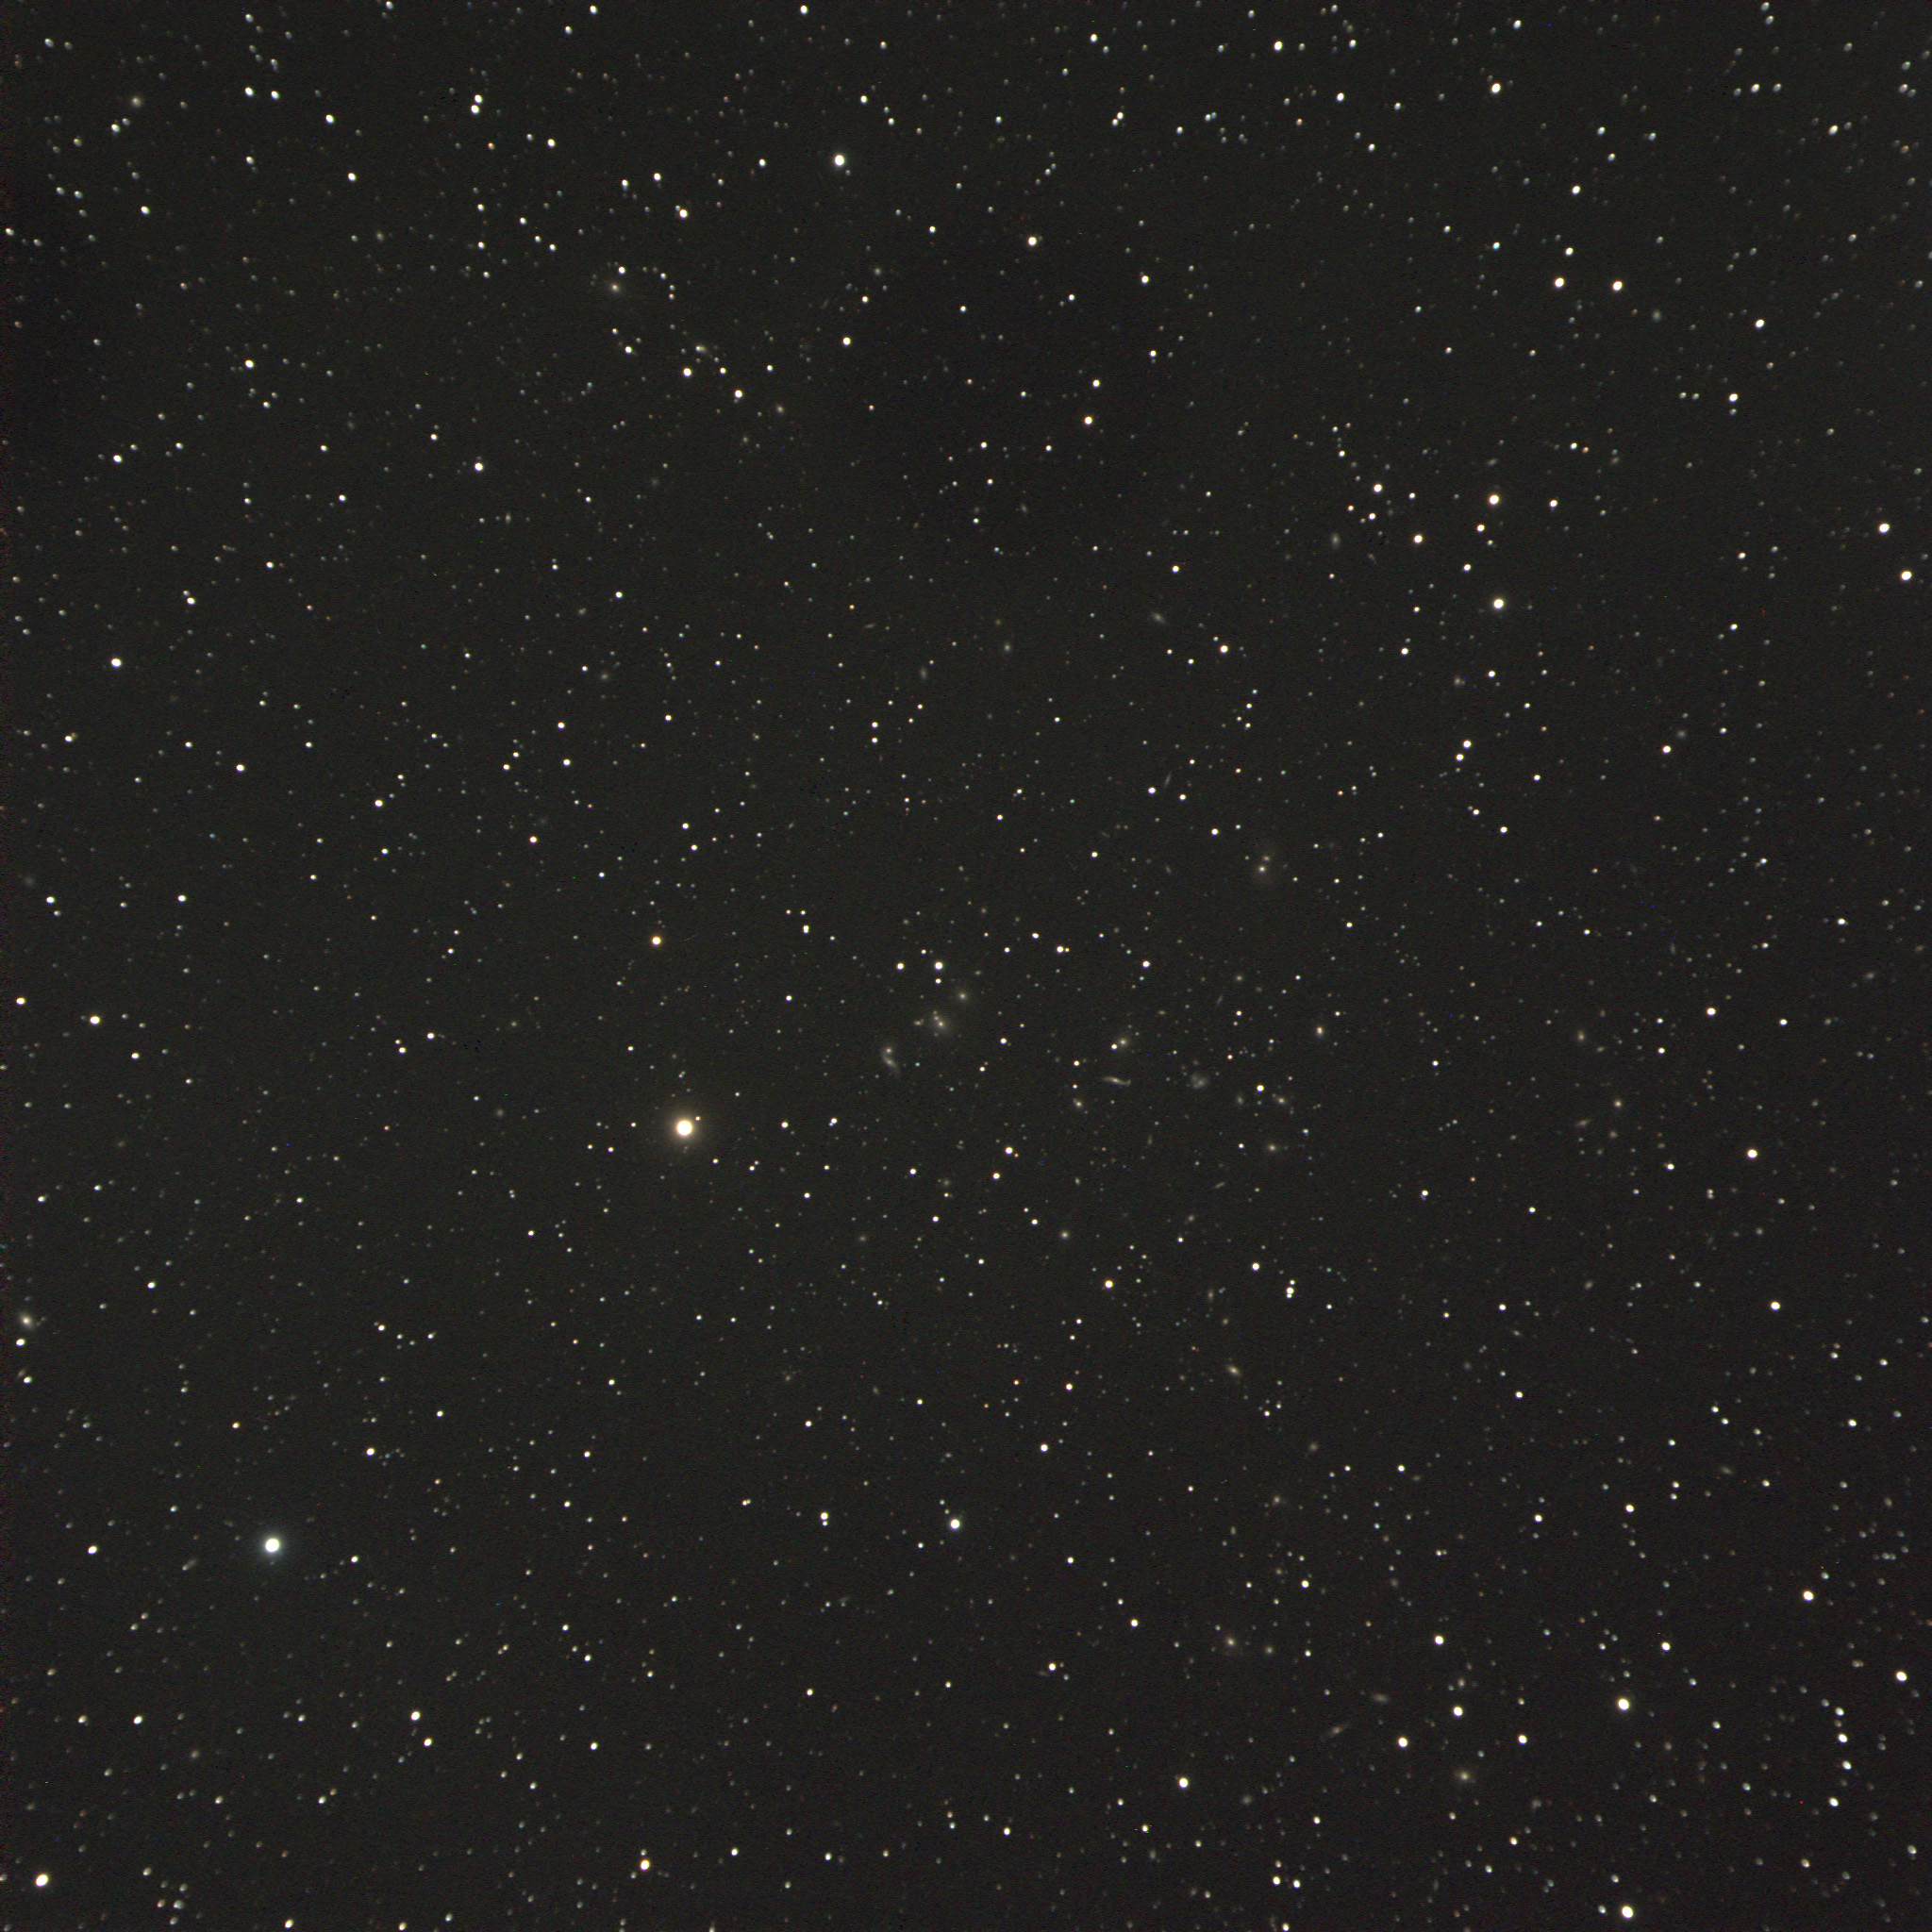
    Then I wanted to try for something a little more distant, and did 45 minutes on a remote galaxy cluster with the catalog number of Abell 2151, found in the constellation of Hercules. This is a group of about 200 galaxies some 500 million light years distant.

    Abell 2151
    Galaxy cluster in Hercules known as Abell 2151. This compact view doesn’t show them well, but click on the image for full resolution, and pan around to see if you can find some distant spirals.

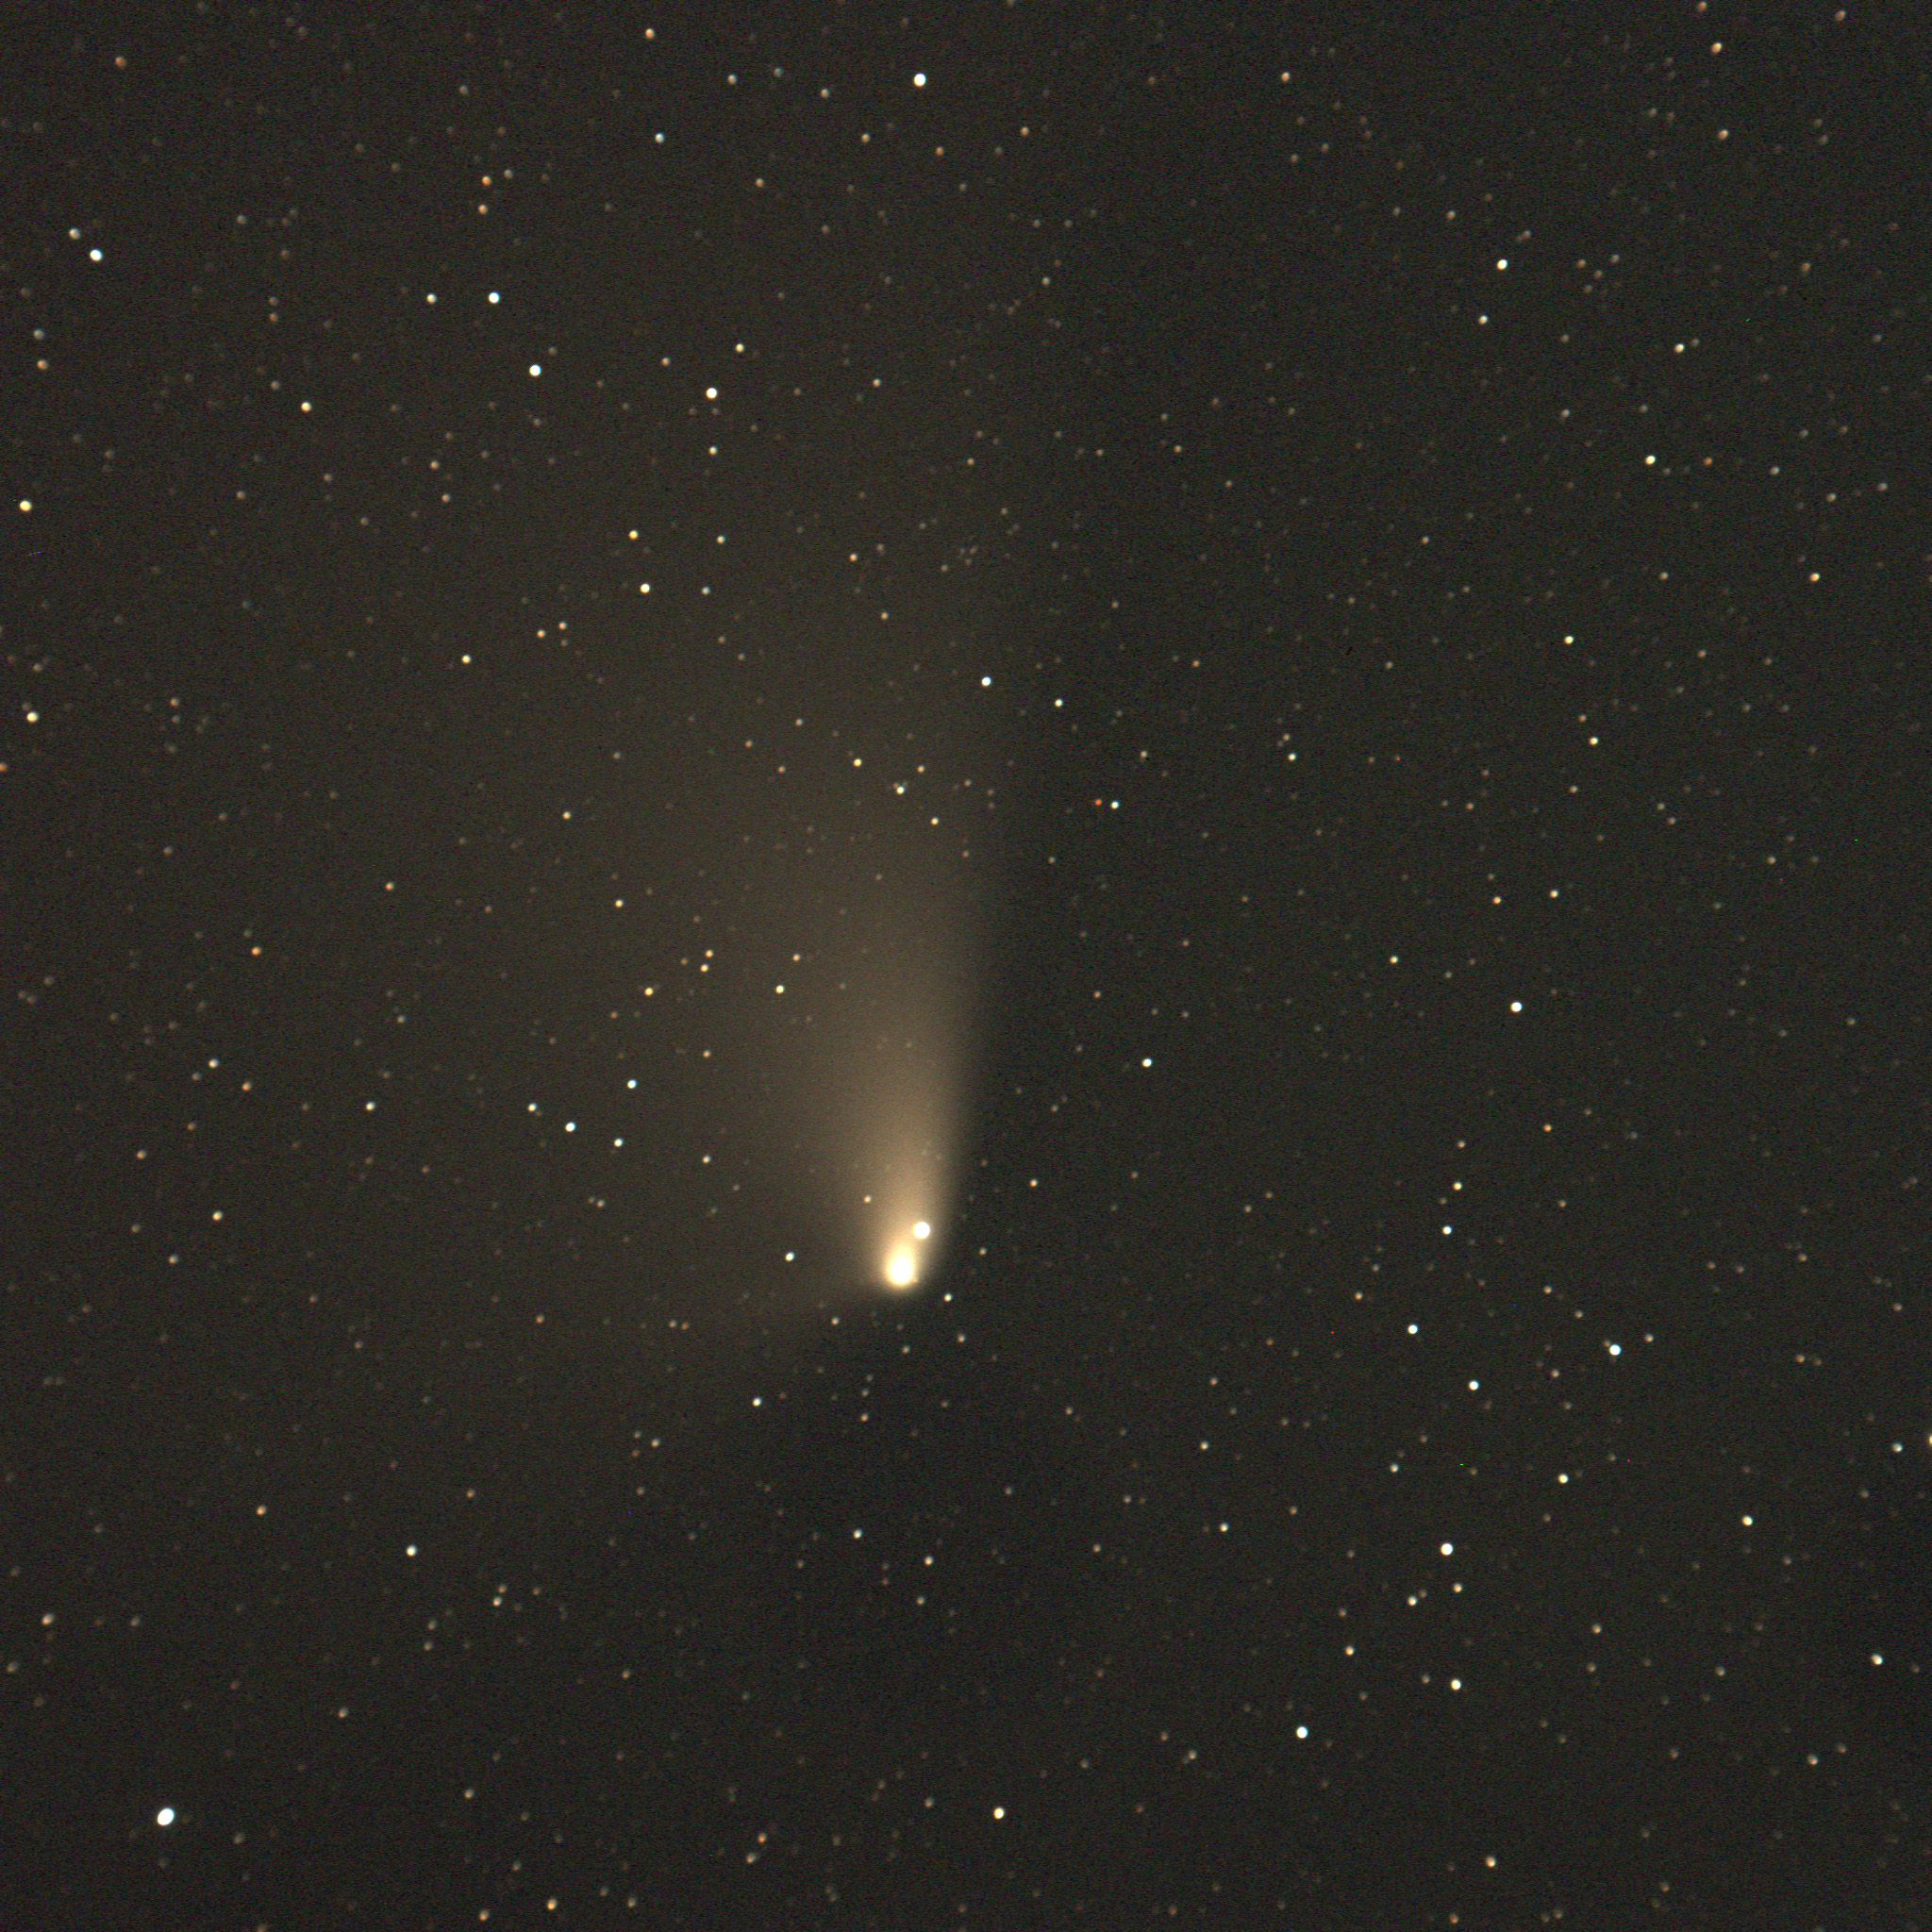
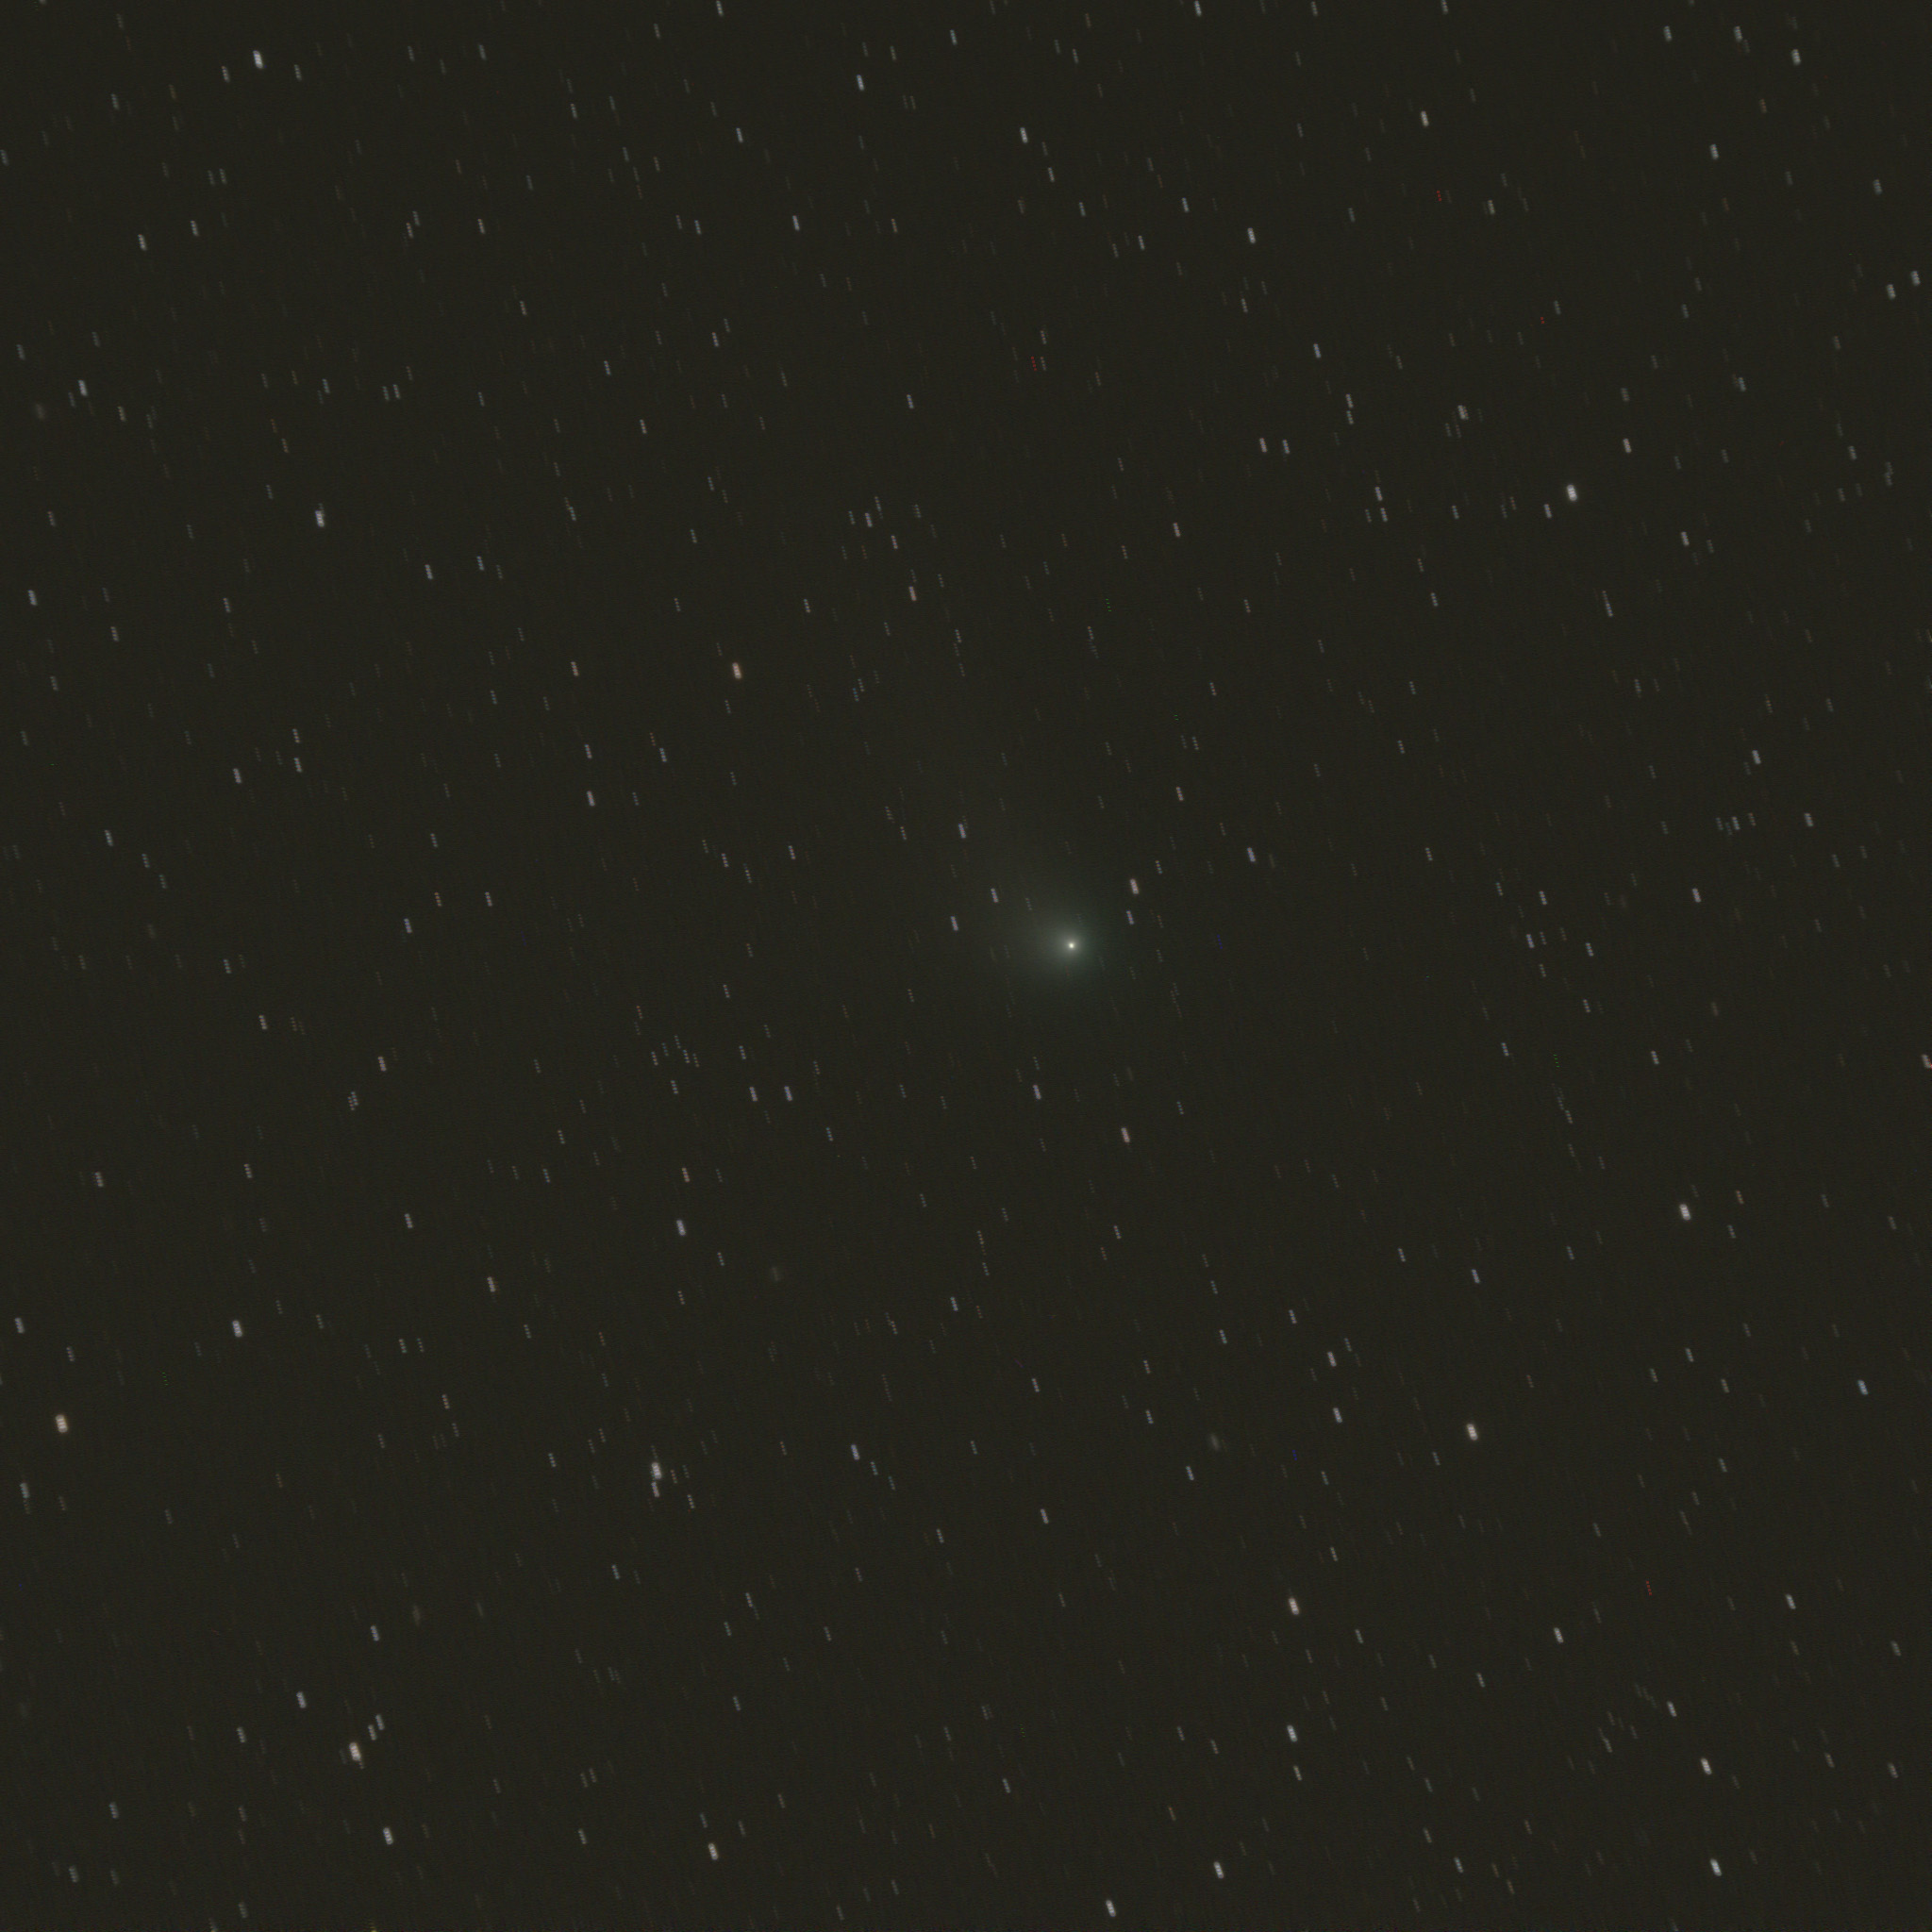
    Finally comet C/2011 L4 (PANSTARRS) has been moving toward the north celestial pole, and right now it’s easier to catch before dawn than after sunset. After napping for a while, we found the comet at about 4:00 a.m. Here’s my first five-minute exposure.

    Comet C/2011 L4 (PANSTARRS)
    Comet C/2011 L4 (PANSTARRS) shot before dawn on 4/7/13, five-minute exposure

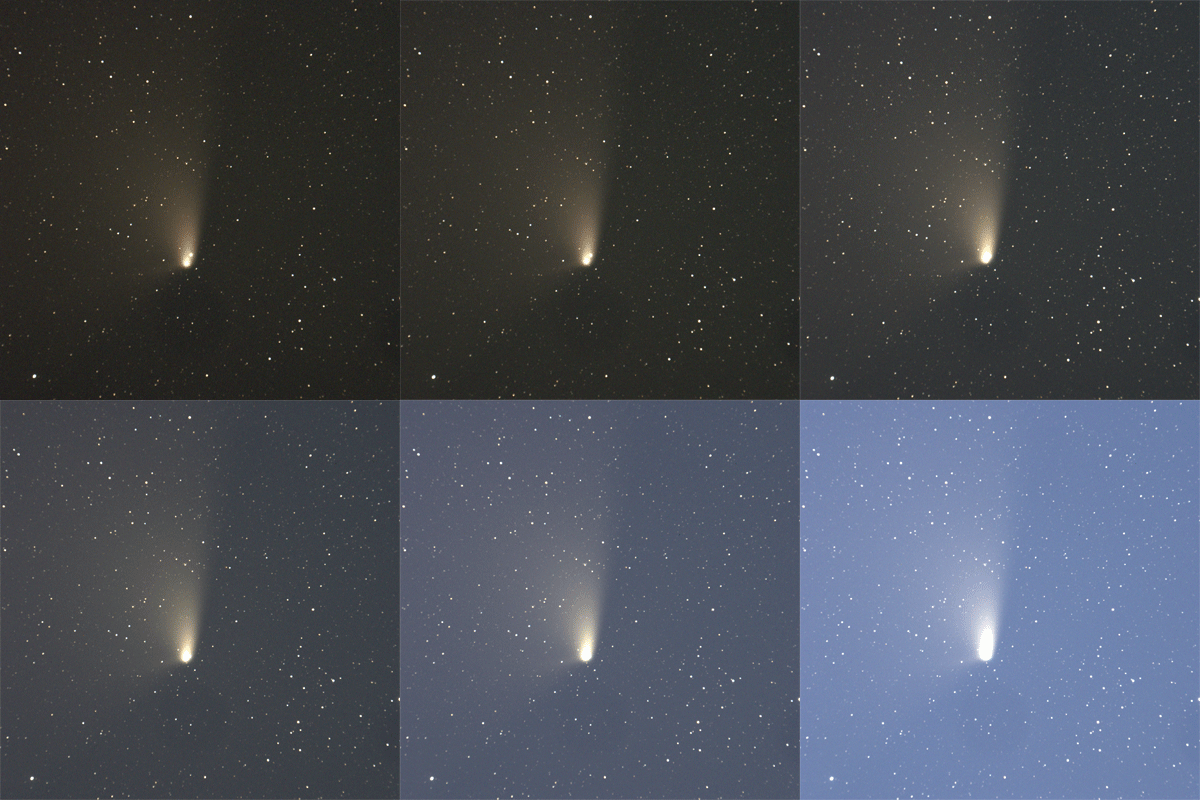
    I did a series of several 5-minute exposures, and stitched them into a GIF animation. If you look carefully, you can see the motion of the comet against the background stars. The other rather obvious feature is the coming dawn light as the sky turns brighter and very blue. 🙂

    Comet PANSTARRS animation
    Comet PANSTARRS moves slightly against the background stars, as dawn arrives at Chuckwalla Bench.

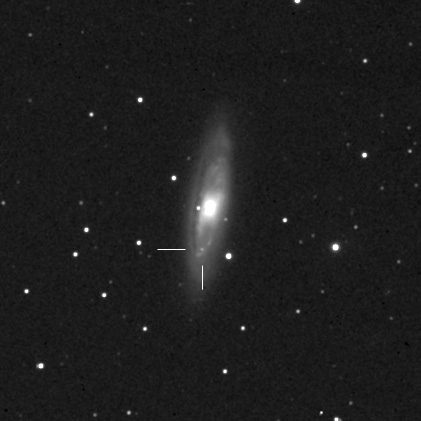
    And finally, if you didn’t find the supernova in my “blink” animation above, it’s marked for you here.

    SN2013am
    M65 with supernova 2013am taken 4/6/13

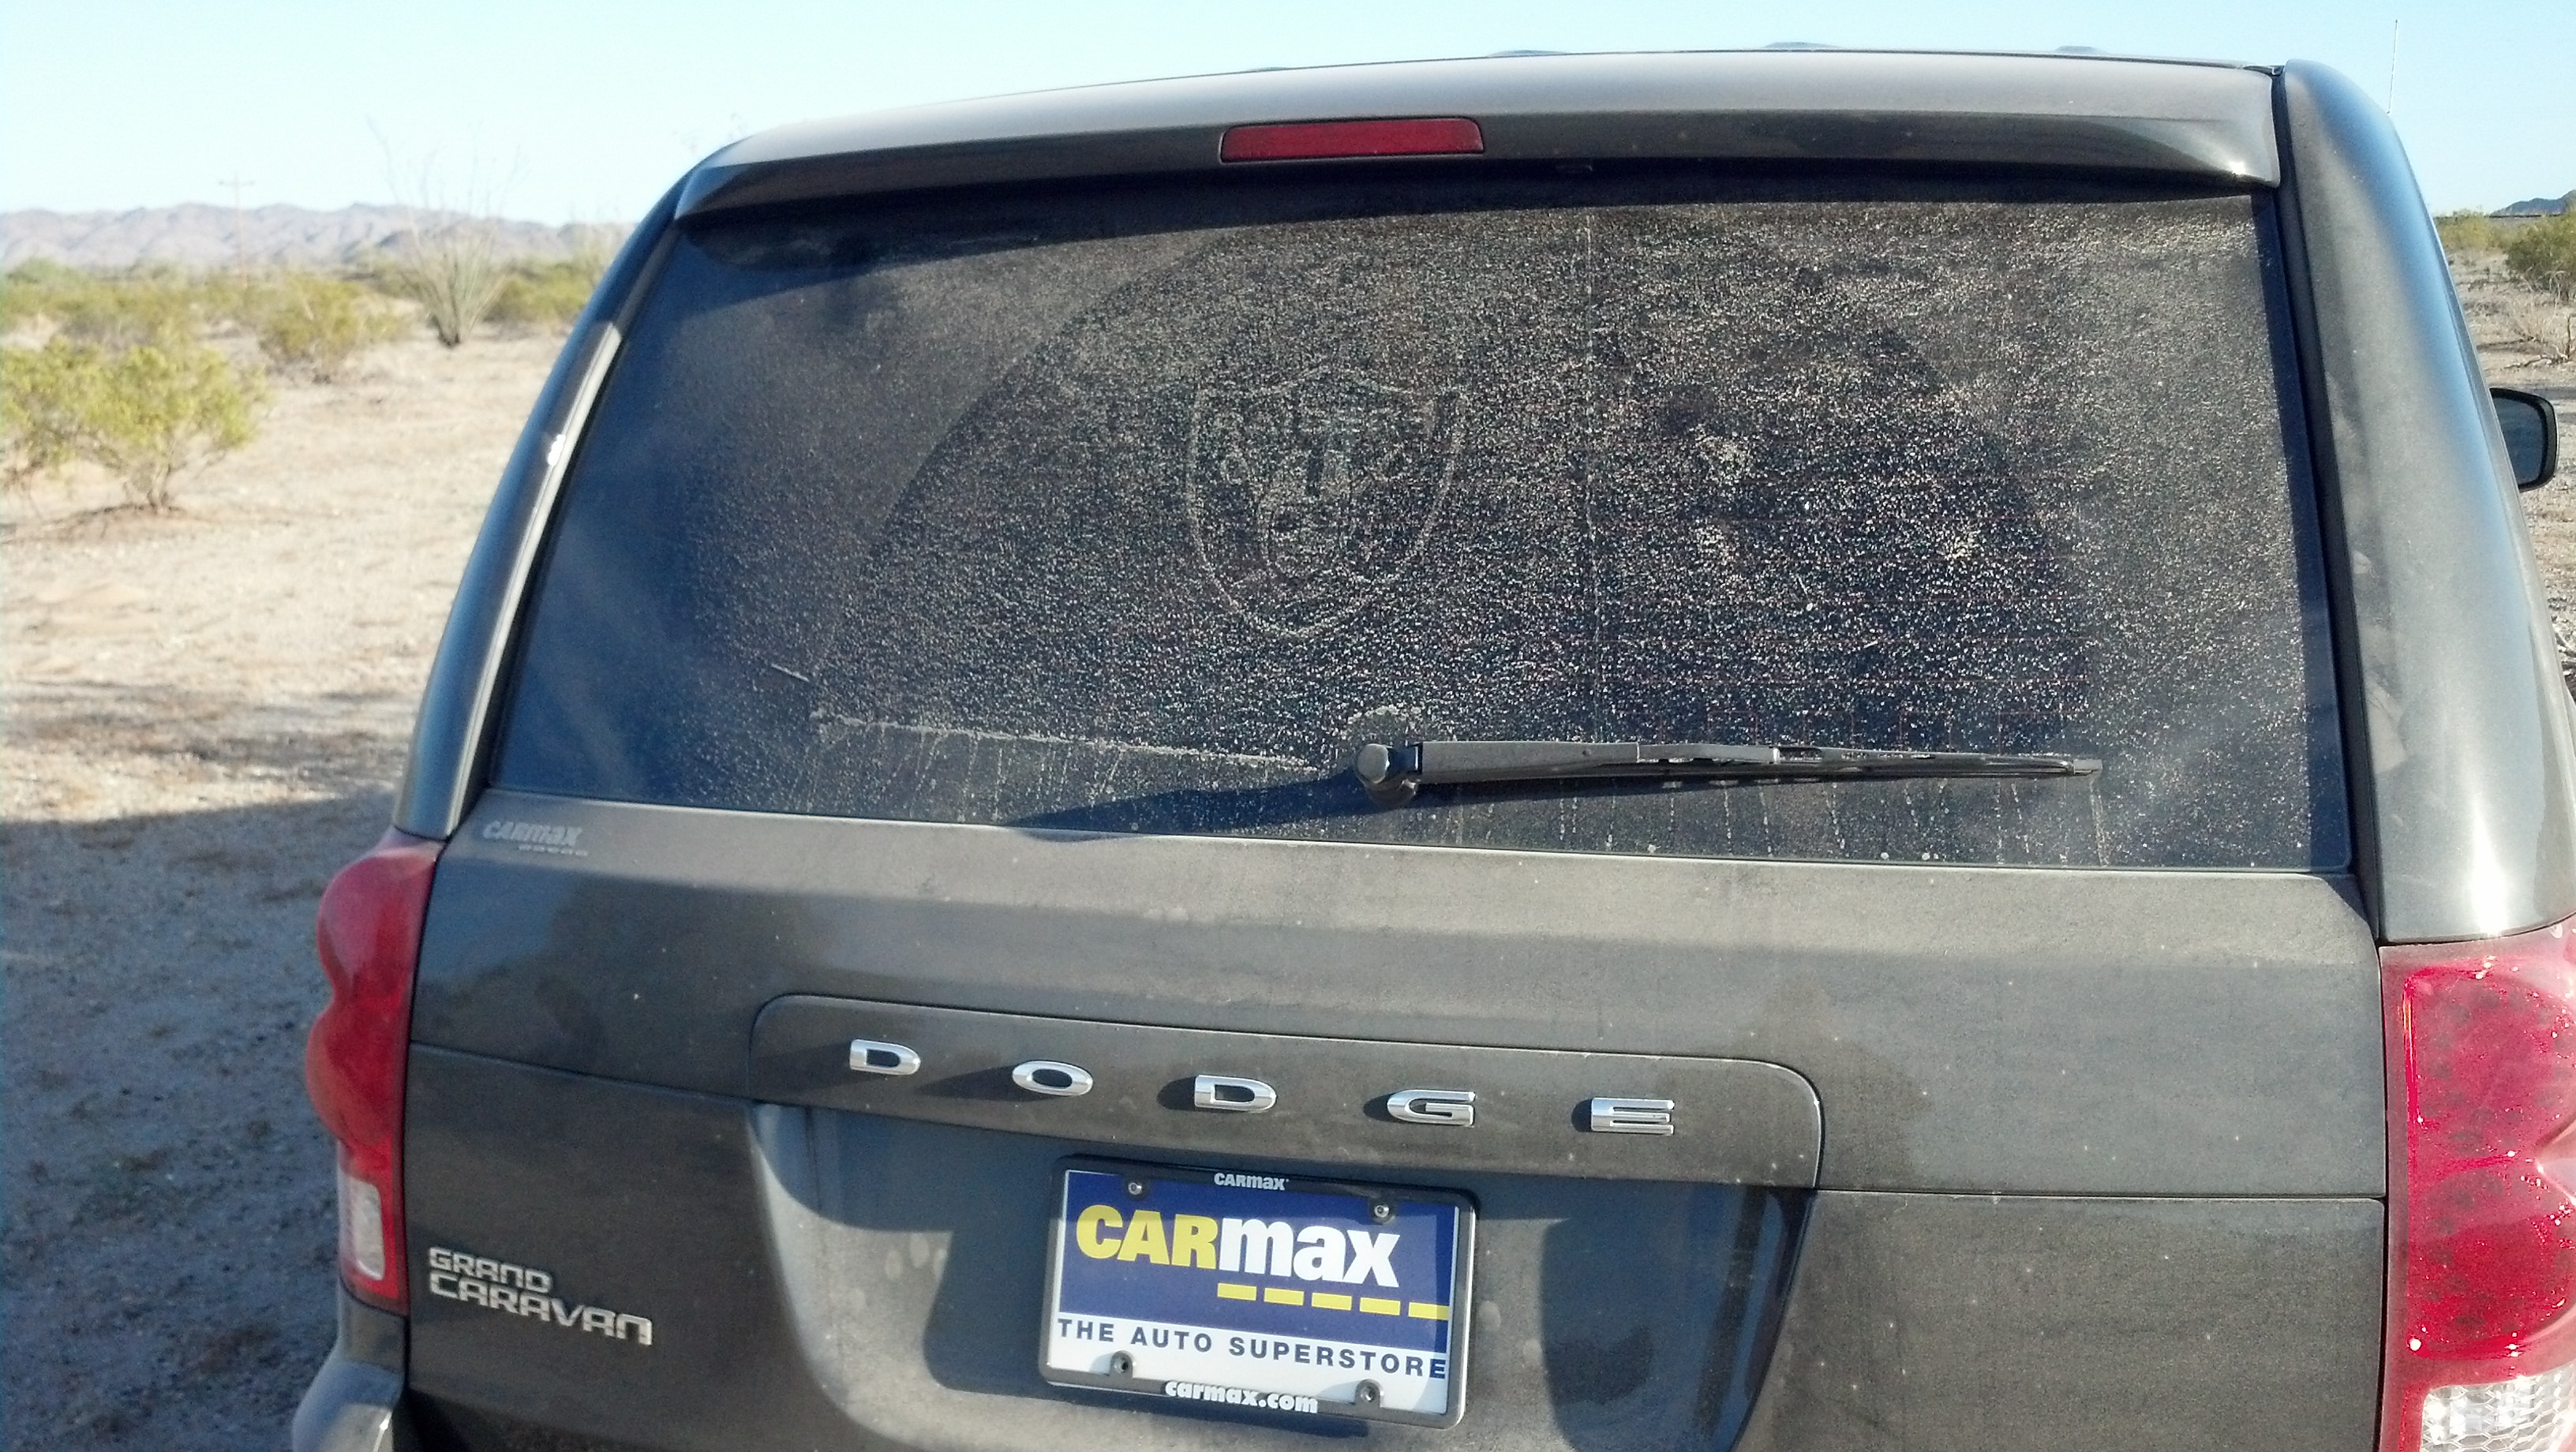
    If you follow us on Twitter or Facebook, you know that we finally replaced our intrepid green 1998 Dodge Grand Caravan with a new-to-us 2012 Grand Caravan. We purchased it from Carmax with 5,200 miles on the odometer, and this was its first official astronomy outing. Carmax disclosed that the previous owner used it in “fleet” operations.

    Of course the van was pristine when we took possession, but the molecular residue of some adhesives may never vanish, though invisible on ordinary glass. After two miles of dusty dirt road in Chuckwalla Bench, I said to Jane, “I know who the van’s first owner was!” This is what I saw on the back window of Earl the Grey Caravan.

    Dust pattern in car window.
    Earl, our grey Caravan, reveals his previous owner in the dust pattern on the rear window.
  • Finally some observing weather

    See Jane’s observing report from the same evening — some great binocular observing with Kemble’s Cascade.

    IMG_0890
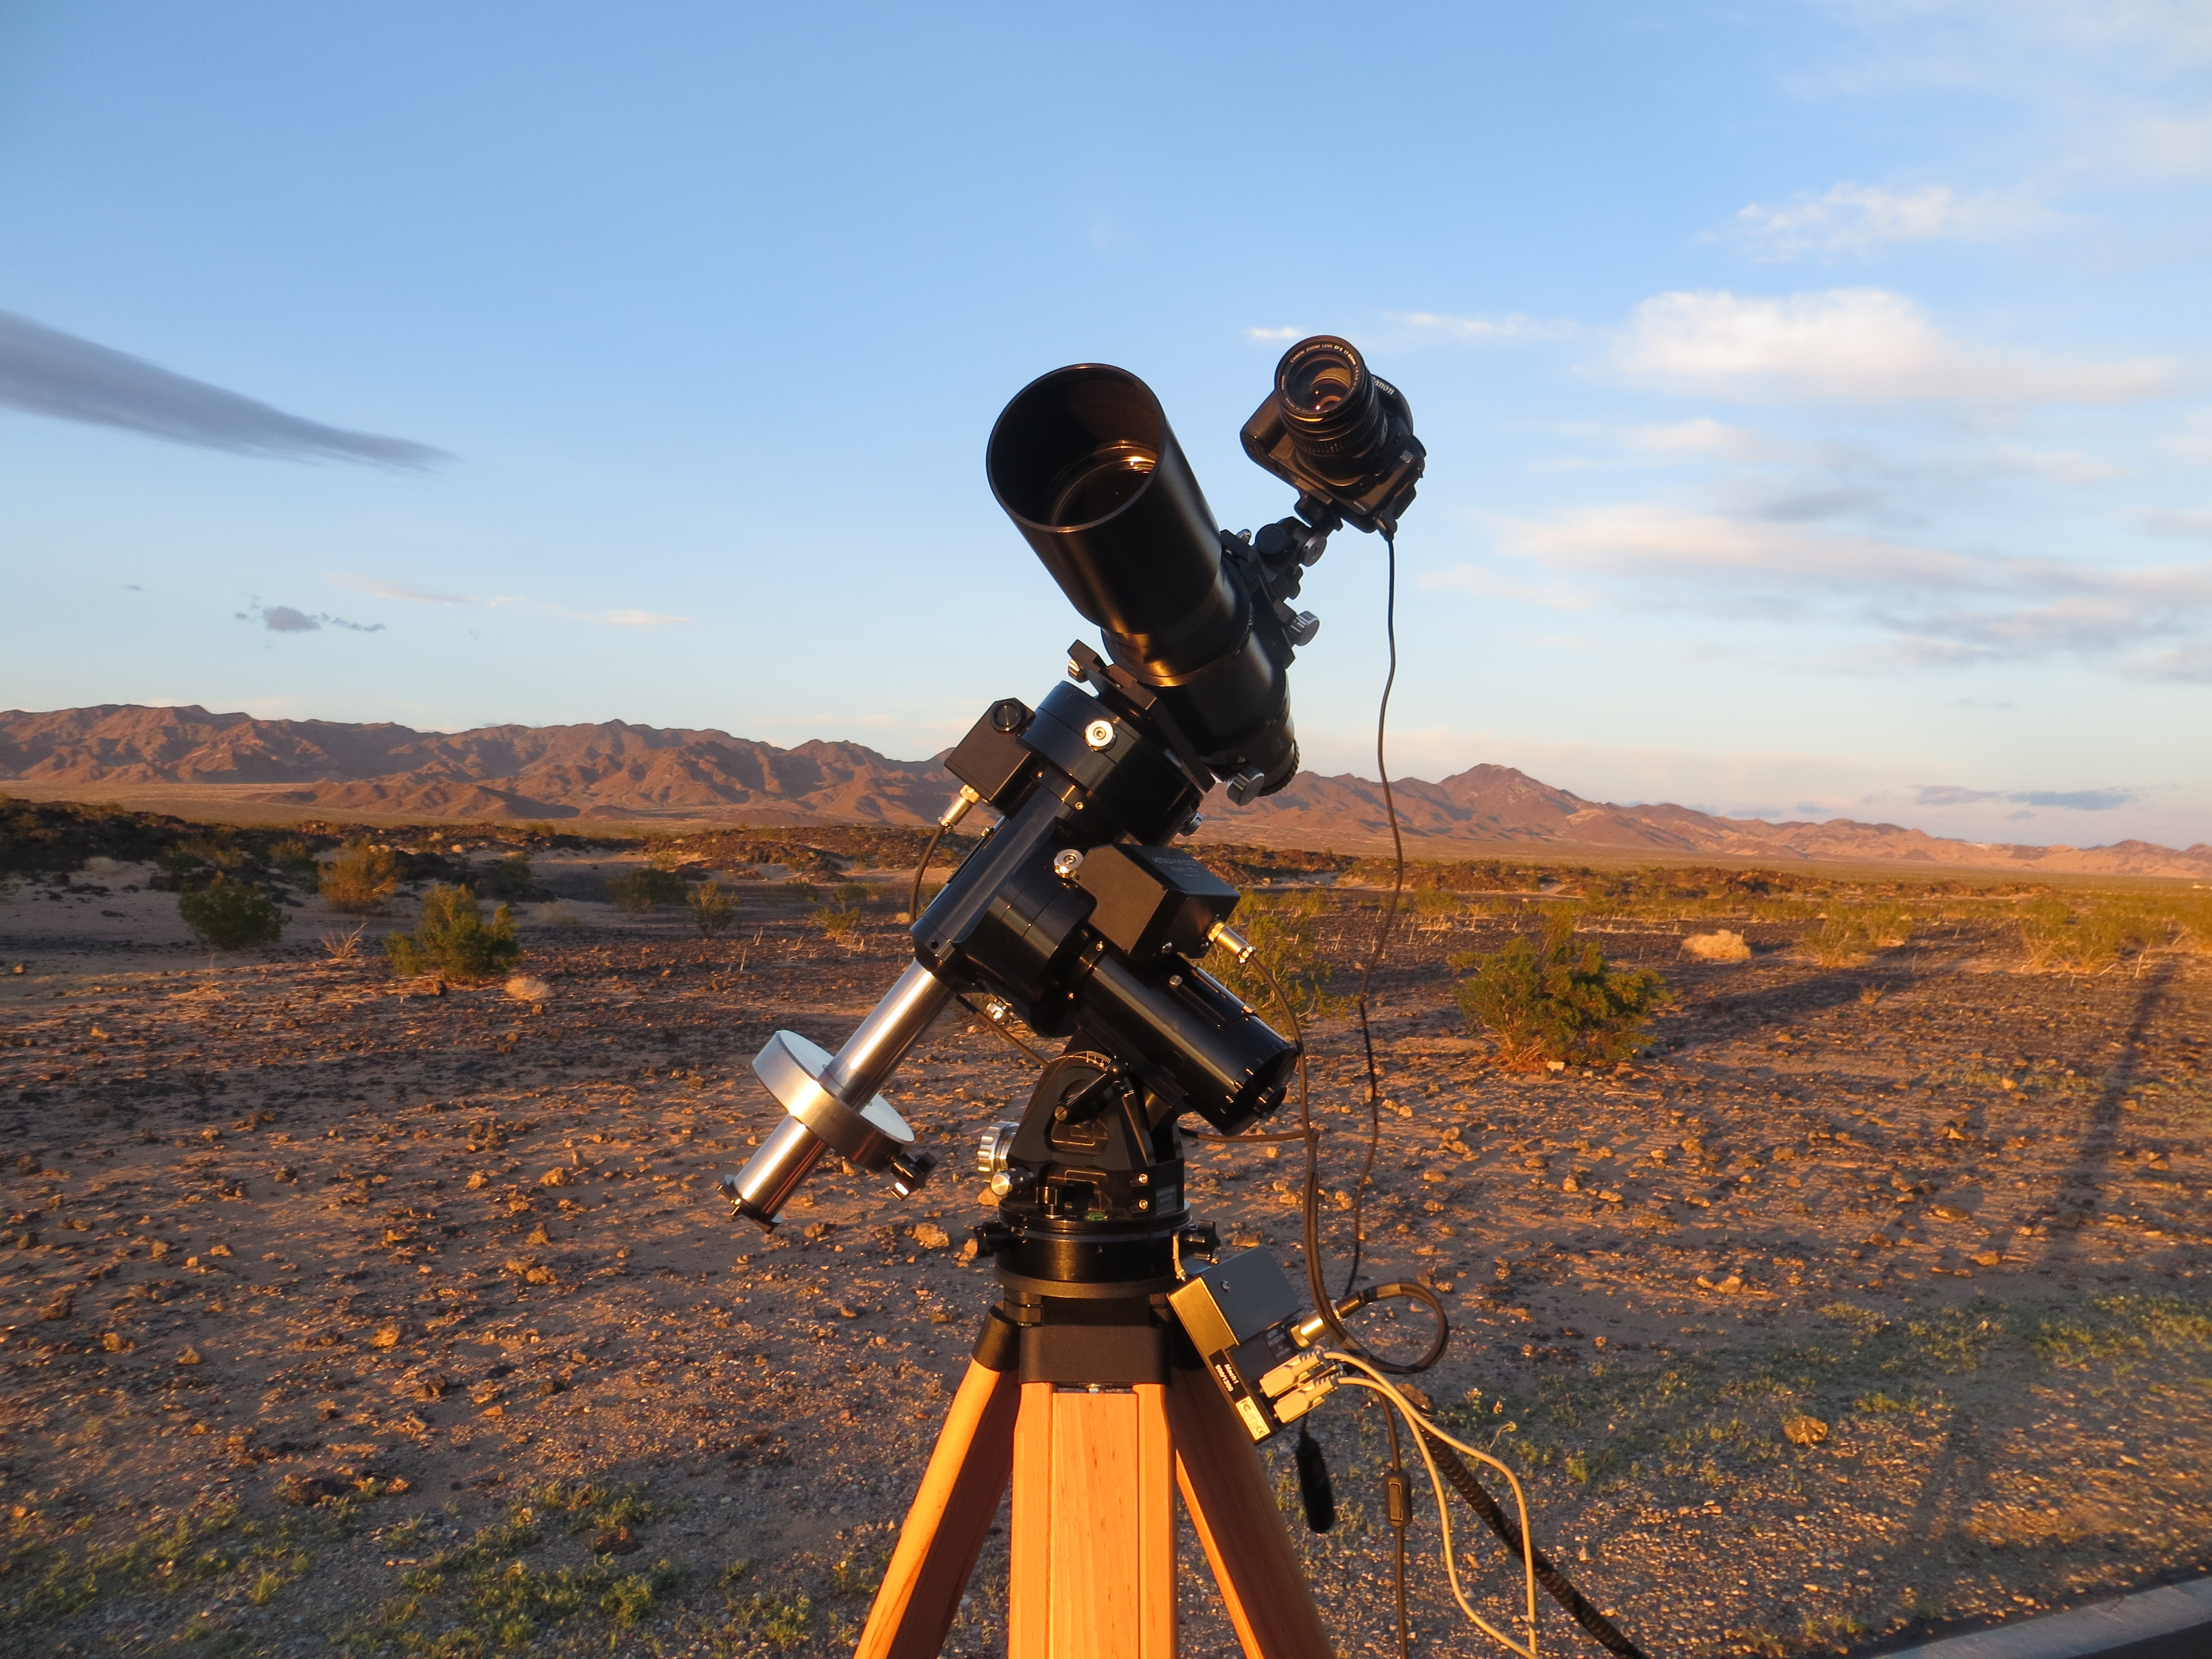
    The 20D mounted piggyback on the Traveler and Mach One GTO mount, hoping to catch comet PANSTARRS on its first opportunity.

    Several months ago, David Green of the Santa Clarita Valley Photographers Association invited me to give a talk on astrophotography in March.

    I thought, “No problem! We’ll have several dark sky weekends between now and then for me to get some photos and screen captures, and I’ll have a fine talk.”

    Famous last words! I must have jinxed the weather. But my luck turned just in time to get out with Jane on March 9 for some dark sky observing and astrophotography at Amboy Crater.

    This trip would be the last remote observing session for our not-so-trusty Dodge Grand Caravan. It had been plagued with electrical troubles for the past several months, and on this trip it started behaving erratically on the climb up the Cajon pass on I-15. We opted to brave the possibility of being stranded, and carried on to Amboy Crater. Luckily everyone survived the trip!

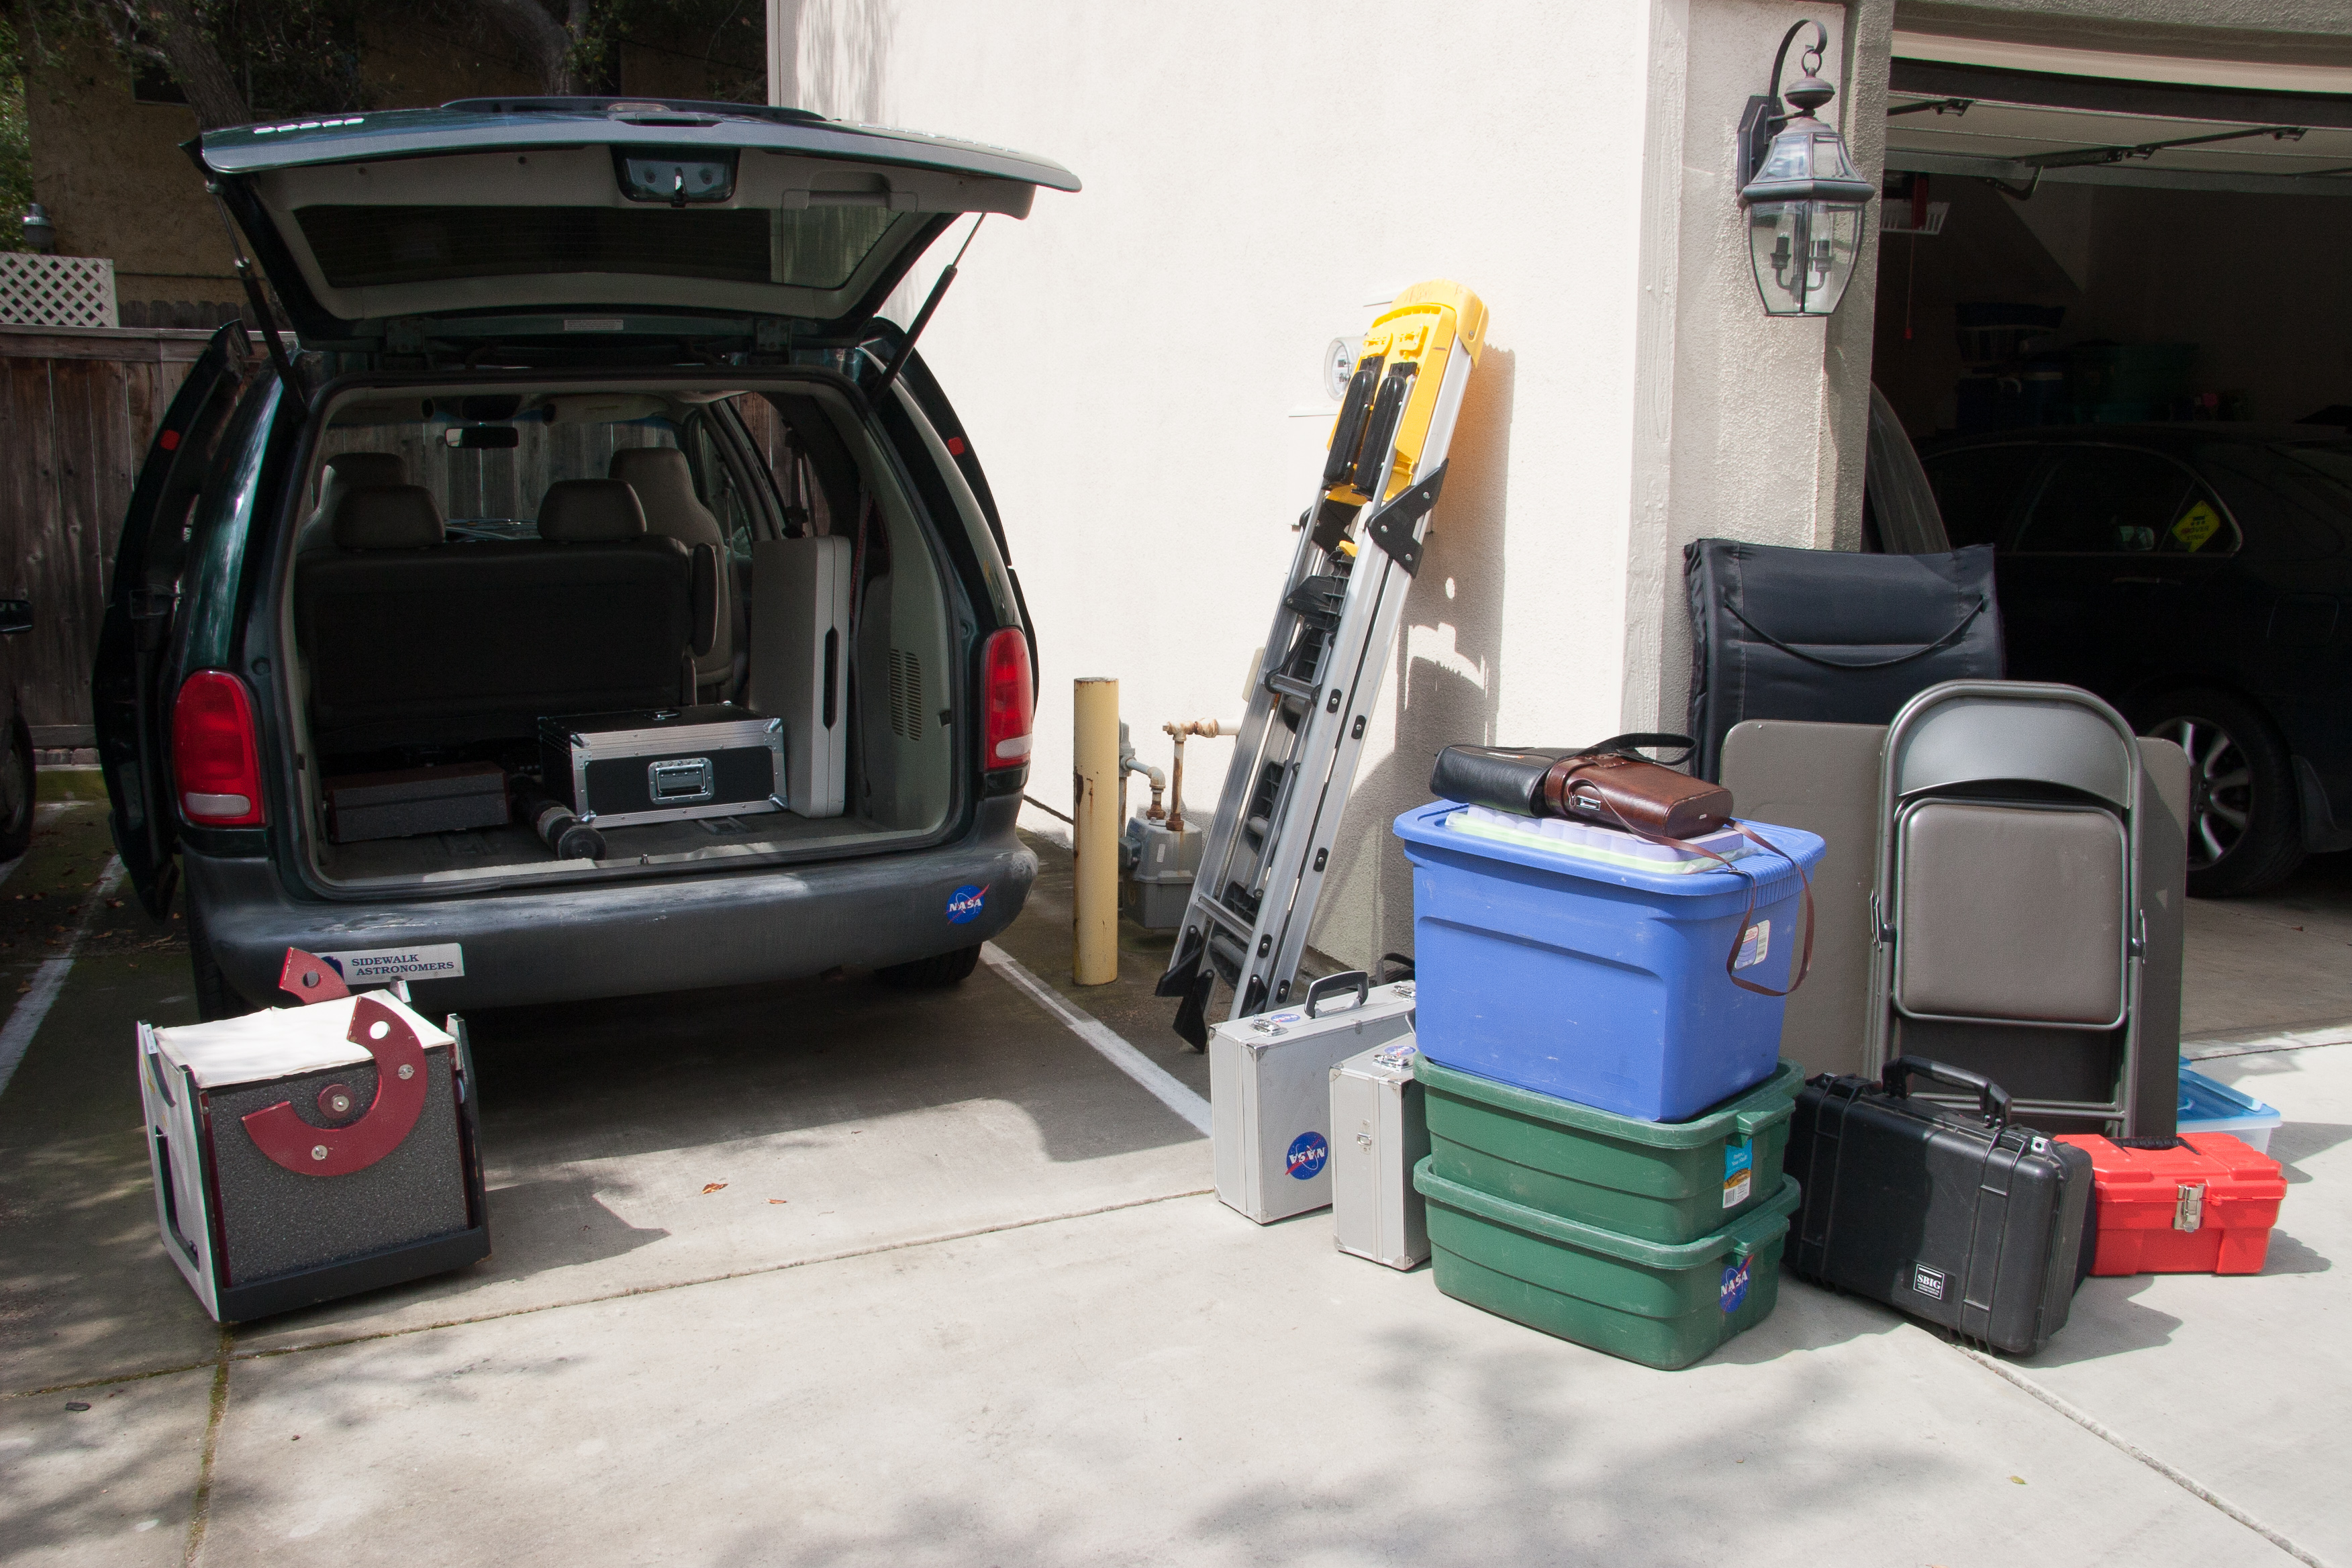
    IMG_6204
    Getting everything staged to load into the van.
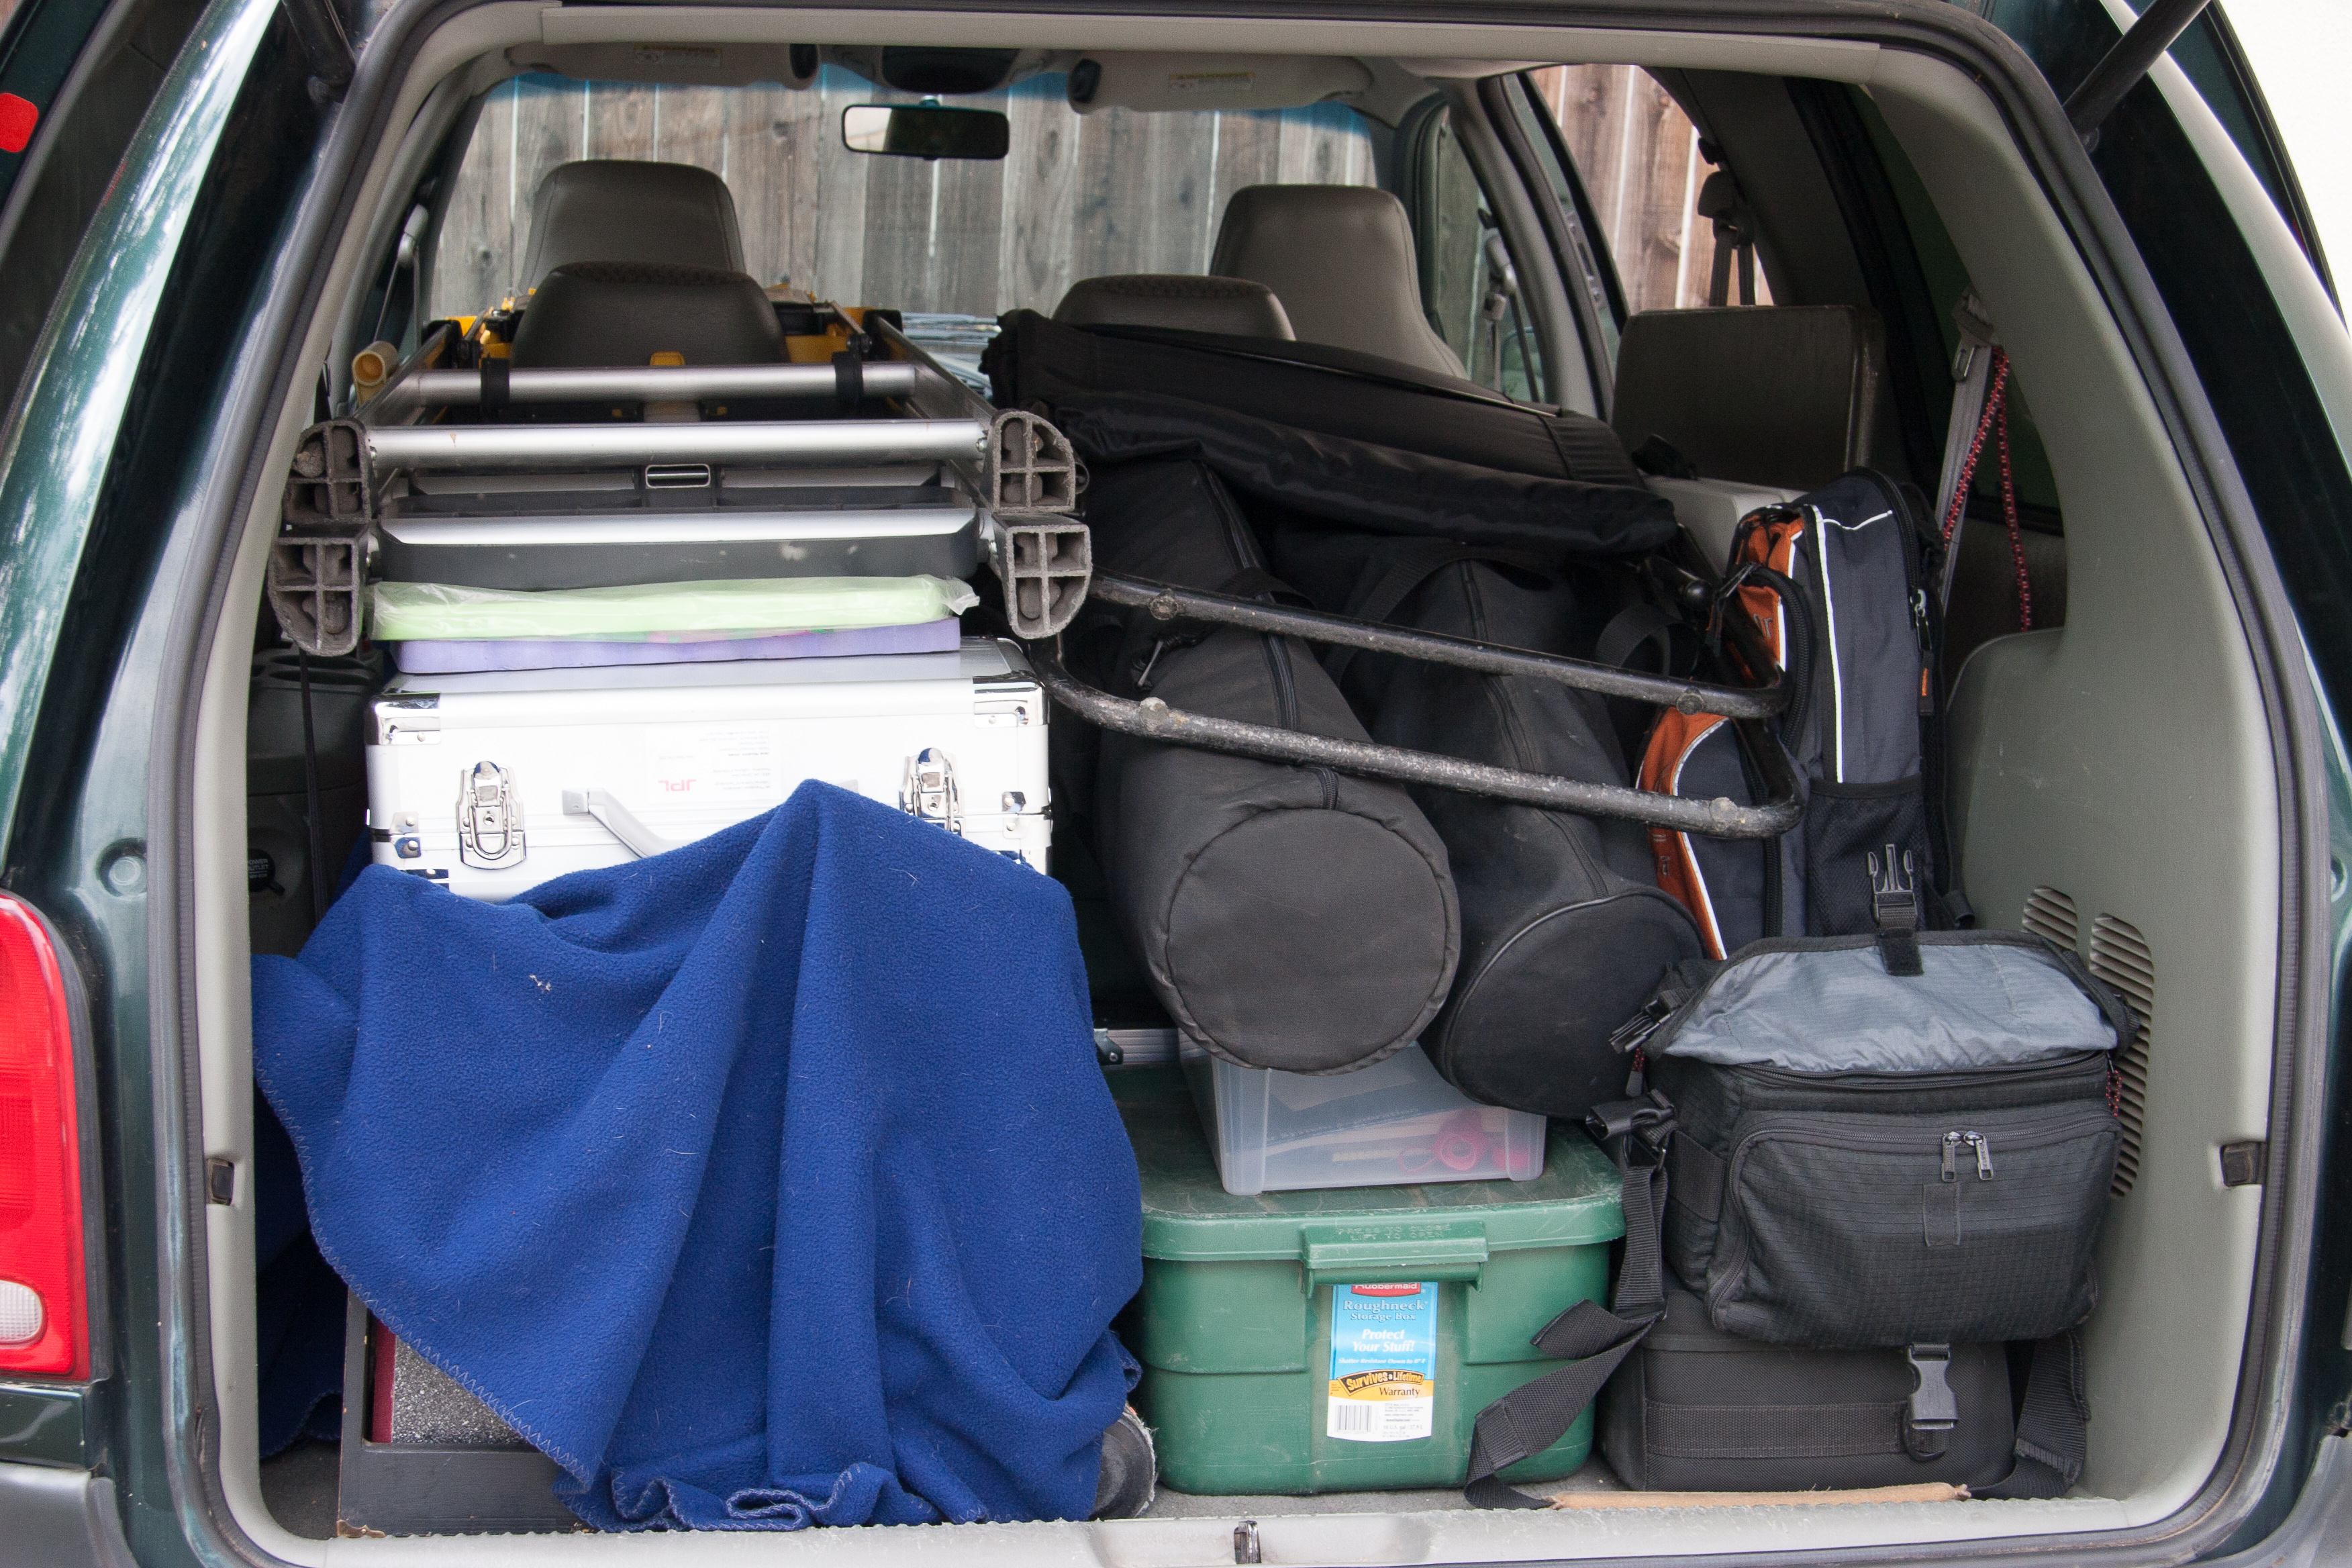
    IMG_6207
    Astro-pack


    Our first hope was for a shot of comet PANSTARRS in its first opportunity on the northern portion of its pass through the system.

    Those clouds you see in the set-up pictures hung around the western horizon just enough to keep the comet out of view.

    IMG_0875
    Astrophotography on the left, visual astronomy on the right. Those clouds kept PANSTARRS hidden, but cleared nicely later in the evening.

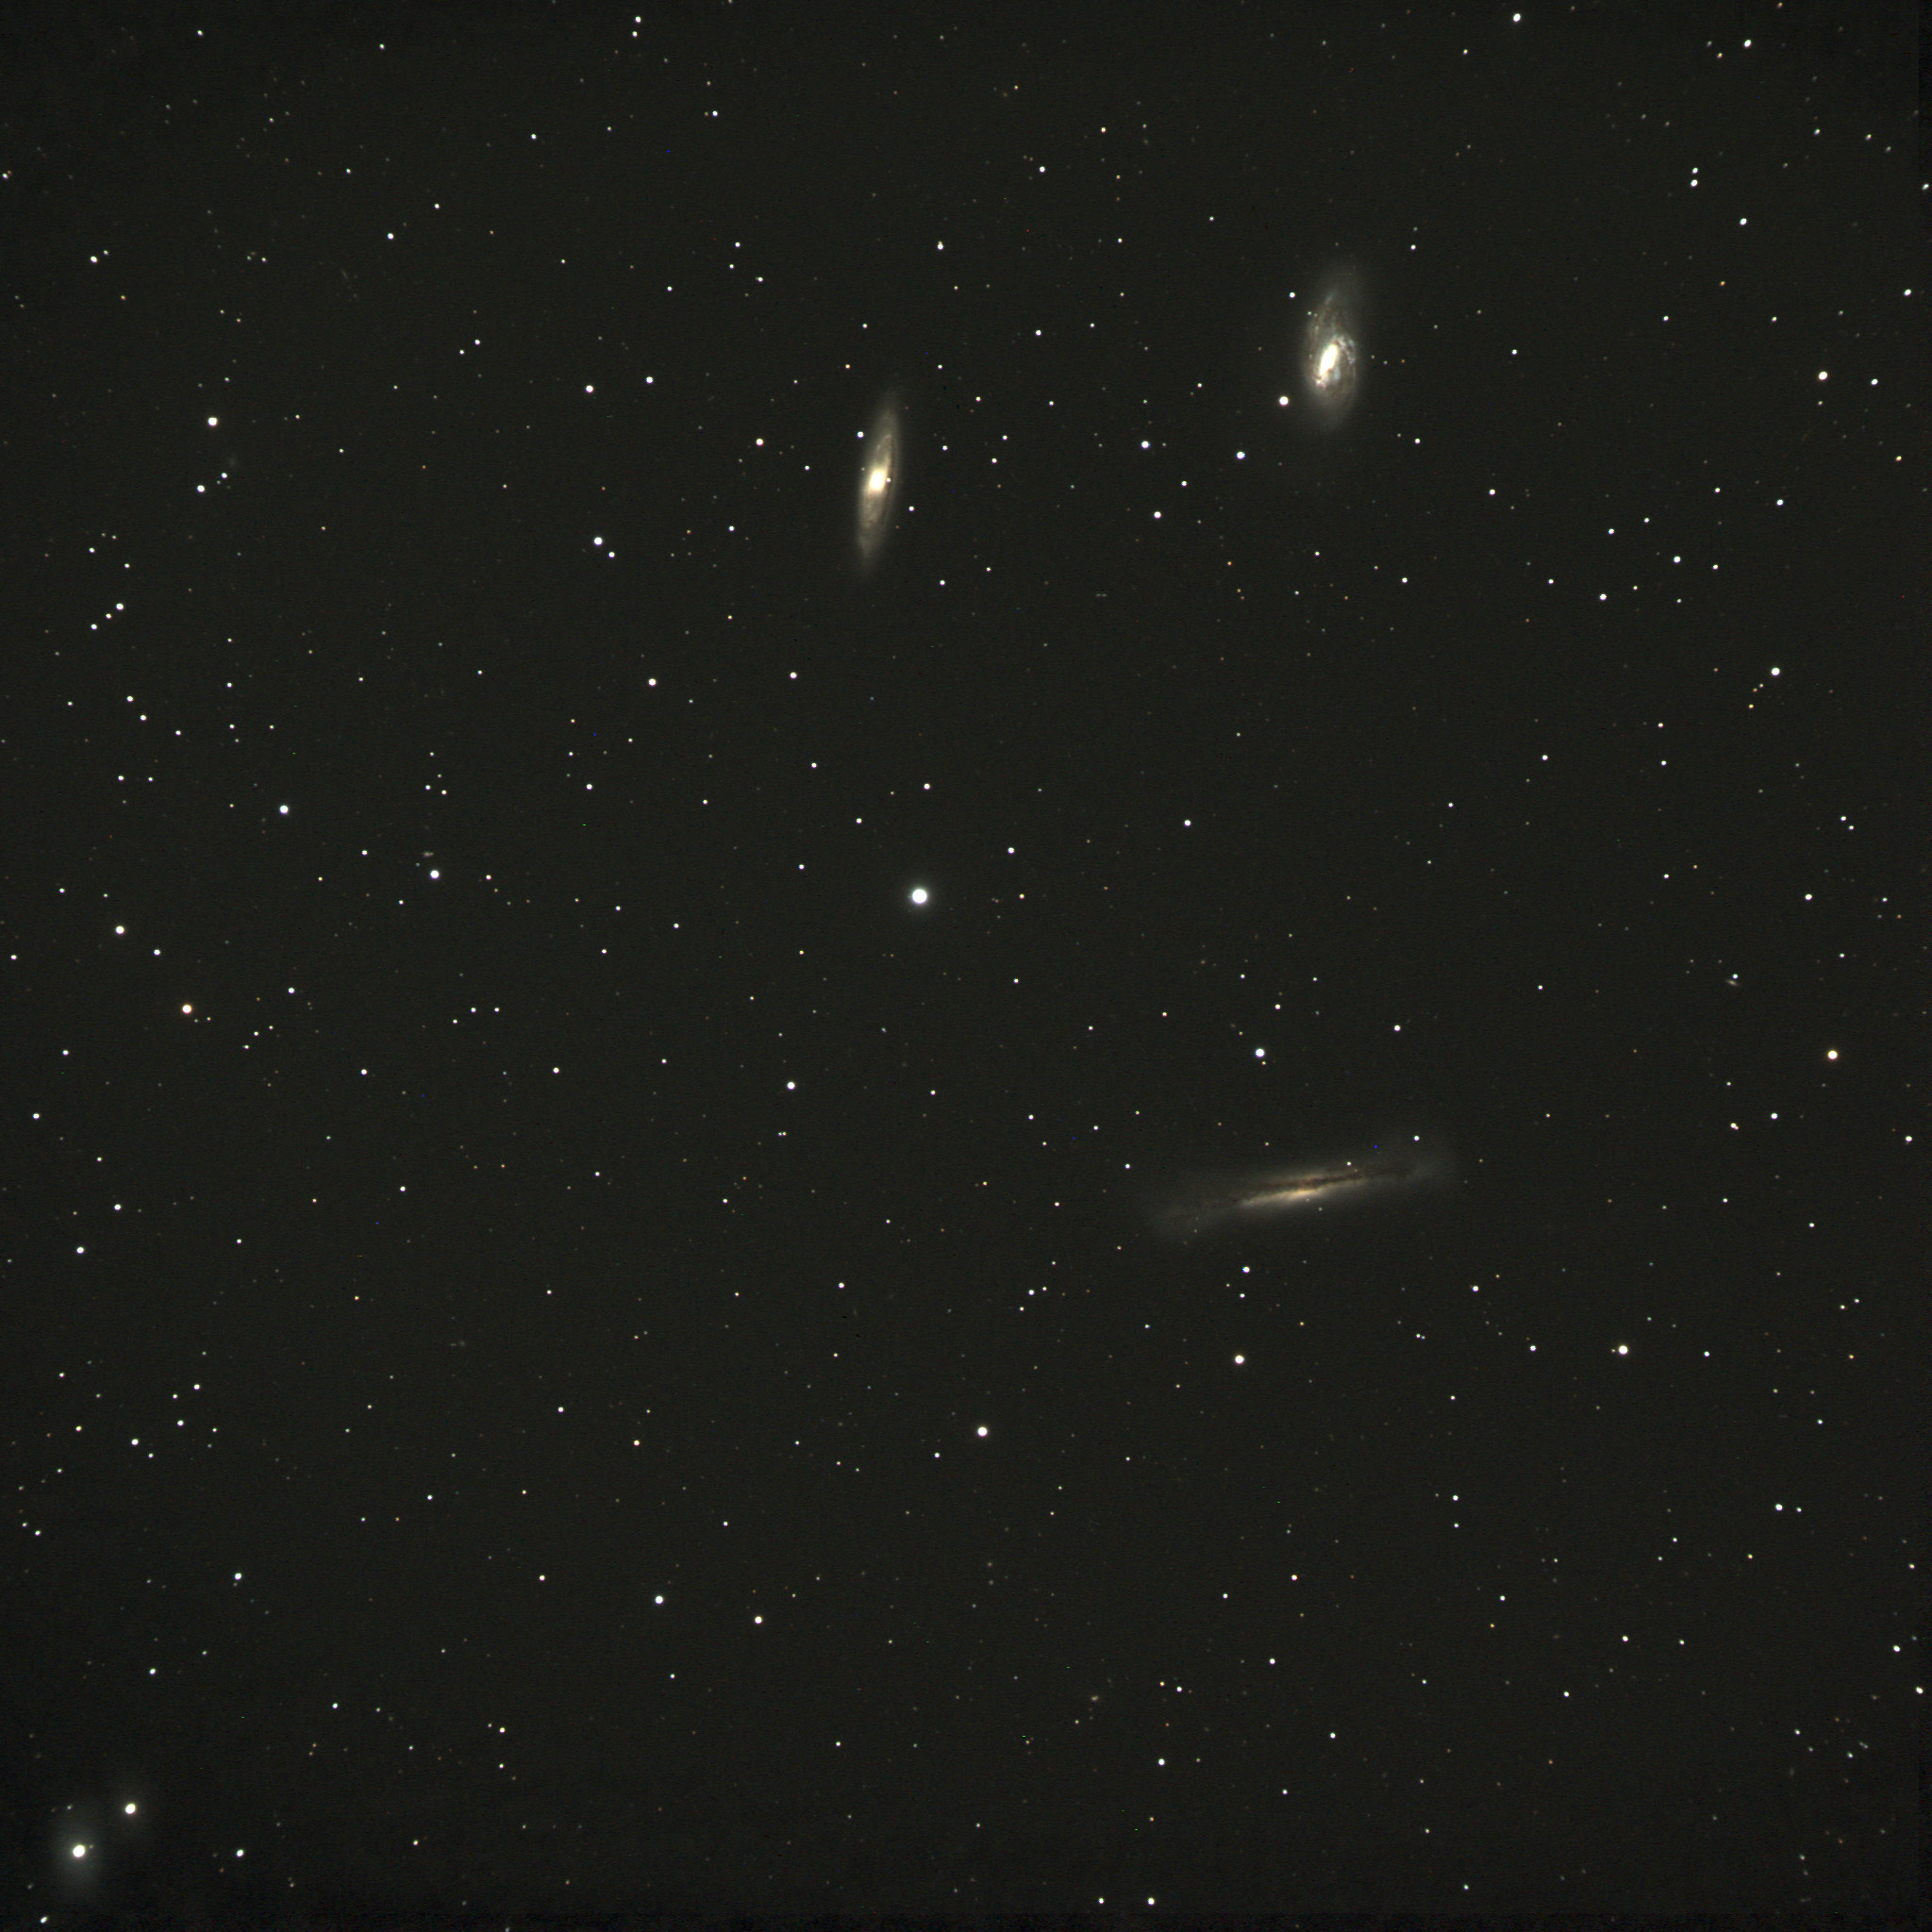
    My first target was going to be an easy favorite visual target, but one of which I didn’t have a good astrophoto. M64, M65, and NGC3628 are three galaxies in Leo that form a striking group. There are other galaxy groups in Leo, but I believe this one is the set known as the Leo Trio.

    Three galaxies in Leo
    The Leo Trio, M65, M66, and NGC3628. 45 minute exposure (3×15 min.) SBIG ST-4000XCM, Astro-Physics Traveler, 105mm f/6

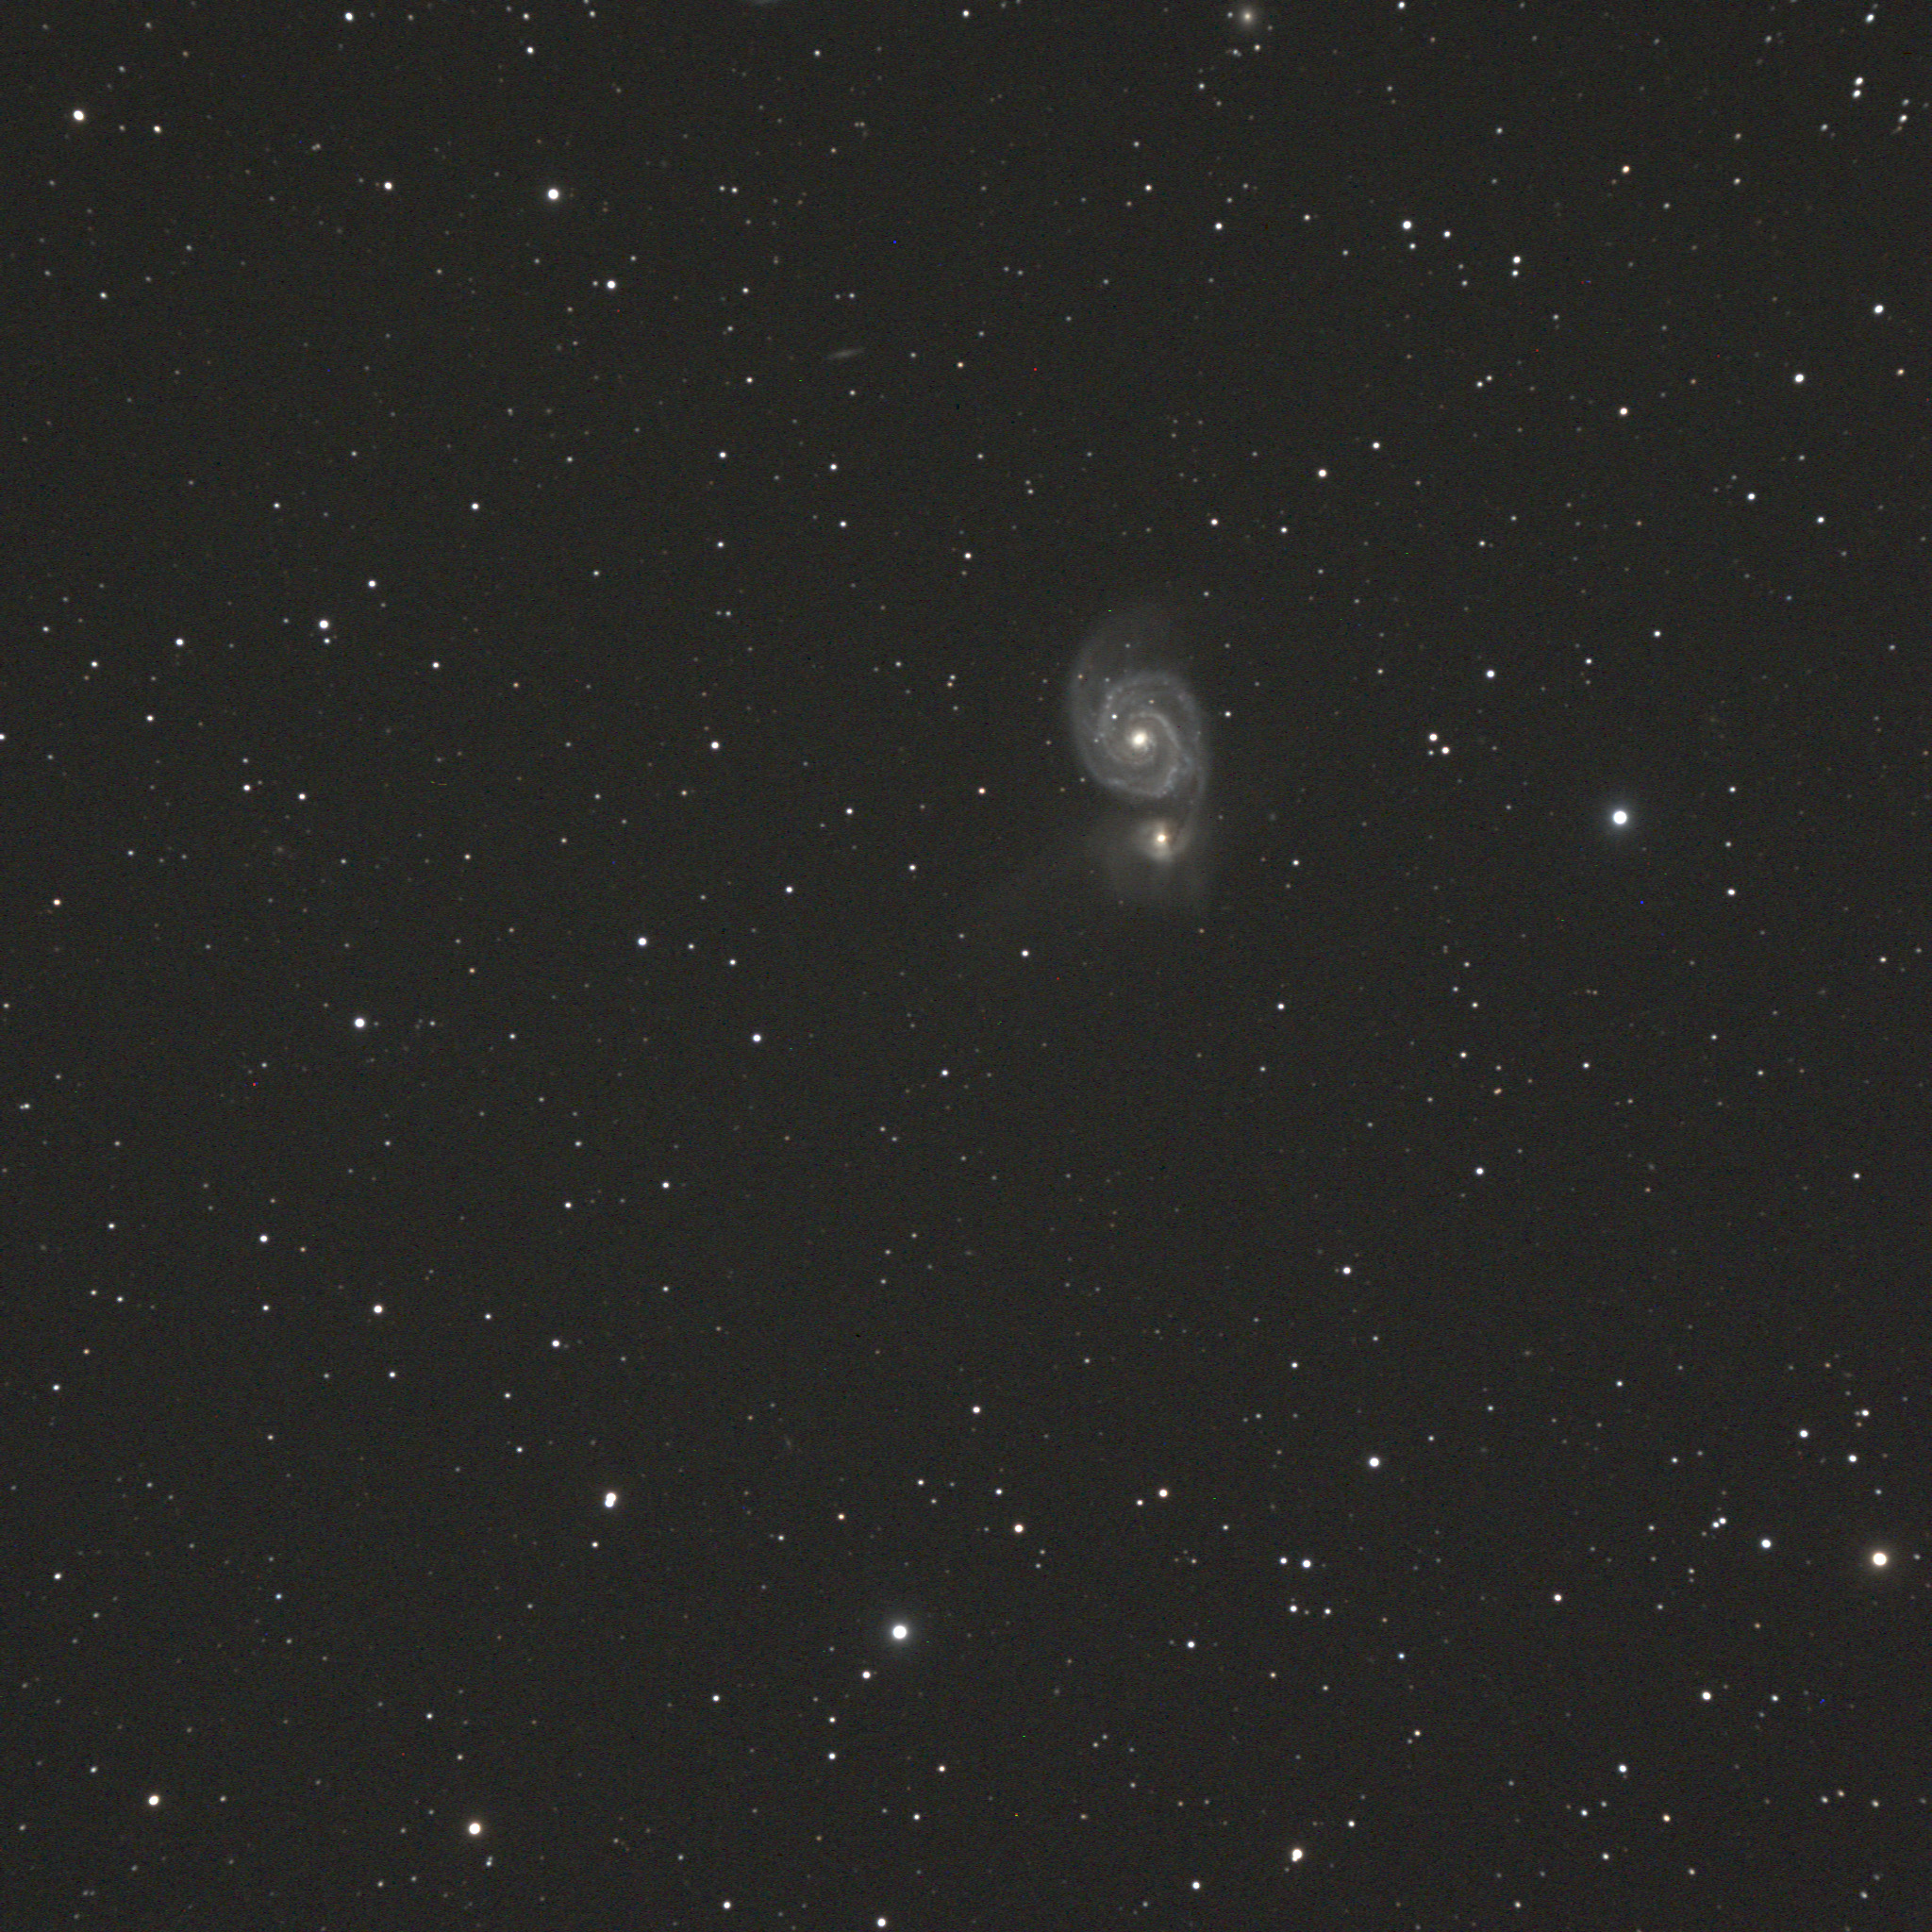
    I went for a couple of other interesting easy targets that should be fun. The Whirlpool and NGC5907 “Splinter” are best with longer focal length telescopes, for a narrower field, but I enjoy these wide field shots too.

    The Whirlpool galaxy
    M51 the Whirlpool Galaxy in Ursa Major, Astro-Physic Traveler 105mm f/6, SBIG ST-4000XCM camera

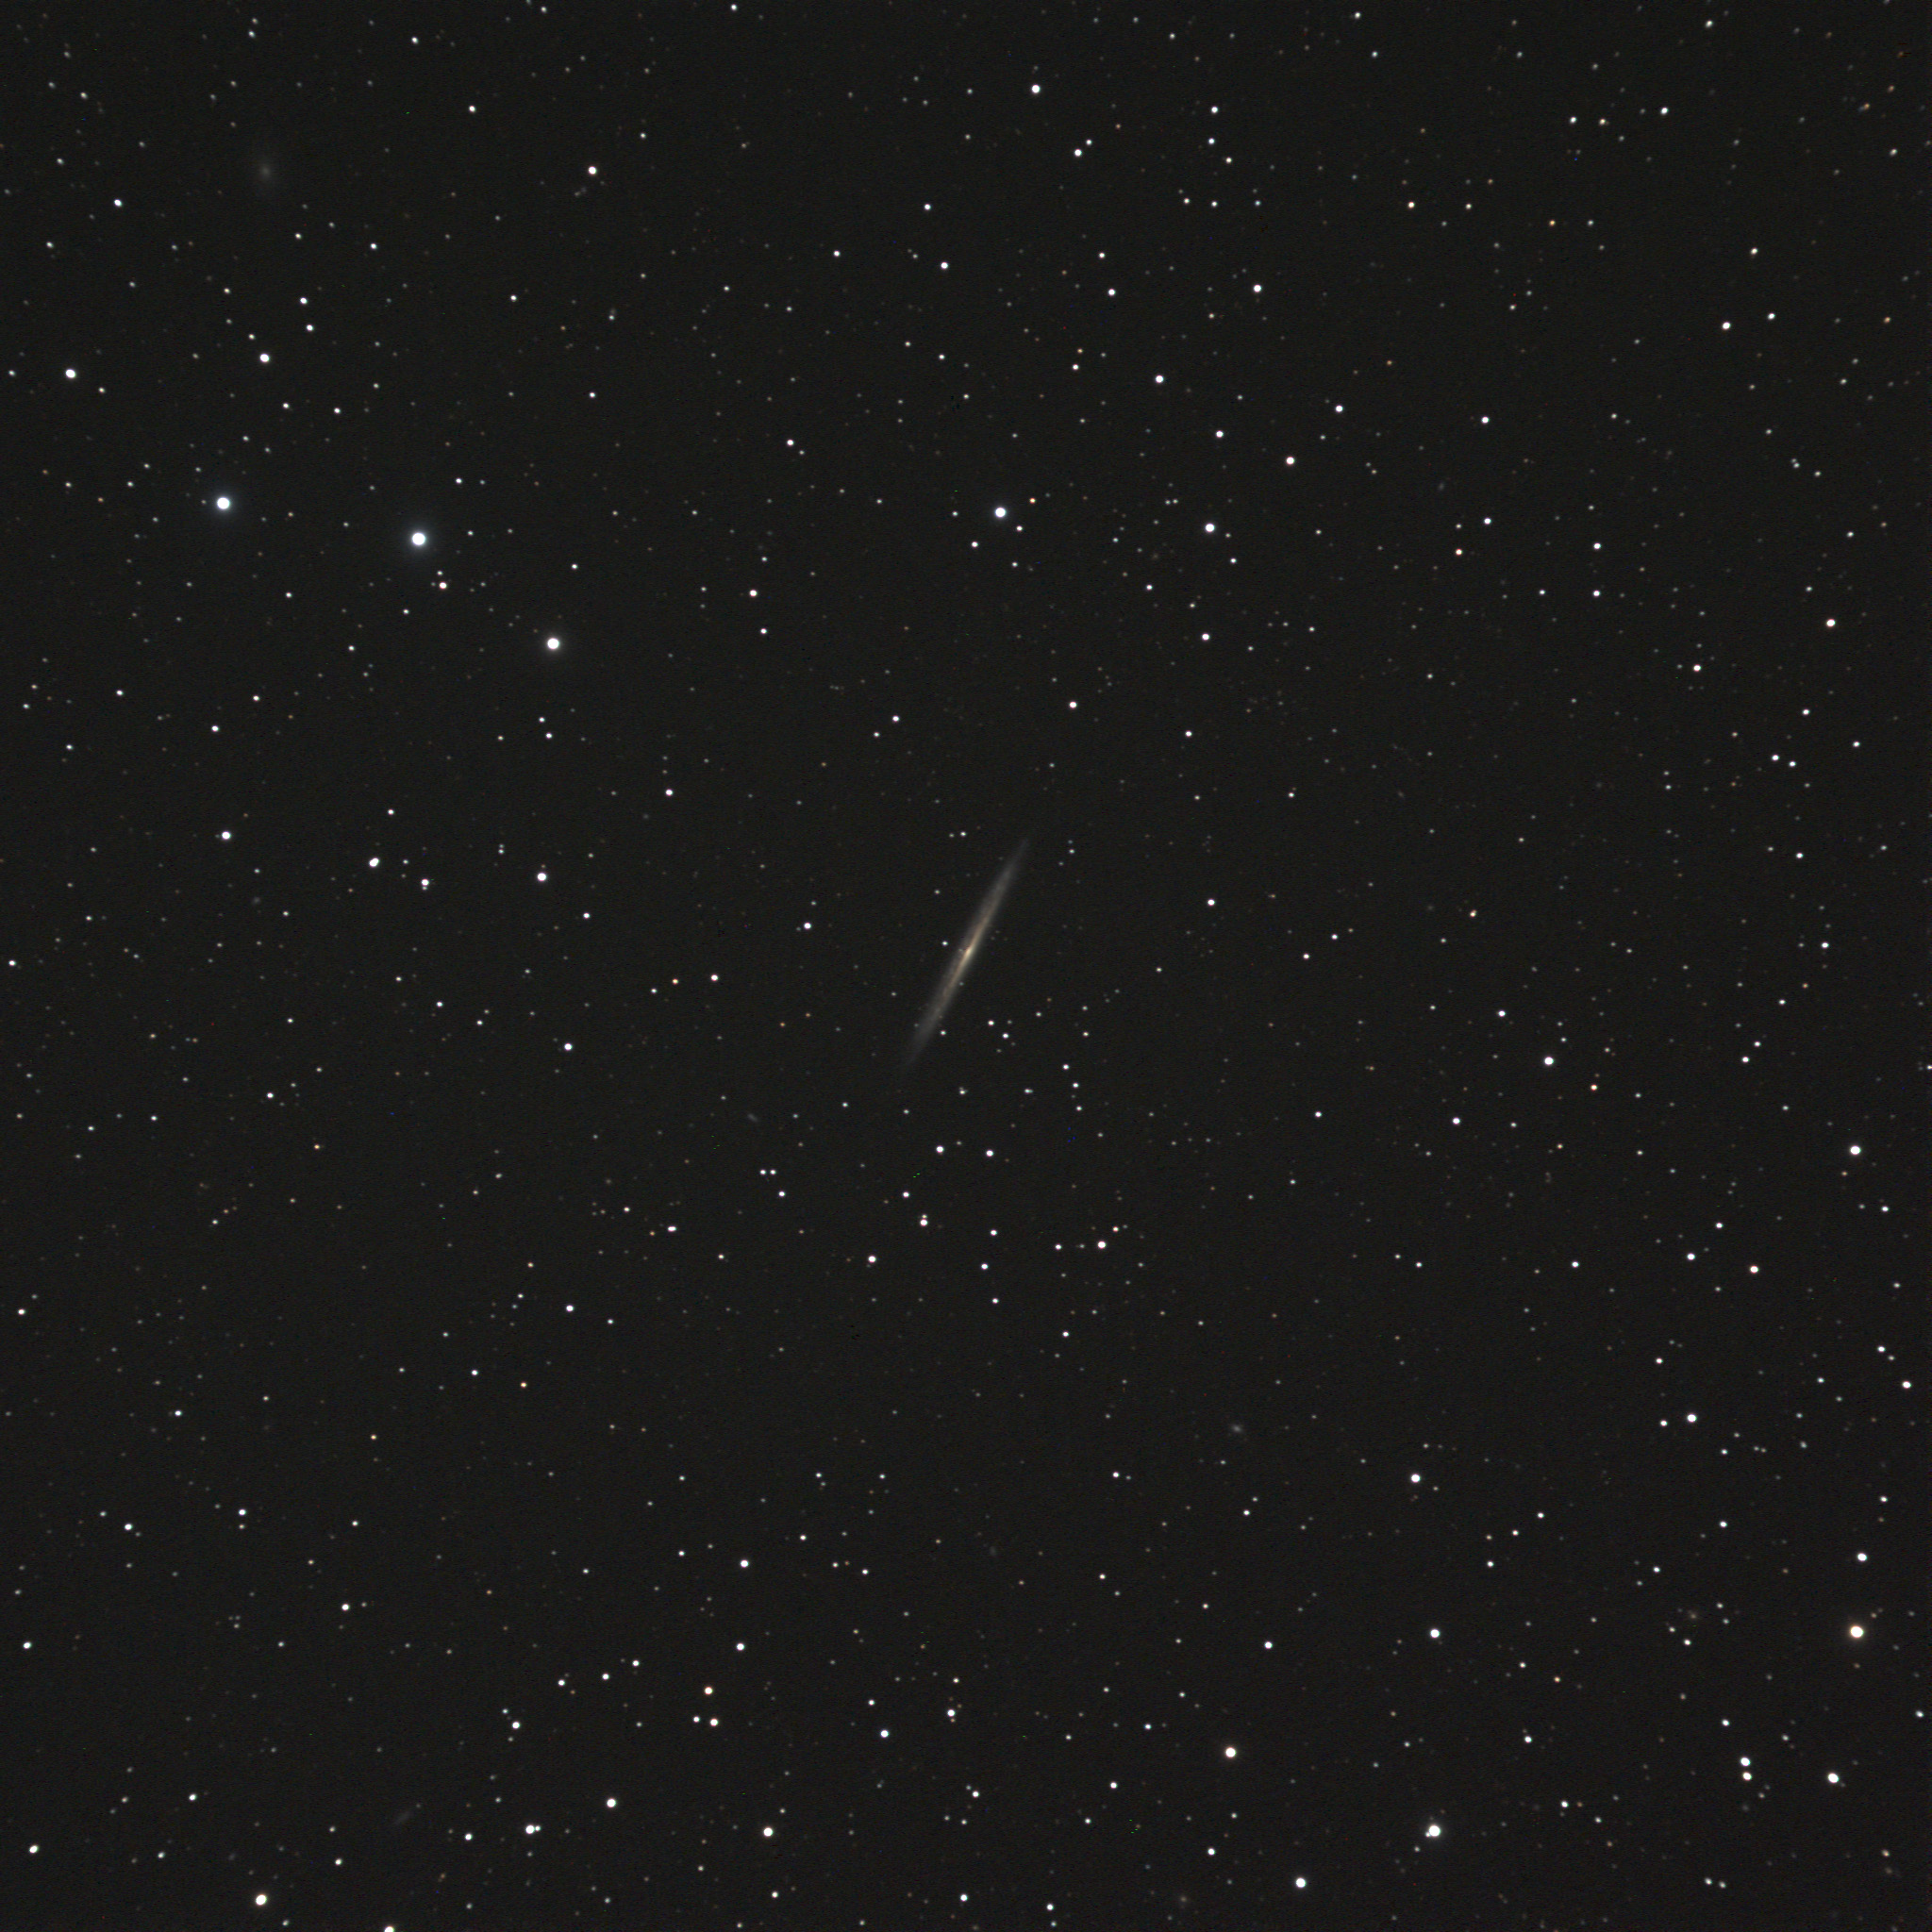
    The “Splinter” in Draco is a lovely edge-on spiral.

    NGC5907
    “The Splinter” galaxy NGC5907, edge-on spiral in Draco. Astro-Physics Traveler 105mm f/6, SBIG ST-4000XCM

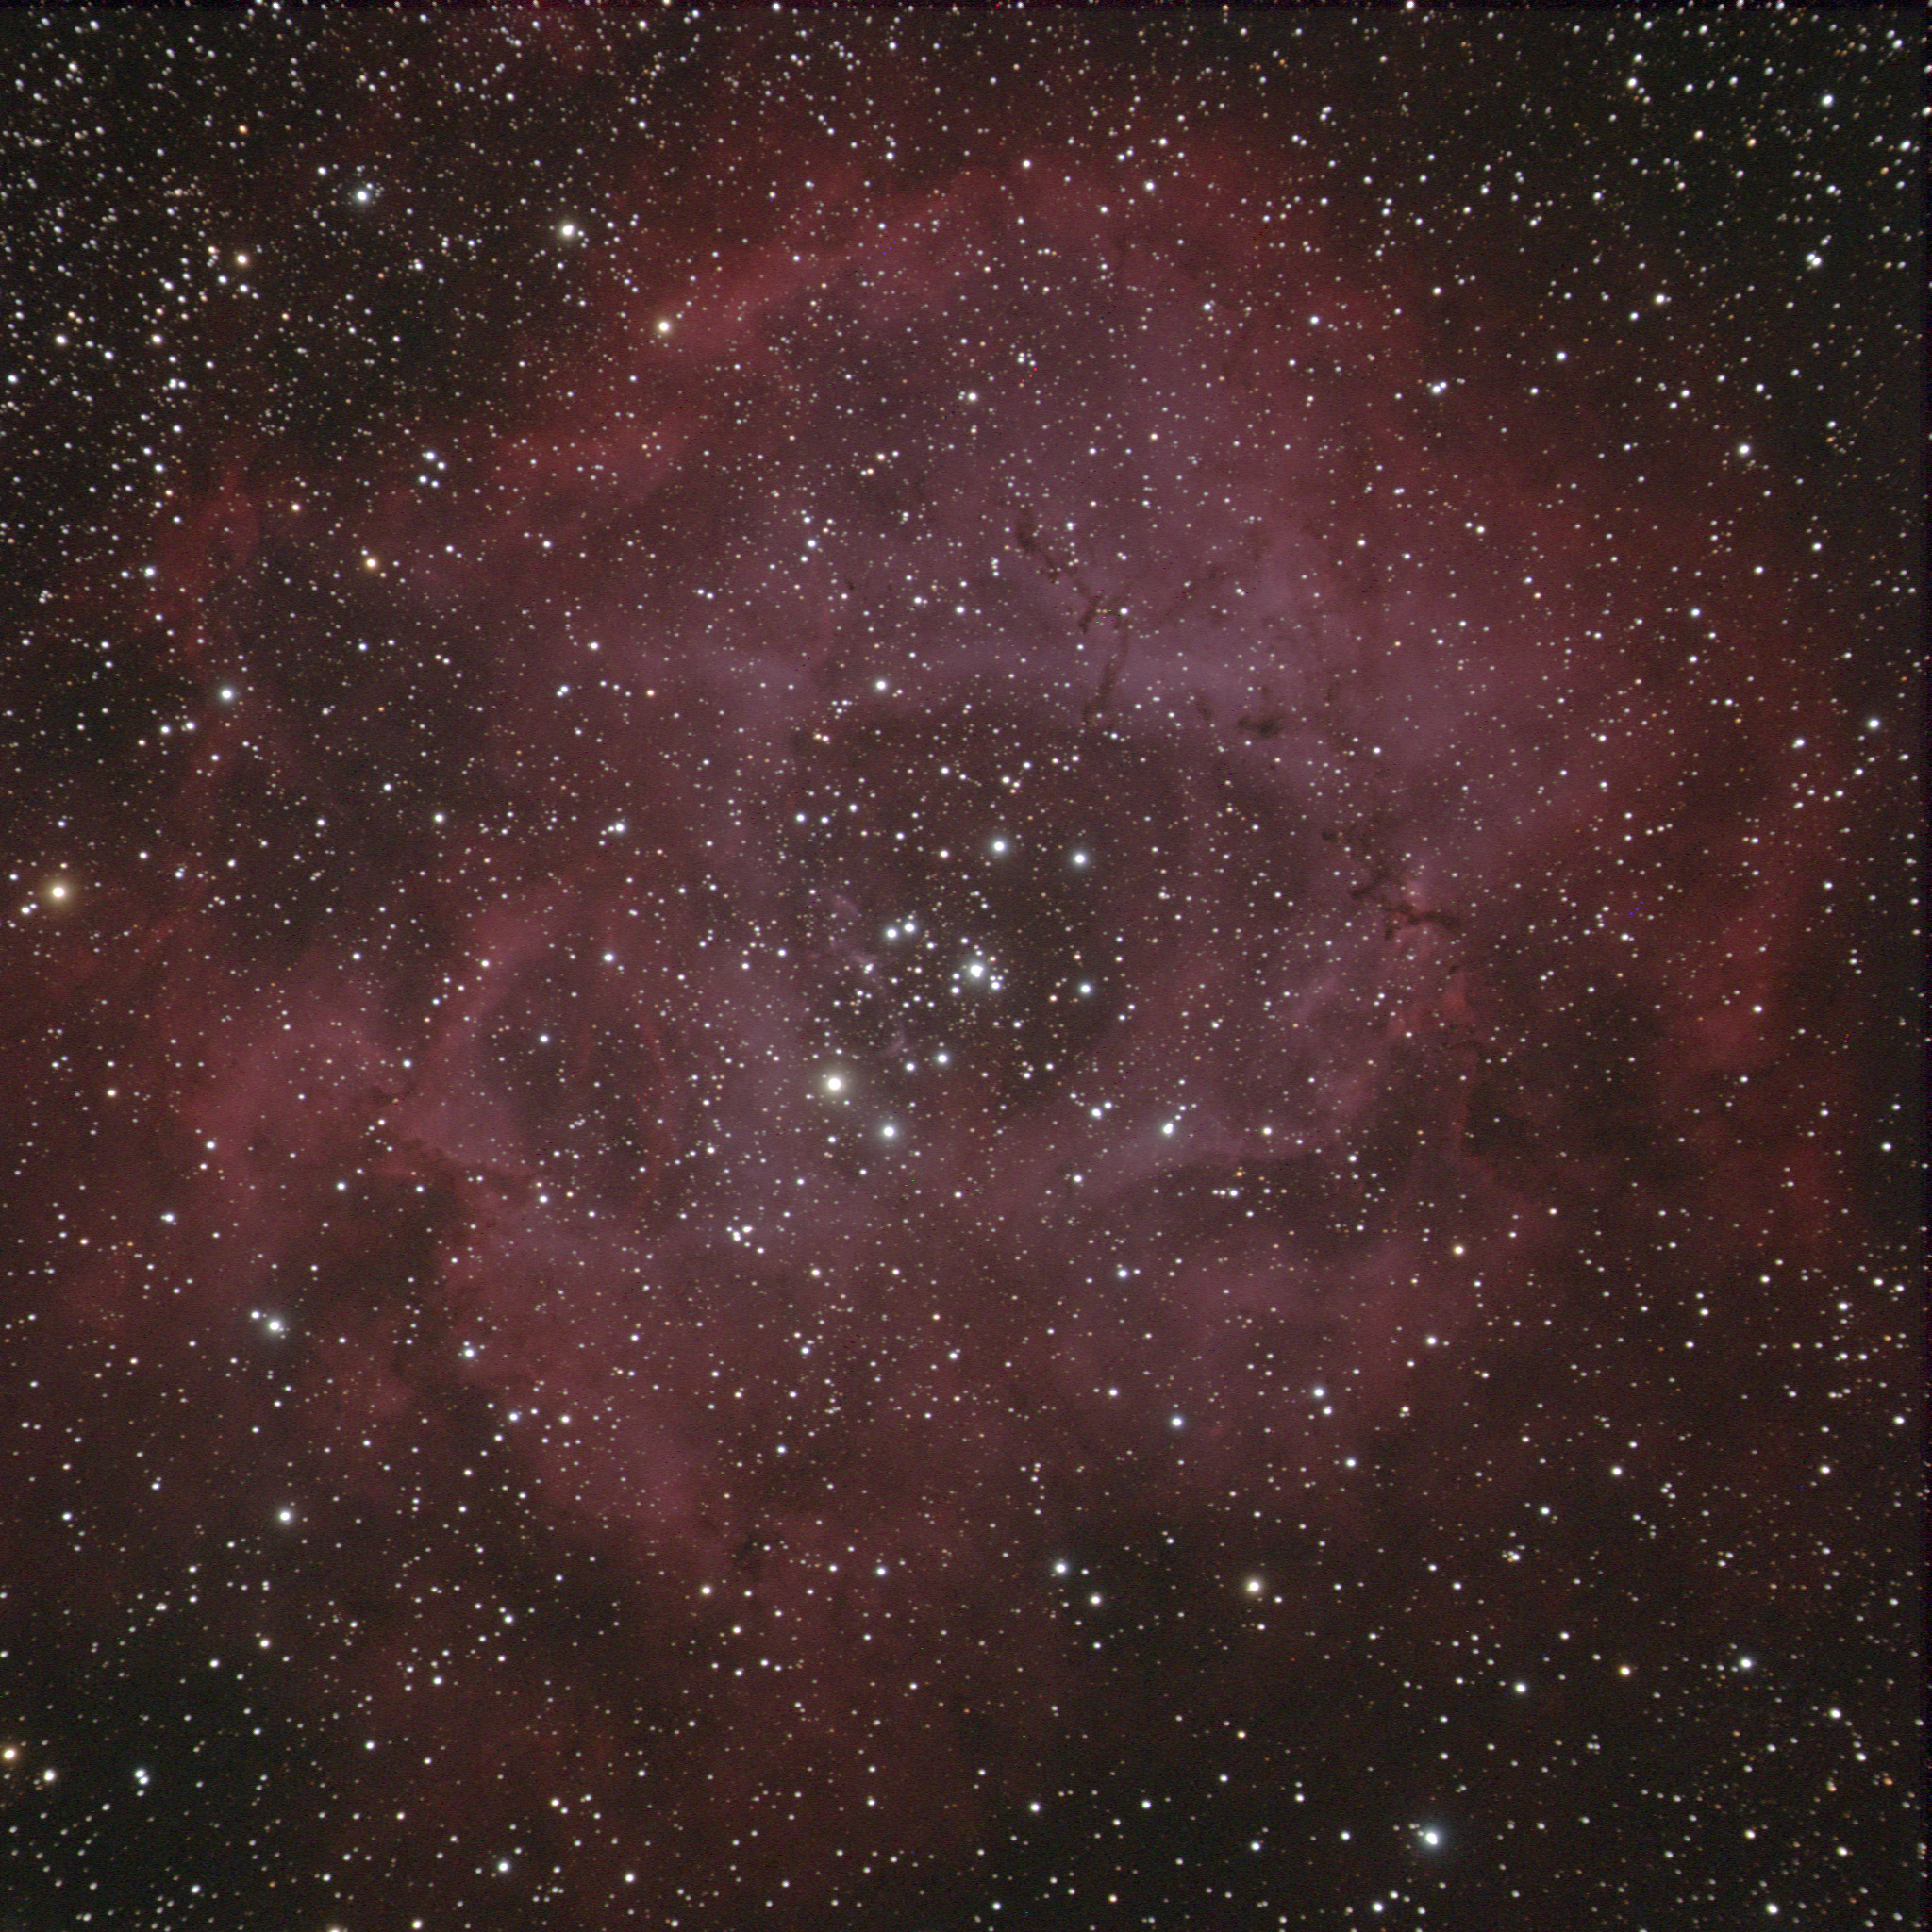
    Finally I went for a redo of a classic winter-sky object, one for which my Traveler with its wide field-of-view should be ideal, the Rosette nebula in the winter Milky Way.

    Here is my earlier shot of the Rosette, and the full size image of it here. On that night my focus wasn’t especially good. Since then my skill with focusing and processing has improved quite a bit, such that now I’m proud to show you my new Rosette image.

    Rosette
    The Rosette nebula region in Monoceros, 45 minutes exposure (3×15 minutes) Astro-Physics Traveler 105mm f/6, SBIG ST-4000XCM

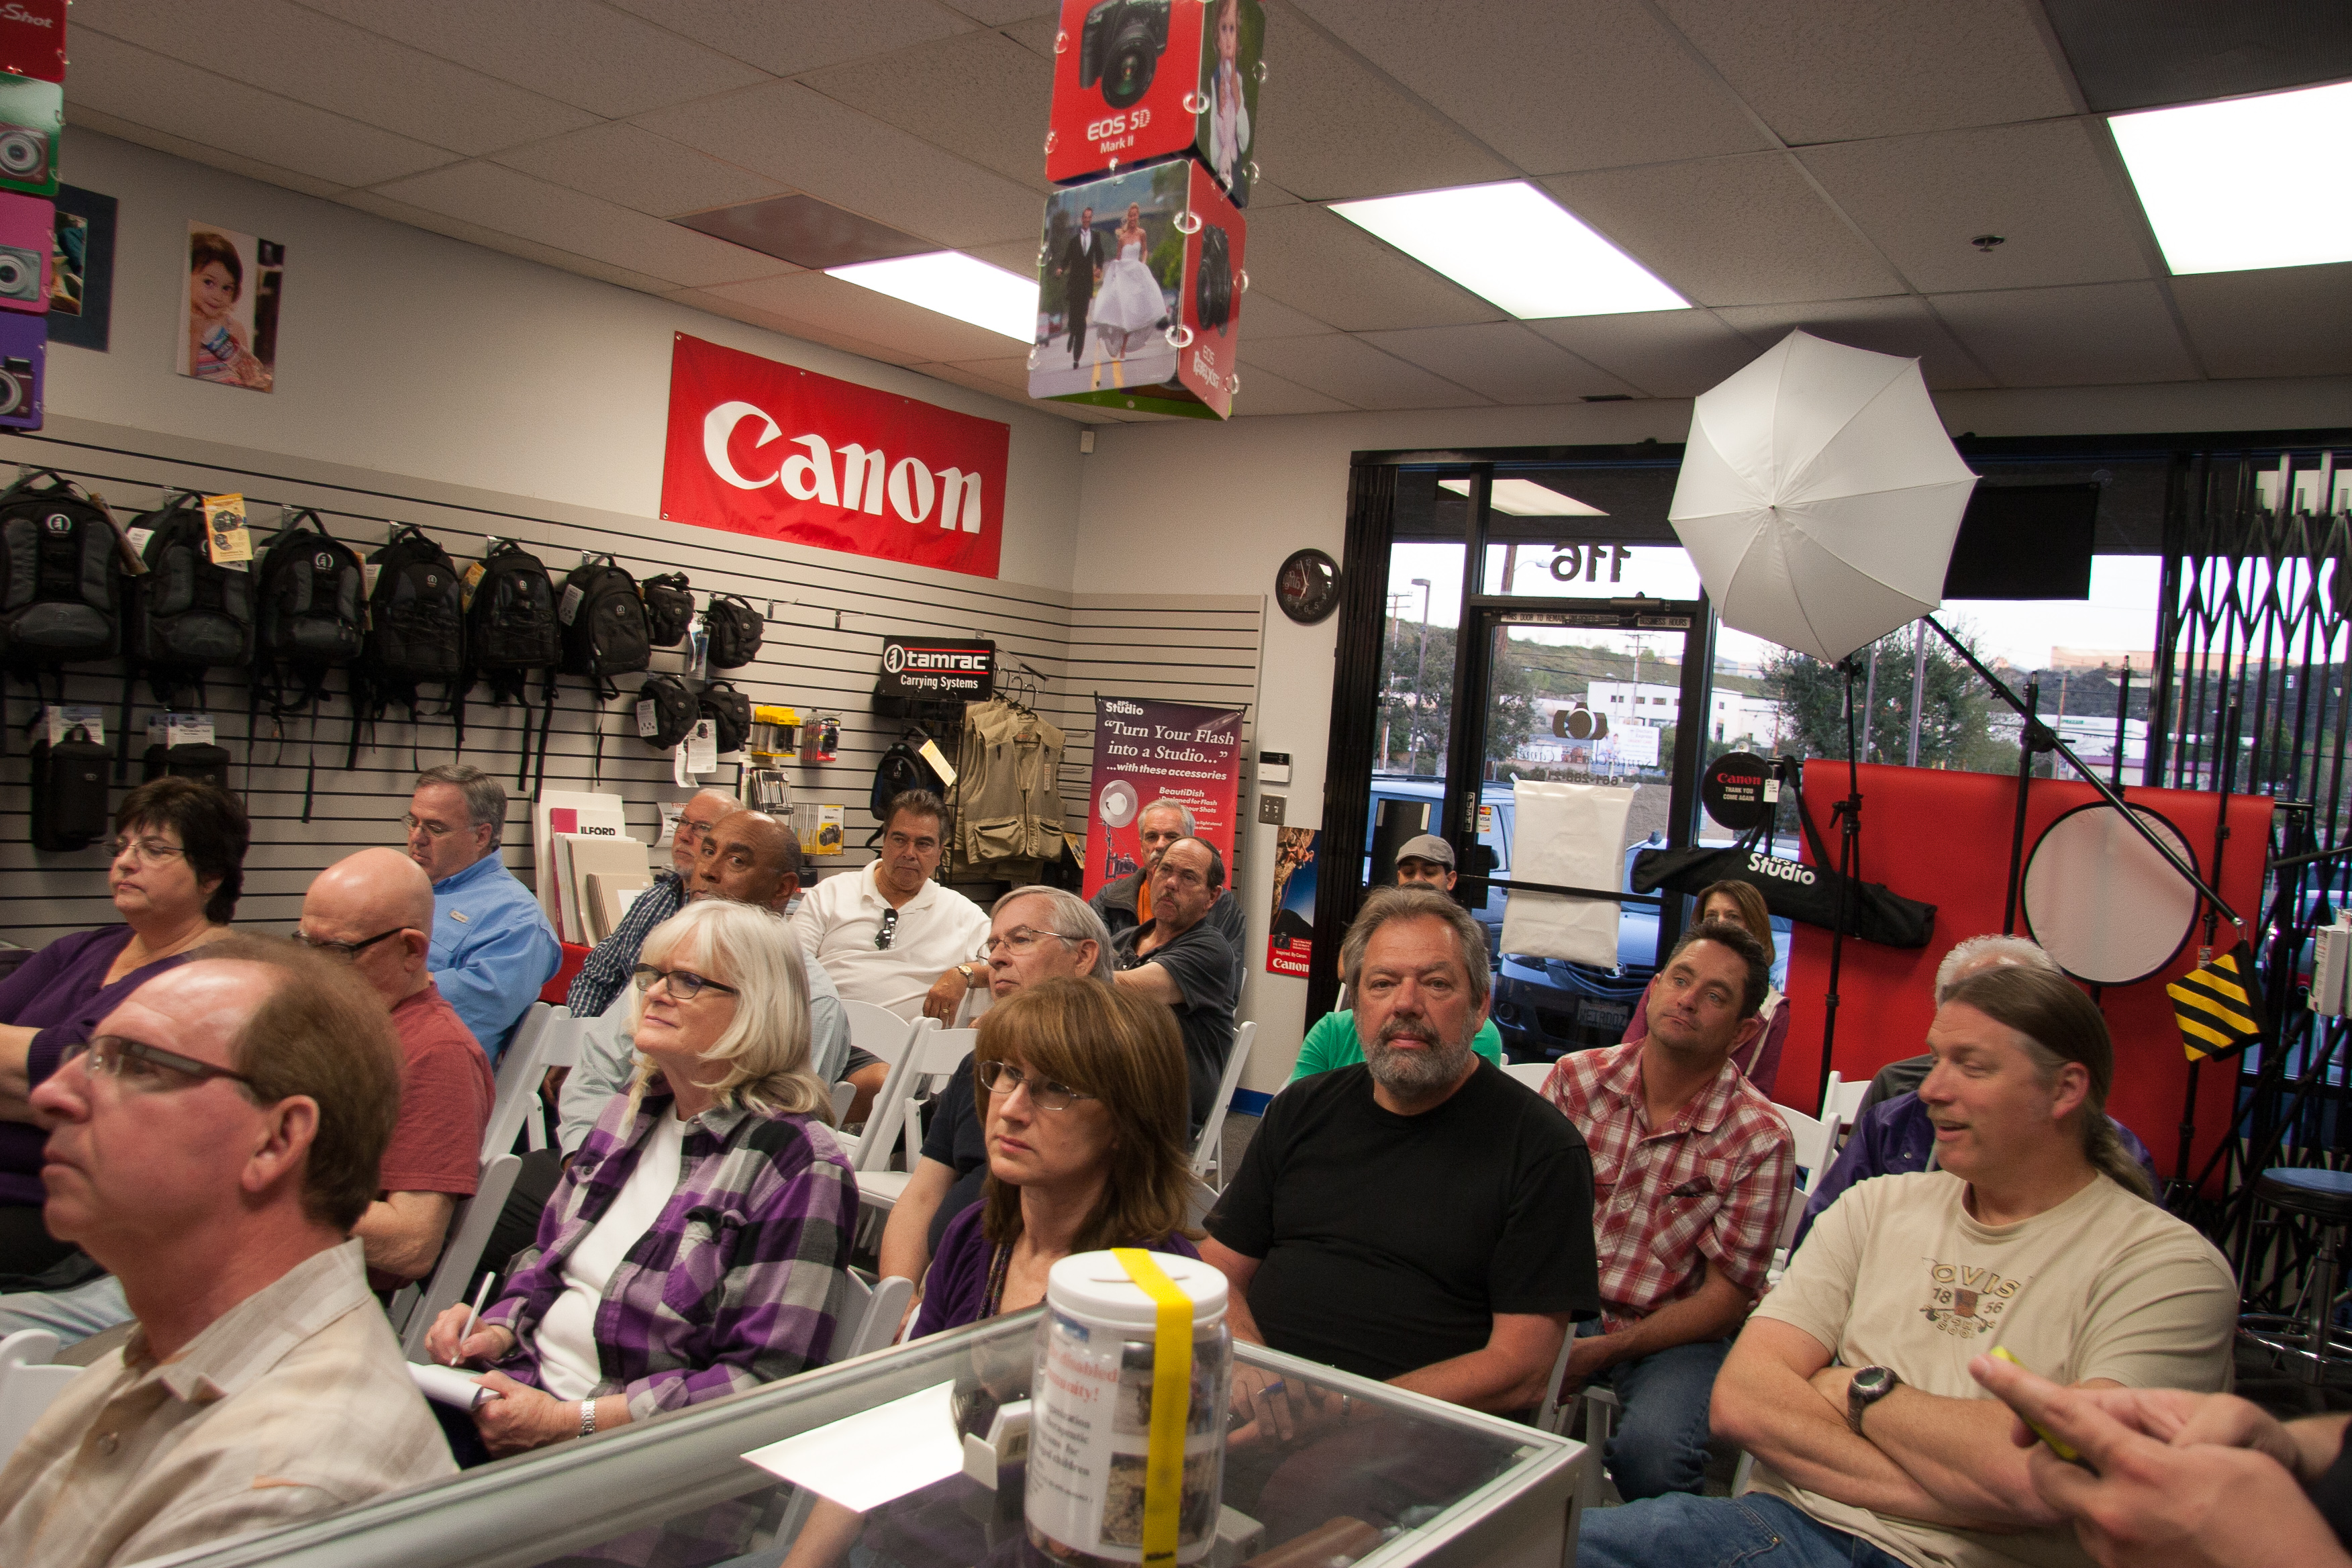
    So I certainly had enough to make a fair astrophotography presentation for a camera club. My talk was the following Tuesday evening at Santa Clarita Camera, for the Santa Clarita Valley Photographers Association.

    Camera Club
    I had about 30 camera club members for my presentation on deep-sky astrophotography.
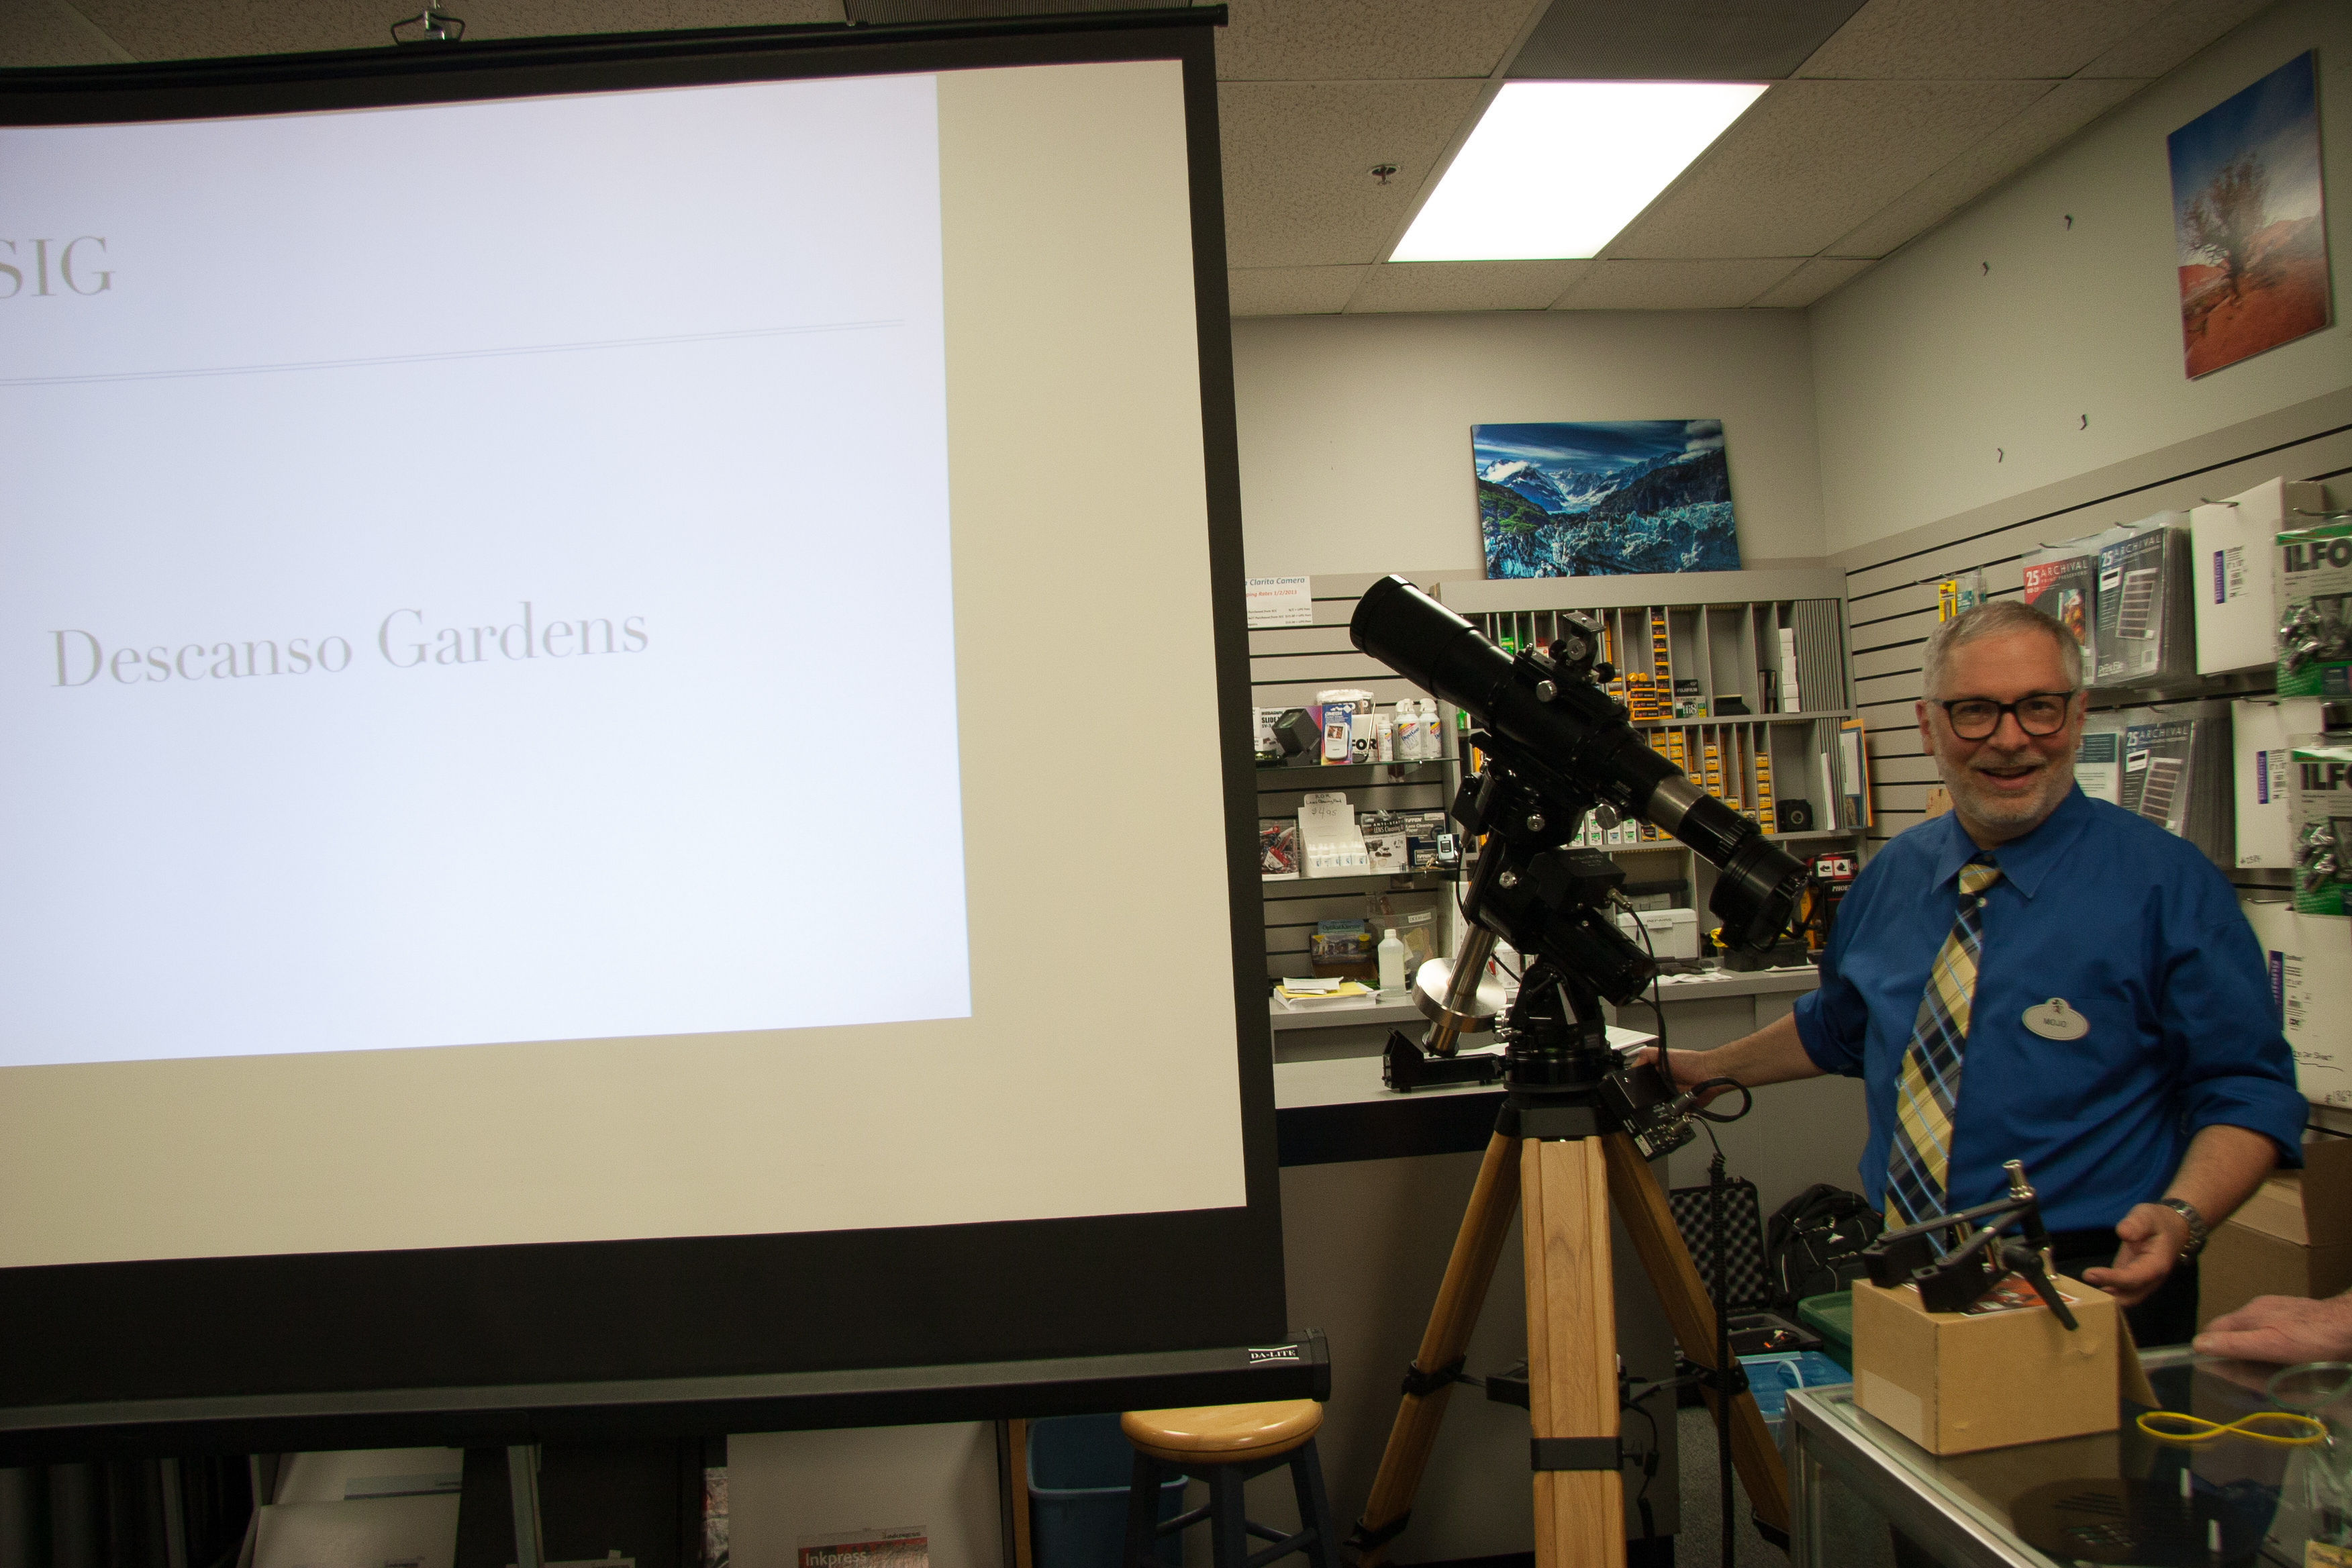
    Mojo with astrophotography gear
    I brought my A-P Traveler, mount, tripod, and camera for show-and-tell along with the talk. Not the usual gear found at a typical camera store.
  • Hot, dry astronomy

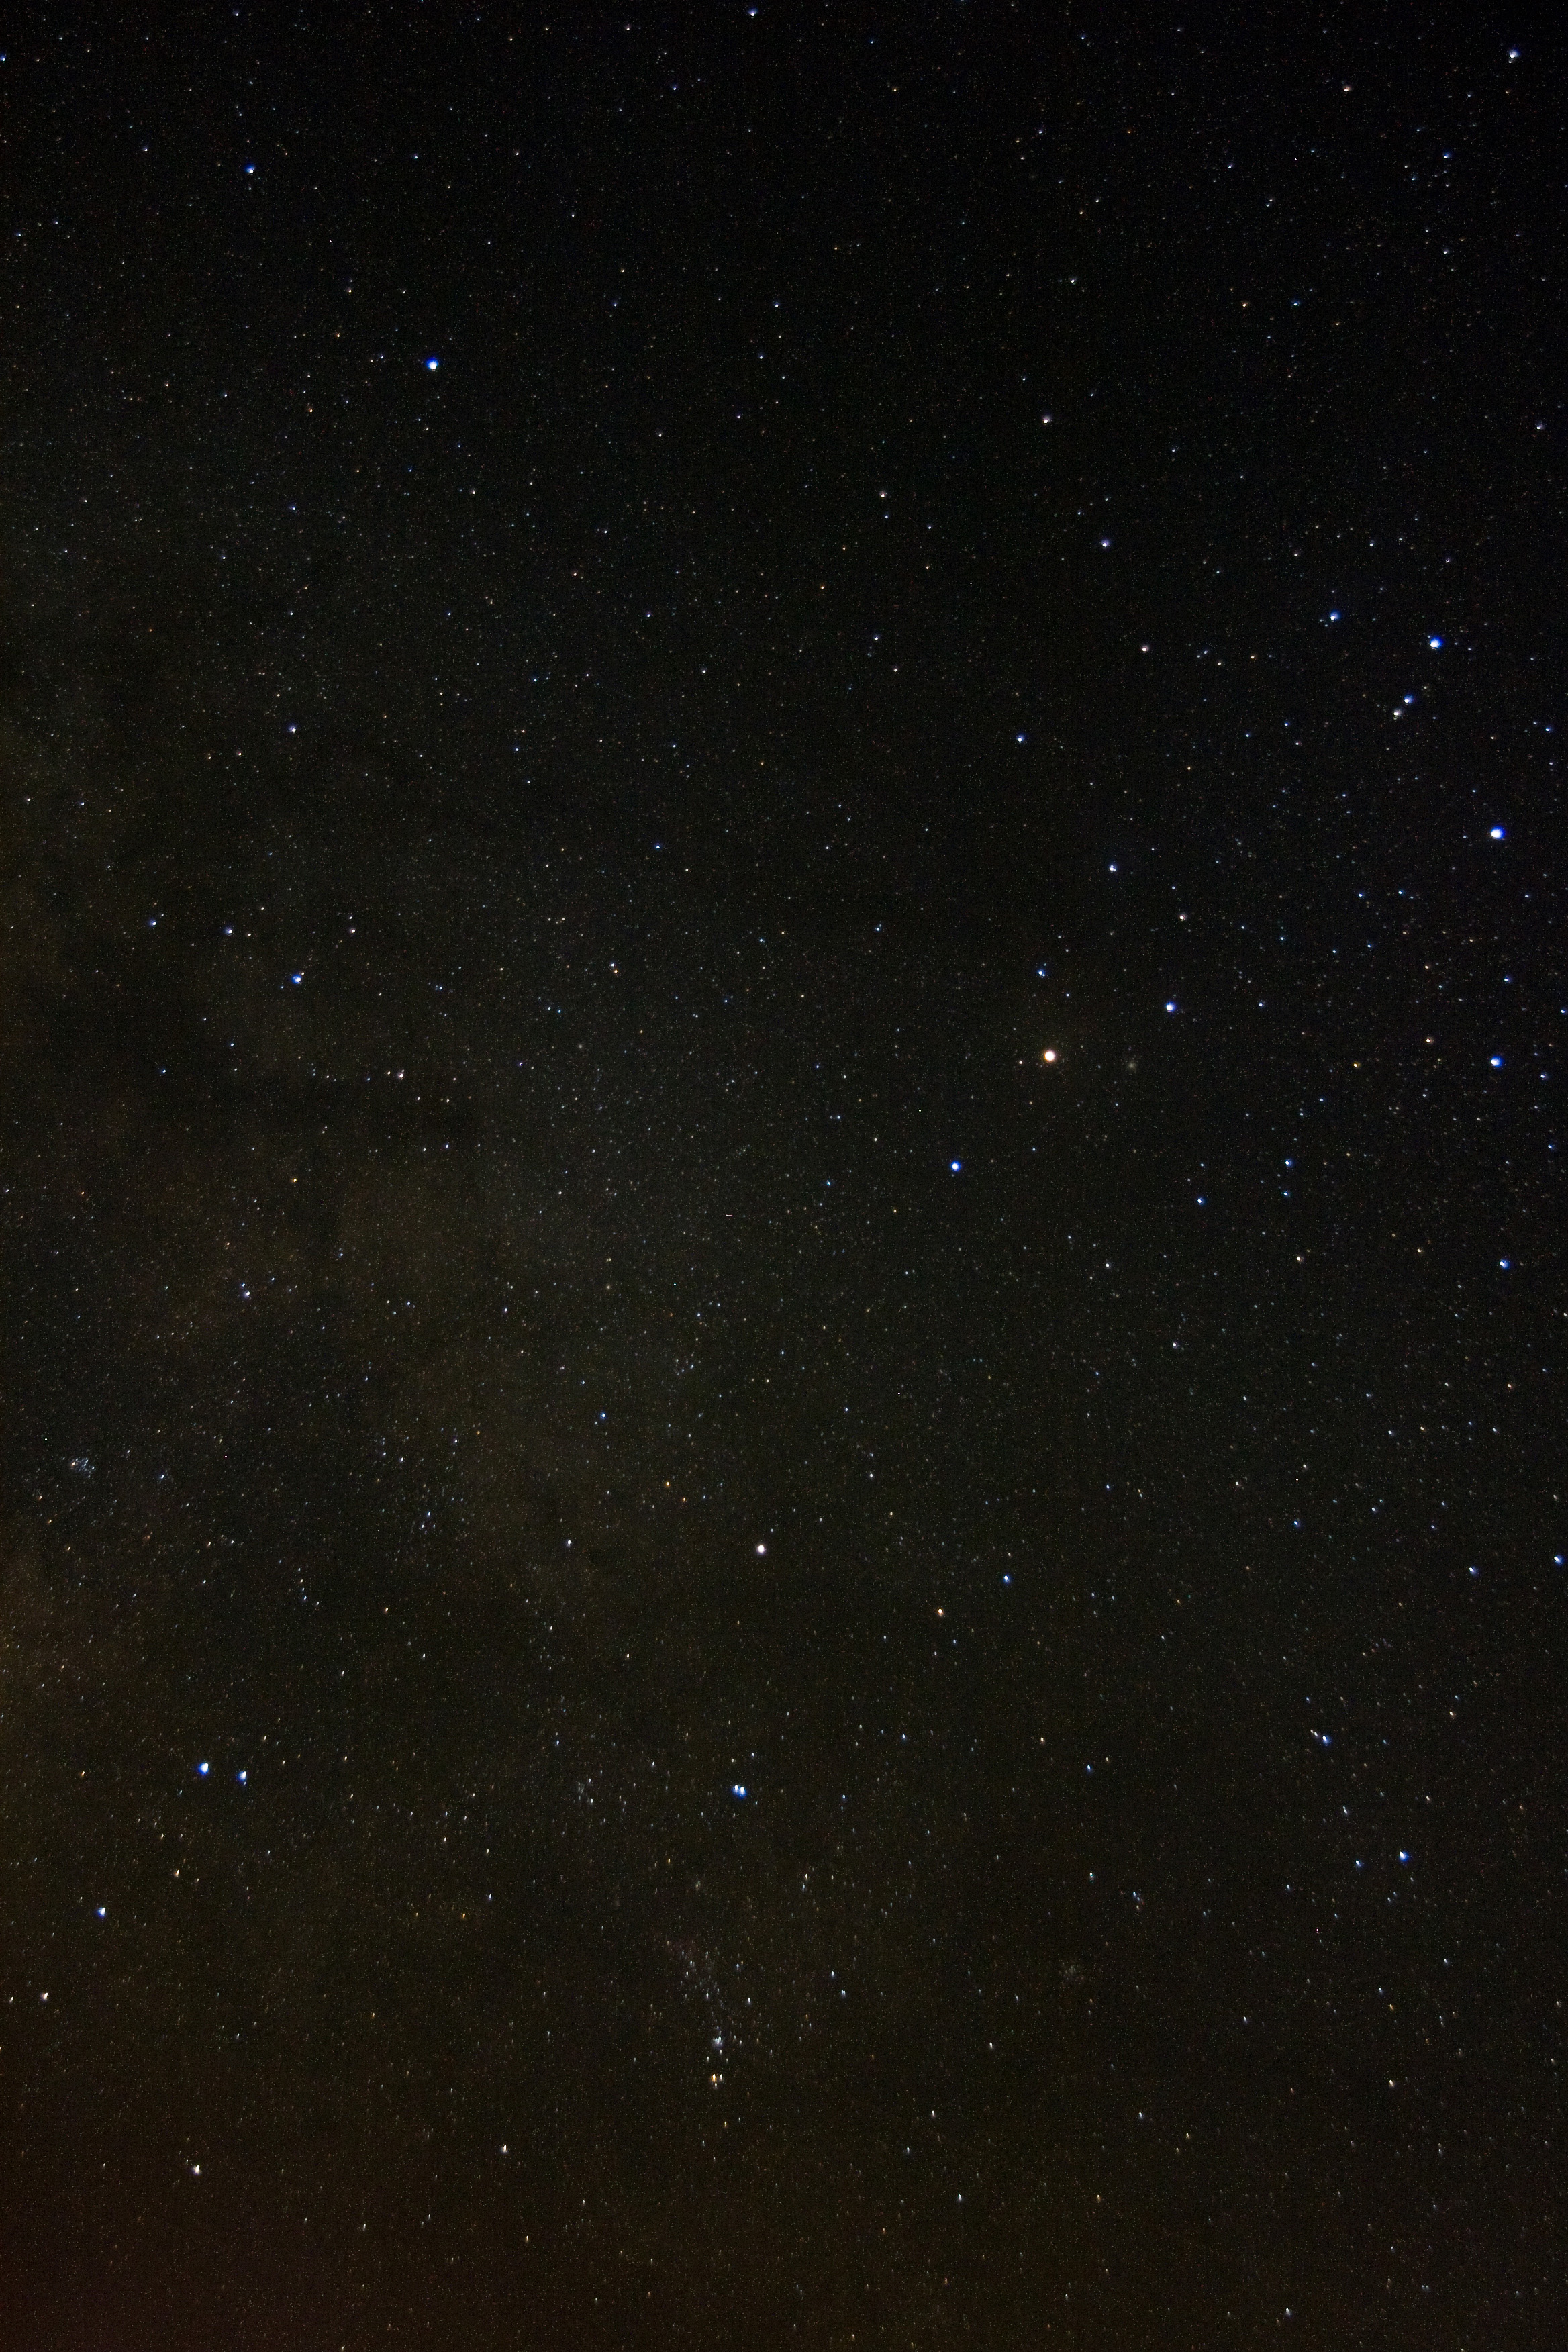
    Constellation Scorpius
    My piggy back shot of Scorpius taken in the early evening. Note the Pipe Nebula near the center left, a dark dusty pipe in silhouette against the Milky Way. Click for the full-resolution image.

    Observing report for June 16, 2012, Amboy, CA

    The forecast for Amboy had a high temperature of 104°F and a low of 72°F. Winds would be light to calm, and the sky would be severely clear and steady all night! Sunset at 7:58 p.m. and sunrise at 5:30 a.m.

    My European and metric system friends might enjoy converting those temperatures into Celsius for a jaw-dropping chuckle.

    Amboy Crater National Natural Landmark is on BLM (Bureau of Land Management) land near the tiny railroad town of Amboy, on National Trails Highway — a right-of-way that used to be marked as U.S. highway 66. Amboy, California, has also been noted as the inspiration for the town of Radiator Springs from the Disney-Pixar movies Cars and Cars 2.

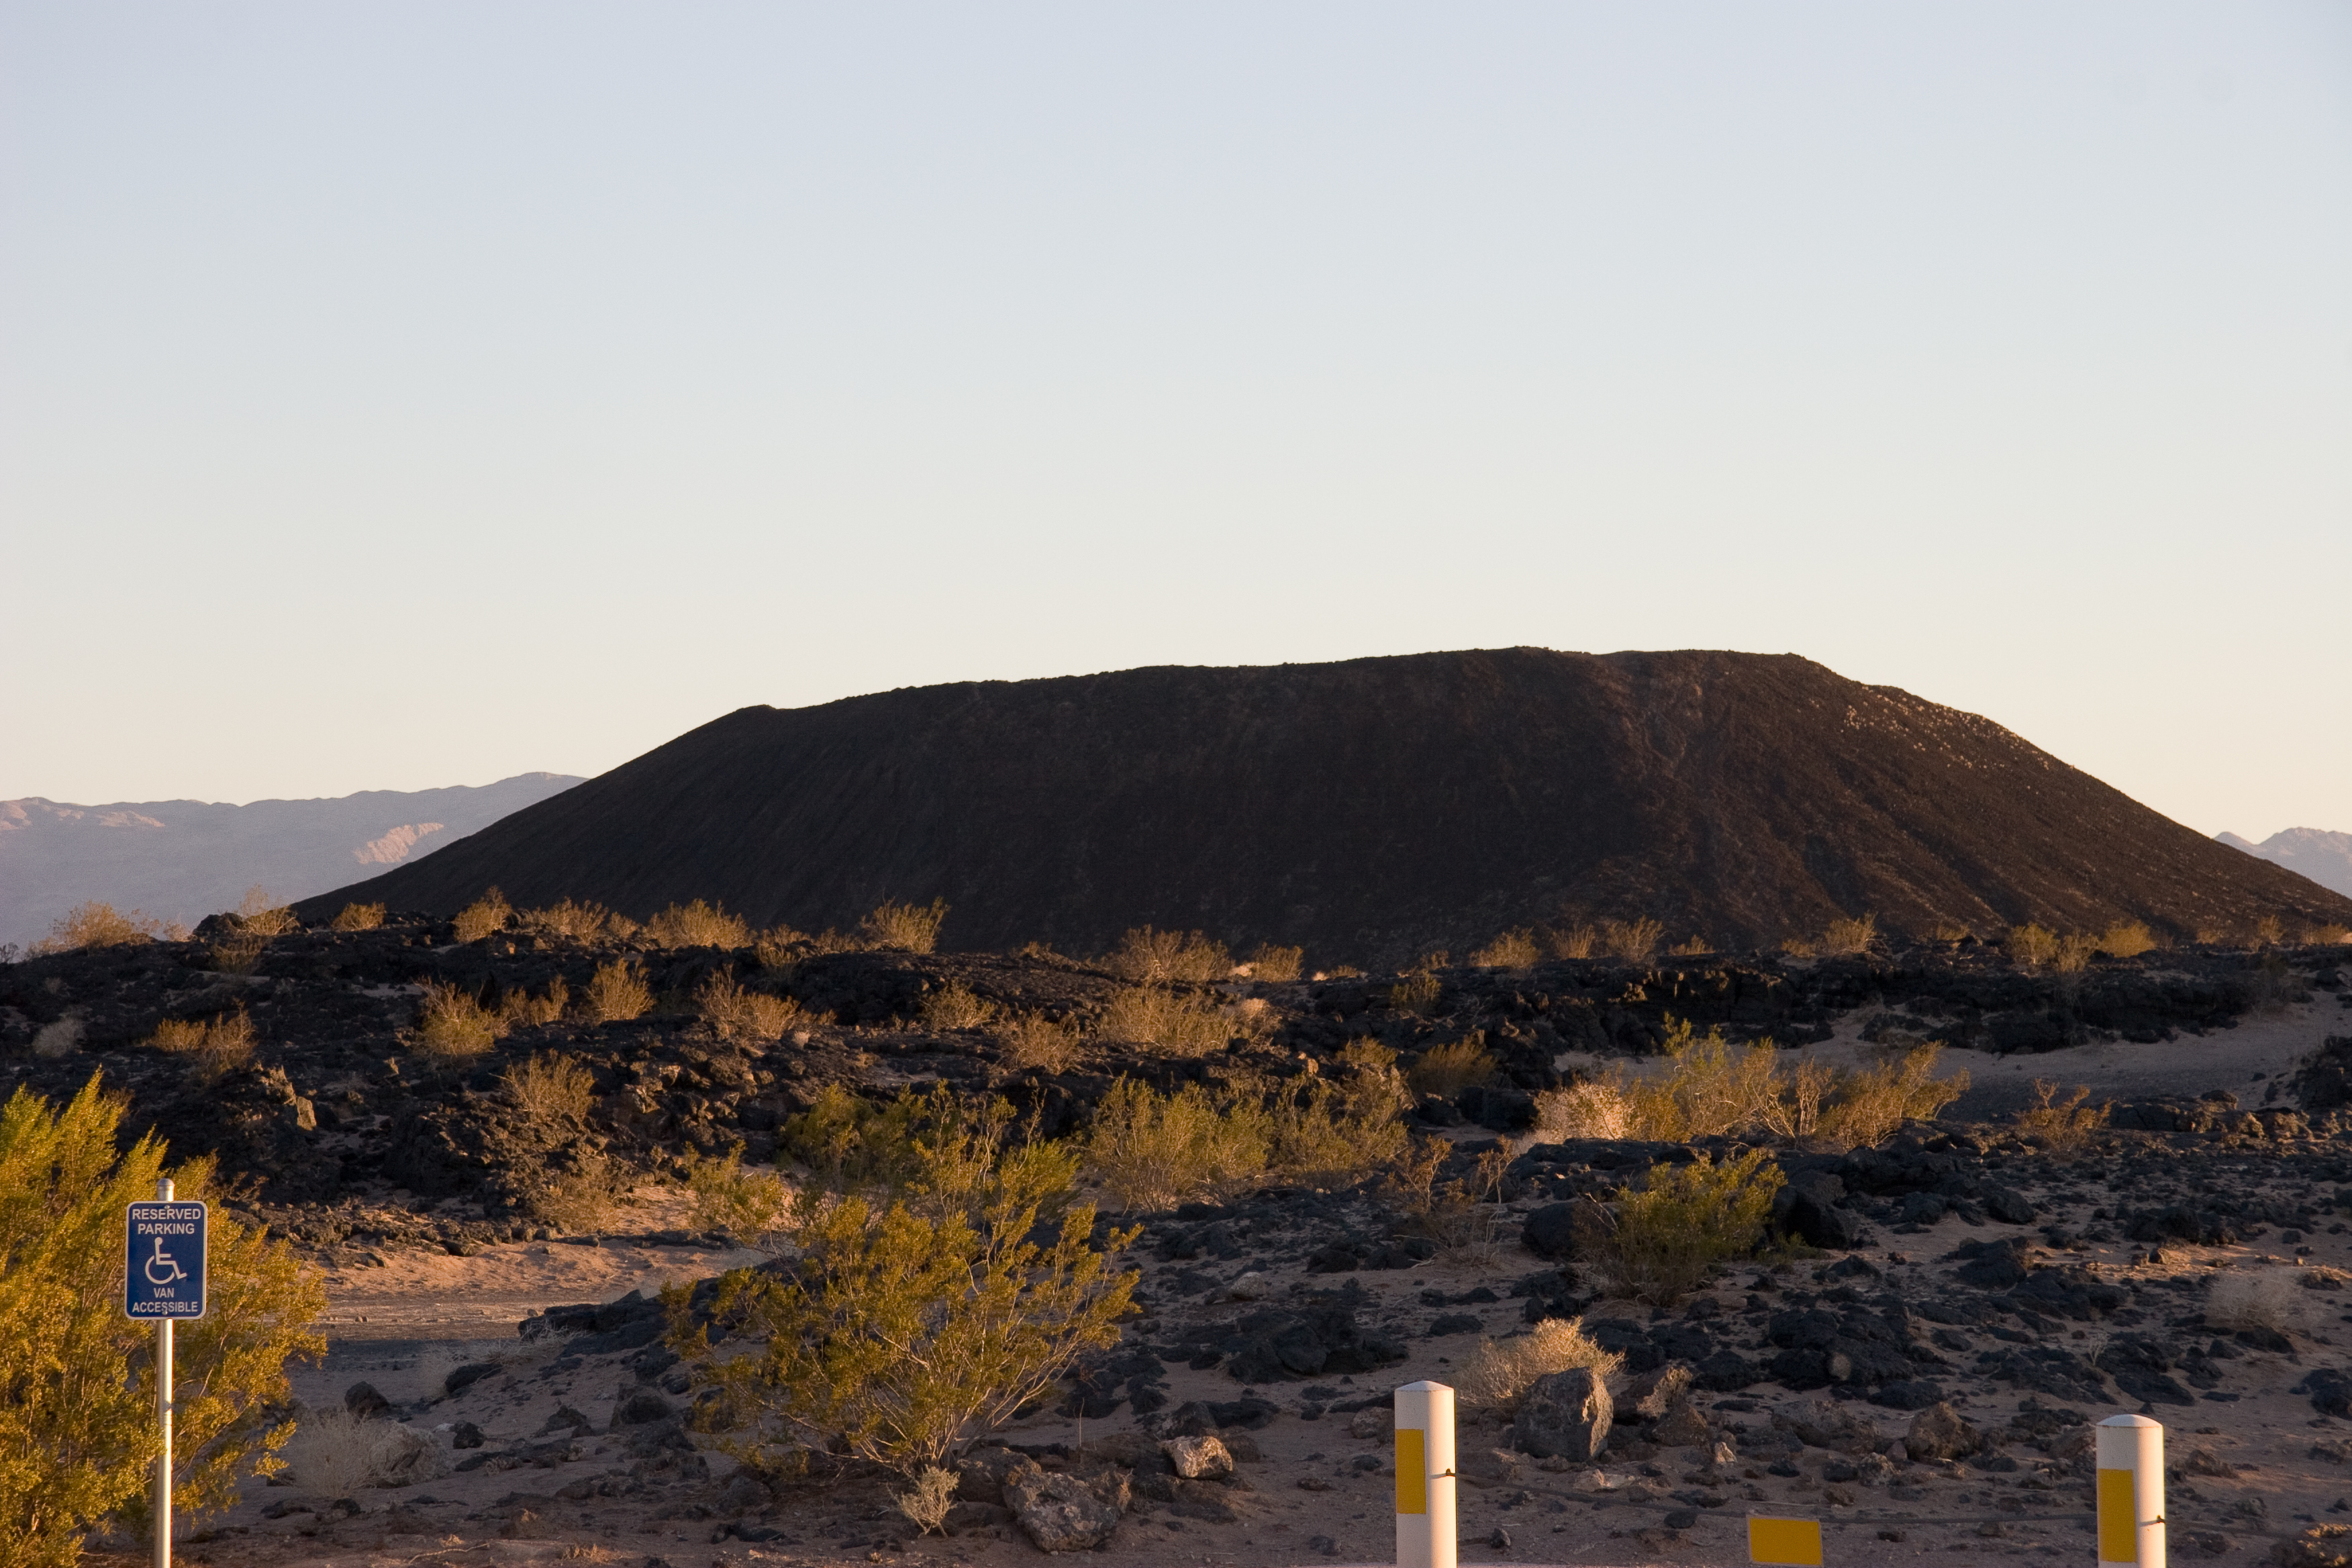
    We’ve written much about Amboy Crater in the past. It has become our new favorite observing location, featuring a paved parking area, picnic tables, and pit toilets. There’s a lovely one-mile trail that leads into the volcano crater known as Amboy Crater, which juts up from a large black-rocked lava field.

    Amboy Crater
    Amboy Crater National Natural Landmark
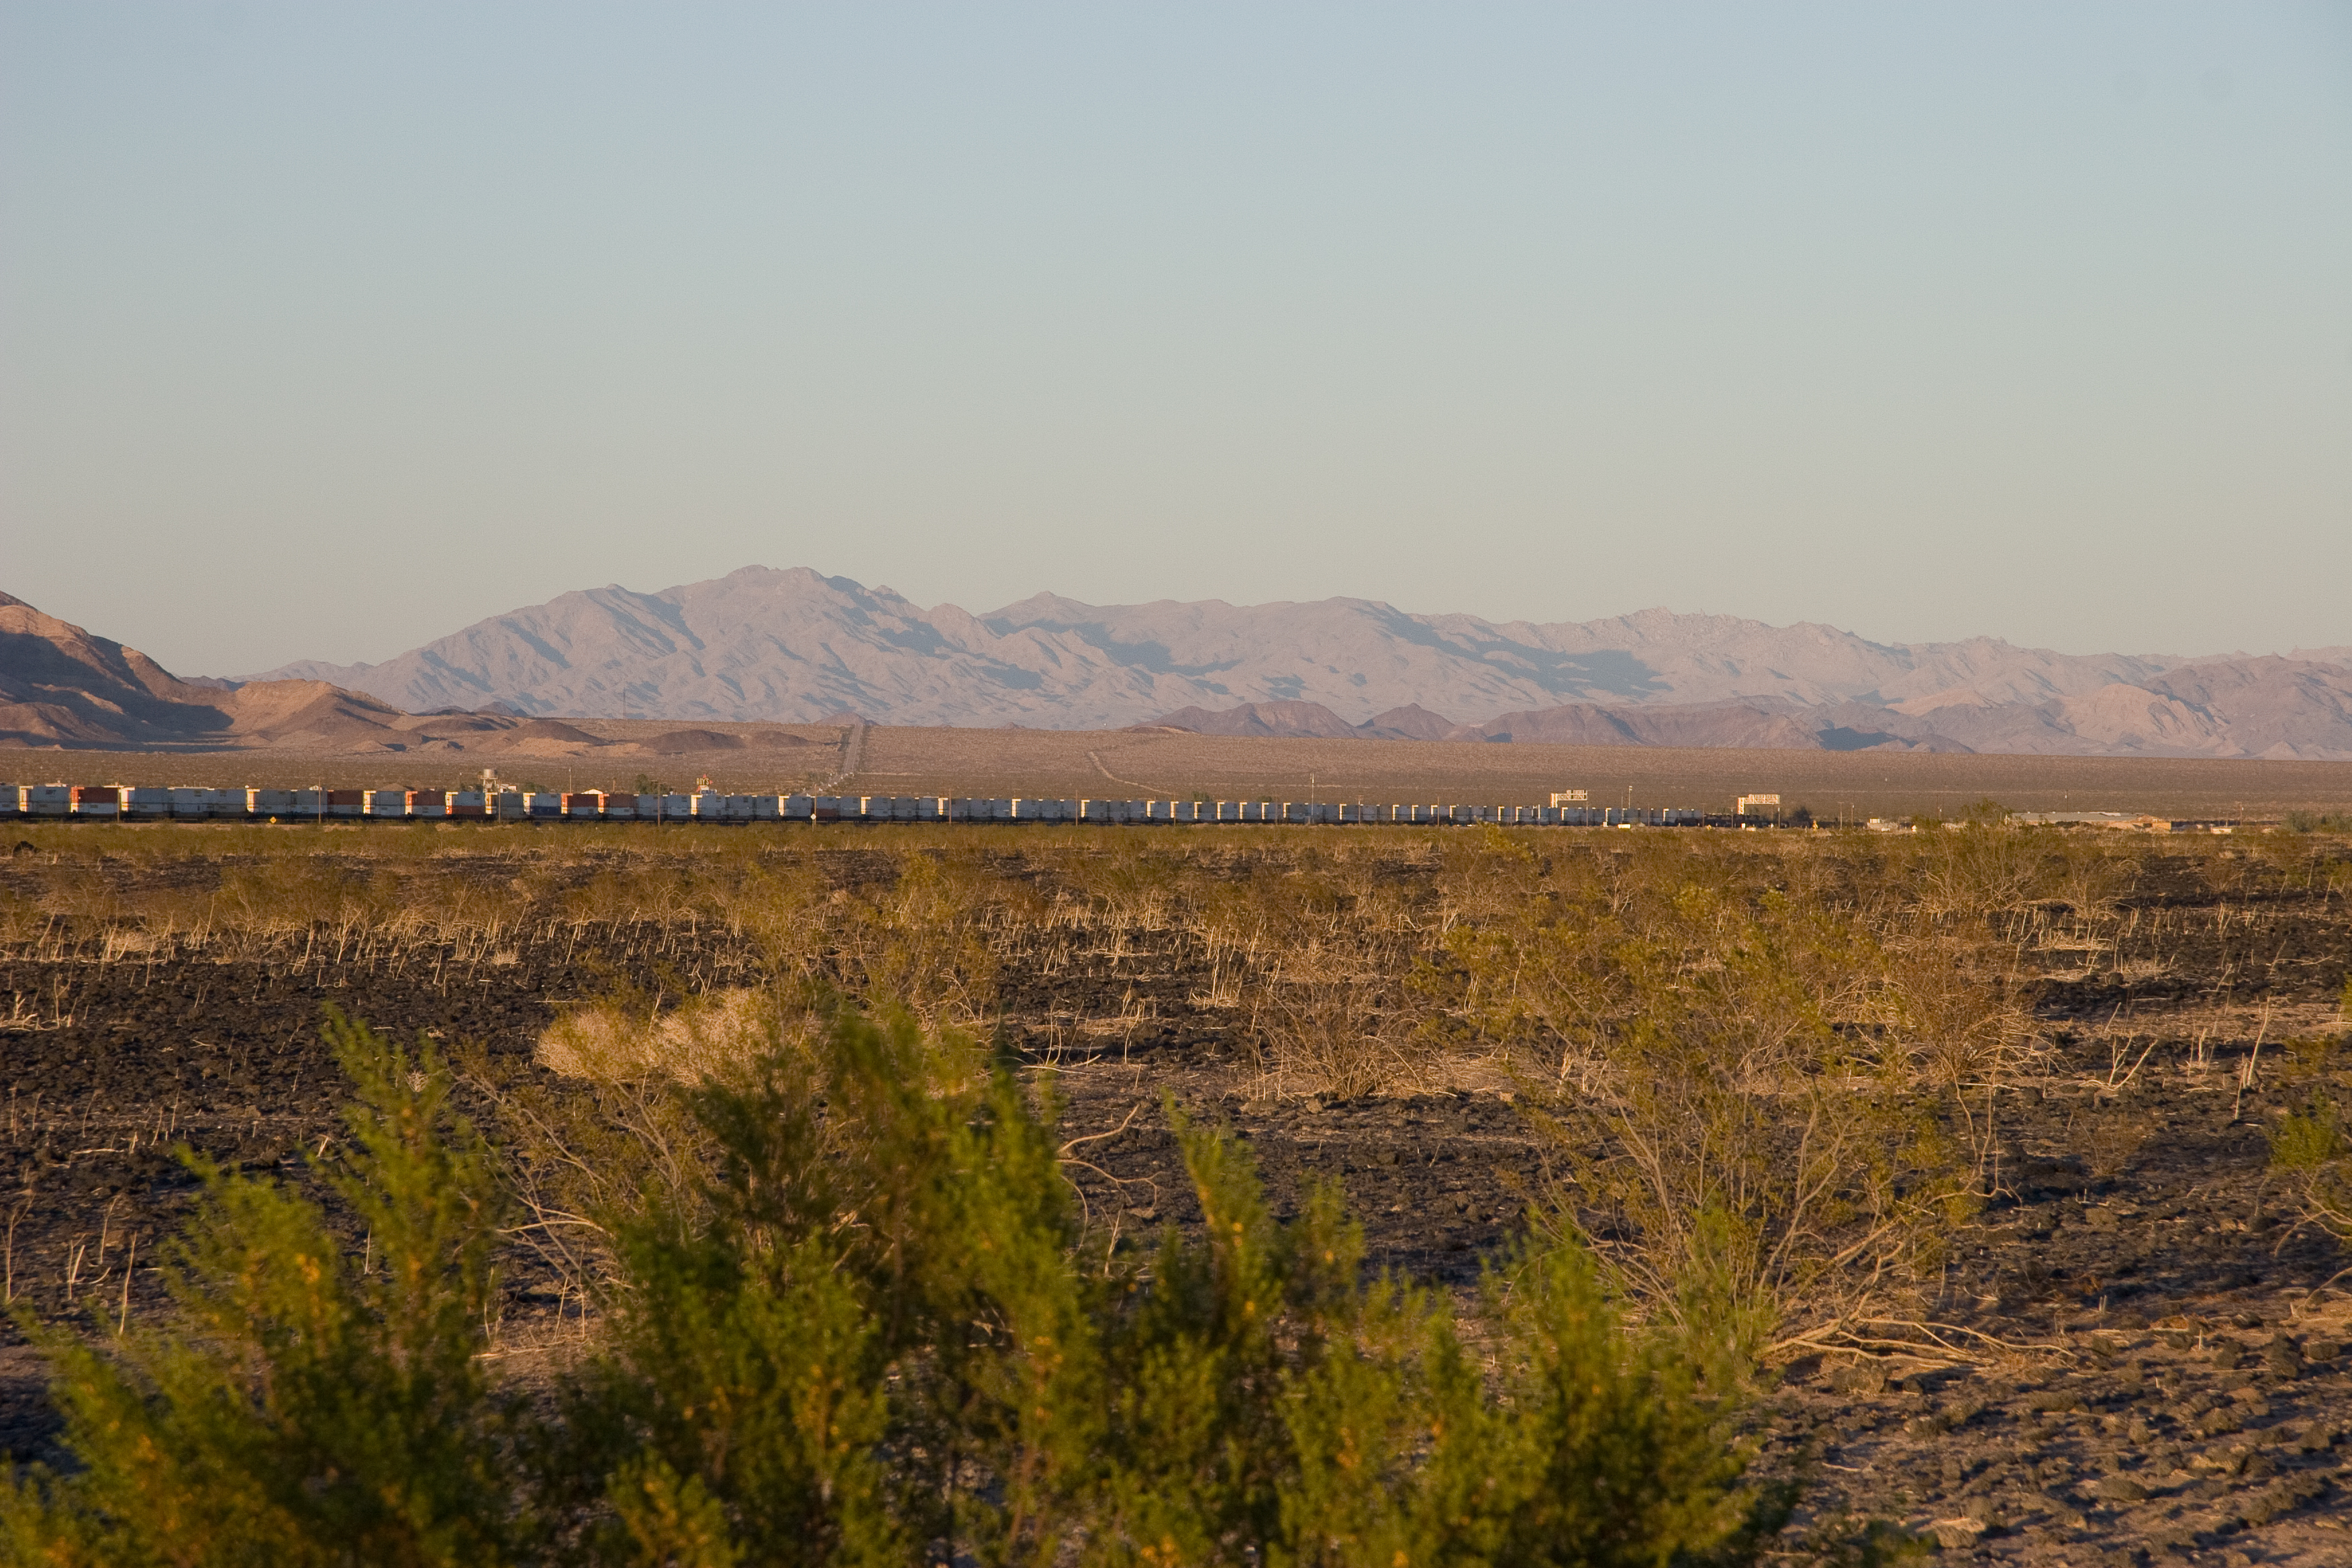
    Train near Amboy
    One of the many long trains passing through Amboy, CA, that keep us company rumbling through the night

    When we arrived at the location, it was probably about 95°F. Our full dispenser of ice water and chilled Gatorades came in very handy! With sunset the temperature quickly dropped, and an hour after it was very pleasant short-sleeved observing under a perfect sky.

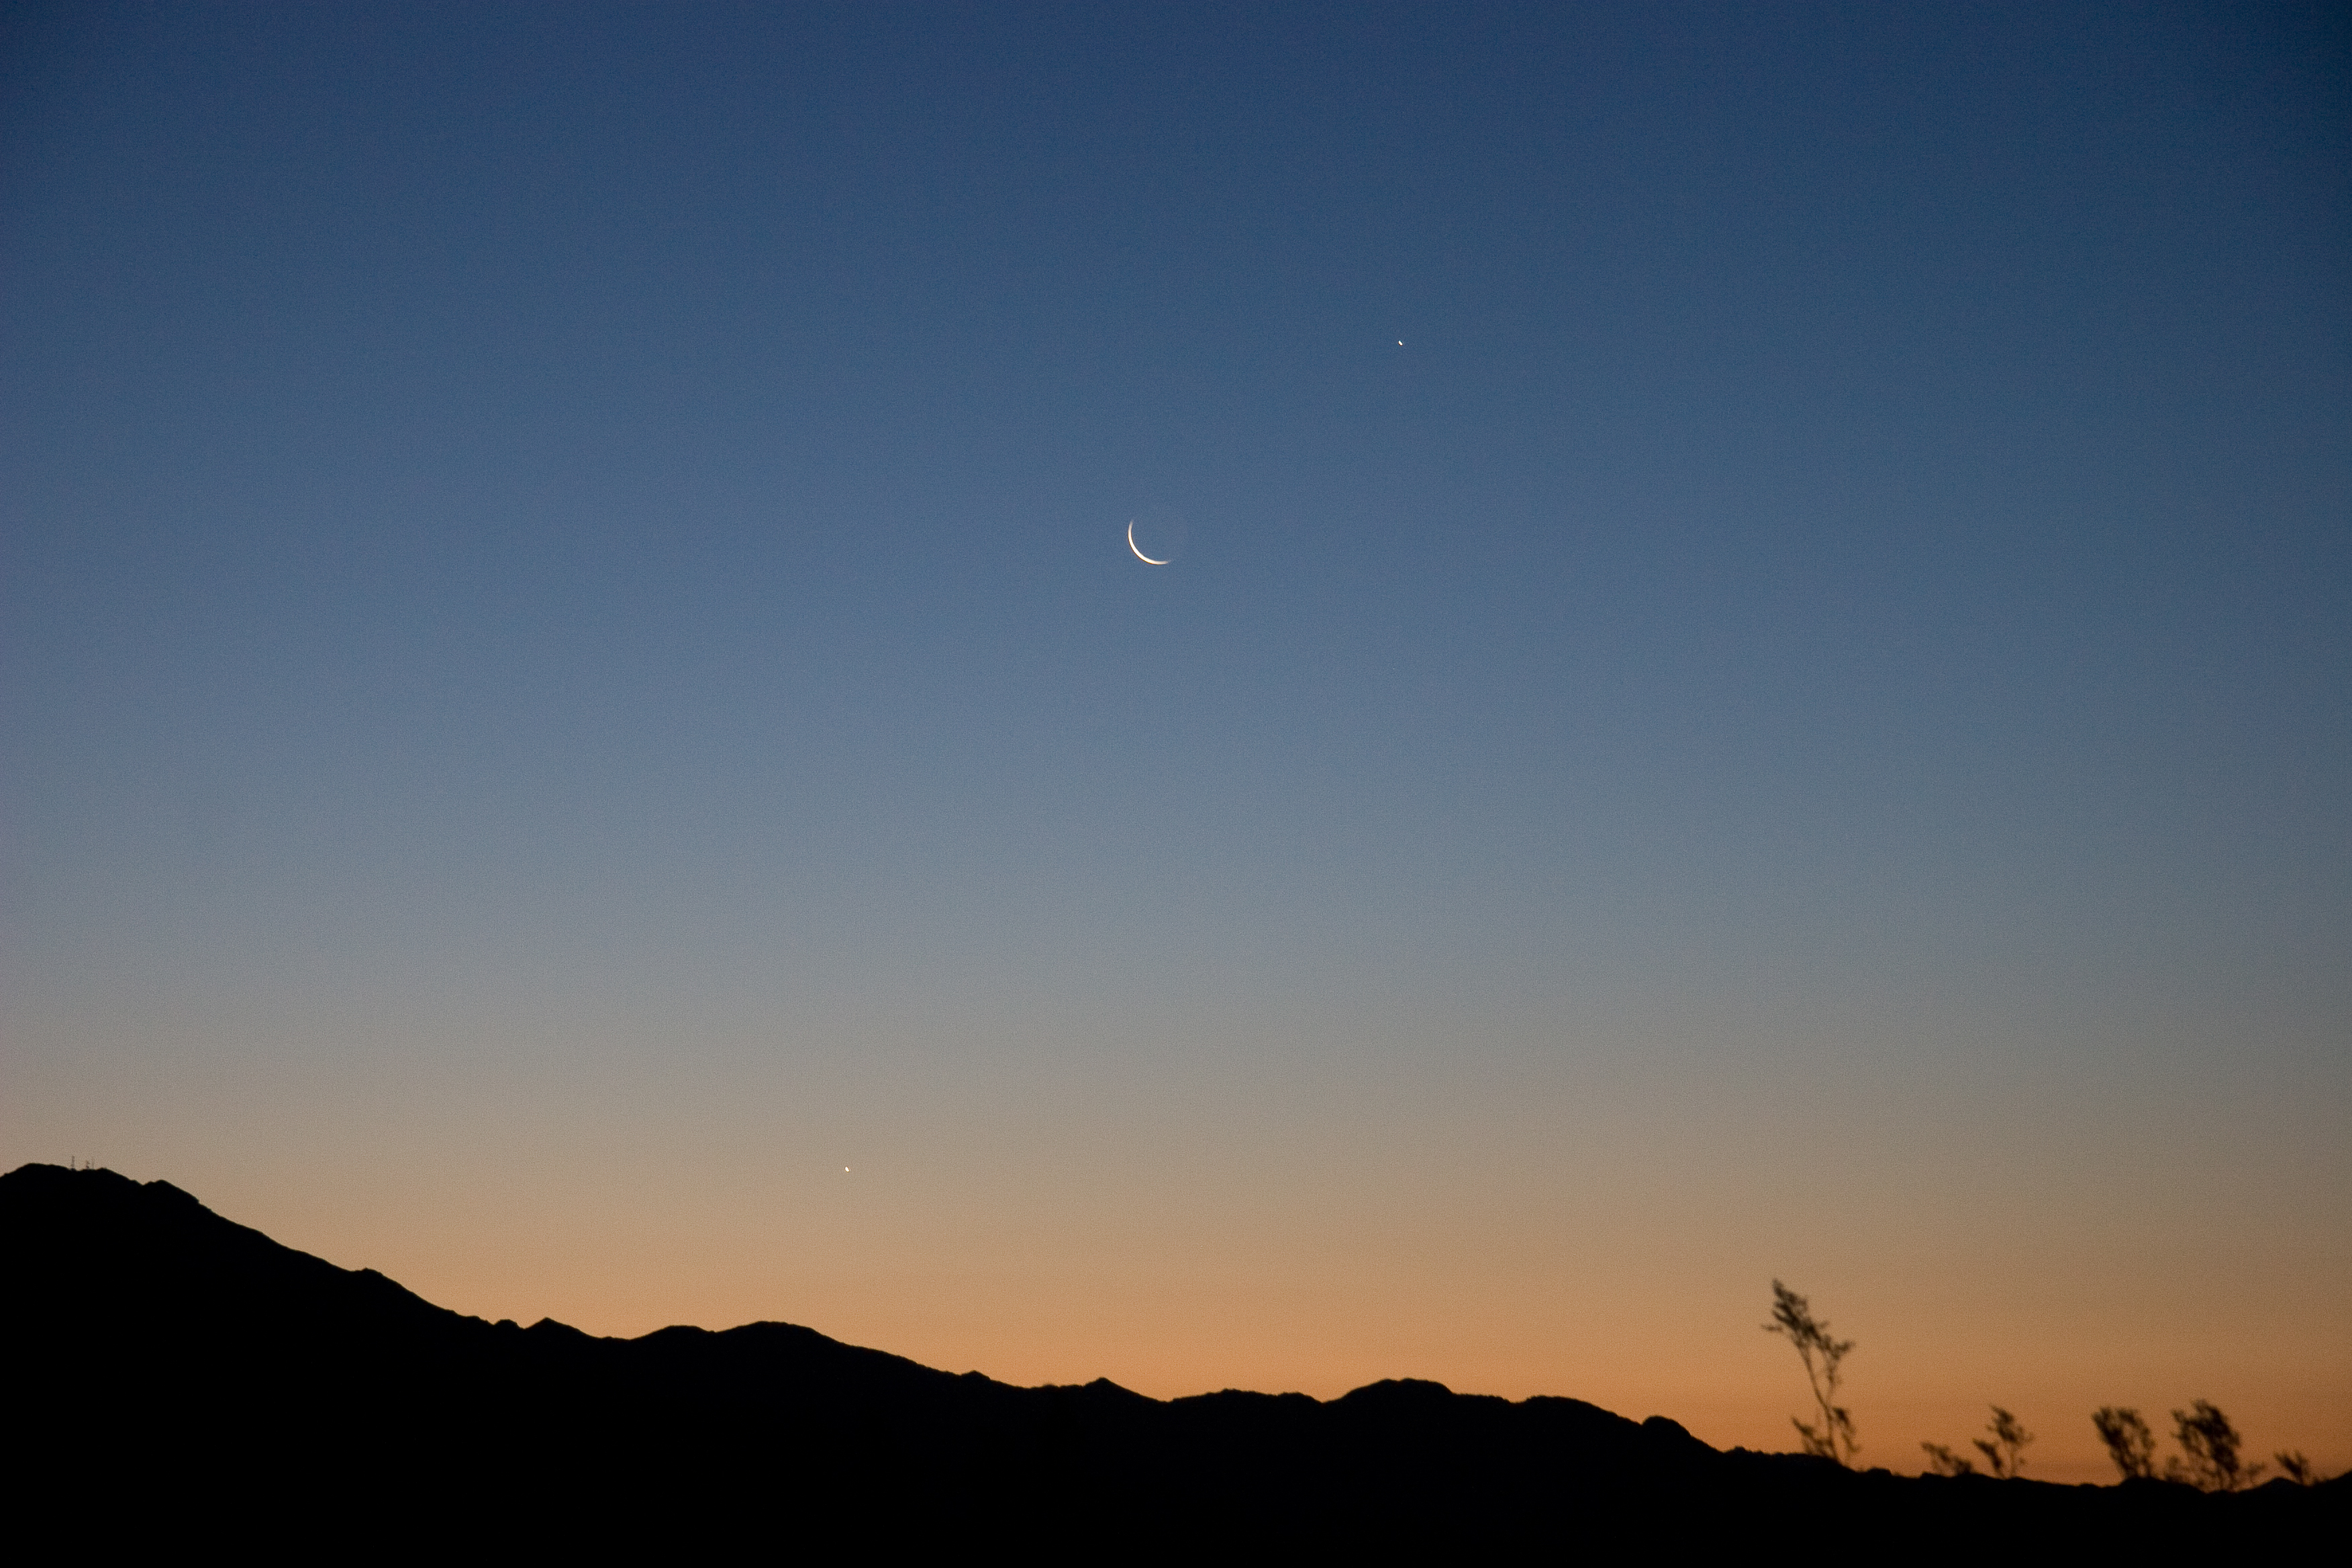
    We napped for a couple of hours at 2:30 or so, and woke to this stunning array of morning planets rising in the east.

    Jupiter, Moon, Venus
    Jupiter, the Moon, and Venus, lined up in the eastern pre-dawn sky Sunday morning. By all means click for the full-res image, and notice the prominent earthshine on the very old moon.

    I was looking forward to capturing some summer-sky Milky Way favorites this evening. I stumbled onto a nearly perfect polar alignment. It was one of those nights when I had no battles to fight, no problems to solve, I could just collect photons.

    I spent my few summer hours on three targets I hadn’t imaged, all rising in the very dark eastern sky.

    Click each of these for the full-resolution 2048×2048 image. They turned out particularly well!

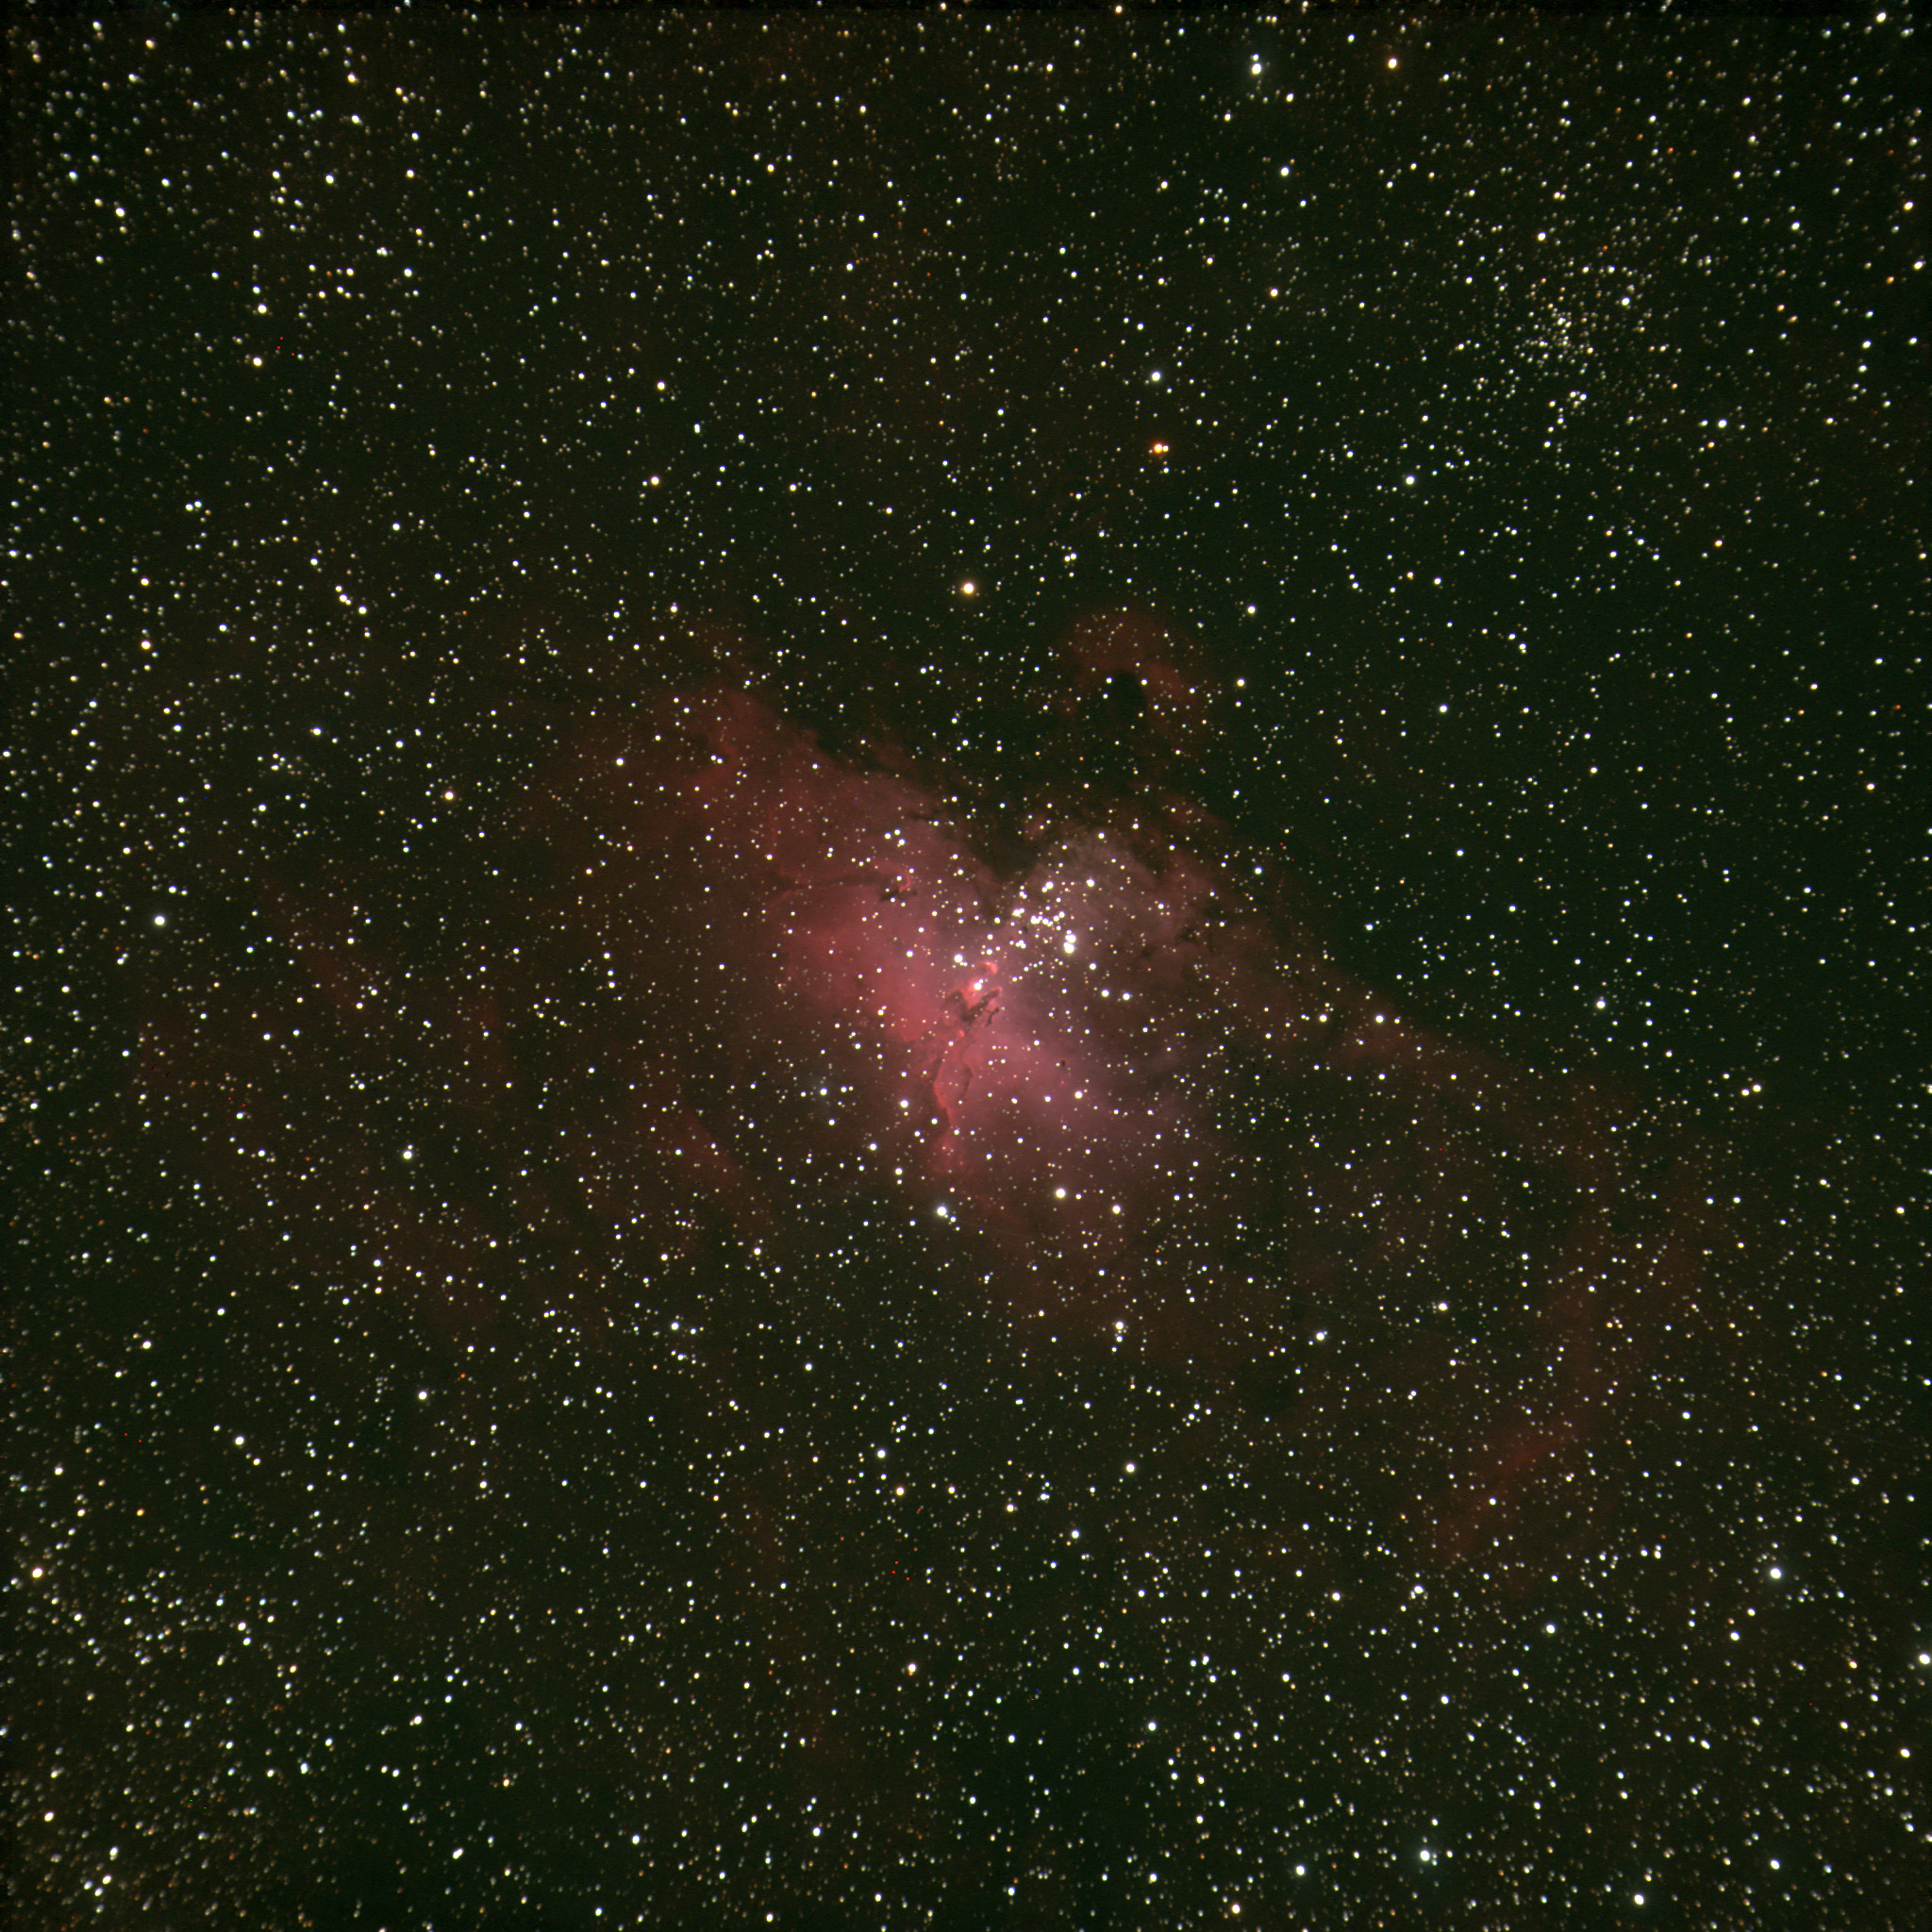
    M16 the  Eagle
    M16, the Eagle Nebula and cluster

    I had previously shot M16, with one 15-minute exposure, and had an airplane fly through the shot. I didn’t want to photoshop the airplane away, and decided to collect more data for this stack. This one is three 15-minute exposures.

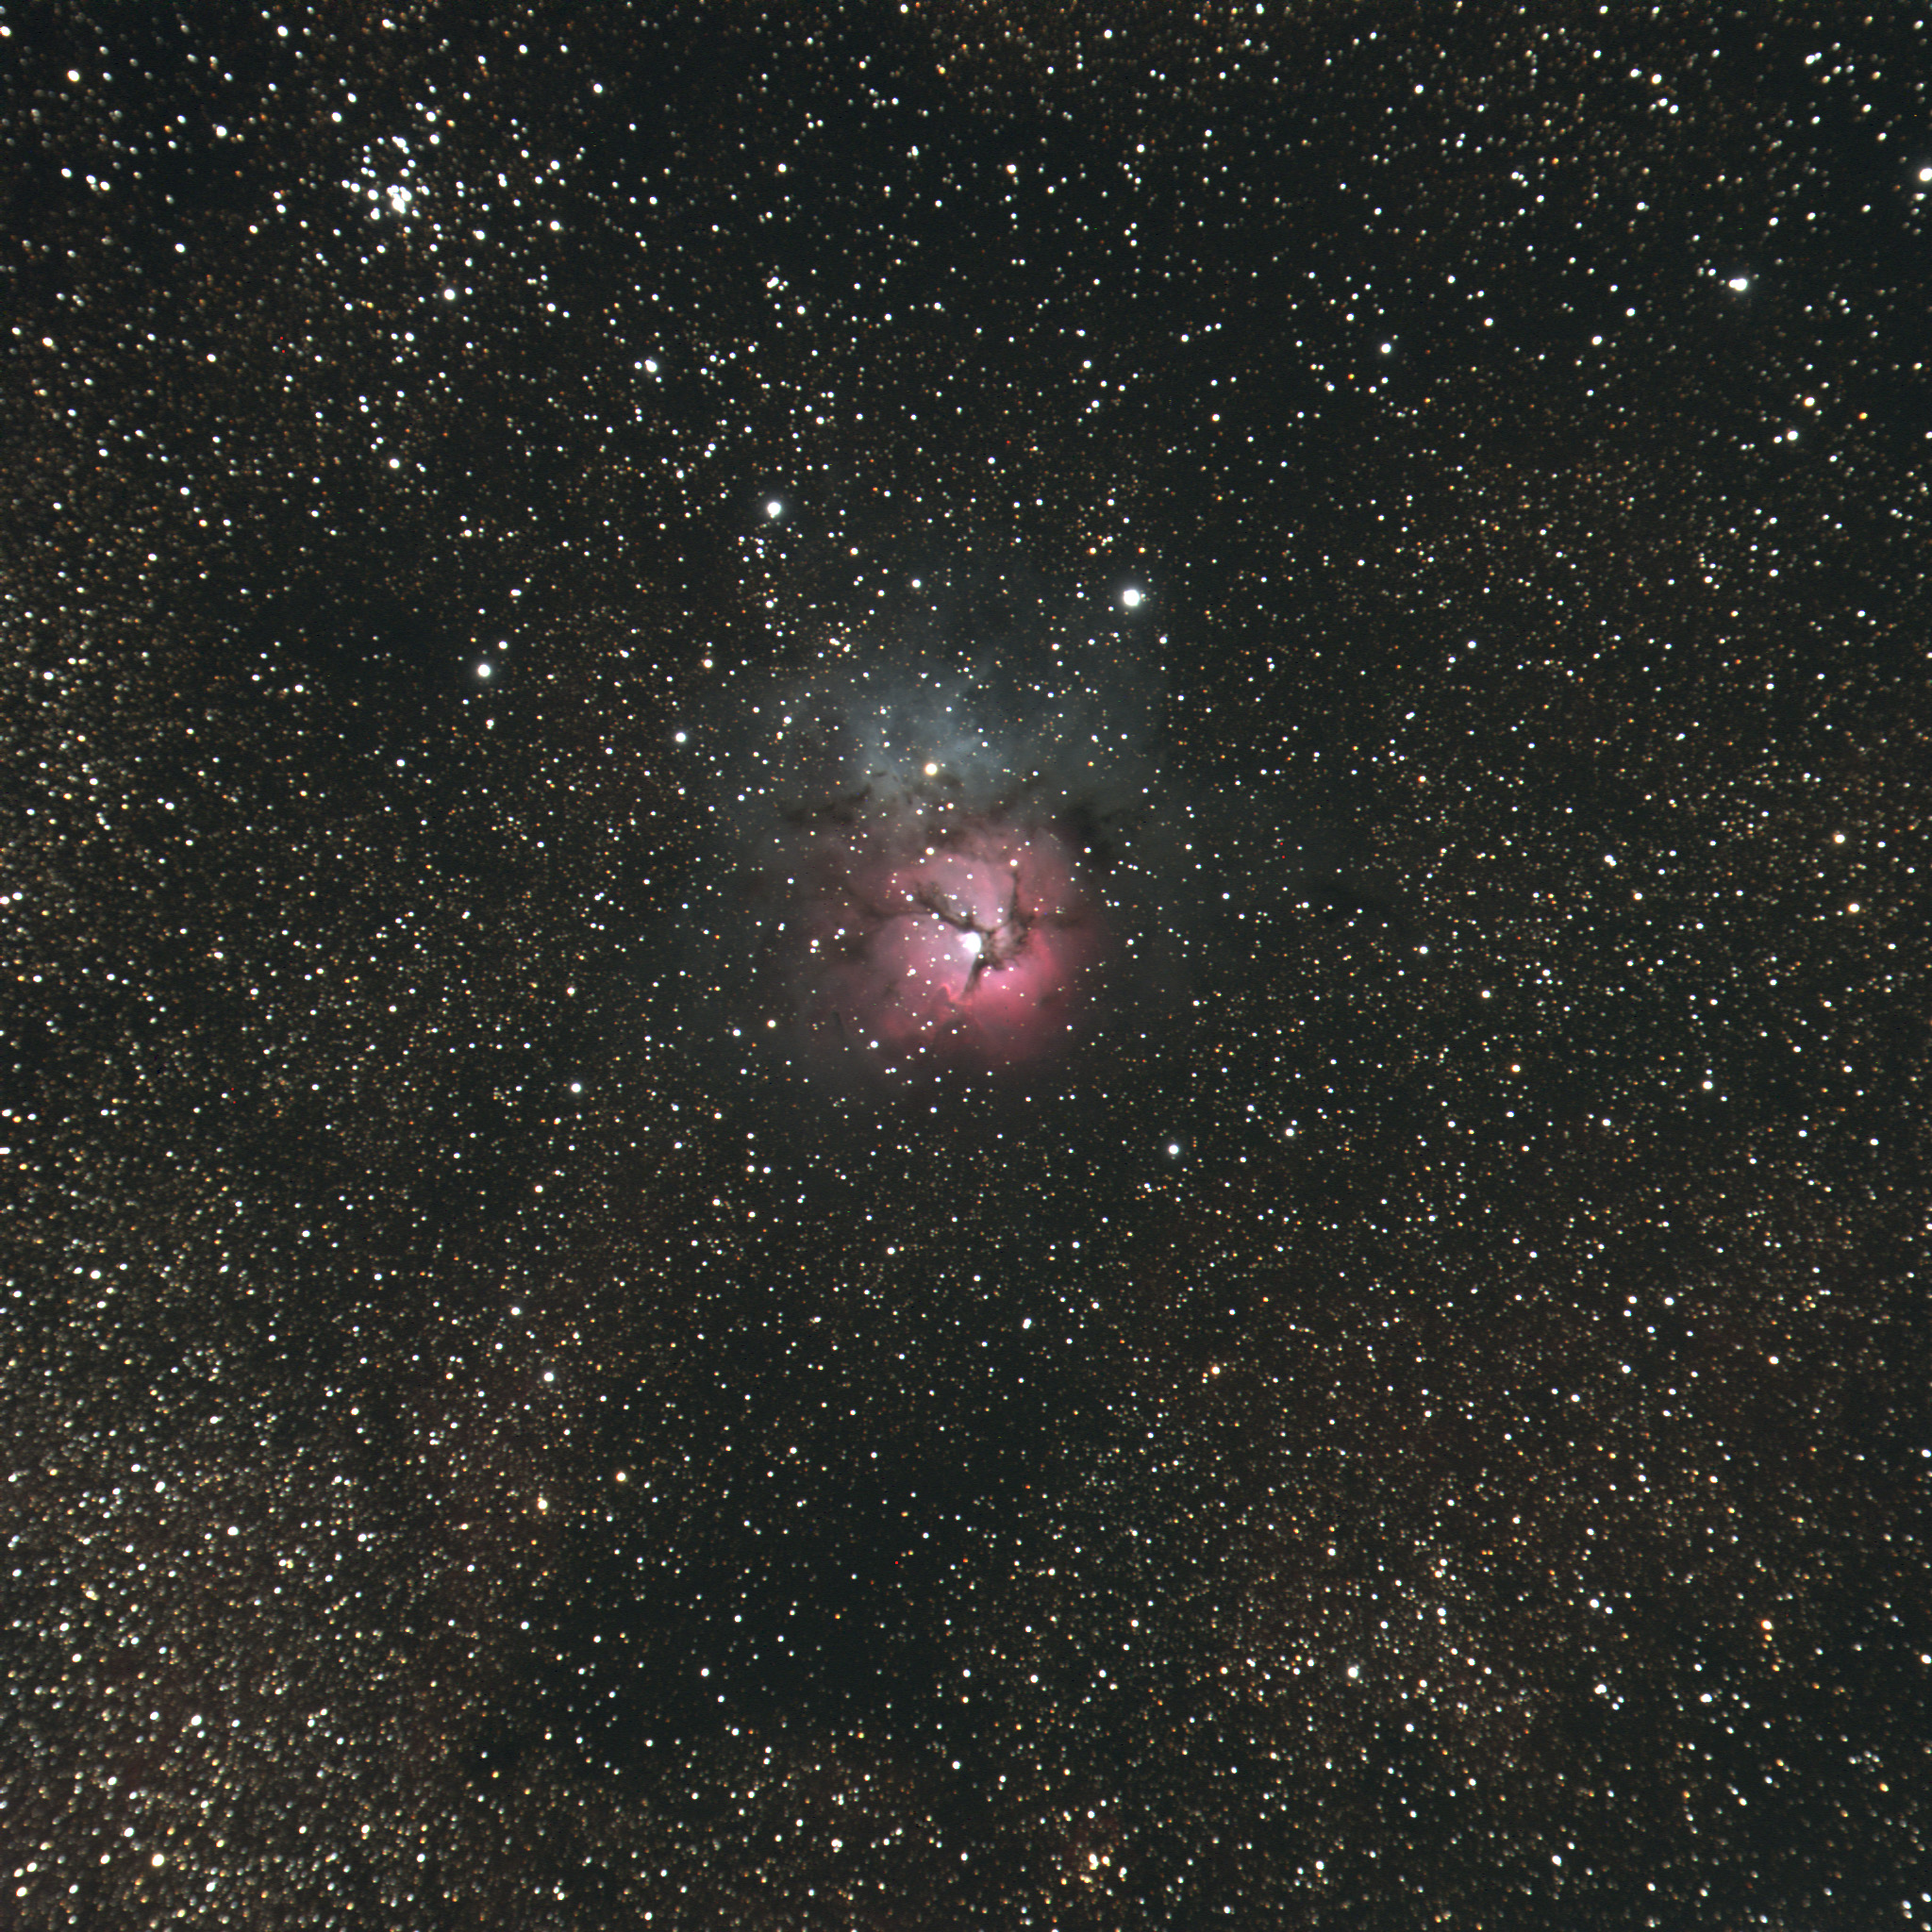
    M20 the Trifid
    M20 the Trifid Nebula, with M21, an open cluster, in the upper left corner.

    My Trifid is also three 15-minute exposures. I love seeing the lanes of dark Milky Way dust making inky lakes and tendrils among the stars surrounding the nebula.

    Veil Nebula
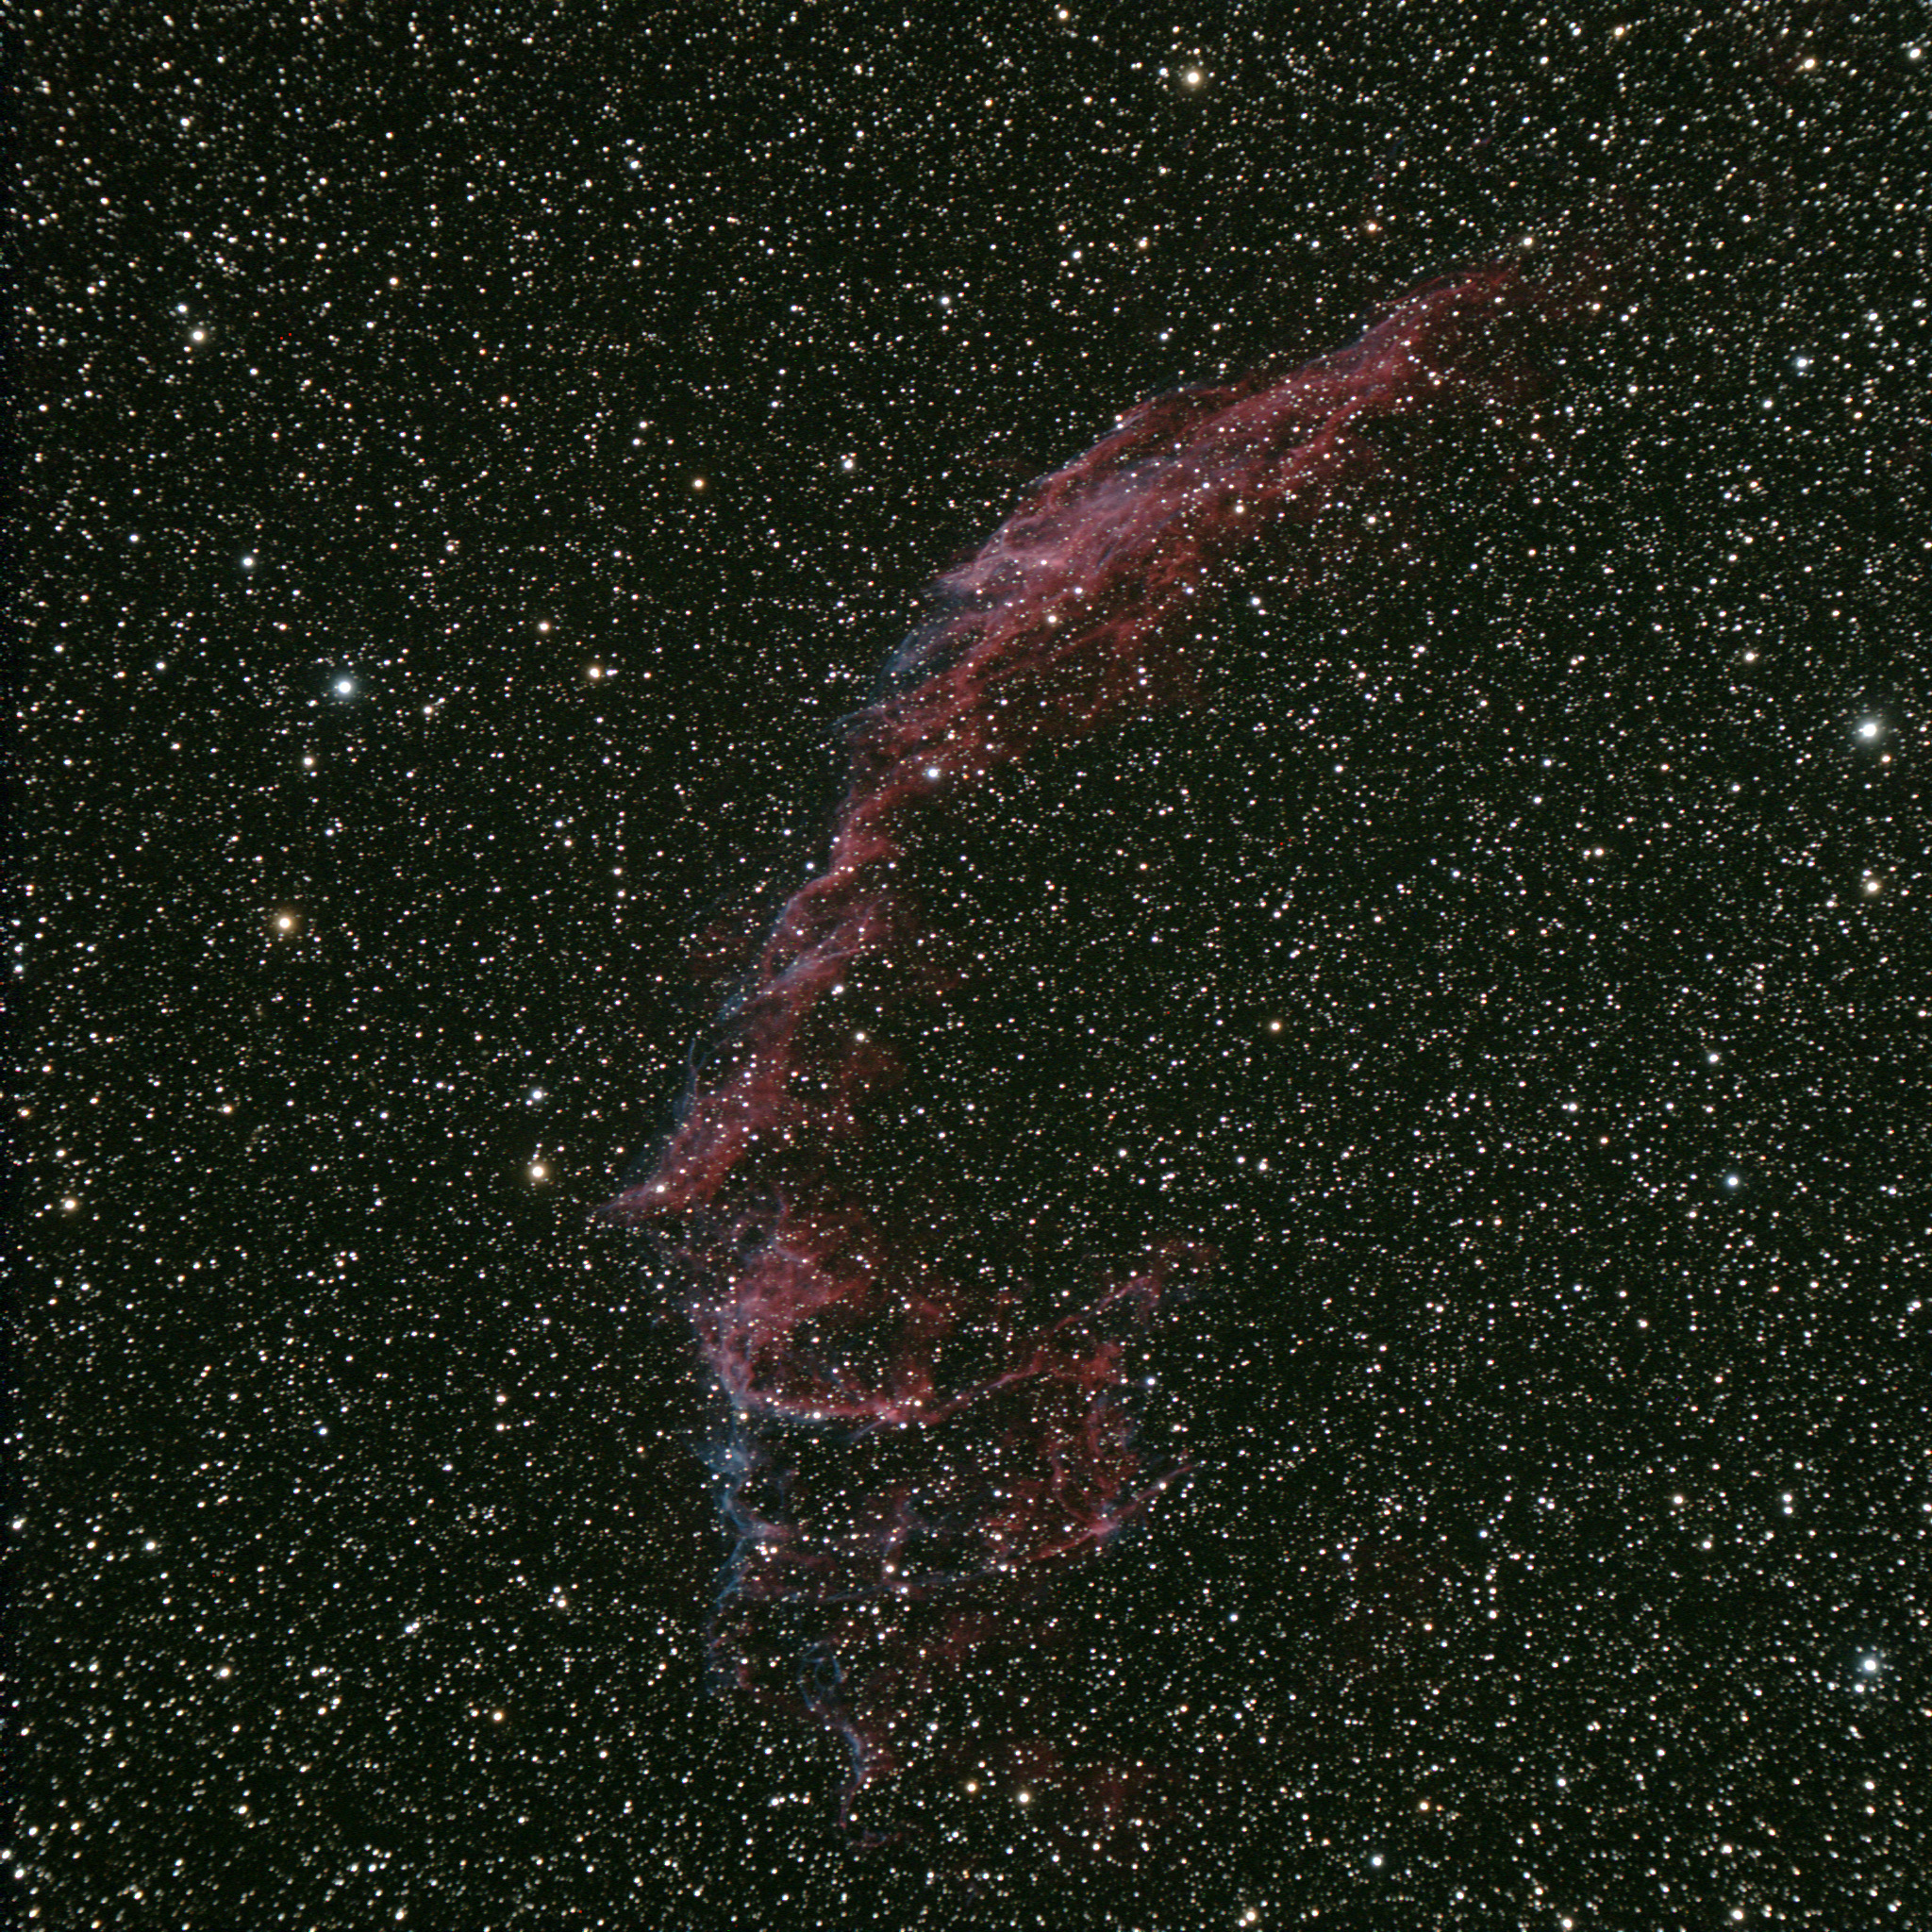
    The eastern side of the Veil Nebula, this half is cataloged as NGC6992.

    My small refractor is the perfect telescope to capture this half of the Veil Nebula, the eastern half, NGC6992. I hadn’t expected the mix of red and blue tendrils in this supernova remnant bow shock. This is four 15-minute exposures, stacked in Photoshop.

    Equipment and software list:

    • Astro-Physics Traveler 105mm objective, f/6
    • Astro-Physics Mach-1 GTO mount on wooden tripod
    • SBIG ST-4000XCM one-shot-color CCD imager
    • CCDSoft, CCDOps, Photoshop CS3
    • Skytools 3, The Sky 6

    The Scorpius constellation image was taken piggyback on the Traveler with my Canon 20D DSLR camera, one three-minute exposure.

  • Galaxy season

    Mojo at Amboy Crater
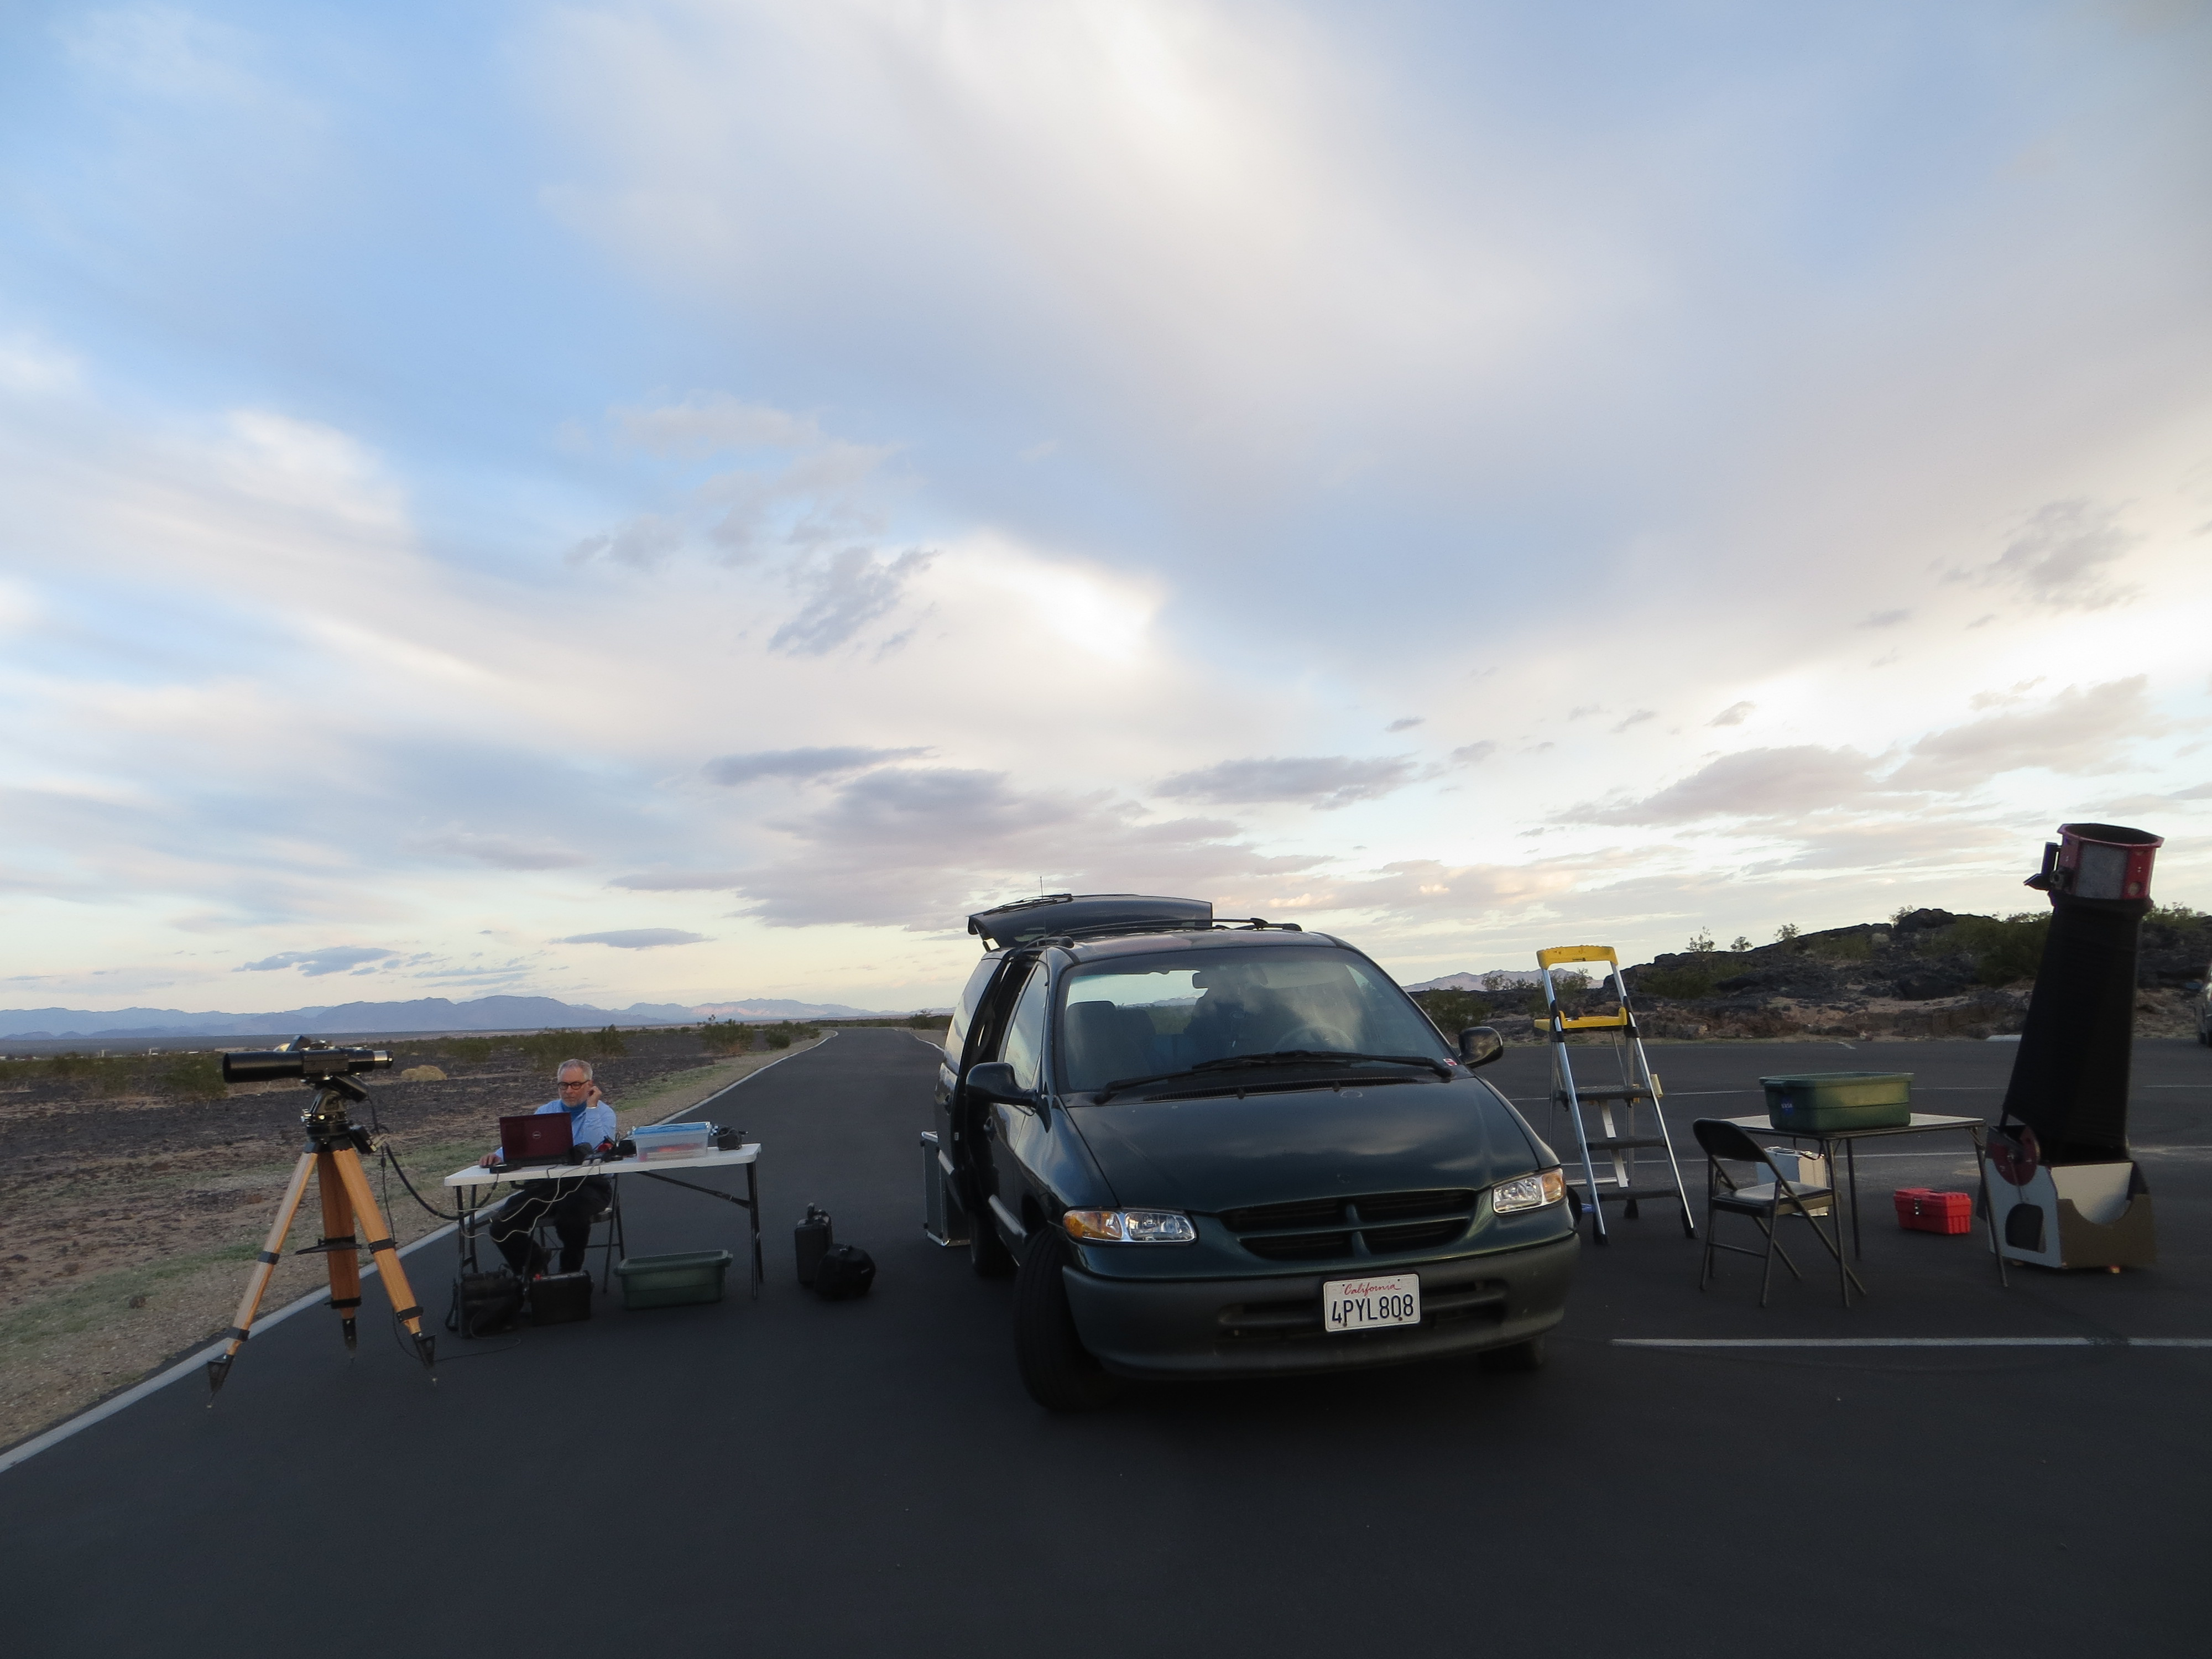
    Jane snapped Mojo waiting for darkness at the Amboy Crater visitor area.

    Observing report, April 21, 2012, Amboy, CA

    We’ve had a string of bad luck with new moon weekends for the past six months, so when this new moon Saturday showed nearly perfect conditions, Jane and I were quick to pack the van and get out to Amboy Crater.

    My only agenda for the session was to relearn my rusty imaging skills, and perhaps bag some Spring galaxies from Virgo and Ursa Major. Jane had plans to mostly eschew optical equipment and spend the morning counting meteors from the Lyrid meteor shower. (She’ll have a report on that elsewhere.)

    Conditions all night were as delightful as advertised. There was no wind, not a sign of a cloud. The temperature dropped quickly from 98°F on arrival to 62°F close to sunrise, calling for a light jacket. Humidity stayed well below 20% all night. We were prepared for the heat with lots of ice and Propel sports drinks.

    We were the only ones taking advantage of the smooth blacktop and hospitable visitor station at Amboy Crater. The great conditions kept both of us going without a nap all night. It made for a struggle returning home on little sleep, but we both managed to grab naps during the day.

    I imaged comet C2009/P1 Garradd to start the evening. I took four 5-minute exposures, allowing me to make two versions of the image.

    The first version stacks the images so the stars all match. The motion of the comet against the background stars blurs the head of the comet in the line of its travel.

    Comet Garradd moves against fixed stars
    Comet Garradd moves against fixed stars

    The second image aligns each exposure on the head of the comet, so the perspective moves with the comet over 20 minutes, making a trail of stars in the background.

    Comet Garradd fixed against a moving background
    Comet Garradd fixed against a moving background

    The rest of the evening focused on distant galaxies. For this session I added a barlow lens ahead of the camera to get a slightly narrower field of view.

    Each of the 400×400 thumbnails below links to the full-size image, which is 2048 x 2048 pixels.

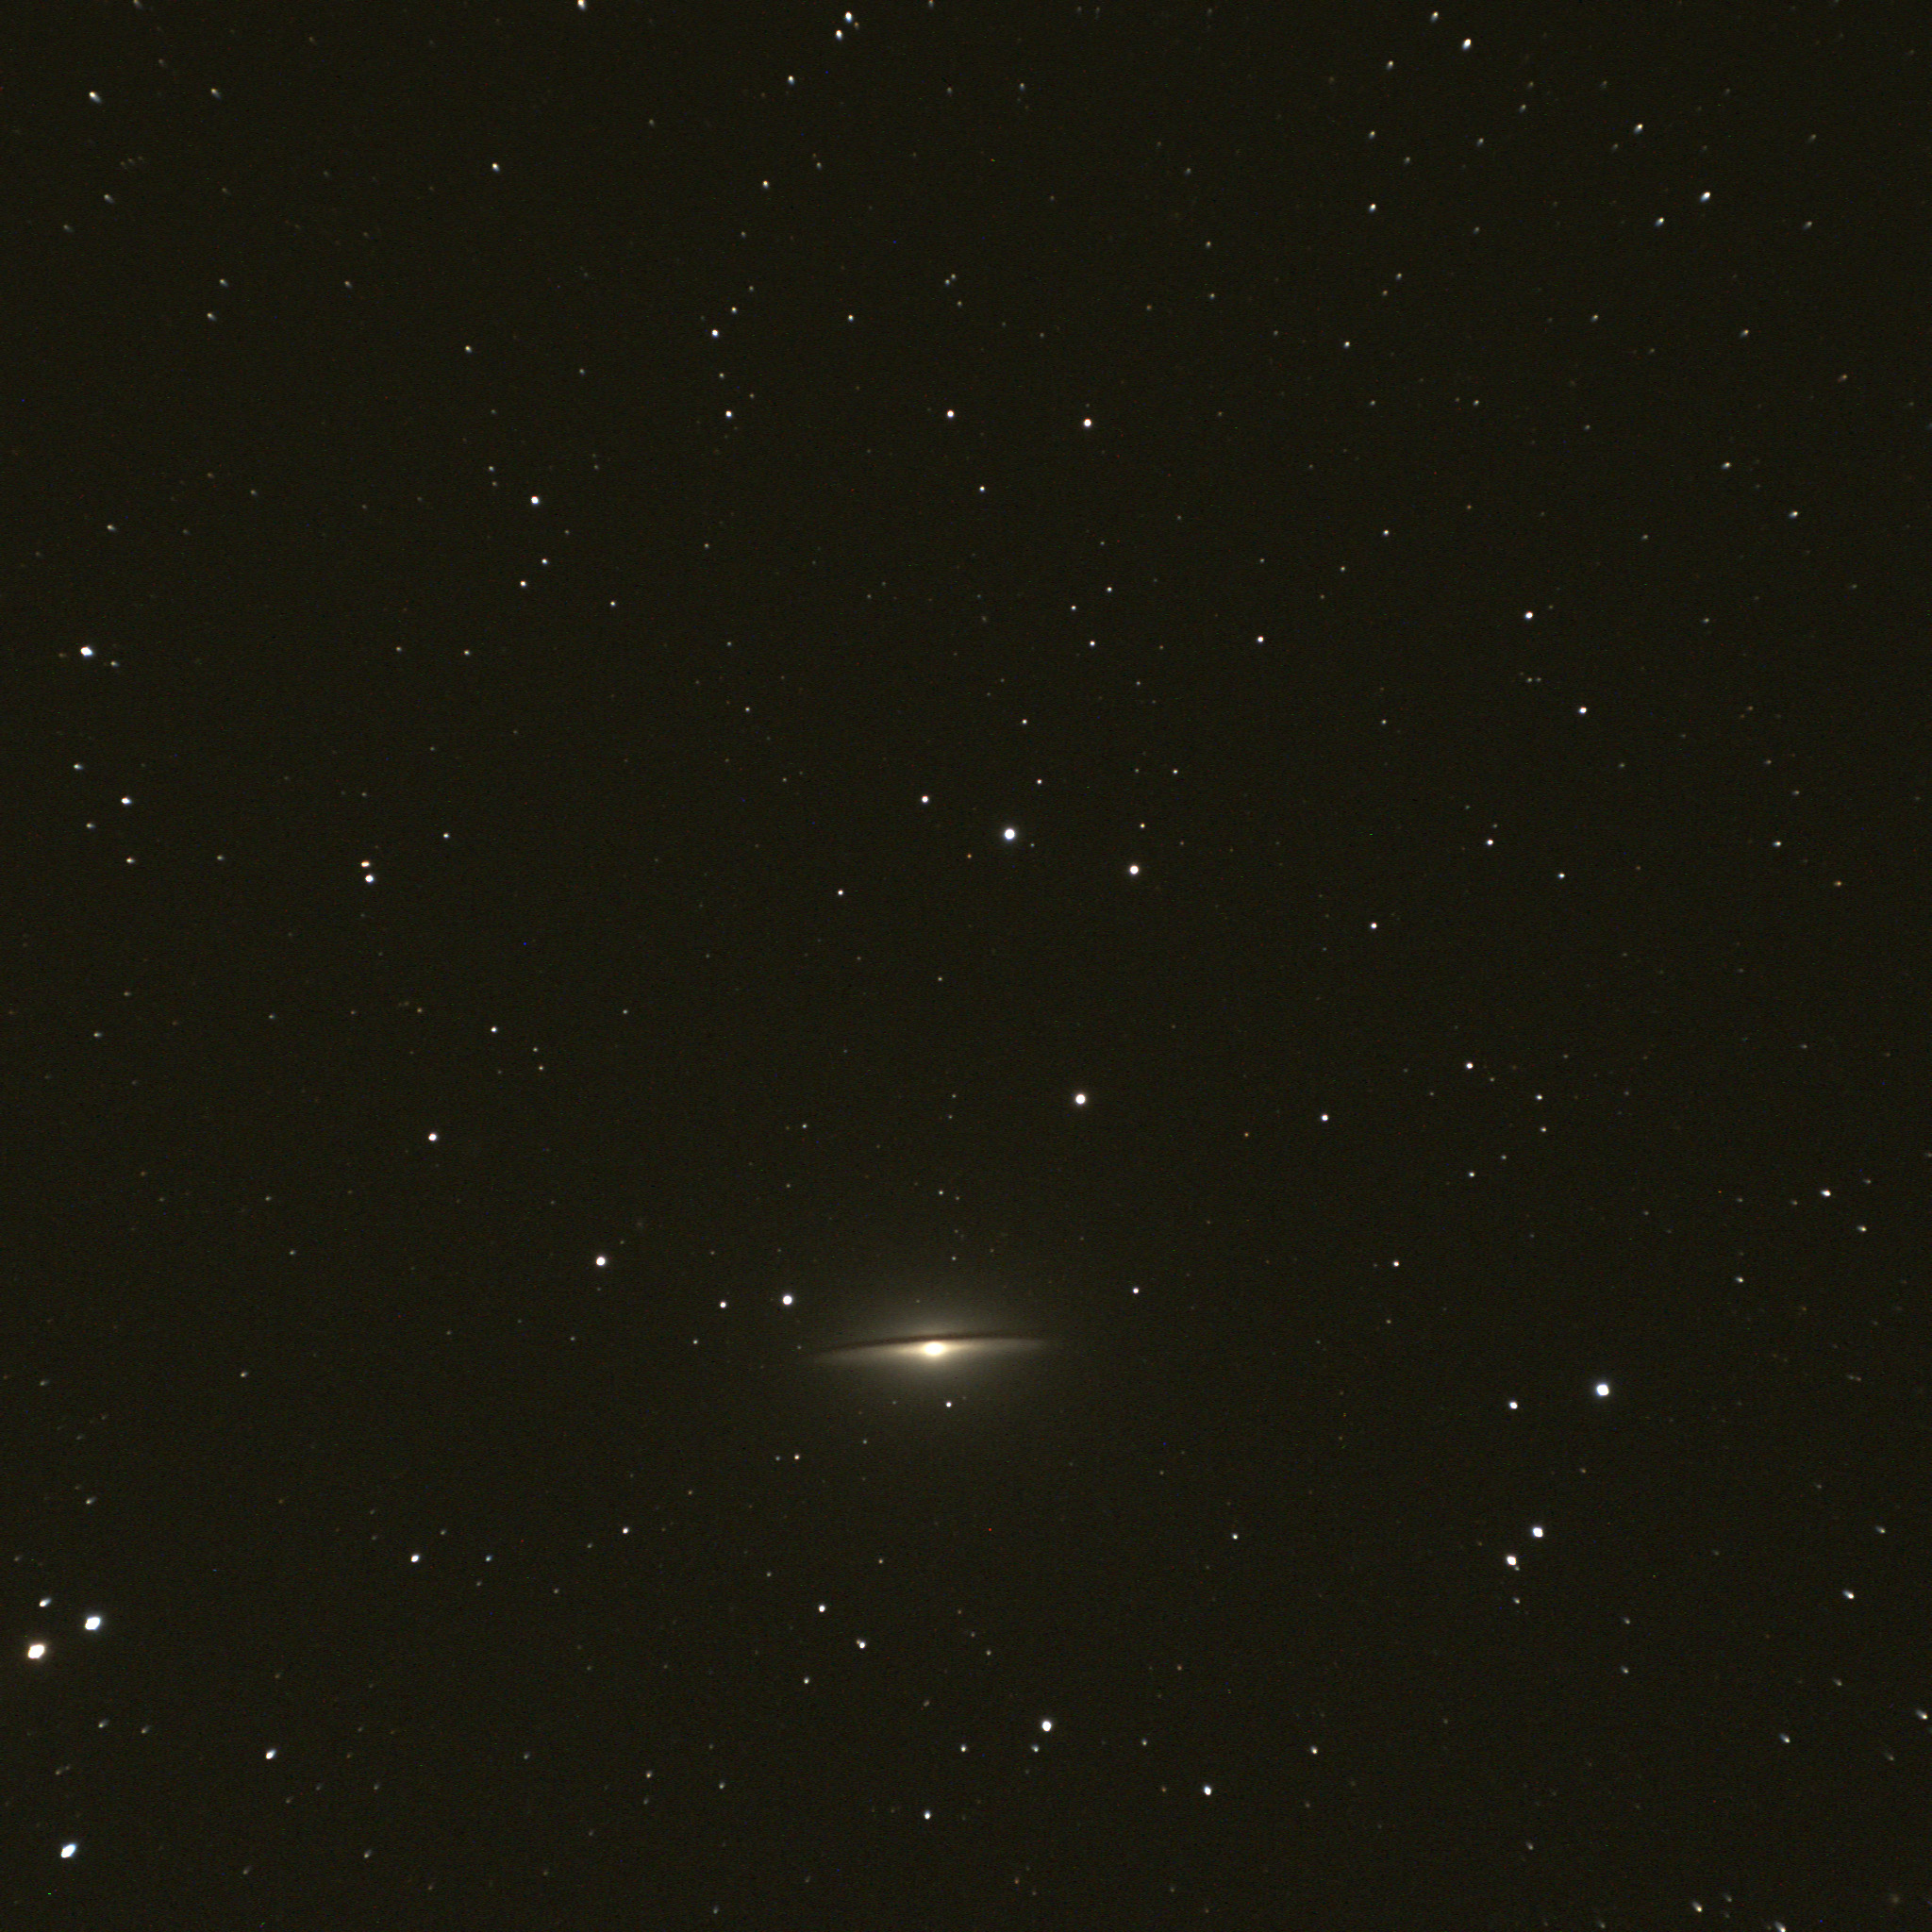
    M104
    M104 the Sombrero galaxy in Virgo
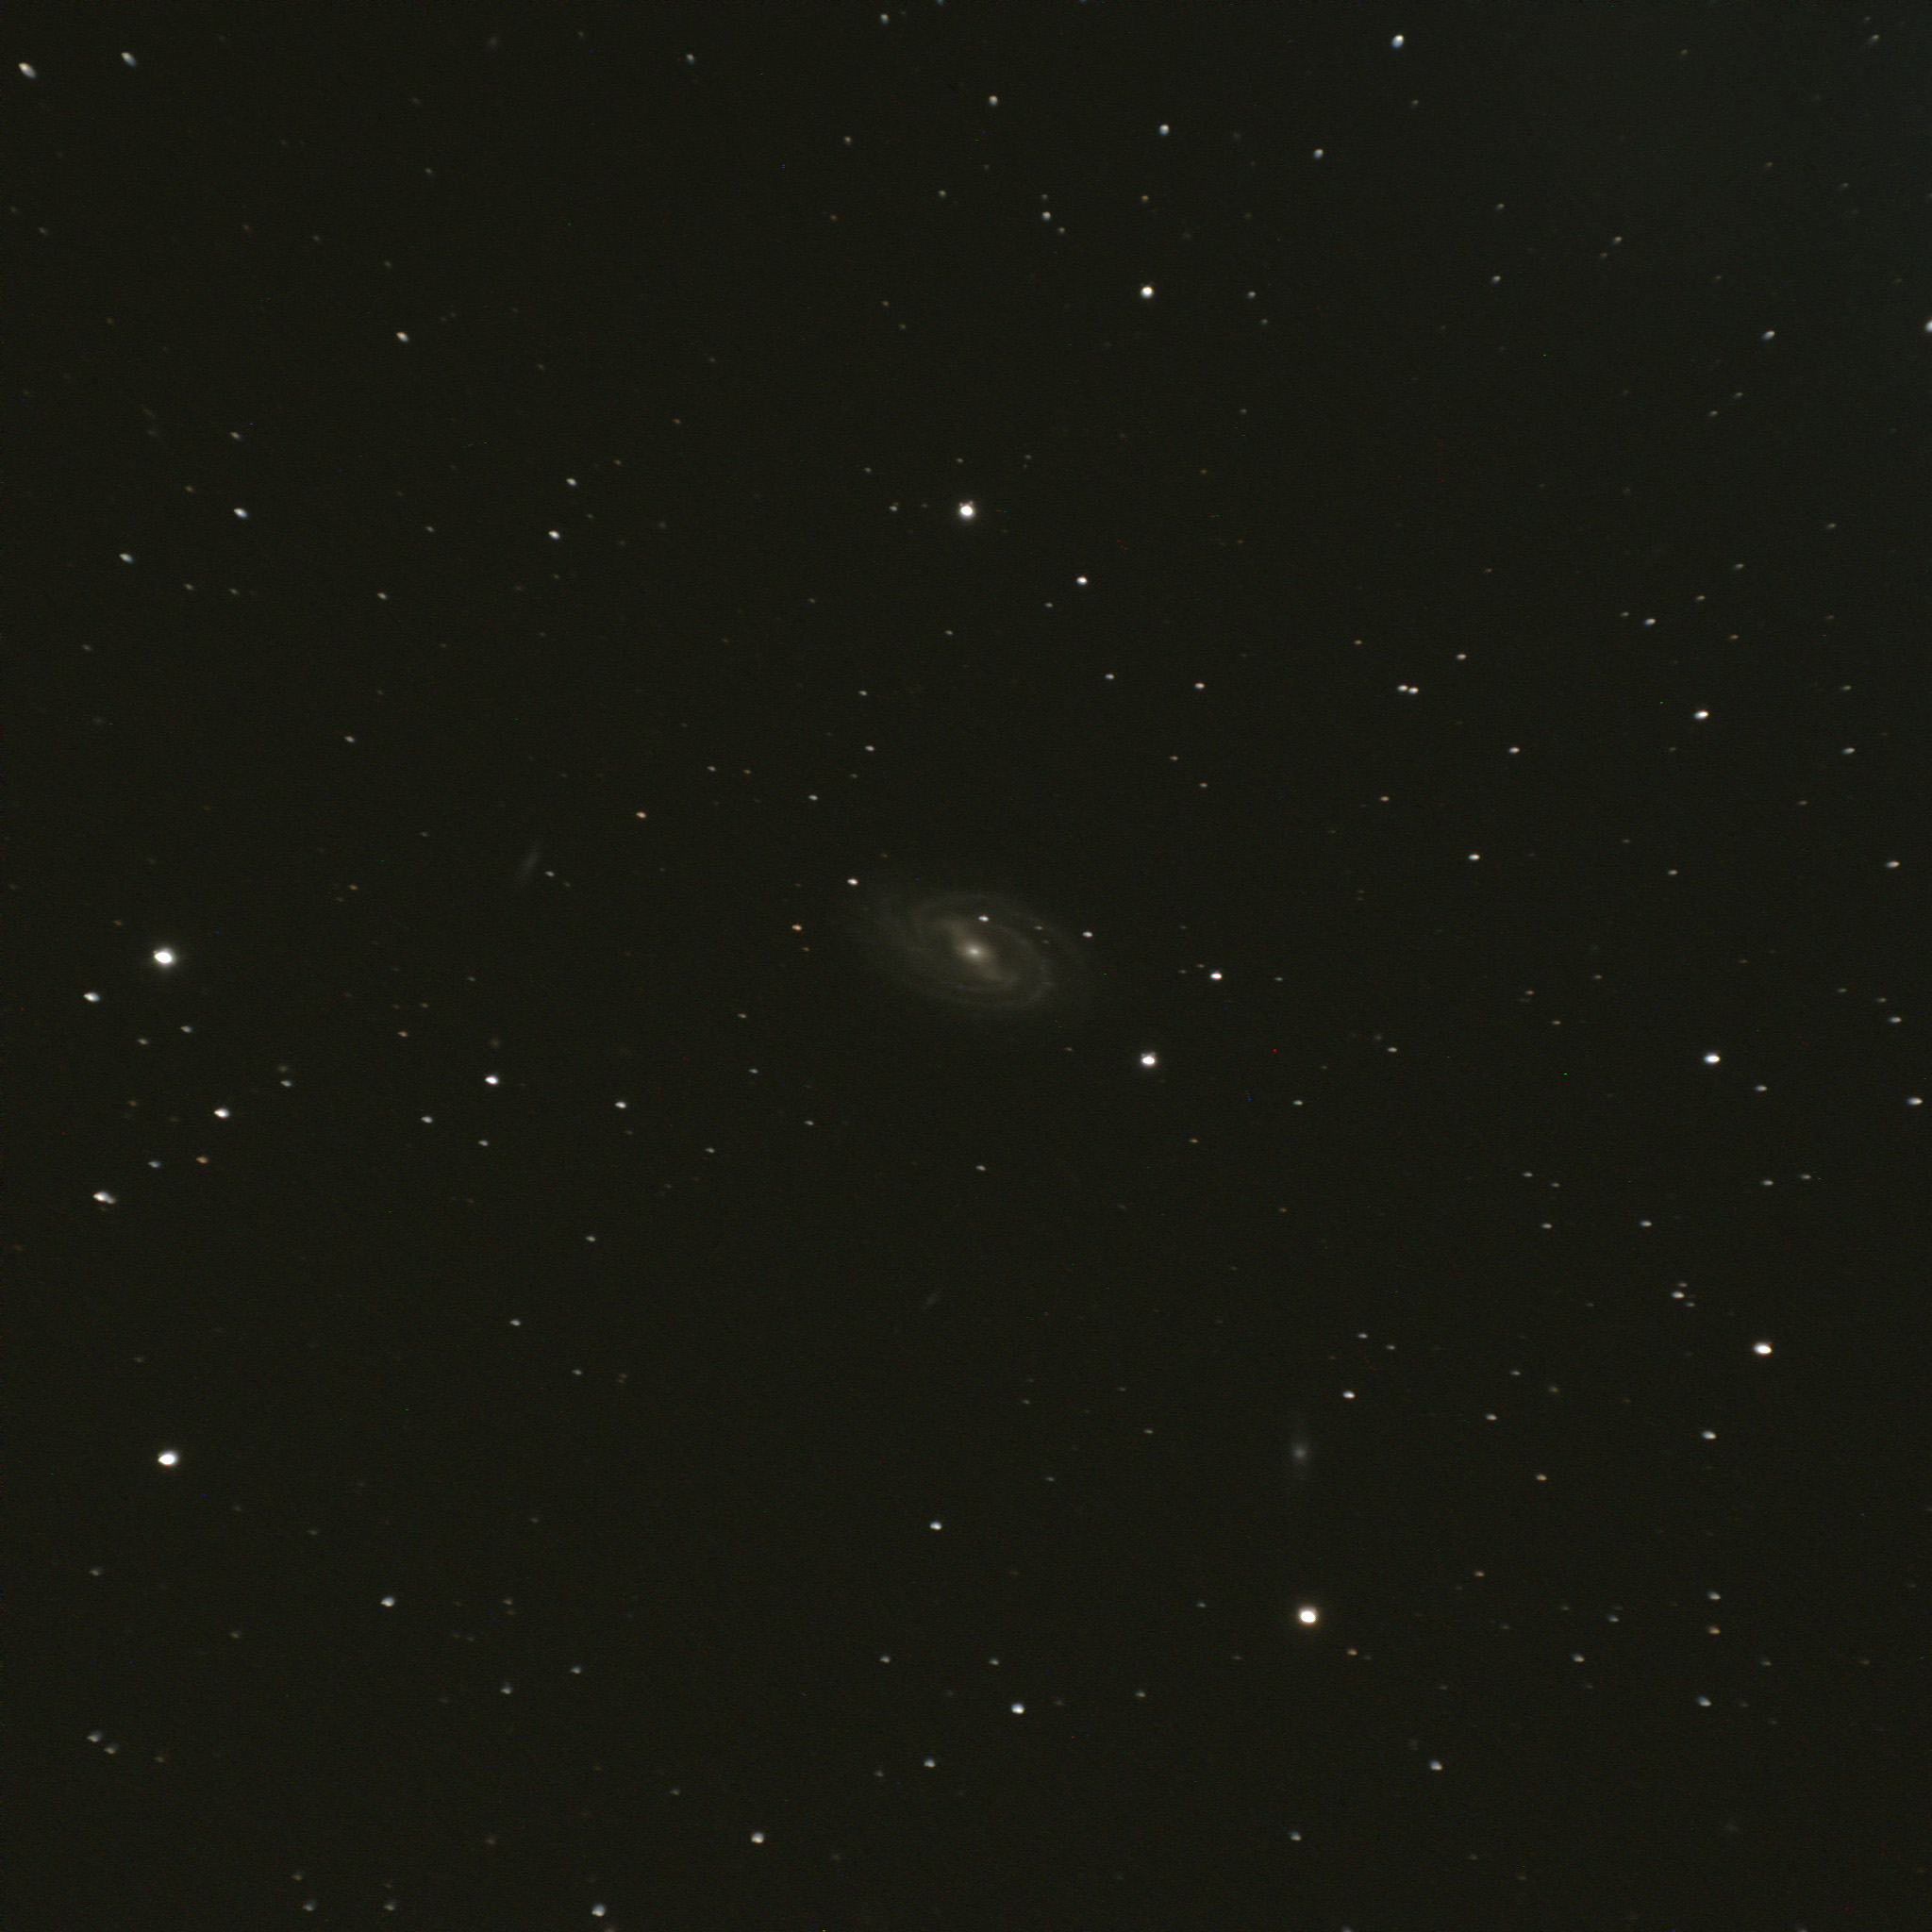
    M109
    M109 in Ursa Major, a faint barred spiral. Note a few distant spirals in the full-size image.
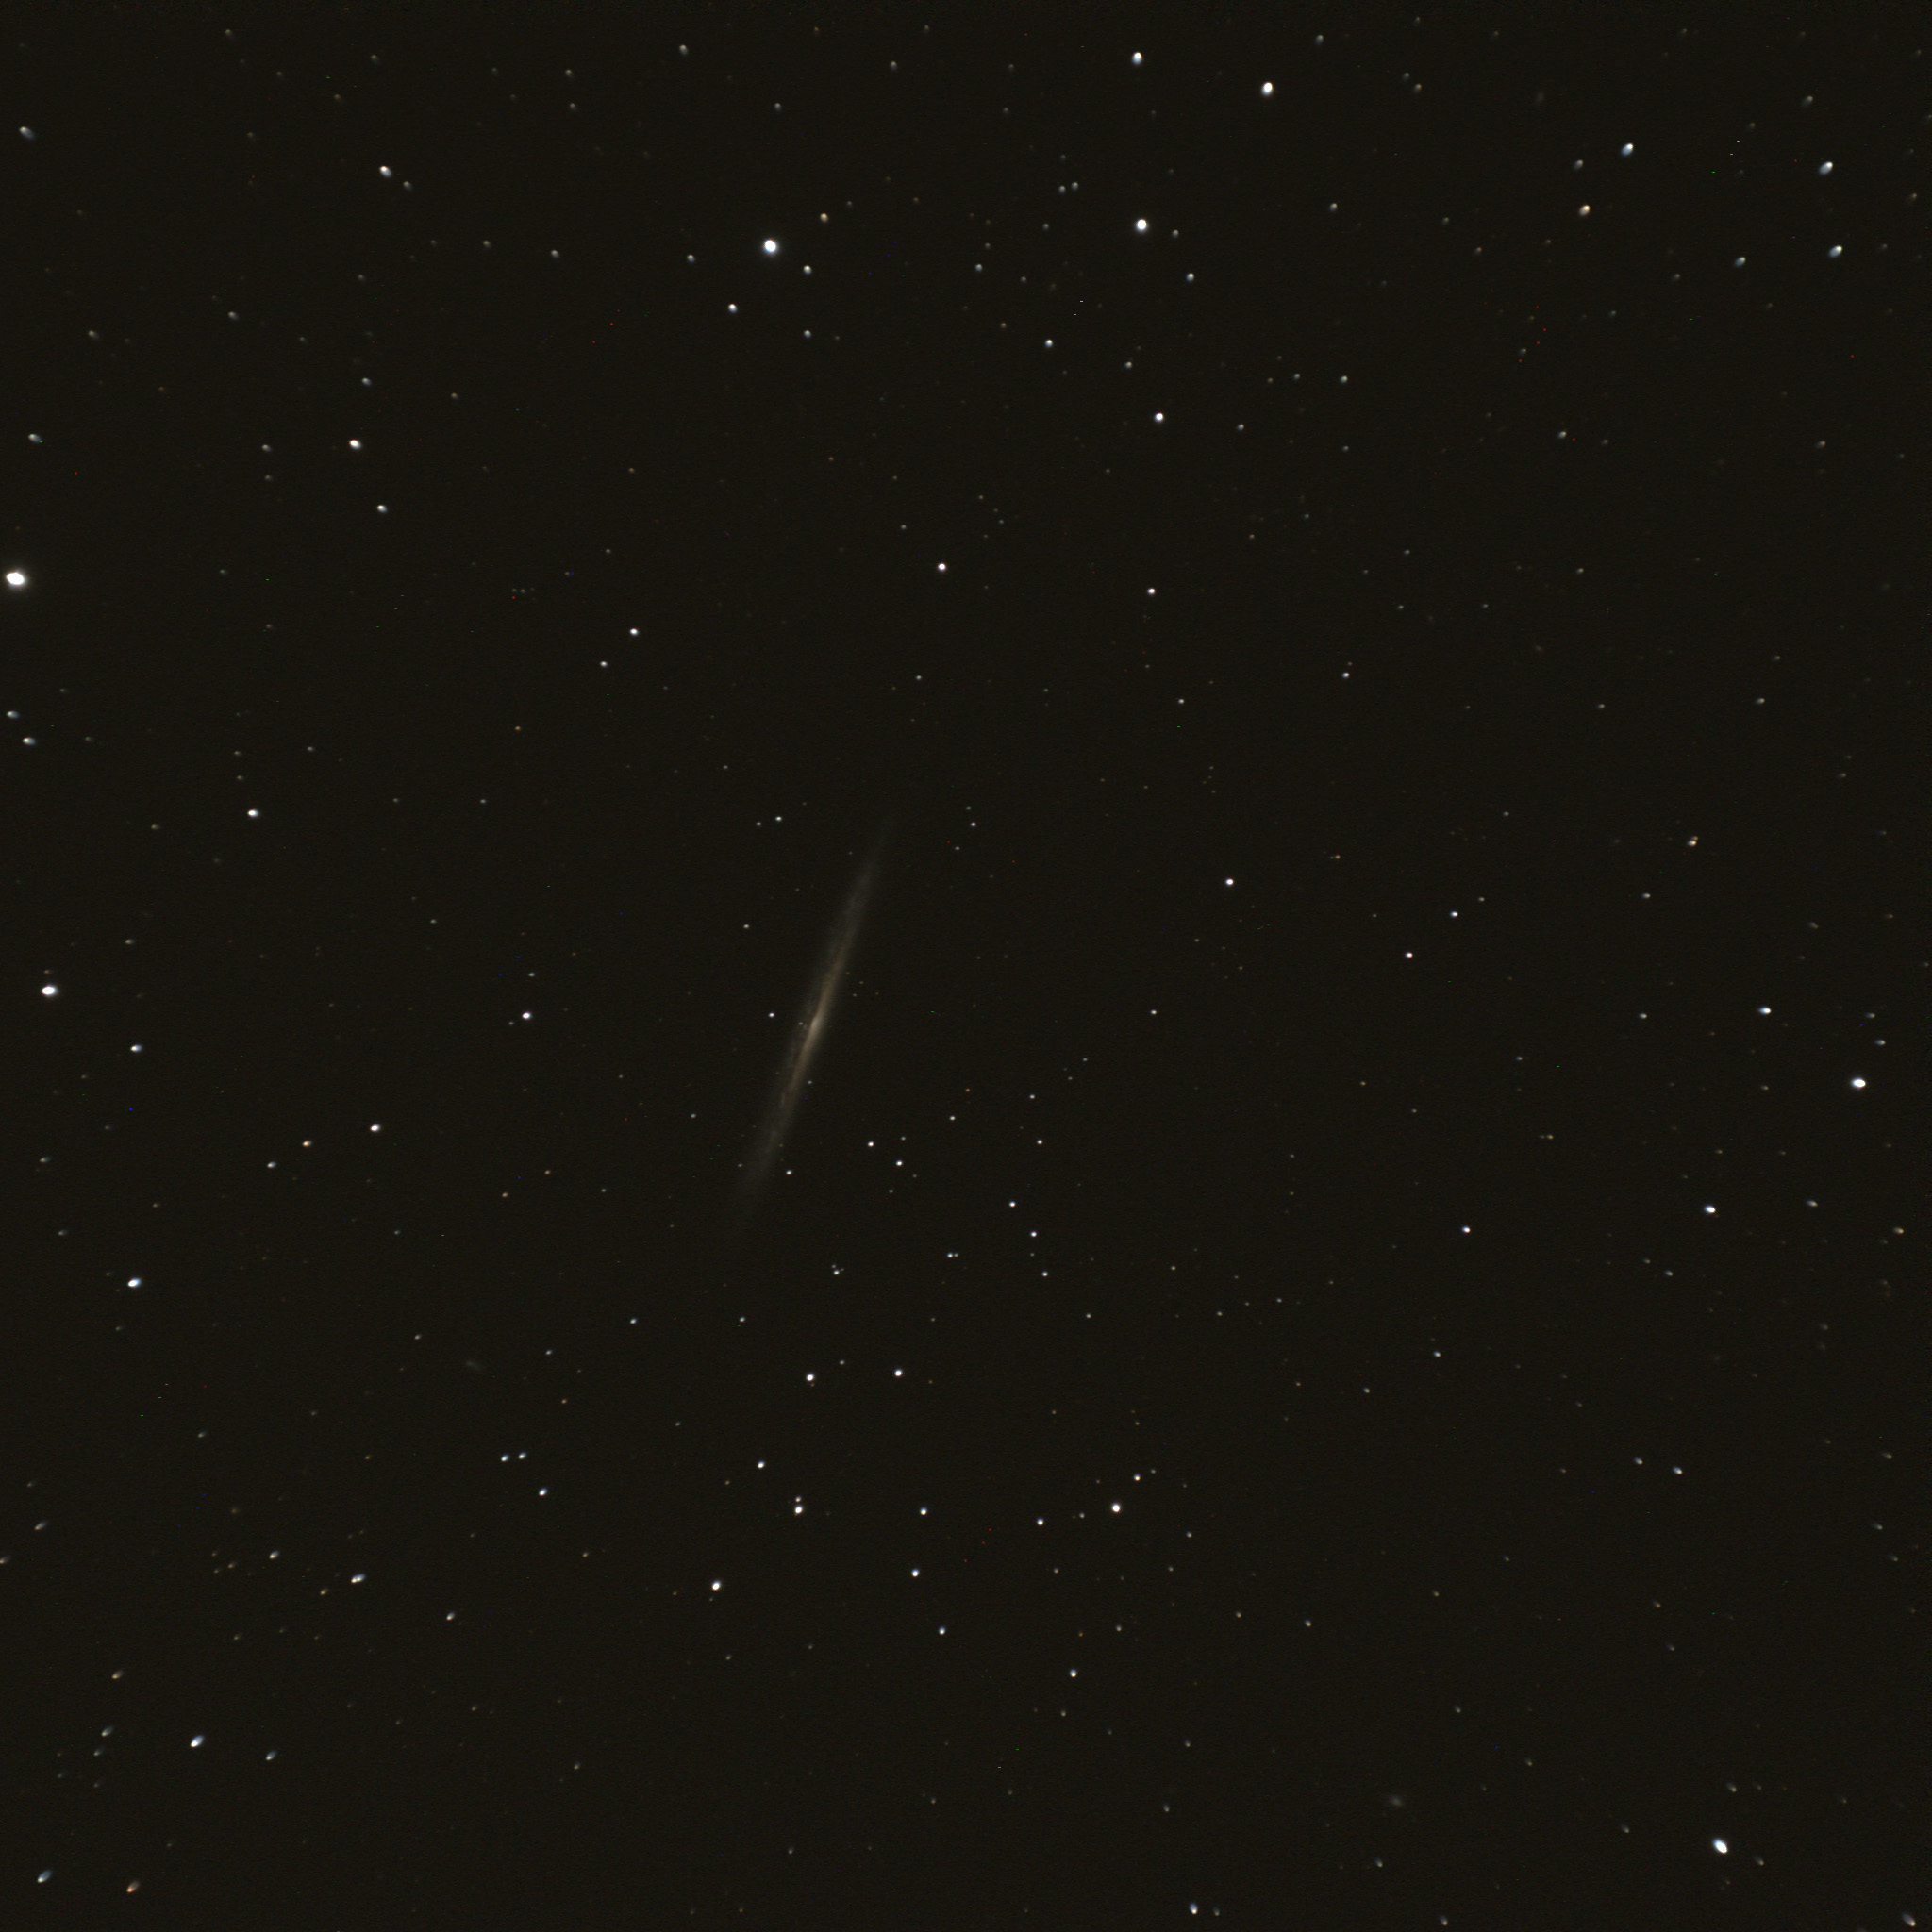
    NGC5907
    NGC5907, an edge-on spiral galaxy in Draco
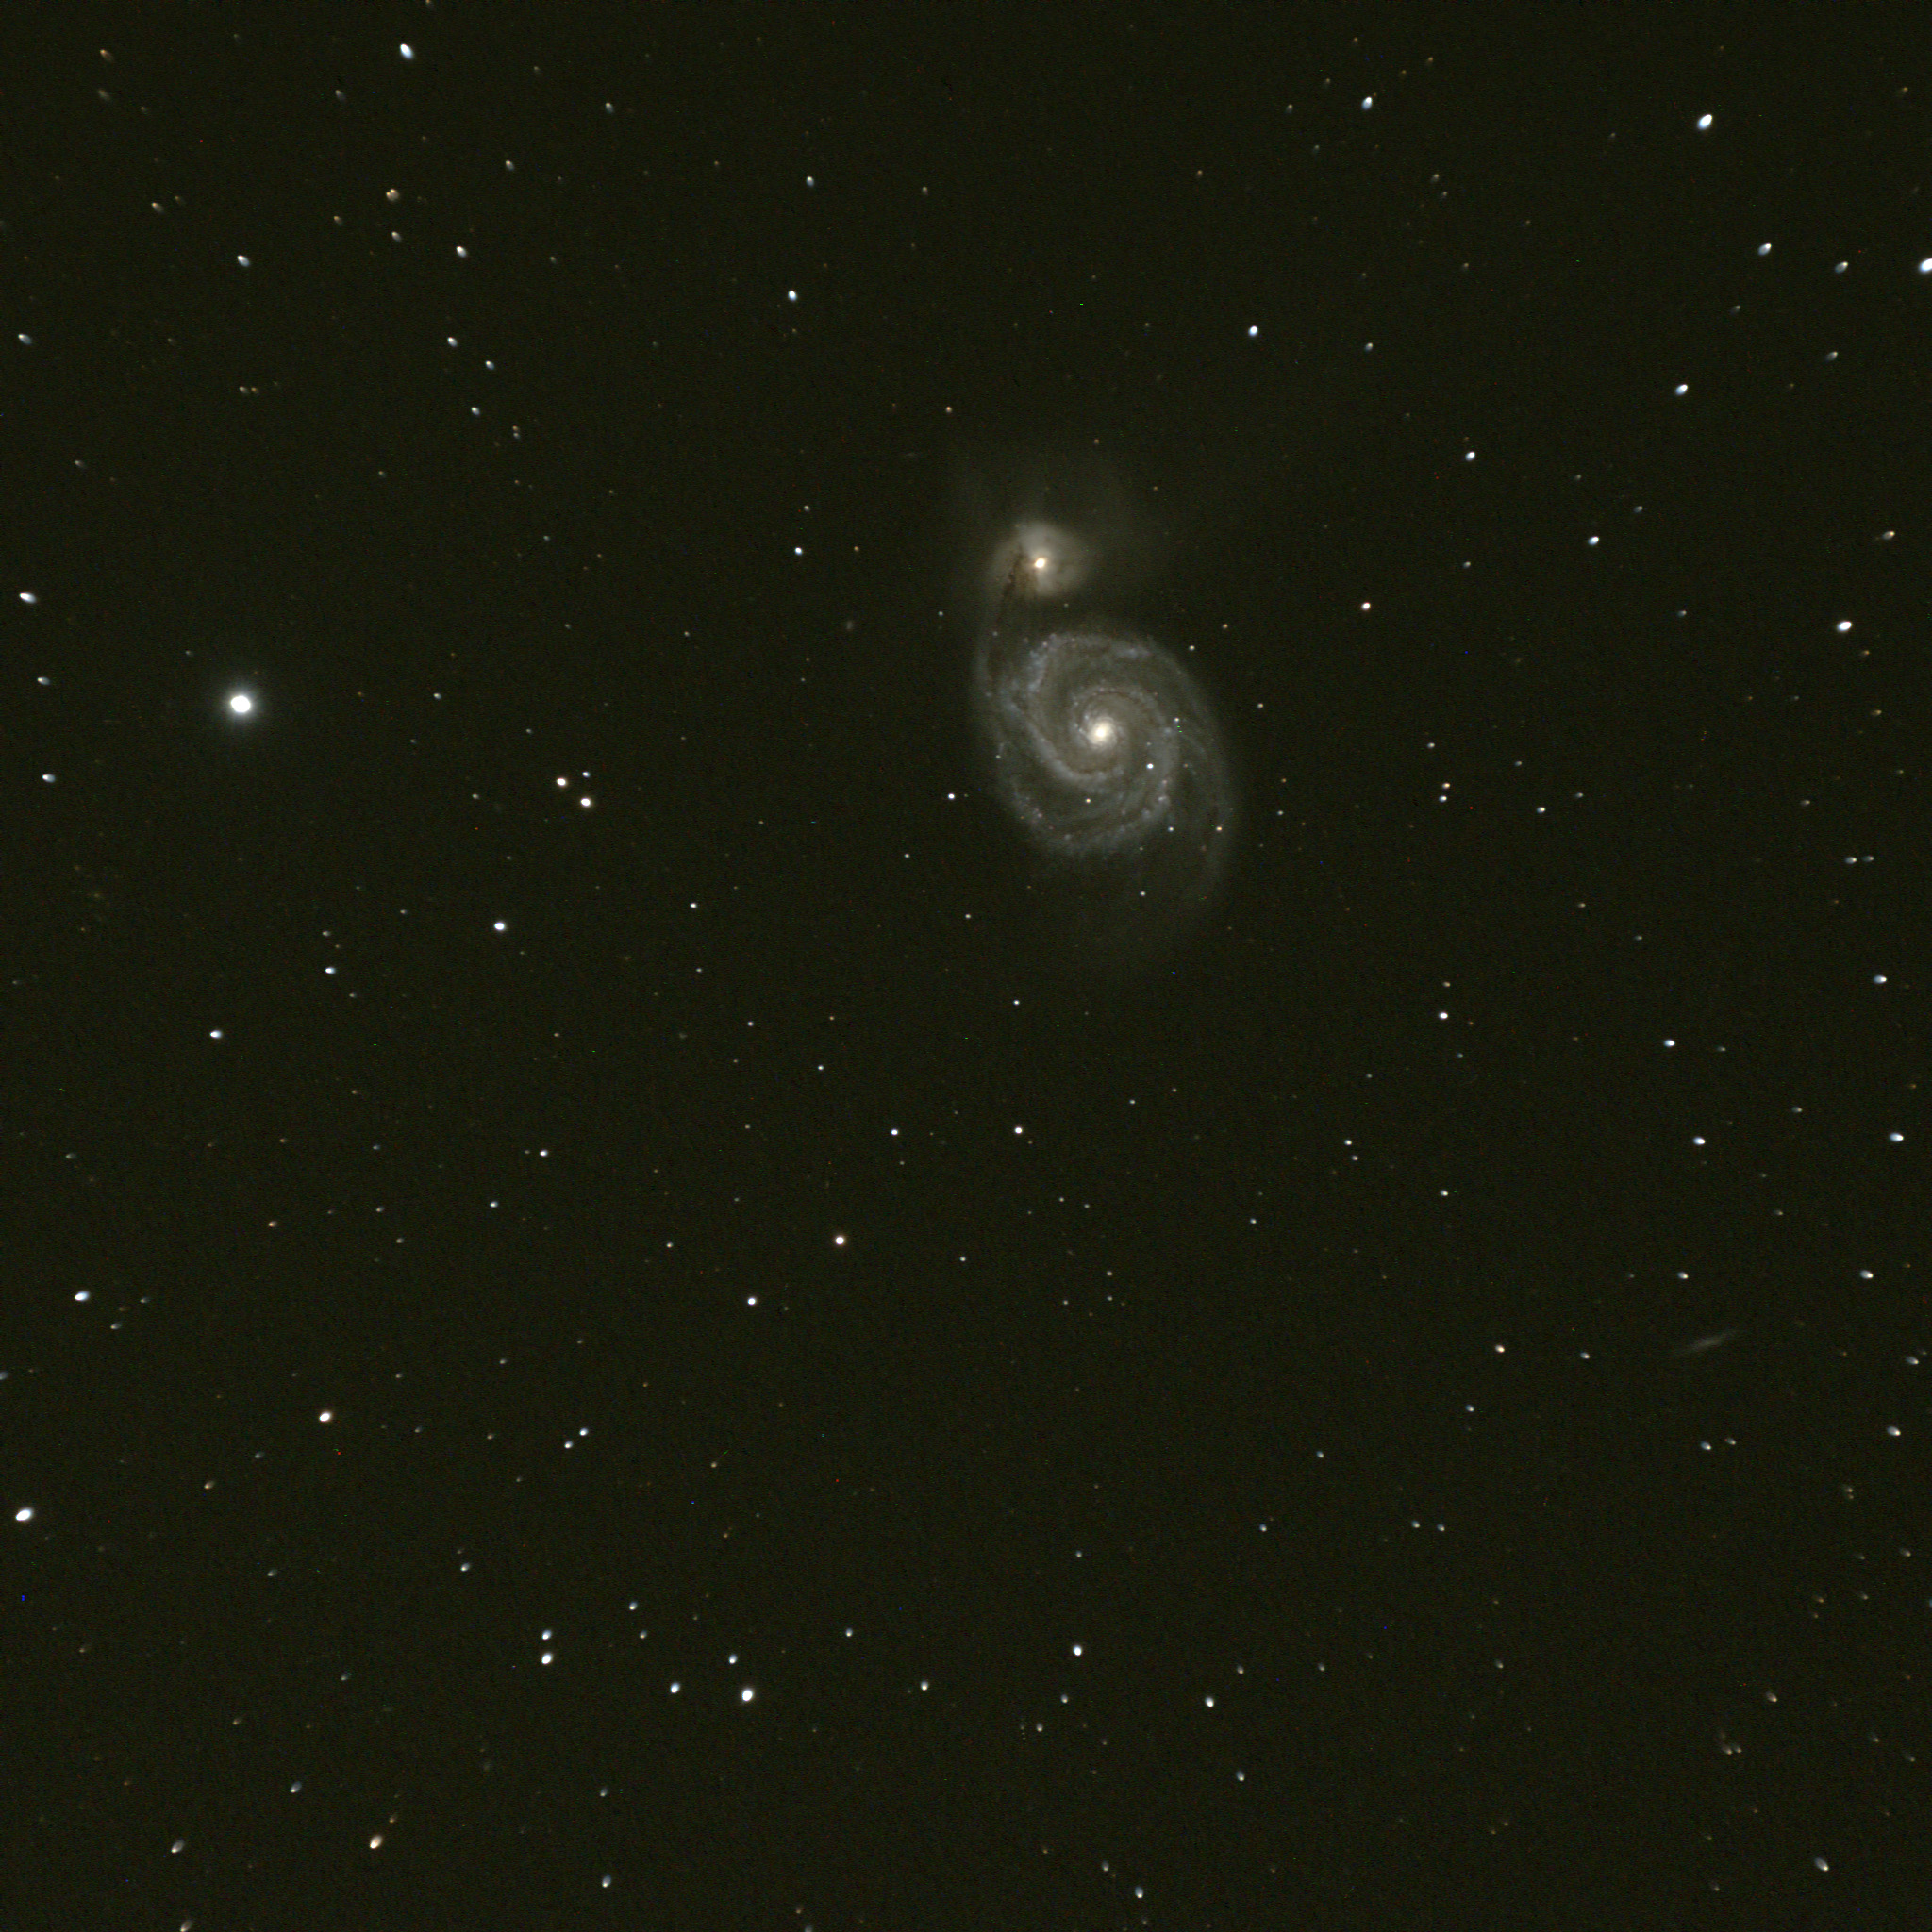
    M51
    M51 the Whirlpool galaxy pair in Ursa Major, one of the most photographed and observed objects in the sky.
  • Double your pleasure …

    Chuckwalla Bench, Colorado Desert, California, 29 October 2011

    As promised, last weekend was the first of two excellent dark sky weekends this month. The weather turned out to be perfect for this one as well.

    Jane and I went to our old favorite spot off I-10, Chuckwalla Bench, on BLM land south of Joshua Tree in the Colorado Desert. We were joined by Dave Hasenauer and his dob.

    Bad news about Red Cloud Rd., the dirt road we take to our favorite spot. The road is sadly in need of some maintenance. Portions of the road are very treacherous with deep ruts and deep sand. We didn’t encounter any problems this trip, but it will be a worry.
    We had crystal clear skies all night, with temperatures around 85°F at sunset, dipping close to 50°F in the wee hours.

    The evening twilight featured Venus in its new evening apparition setting in the west, Mercury just below, with Jupiter one day after opposition rising in the east.

    Early in the evening while spotting satellites, we managed to catch a bright fireball meteor (7:22 p.m.) probably around magnitude -10. I saw a double terminal burst from the fireball, which traced from Cassiopeia through Triangulum. It left a persistent train that was visible for several minutes in binoculars and Dave’s telescope.

    Jane even indulged in a little afocal astrophotography capturing some splendid crescent moon shots on her point-and-shoot camera.

    I had a couple of “firsts” in my astrophotography accomplishments, doing my first successful drift alignment when my polar alignment was slightly off, and finally successfully capturing useful “flats” for image calibration in the morning twilight.

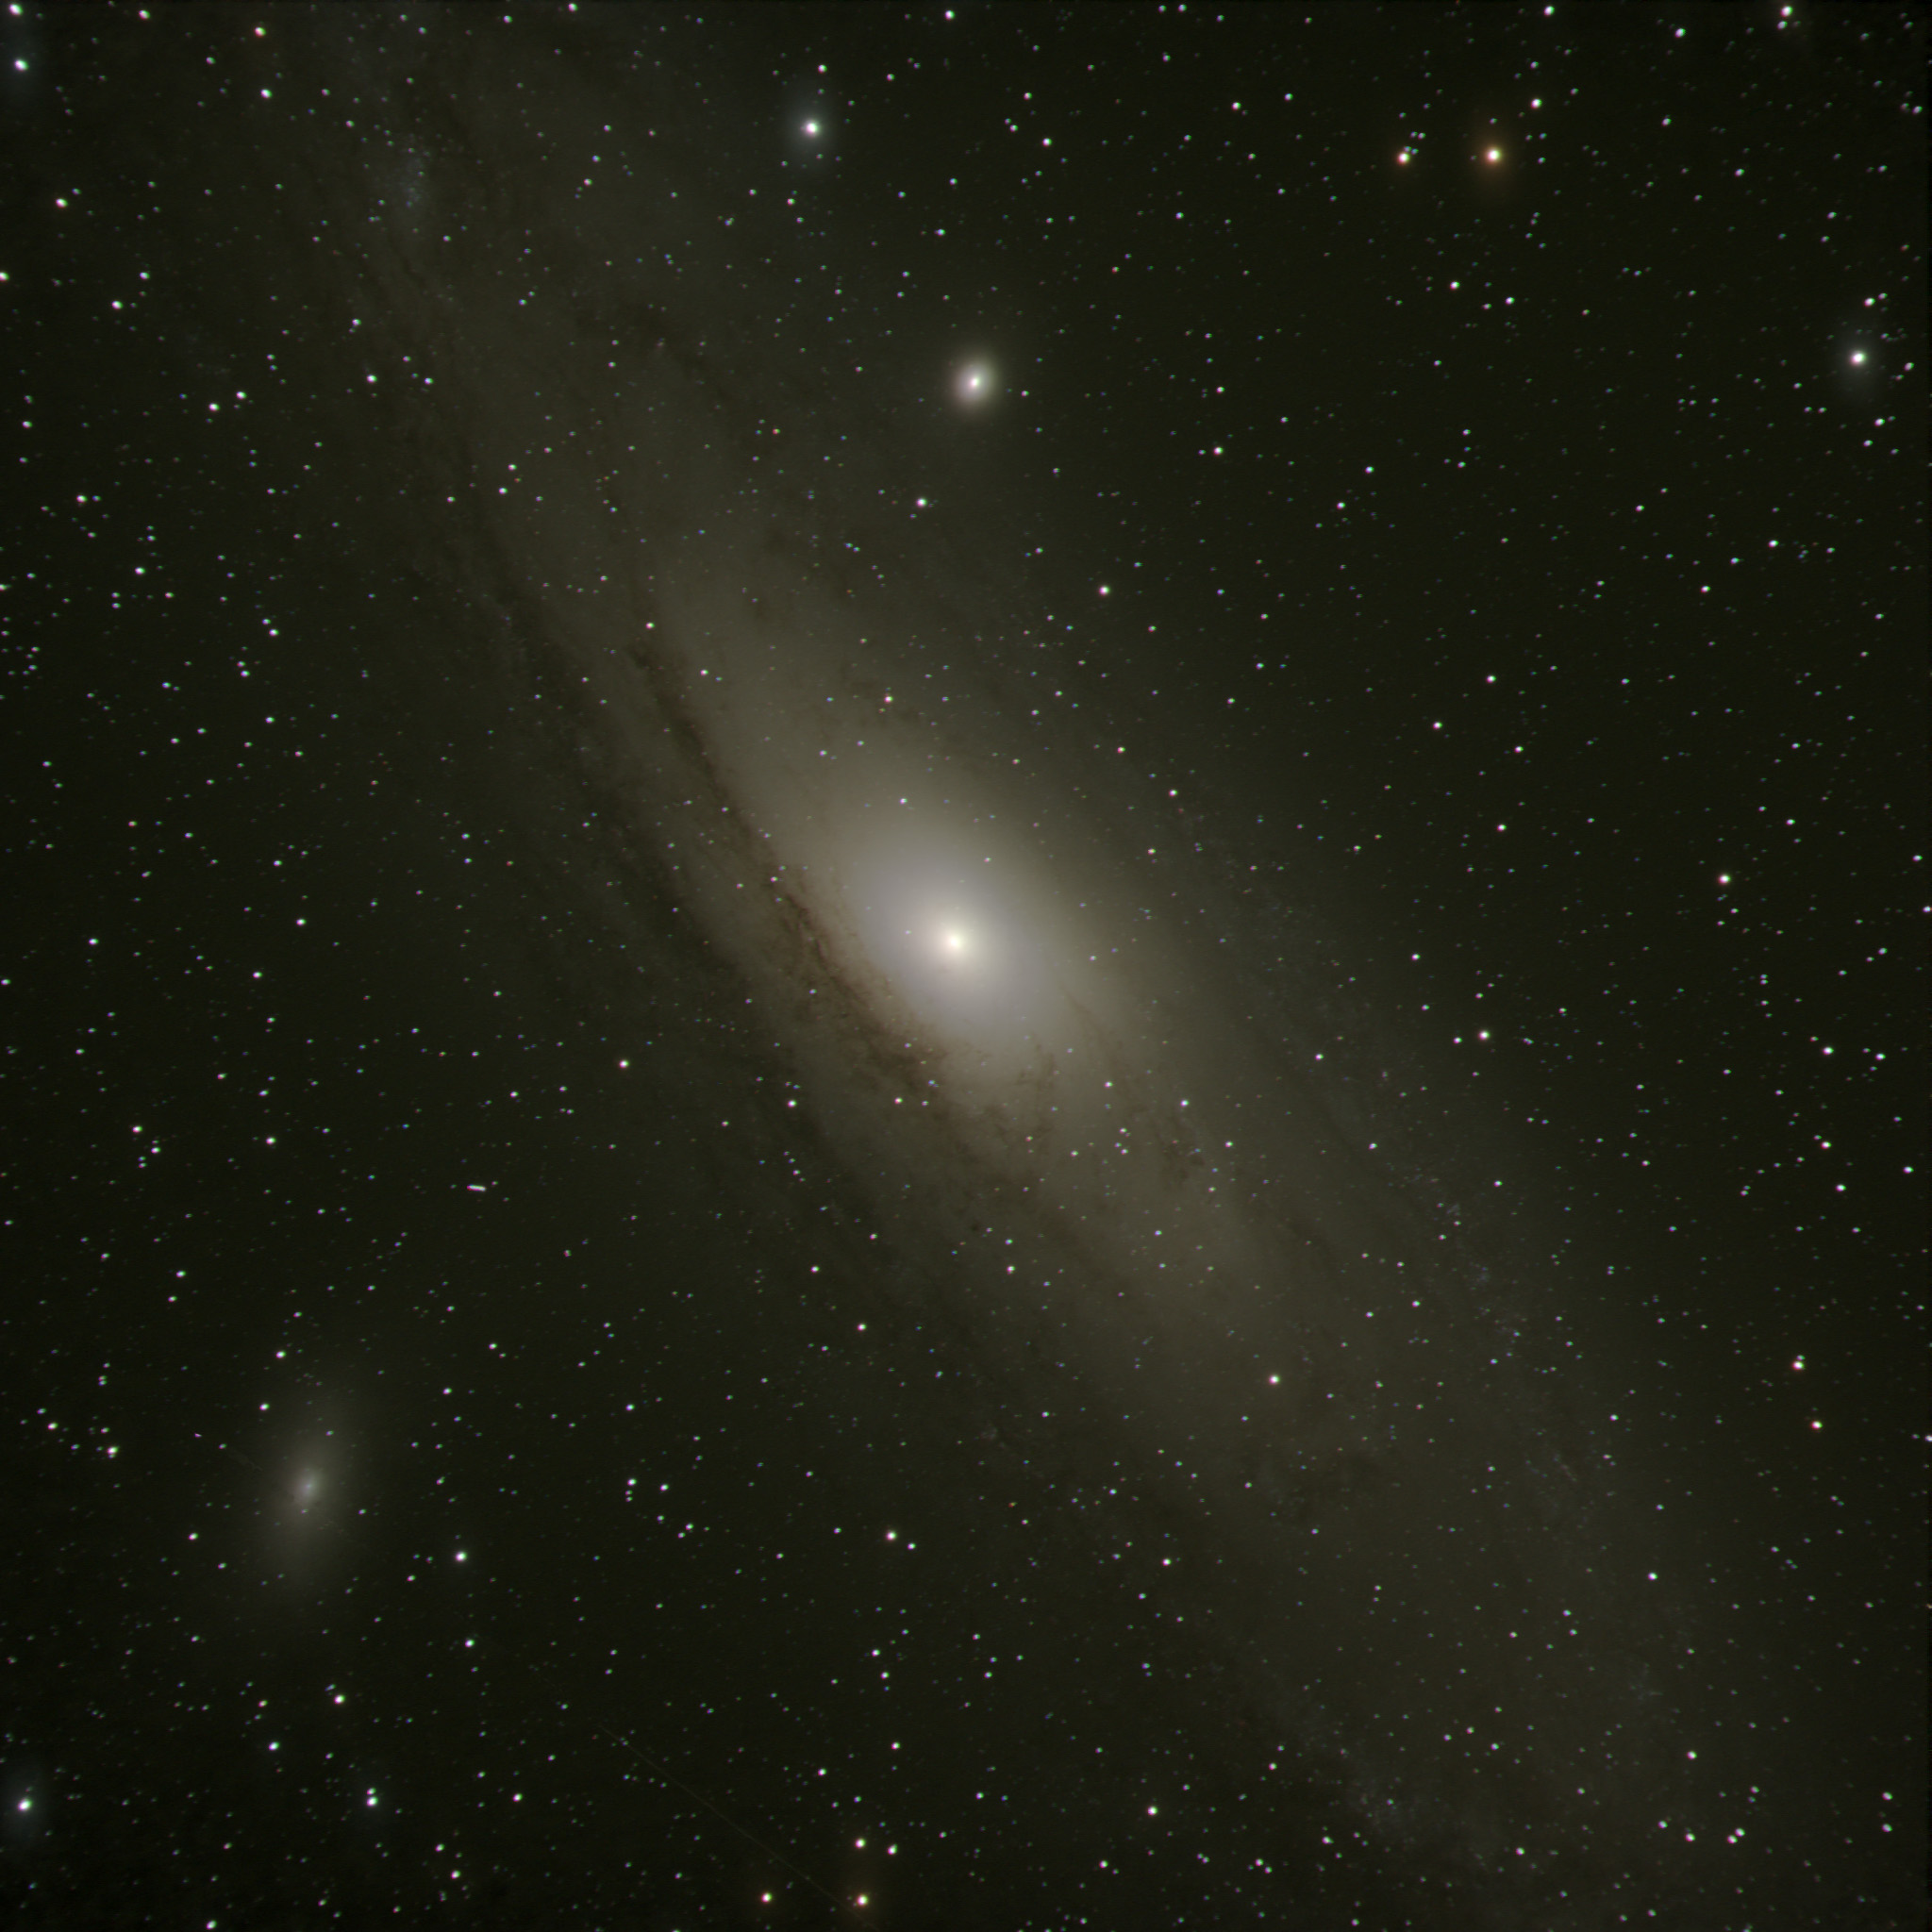
    I also had a brainstorm about how to process the color data from bright targets without data being clipped in the bright areas. With that in mind, first let me revisit my M31-M32-M110 the Great Galaxy in Andromeda from last week, this time in full color.

    M31 - M32 - M110, the Great Galaxy in Andromeda
    M31 from 22 Oct. 2011, 4×15 minute exposures

    (For all the images, click the image for the full-resolution version.)

    And I promised to revisit the Pegasus 1 galaxy cluster, this time giving it an hour of exposure, which it fully deserved. Here’s the full field first.

    Pegasus 1 Galaxy Cluster
    Pegasus 1 Galaxy Cluster, click for full-resolution.

    The one-hour exposure time cuts down the noise nicely, and calibrating it with a good flat field removes the vignetting. Check out this detail from the center of the cluster at full resolution:

    Pegasus 1 galaxy cluster detail
    Pegasus 1 galaxy cluster detail

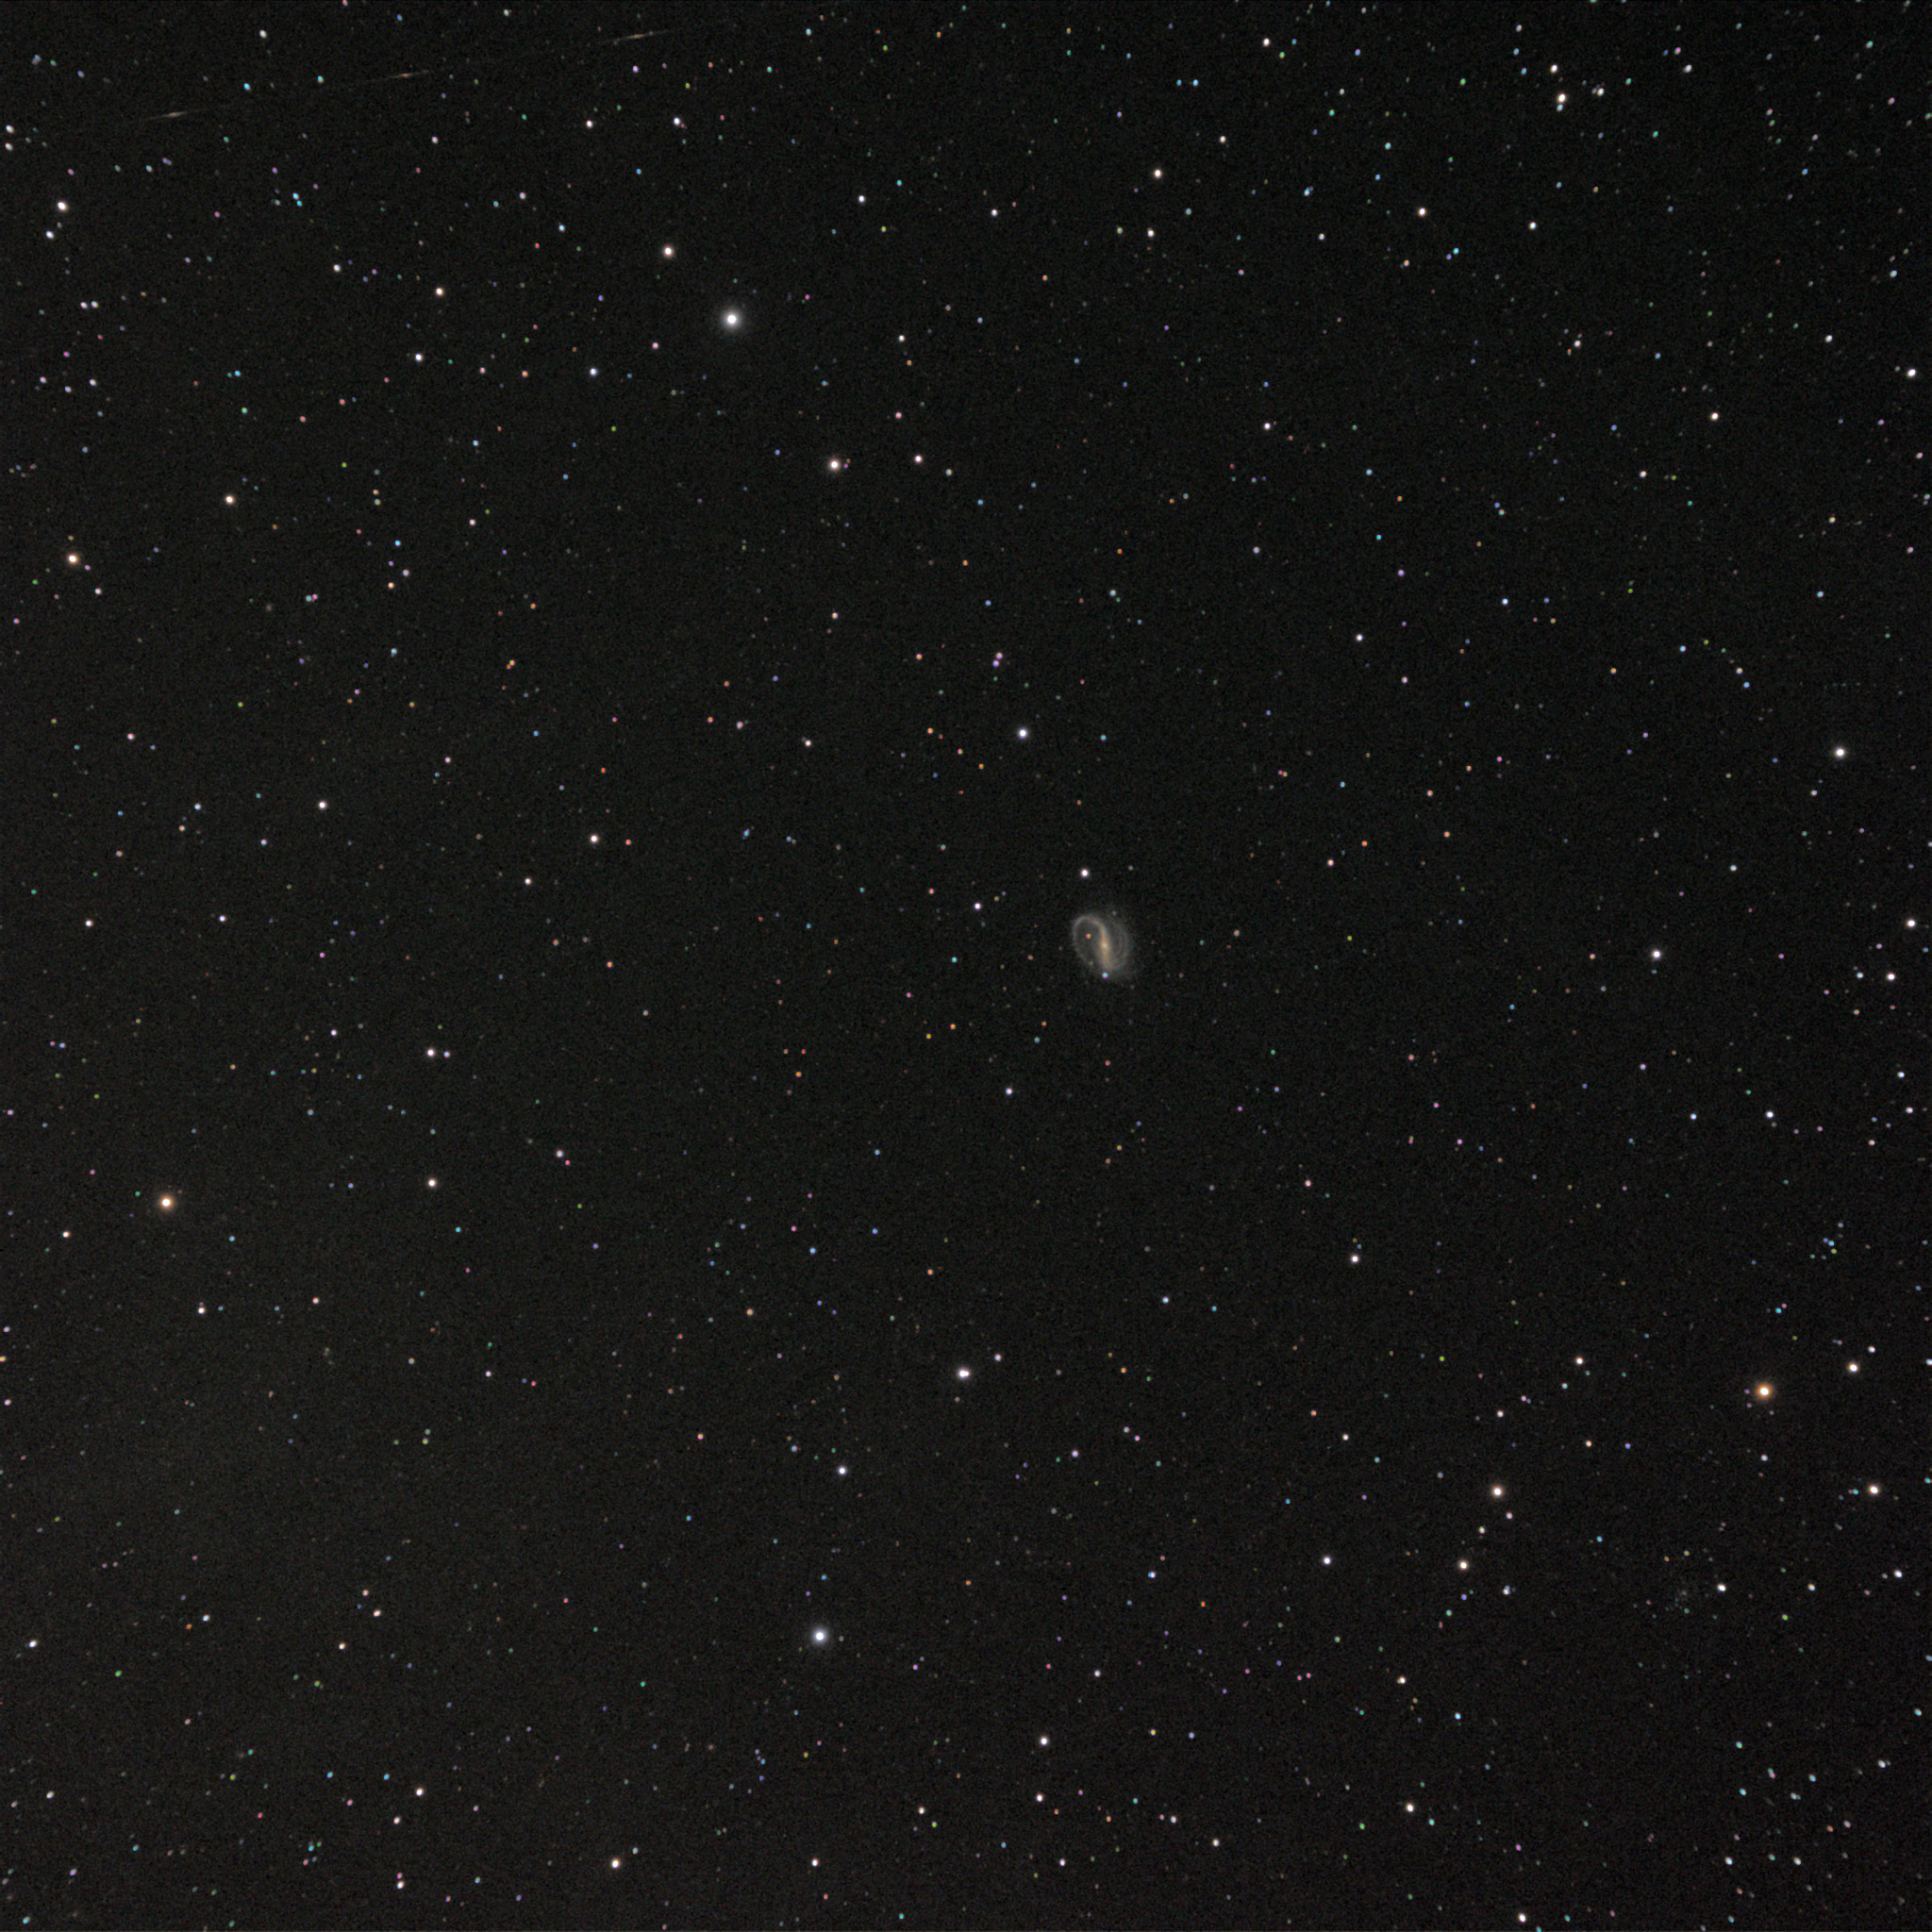
    Jane was observing this delightful face-on S-shaped spiral galaxy, NGC7479. It was such a small target that I didn’t think my short-focus 4-inch would do it much justice. It turned out to be a delightful crop with lots of detail.
    NGC7479
    Detail of NGC7479, click for the full field, 15-minute exposure

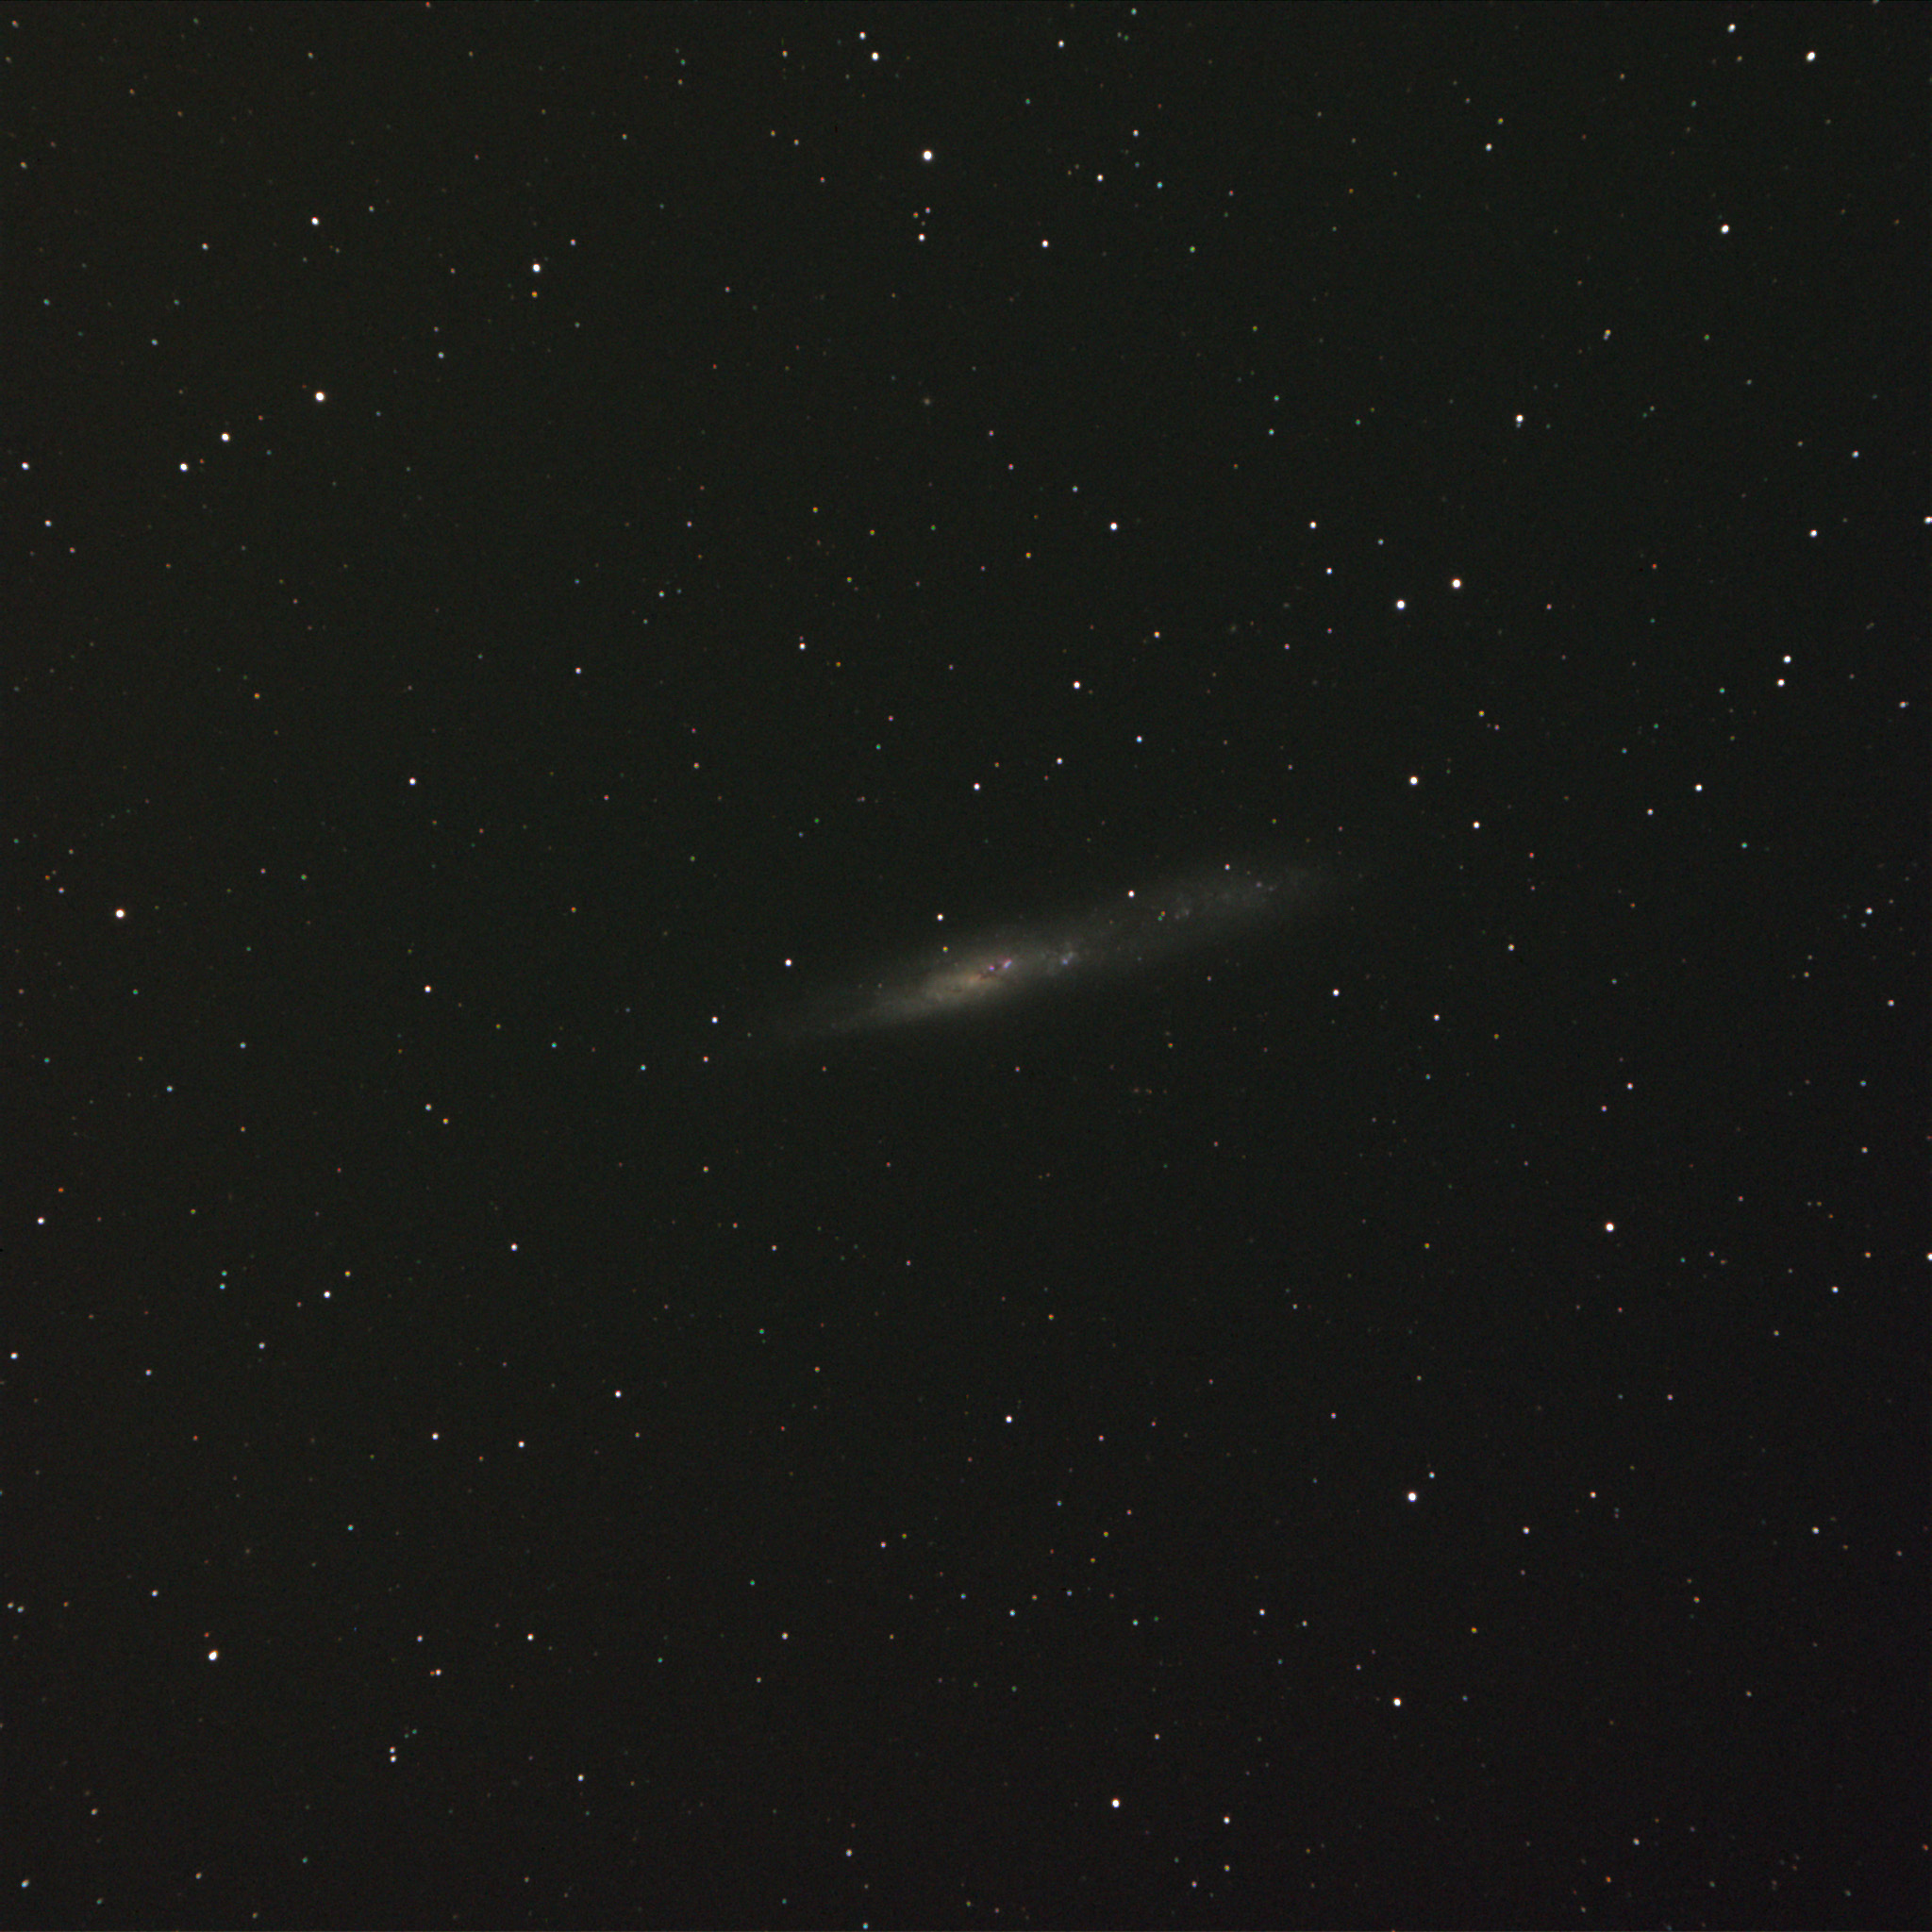
    Another surprisingly good image came from NGC55, a fabulous extended galaxy, so far south in the sky that it’s rare to be seen by northern-hemisphere astronomers. Complicating matters is a light dome from Inland Empire cities that encroaches on our southern horizon. Nevertheless, my 15-minute exposure was worth passing on. The full-resolution shot is very nice with lots of detail.

    NGC55
    NGC55, one 15-minute exposure, through a bit of "foreground" light pollution.

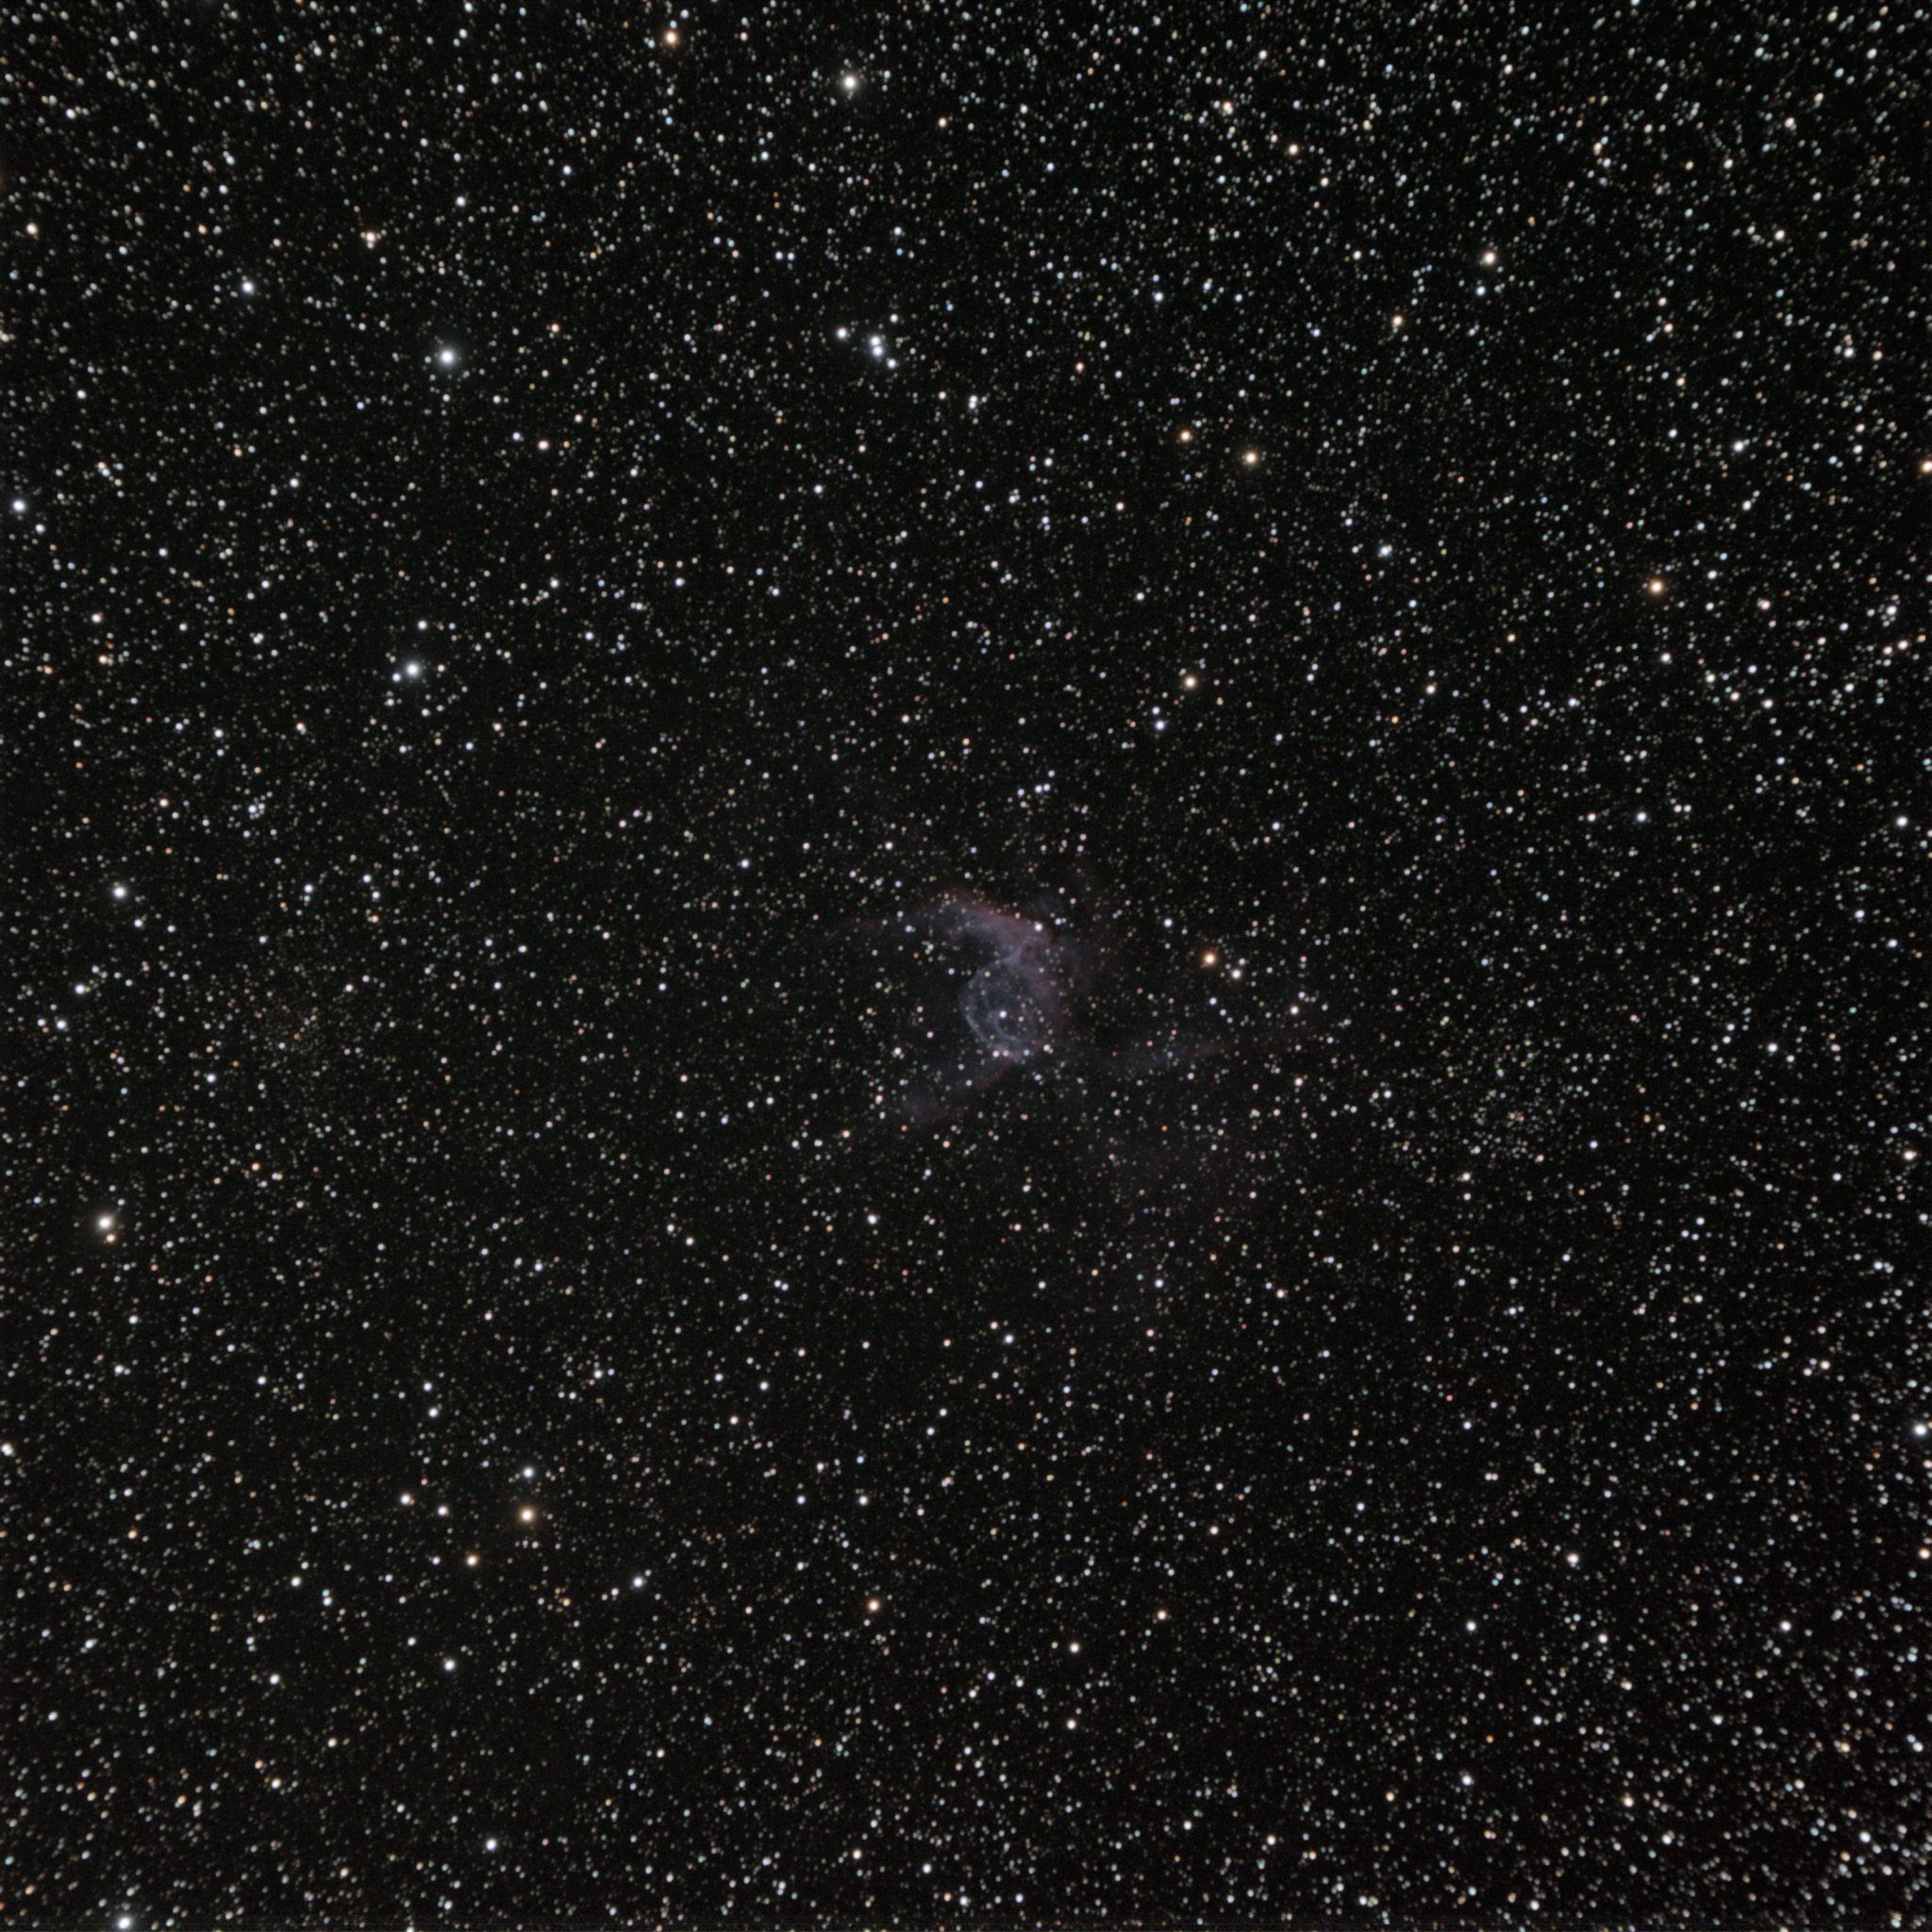
    Jane also suggested one of her favorite difficult winter visual targets, NGC2359, known as “Thor’s Helmet.” I collected an hour’s worth of photons. Here’s the detail from the center of the field, click for the whole thing.

    NGC2359 "Thor's Helmet"
    NGC2359 "Thor's Helmet," 4×15 minute exposures, detail from the center of the field.

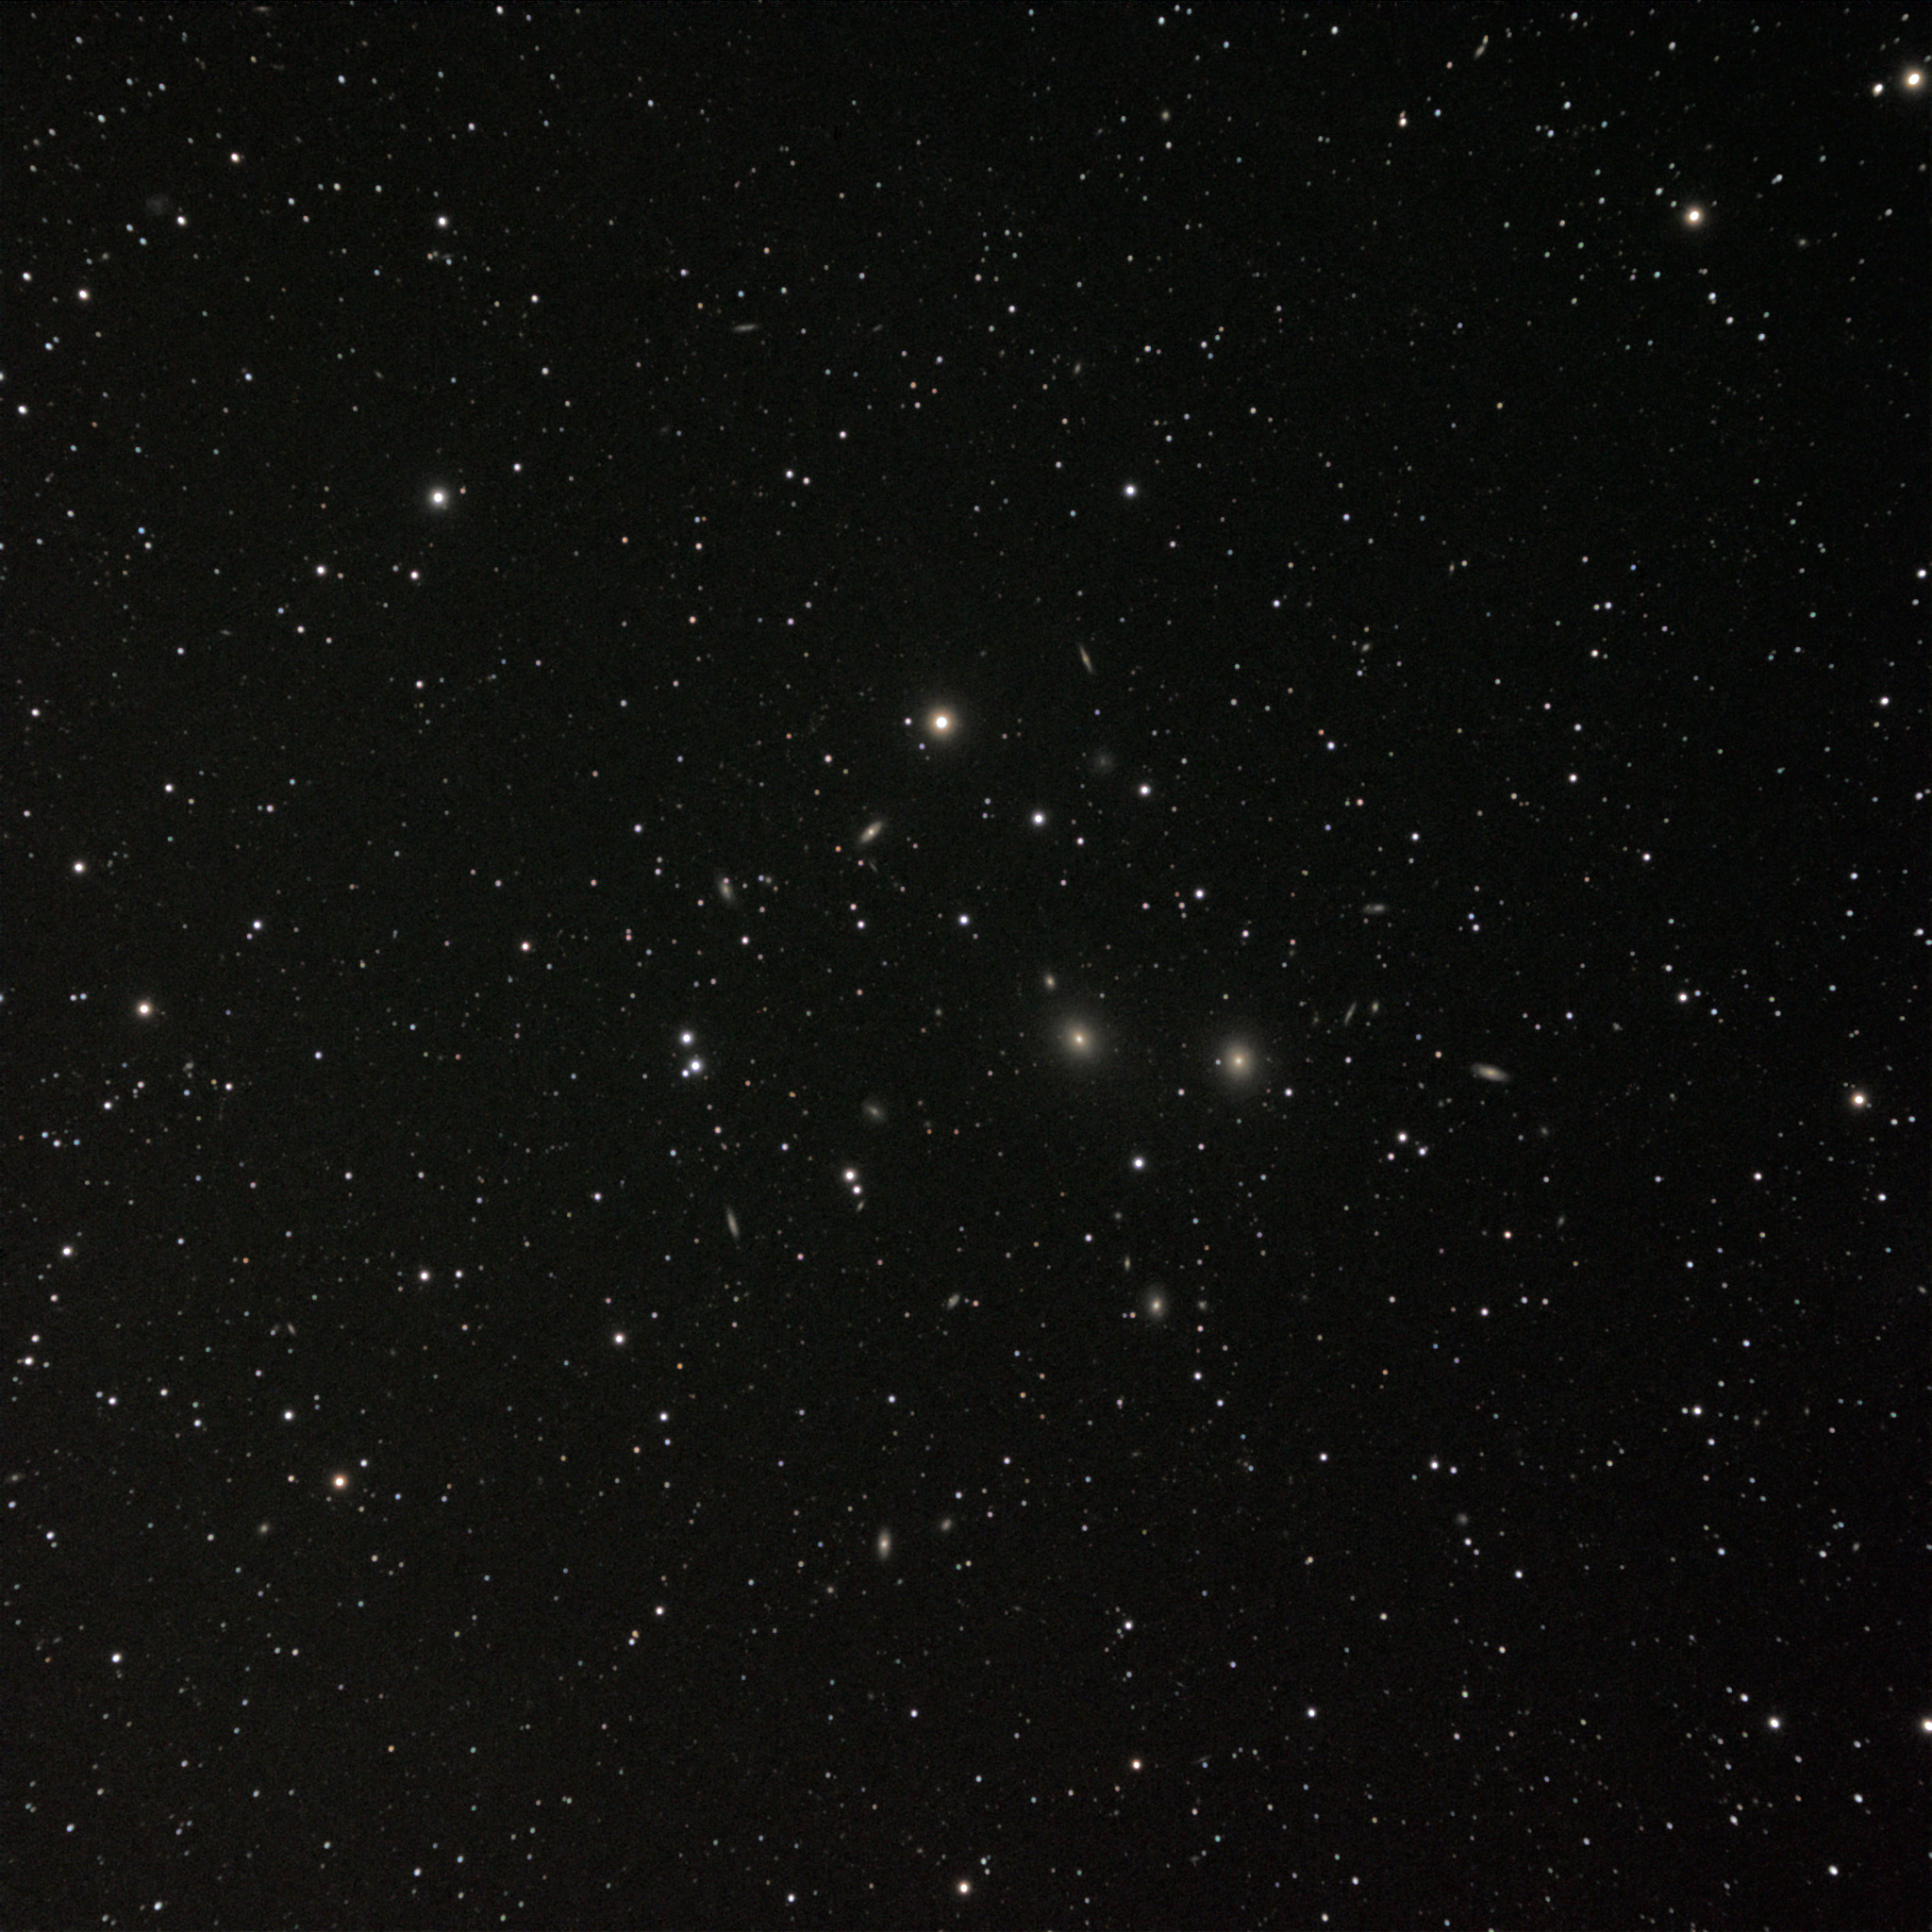
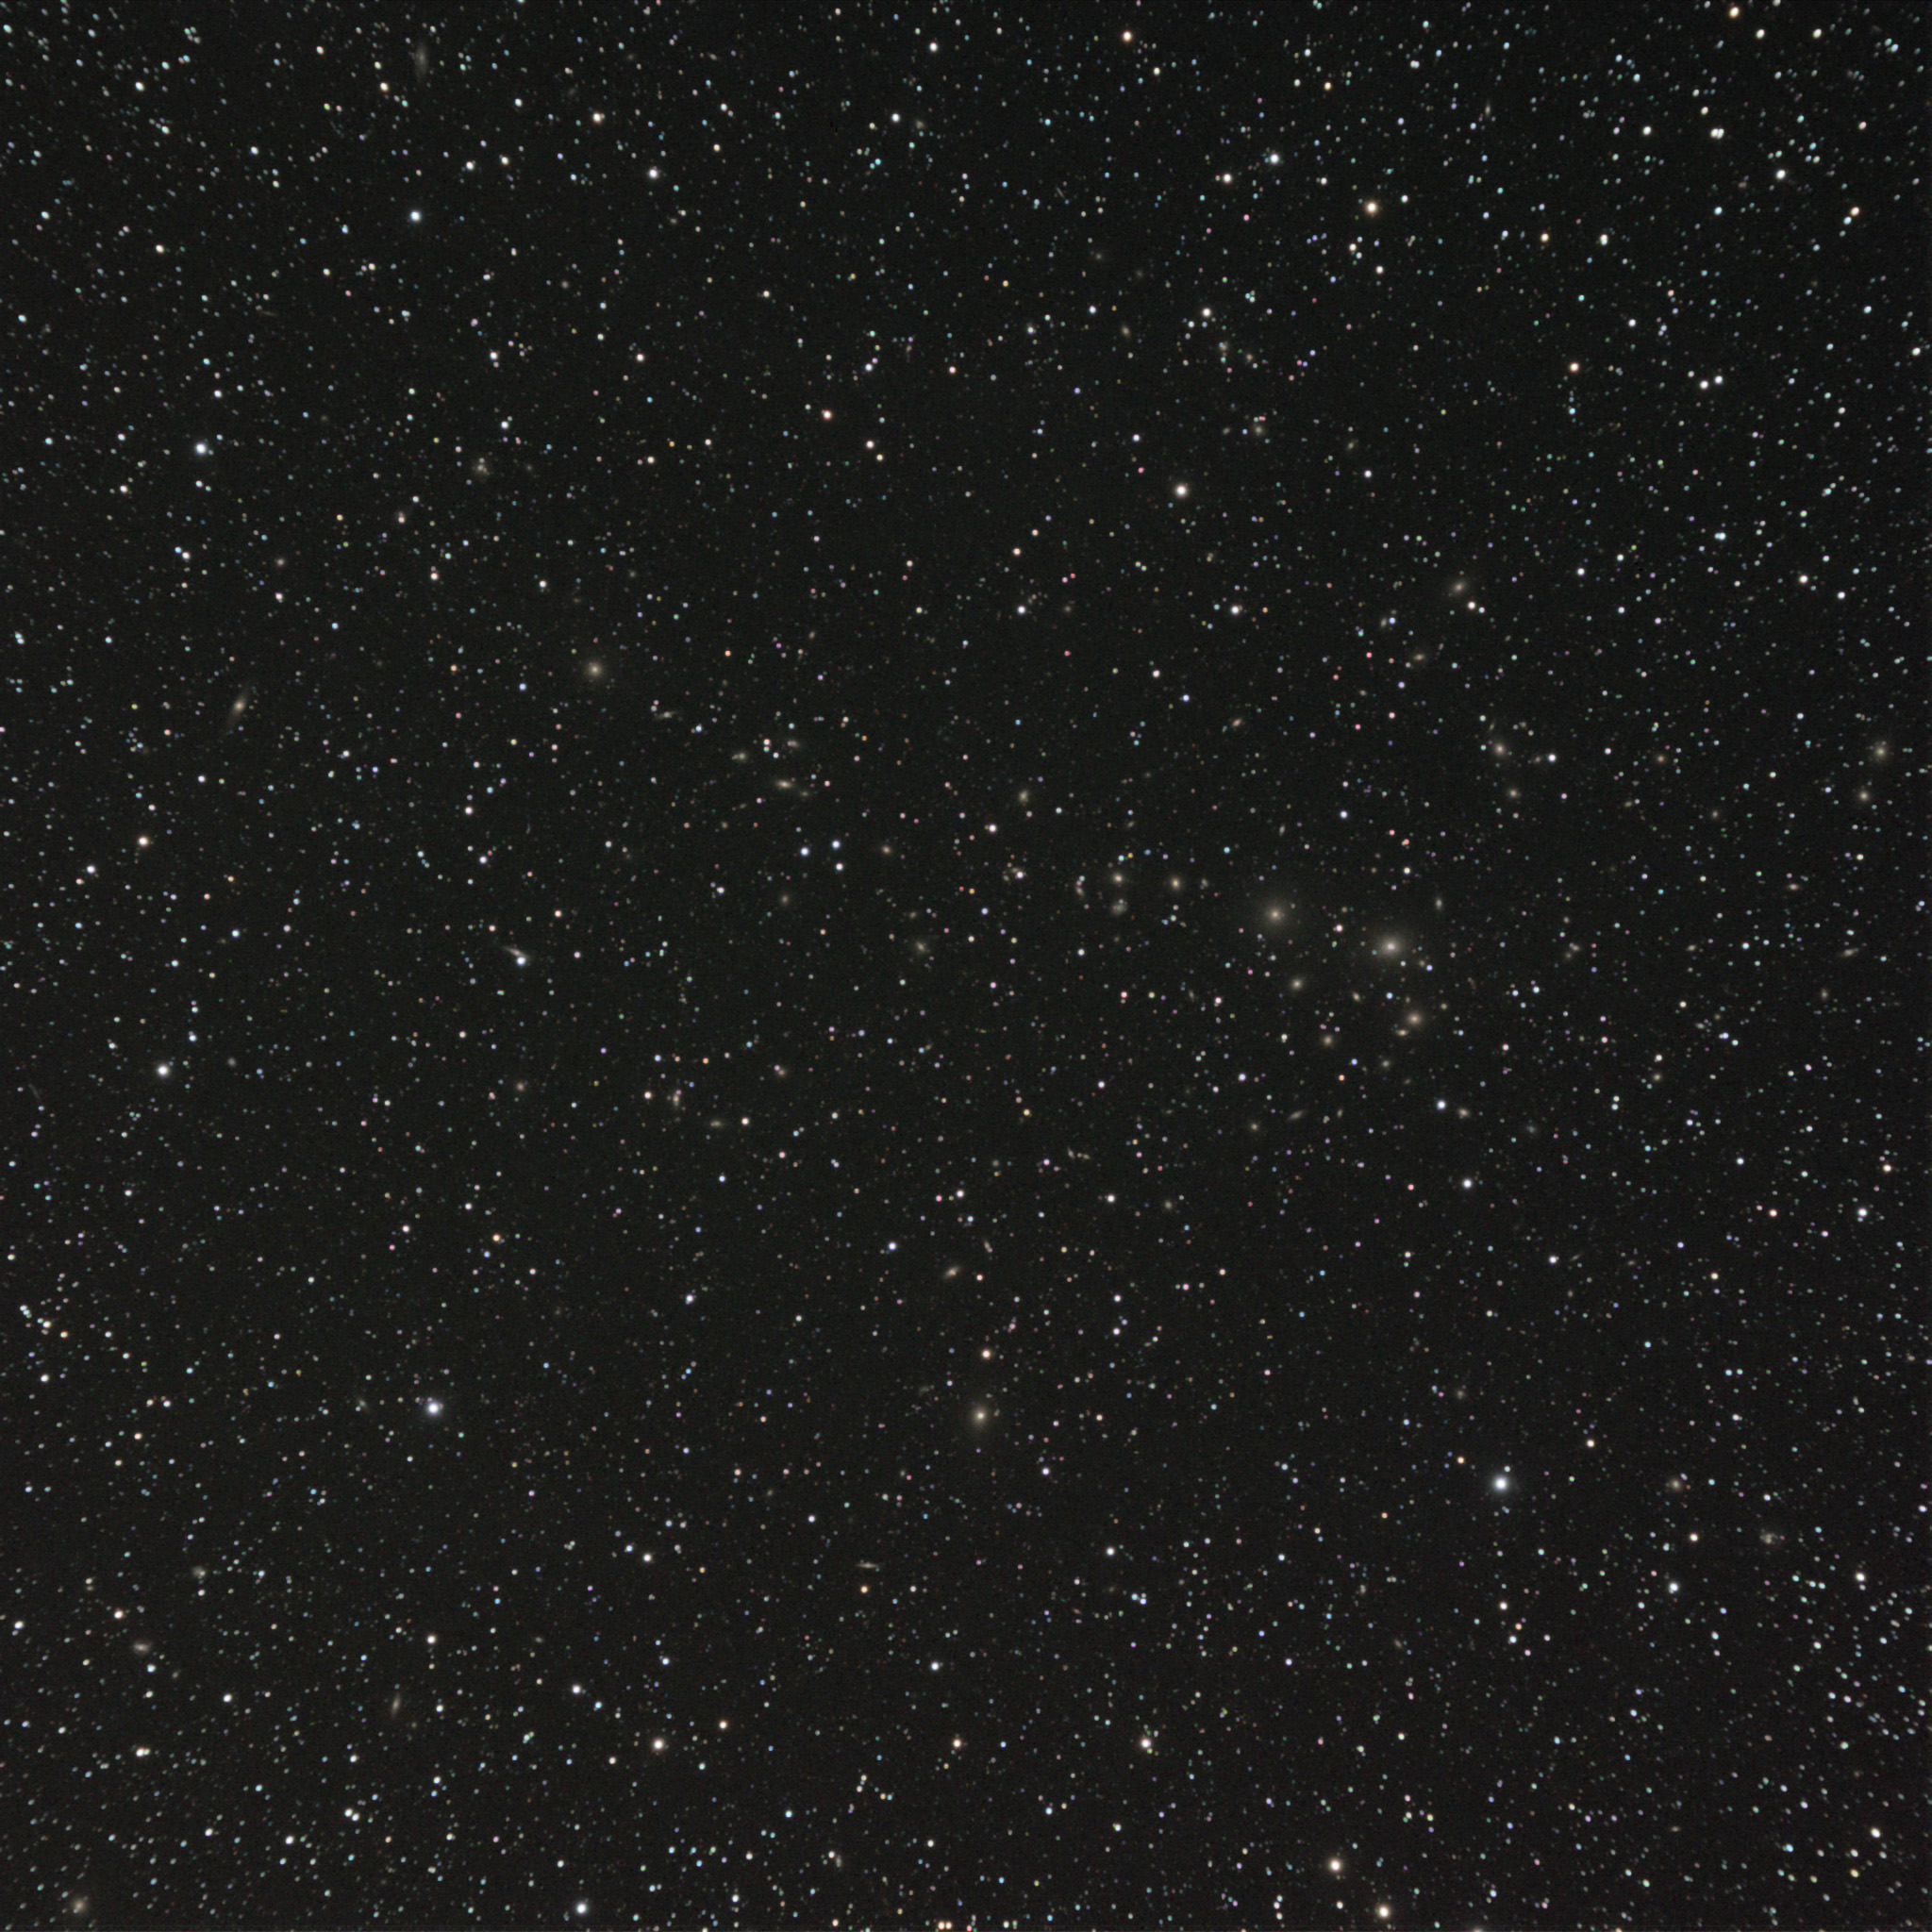
    I’ve long been fascinated with distant galaxy clusters, and they’re very difficult visual targets. Some find them to be uninteresting photography targets. I opted to try 30 minutes on Abell 426, a massive distant galaxy cluster in Perseus. Here is some detail from the center, but the full field is full of easter eggs.

    Abell 426 Galaxy Cluster
    Detail from the Abell 426 Galaxy Cluster in Perseus. Click for the full field.

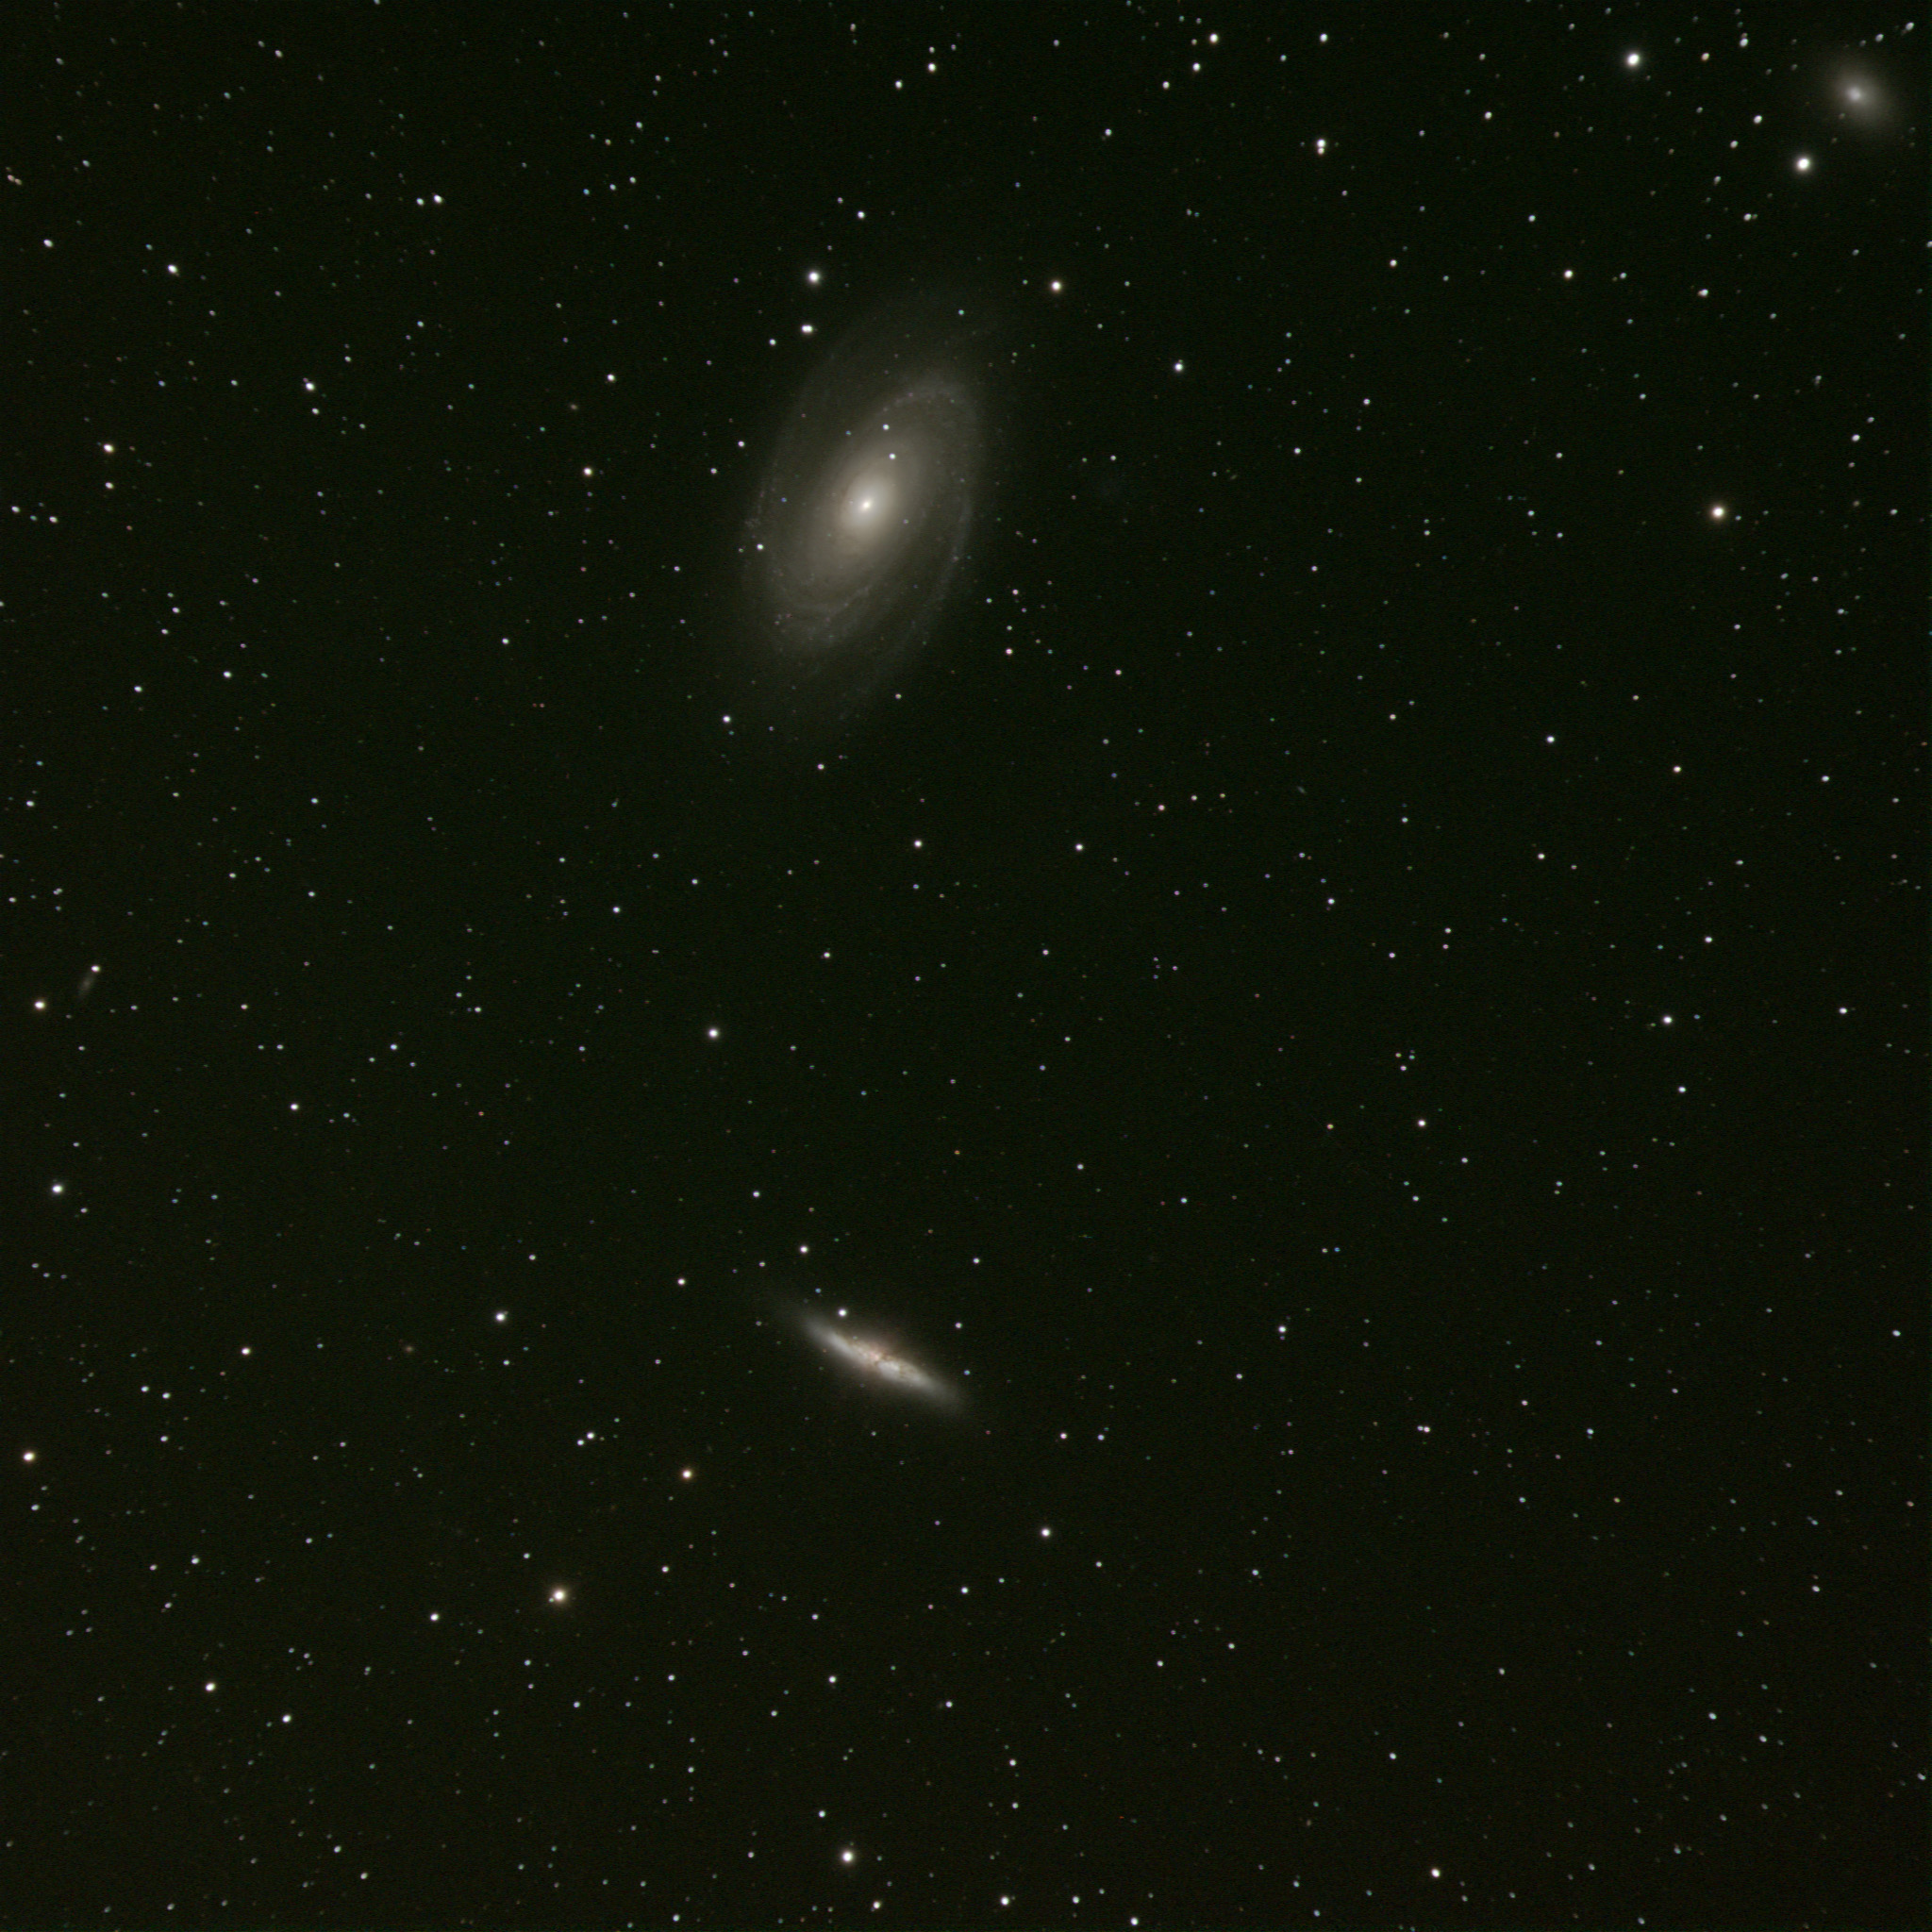
    My last target of the evening was to be an indulgent treat, the M81-M82 galaxy pair in Ursa Major. My mount battery finally quit just at the end of the second exposure, and morning twilight was about to arrive. A fabulous end to the evening.
    M81 - M82
    M81 the spiral (a.k.a. "Bode's Nebula"), and M82 a peculiar active galaxy, in Ursa Major


  • Observing at Amboy Crater

    Observing report, October 22, 2011

    Full photo album with site pictures here.

    Amboy Crater National Natural Landmark
    It's very easy to miss this sign from National Trails Highway, the delightful old U.S. Highway 66.

    This month is blessed with two very good dark sky observing weekends, and we opted to take the first one at a spot we’ve been thinking about for a couple of years now.

    Amboy Crater National Natural Landmark is a volcano crater in California south of I-40, near the town of Amboy, CA. We first visited the site in the spring of 2010. The hike to the crater was fabulous, and the wildflowers were stunning.

    Our regular site at Chuckwalla Bench is also a Bureau of Land Management (BLM) site, but unlike Chuckwalla Bench, Amboy Crater features a paved road, pit toilets, parking spots, and picnic tables. Here’s a Google Maps link to the landmark and its facilities.

    The downside is that the drive is about 25 miles longer than the trip to Chuckwalla Bench. It makes for about three-and-a-half hours driving each way.

    Astronomically, Amboy Crater is one of the darkest locations in the state, with frequently clear skies and sometimes overly hot conditions.

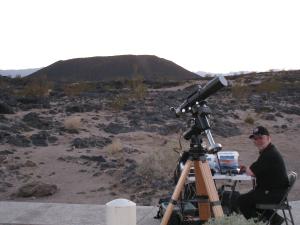
    Mojo with Amboy Crater
    Mojo set up for astrophotography with Amboy Crater in the background.

    This past Saturday evening had a nearly perfect forecast. We arrived on a hot dry afternoon, and enjoyed shirt-sleeve or light jacket conditions all evening with a crystal clear sky. We were joined by one other astrophotographer (Robin), and two seasoned visual observers (Cliff and Steve).

    My astrophotography is extremely casual. Living in the midst of Los Angeles county, I have no desire, nor is there much reason to, have a permanent observatory of any kind. We’ve both become adept at hauling our portable observatory to locations that offer good dark skies.

    Actually we have quite an advantage over astronomers in the eastern half of the U.S. The California deserts offer excellent astronomy, and are within a few hours drive of home.

    My telescope is an Astro-Physics Traveler, 105mm aperture (about 4 inches) with a short f/6 focal length. The mount is an Astro-Physics Mach-One GTO “go to” mount, and my camera is an SBIG ST-4000XCM, the perfect camera for my style of casual astrophotography. It’s a “one-shot color” camera, meaning I can shoot and process color images in a relatively short time, with extra processing to extract the data from the Bayer matrix. It wouldn’t be the best sensor for doing astrometrics or narrow-band imaging with specialty filters, but it’s great for playing around and taking pretty pictures (or trying to!).

    I had shot M31, the Great Galaxy in Andromeda, before, probably with my Canon 20D DSLR, but I wanted to take advantage of my wide field and gather an hour or so of data and see what I could get.

    I enjoyed watching twilight fade and set up with a very good polar alignment. By now I’ve managed to learn the quirks of Software Bisque’s CCDSoft, and was able to calibrate the autoguiding with great success.

    After returning home, I discovered that my first 15-minute exposure was not useable! The brighter stars in the image were fogged, probably by condensation on the CCD sensor glass. I have this mental image of bringing a telescope full of relatively moist L.A. basin air out to the desert, cooling the chip down to -5° C, and having every drop of moisture in that air condense on the chip.

    After the first exposure, the combination of the imager fan and the dessicant plug mounted next to the chip managed to pull out all that moisture and leave me with a dry and clear chip. The dry desert air kept me clear for the rest of the evening.

    Here is a luminance-only (monochrome) rendition of my M31 the Great Galaxy in Andromeda

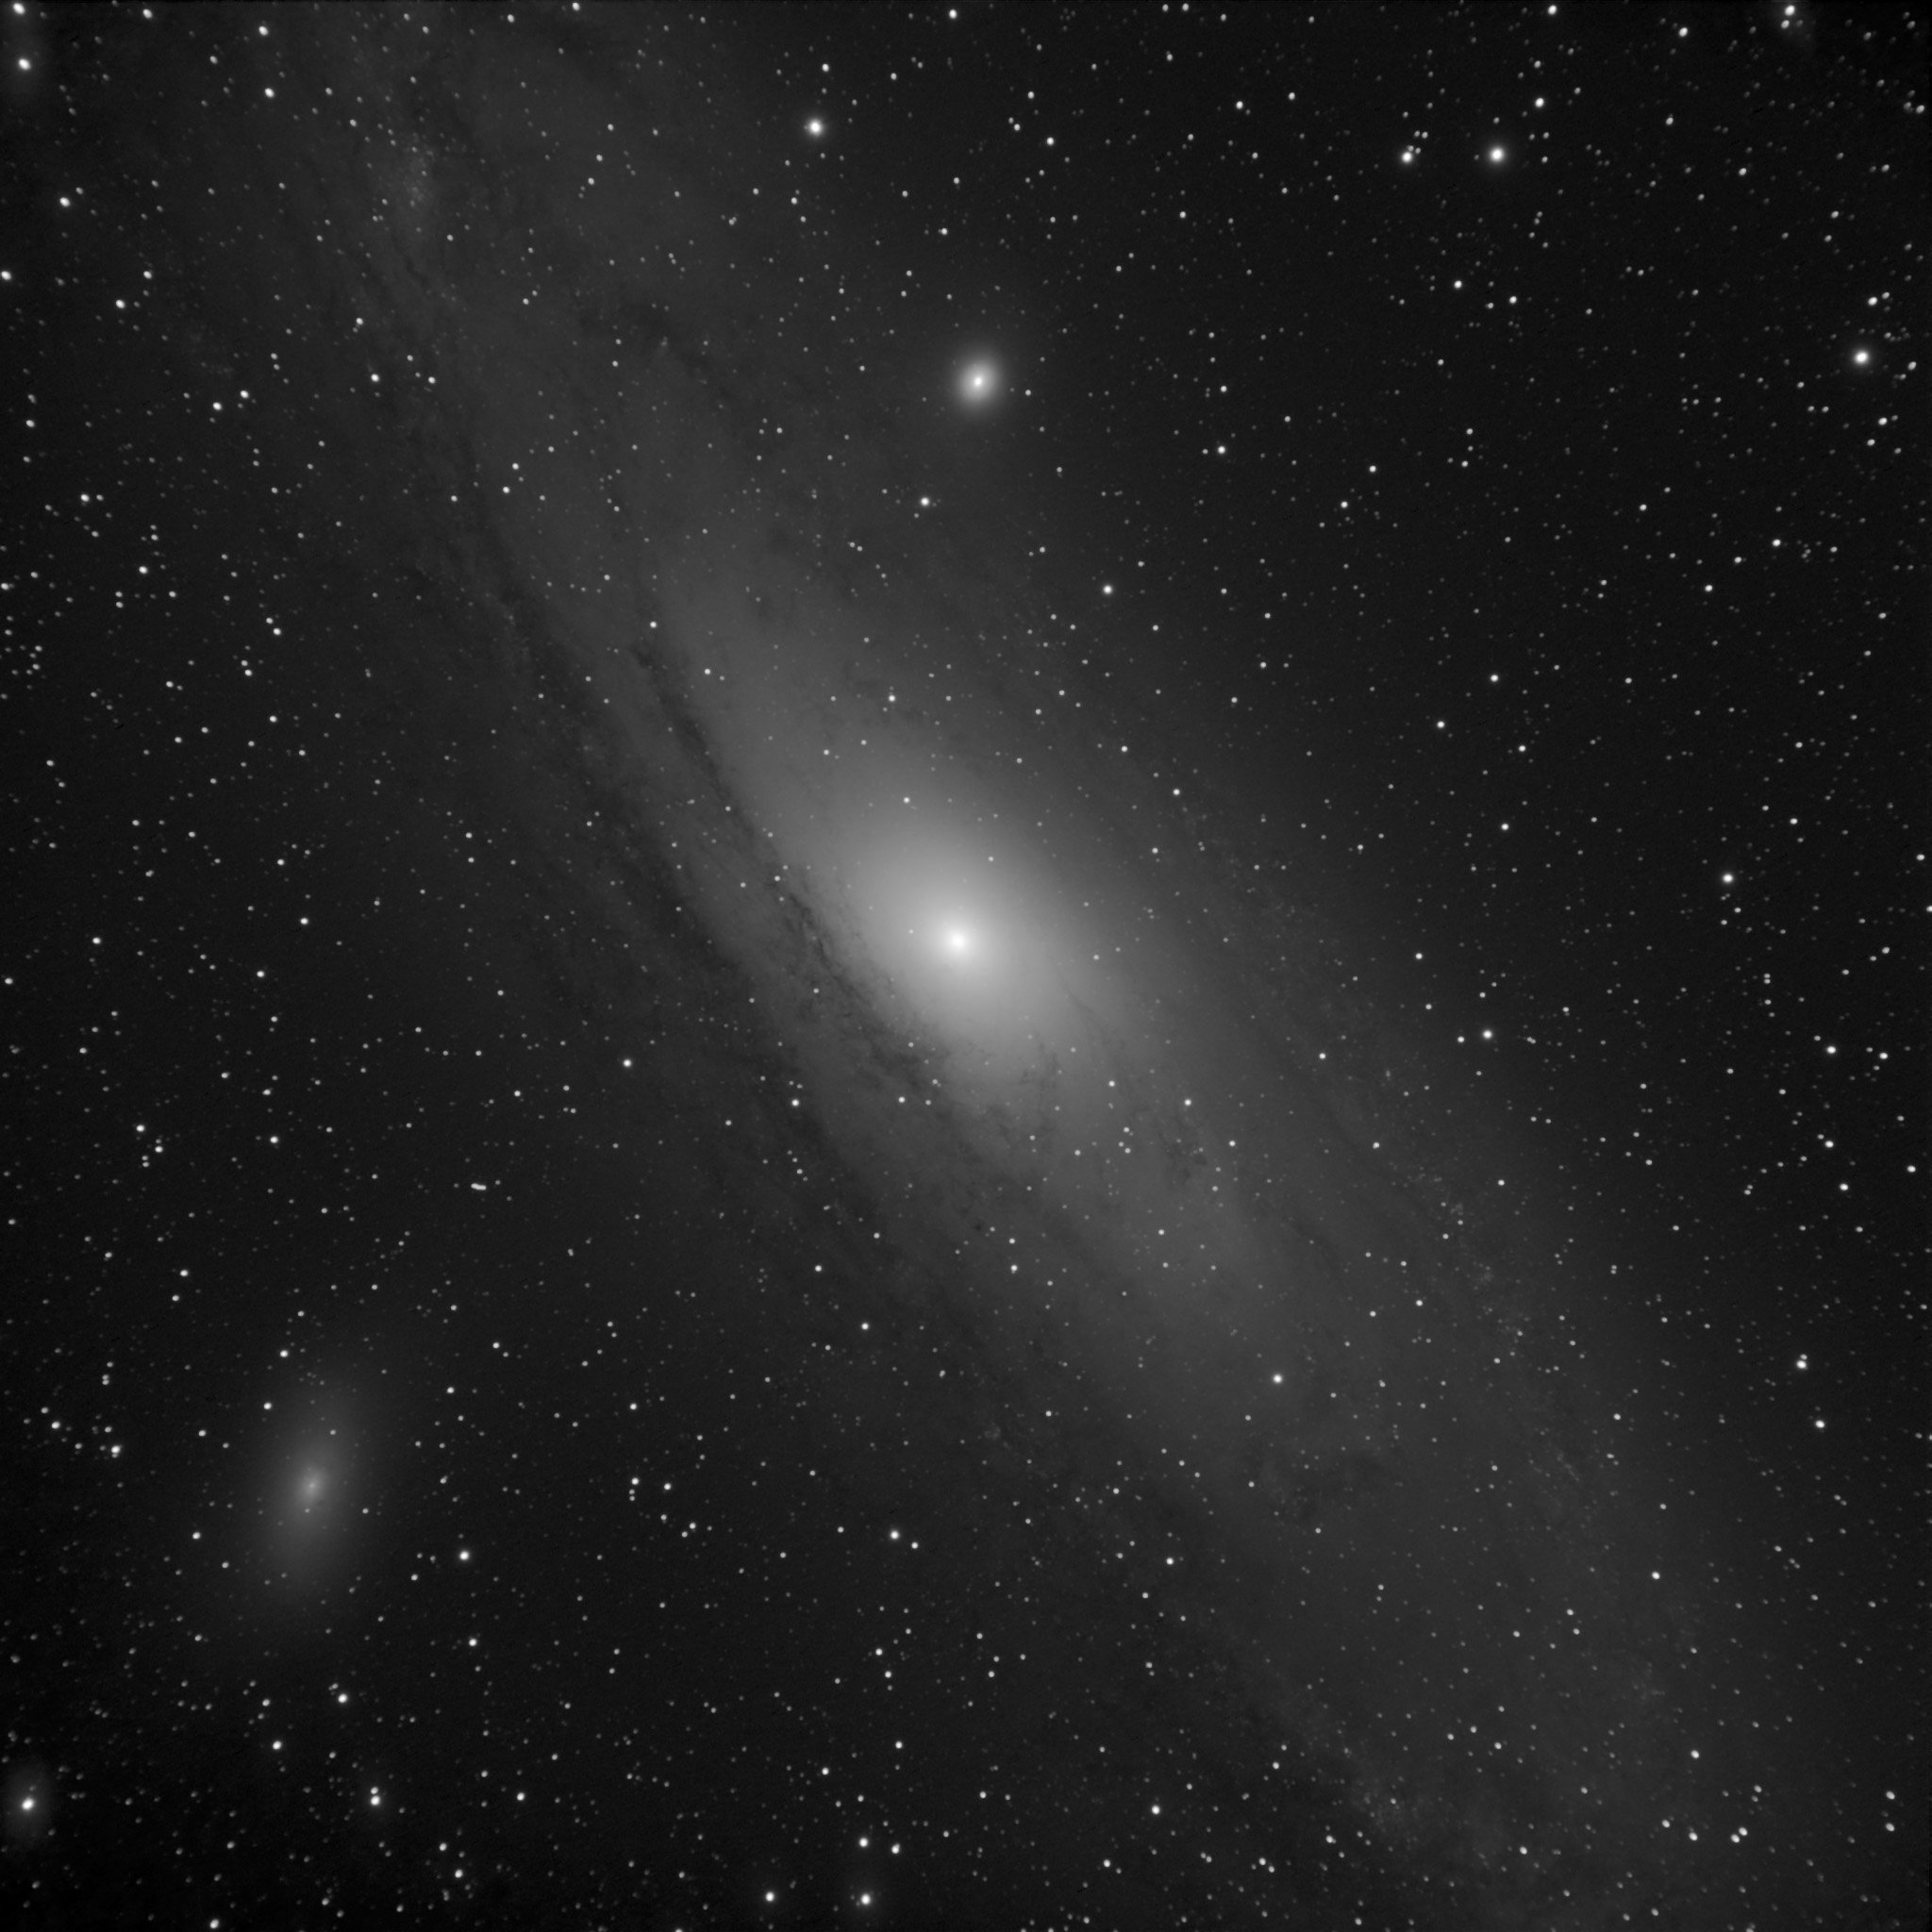
    M31 the Andromeda Galaxy
    The Great Galaxy in Andromeda, M31, with M32 and M110 nearby. 3×15 minute exposures, luminance only. (Click for full 2048×2048 resolution).)

    Now after going to all the trouble of having a one-shot color camera, why am I presenting a monochrome rendition of M31?

    I have a processing problem with the color version that I haven’t resolved yet. This galaxy has an enormous dynamic range, and this monochrome image is compressed down from a 16-bit master luminance image.

    I’m only able to process the color information with 8-bit dynamic range. And my processing skill isn’t yet strong enough to preserve the color data when compressing it down to computer range. Here is the color version of this image. Note that the galaxy core is completely clipped to white in the color data, and I’m left with an ugly yellow ring around the core.

    It’s an interesting problem, and I’m sure that I can find a way to do some “high dynamic range” (HDR) techniques to recover that color data near the core.

    At that point, Jane called me over to see an interesting emission nebula she was observing visually in her 17.5-inch dob. The nebulosity was just detectable visually, and I really wanted an image to compare. Fun object, full of Milky Way stars, the nebula, and even some dark nebulosity in the upper right.

    NGC7380
    NGC7380 emission nebula and cluster, 3×15 minute exposures

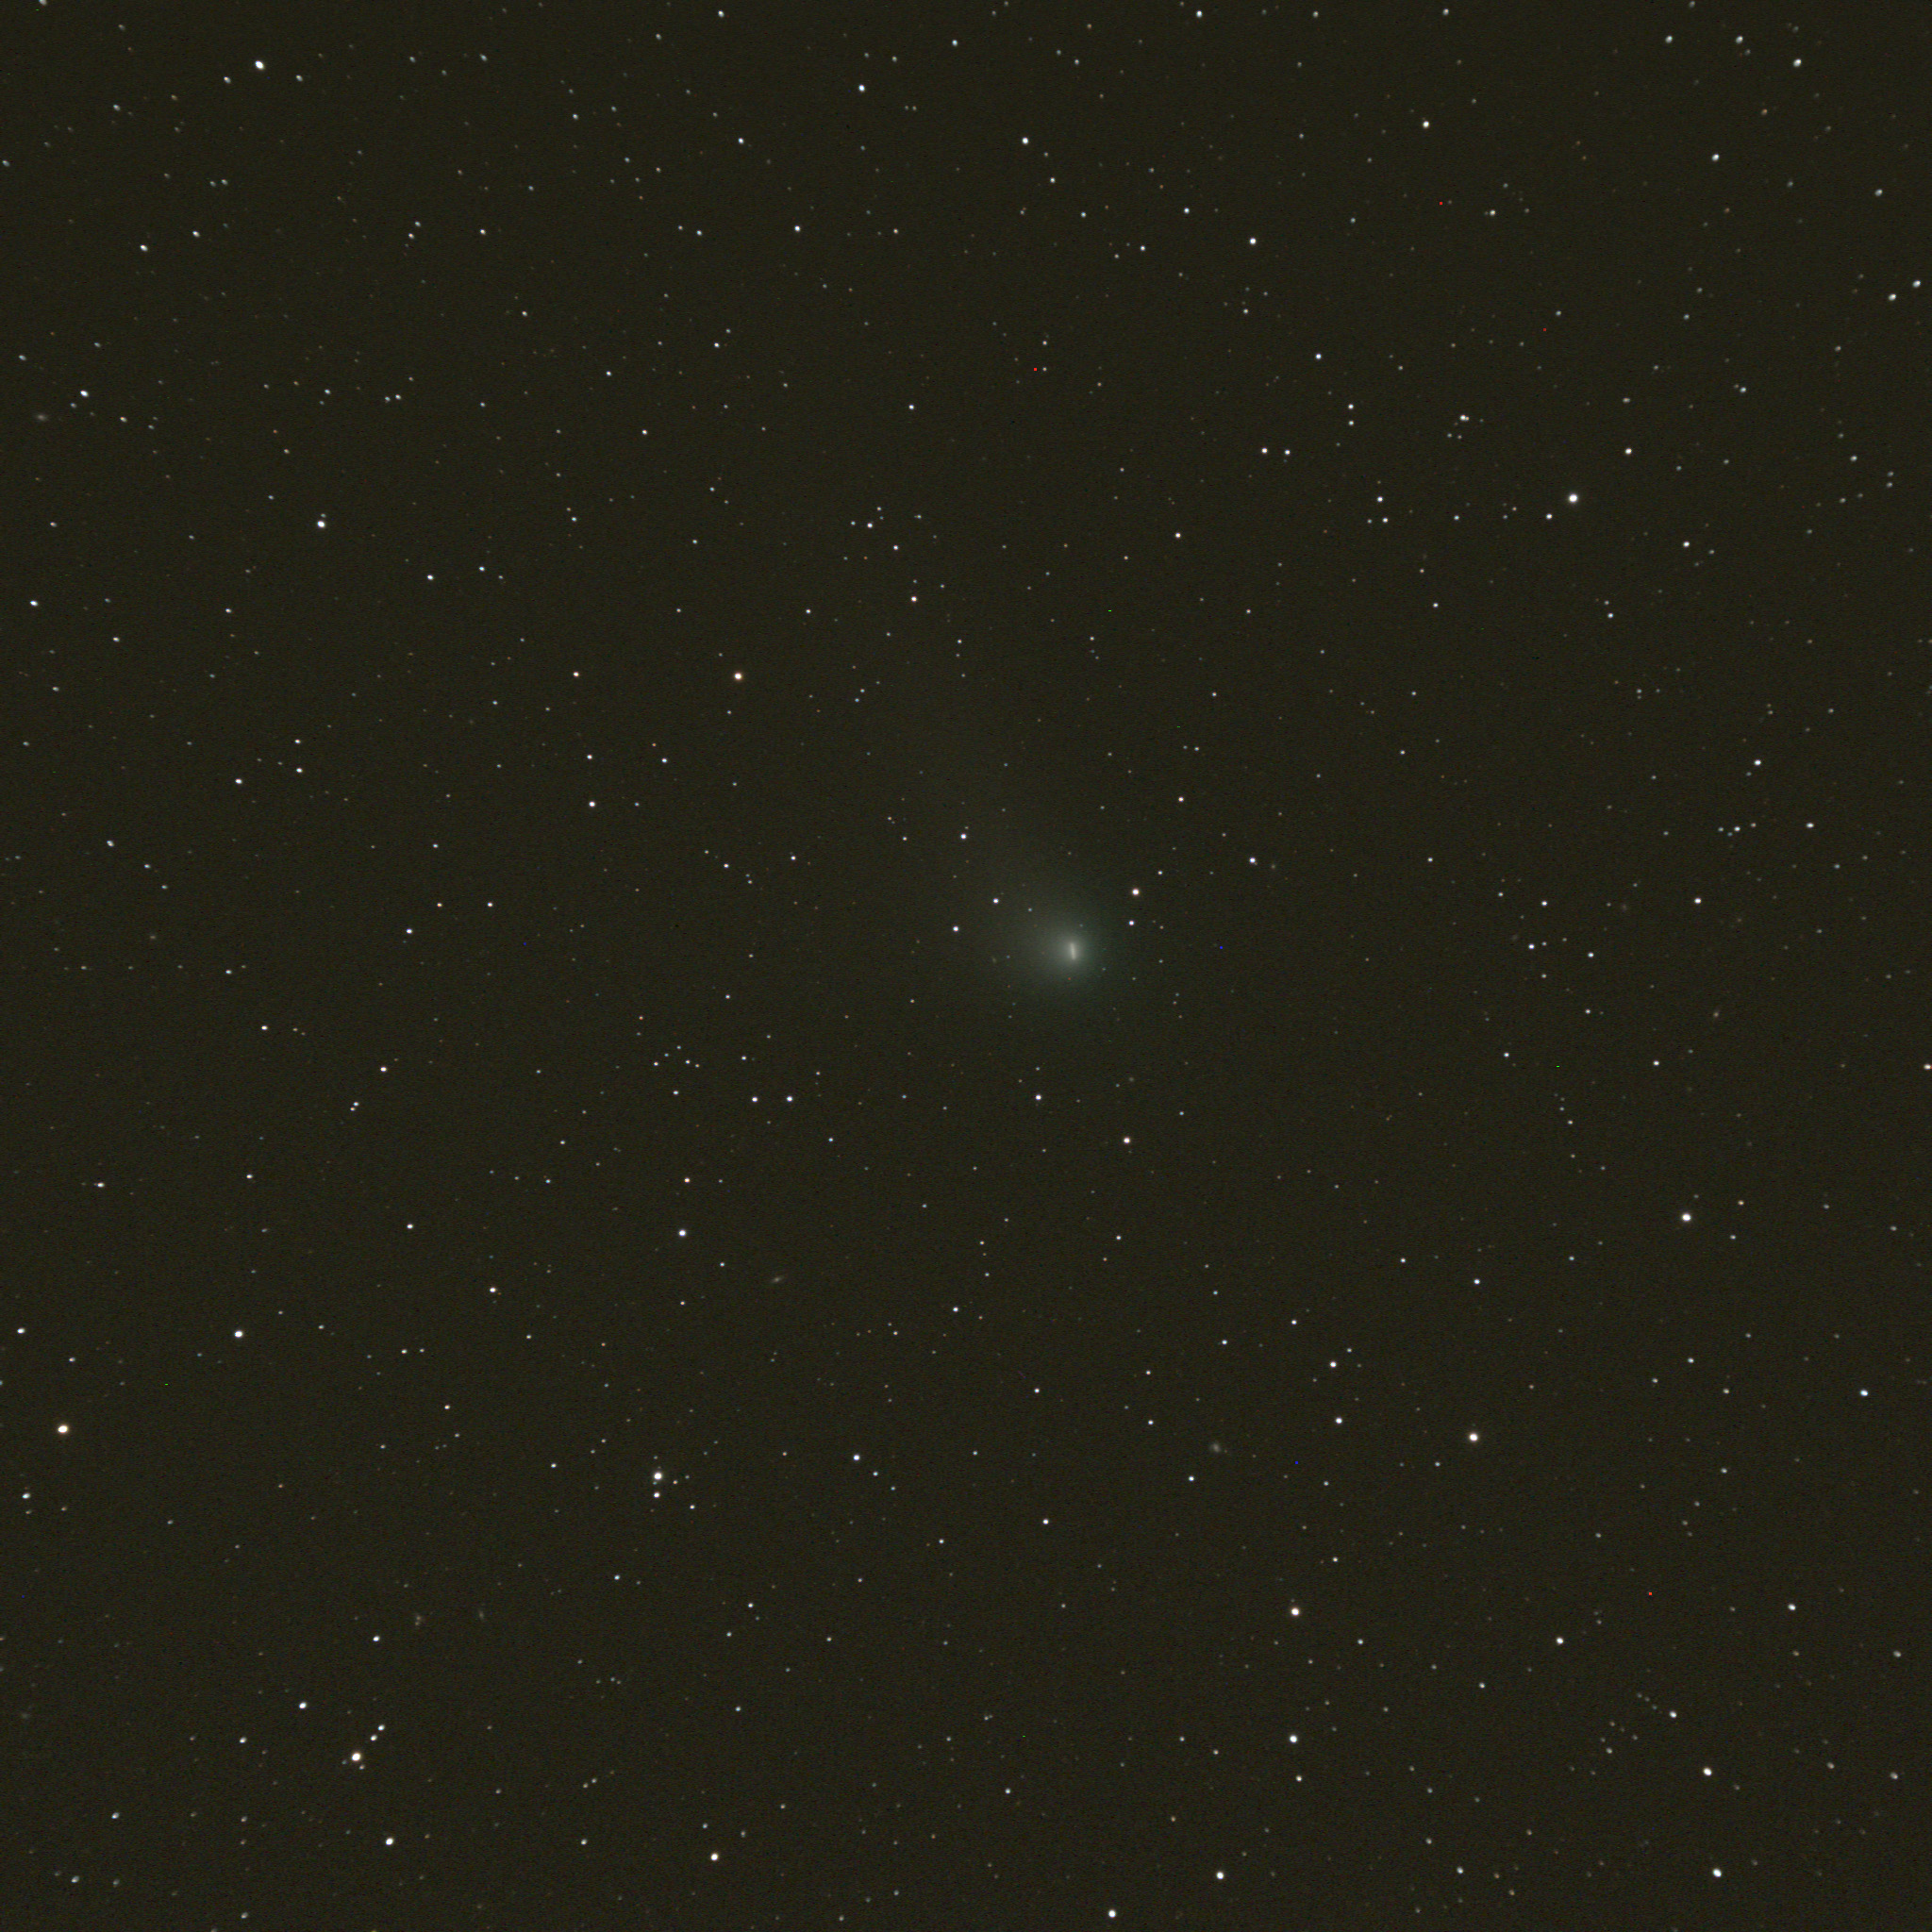
    Jane hunted down comet C/2010 G2 (Hill), a magnitude 10 interloper. It was a very difficult visual observation, but she nailed it, and I saw it as well.

    C/2010 G2 (Hill)
    10th magnitude comet C/2010 G2 (Hill)

    Meanwhile Jane was also tracking down interesting galaxy groups, and had fun searching the fairly distant Pegasus 1 galaxy cluster in her 17.5-inch. I couldn’t resist imaging this as well.

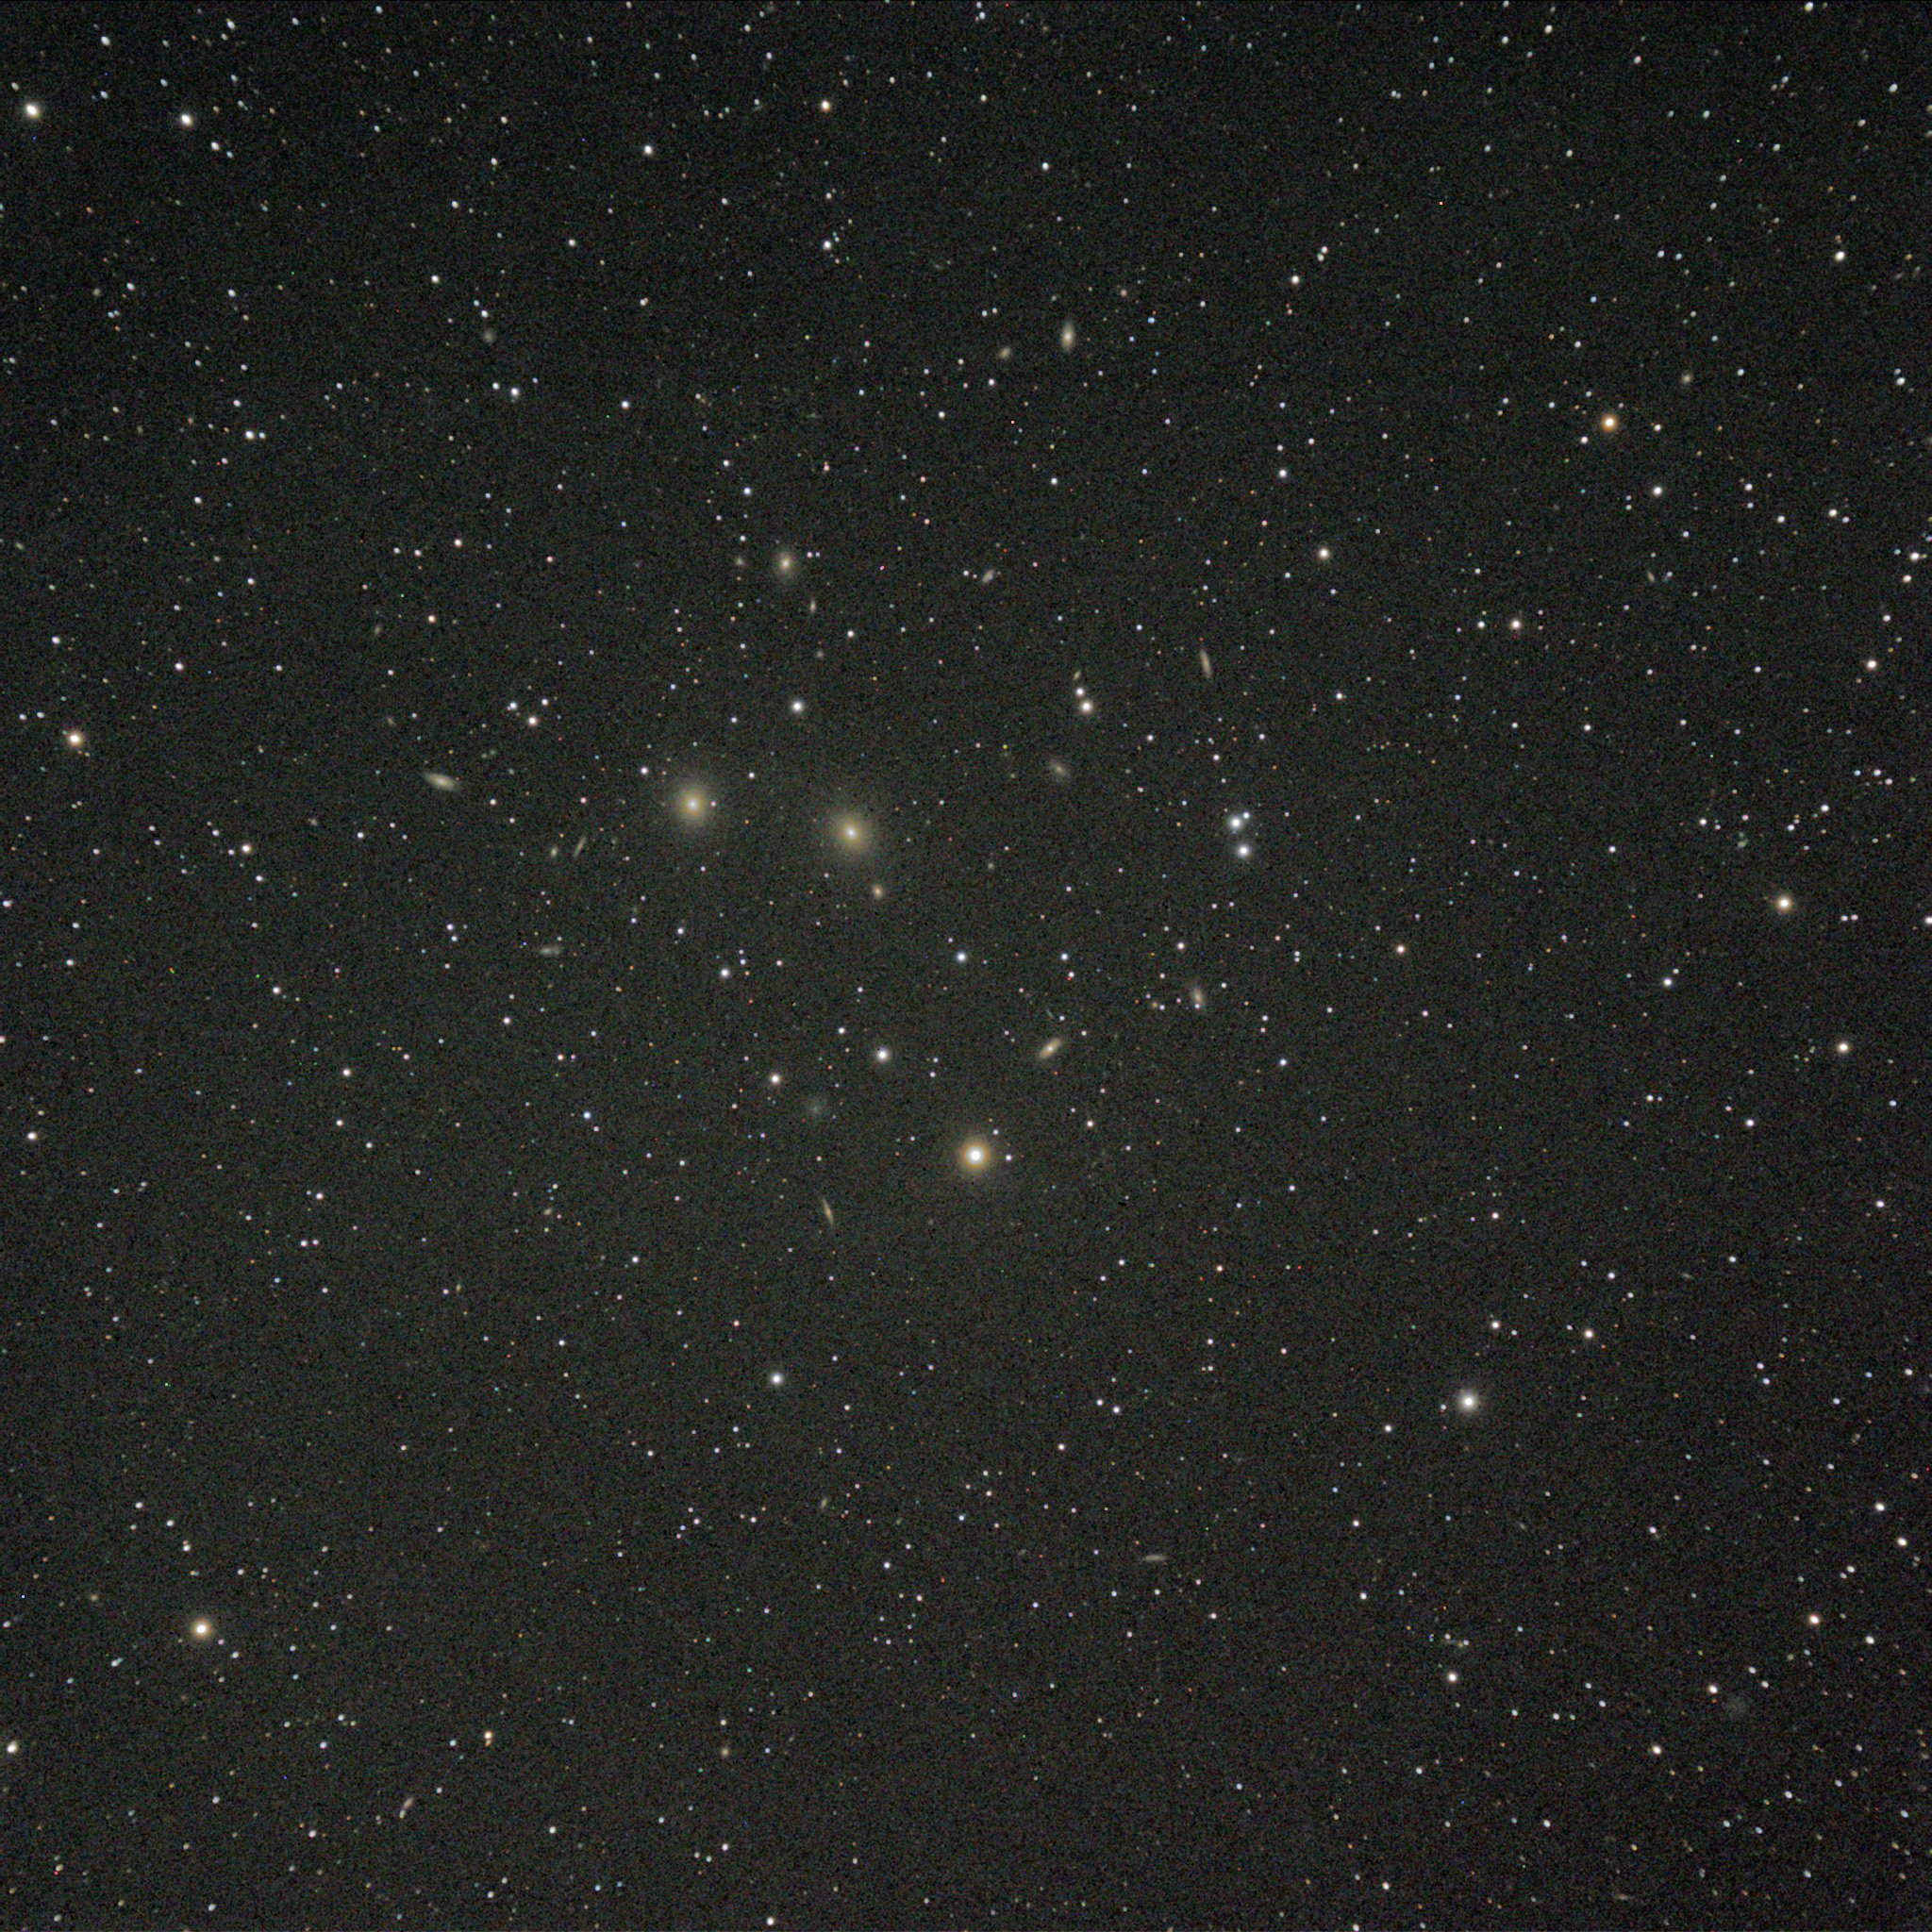
    My own misfires only left me with one usable 15-minute exposure of this fascinating galaxy group. Even with just one 15-minute exposure and lots of noise, it’s fun to see how many galaxies you can find in the full-resolution image. The two brightest members are magnitude 12.

    Here we go from a relatively nearby solar system object, comet Hill, to a 200-million light-year distant galaxy cluster!

    Pegasus 1 galaxy cluster
    The Pegasus 1 galaxy cluster, one 15-minute exposure. Click for the full-resolution version, and see how many galaxies you can find in the somewhat noisy image.

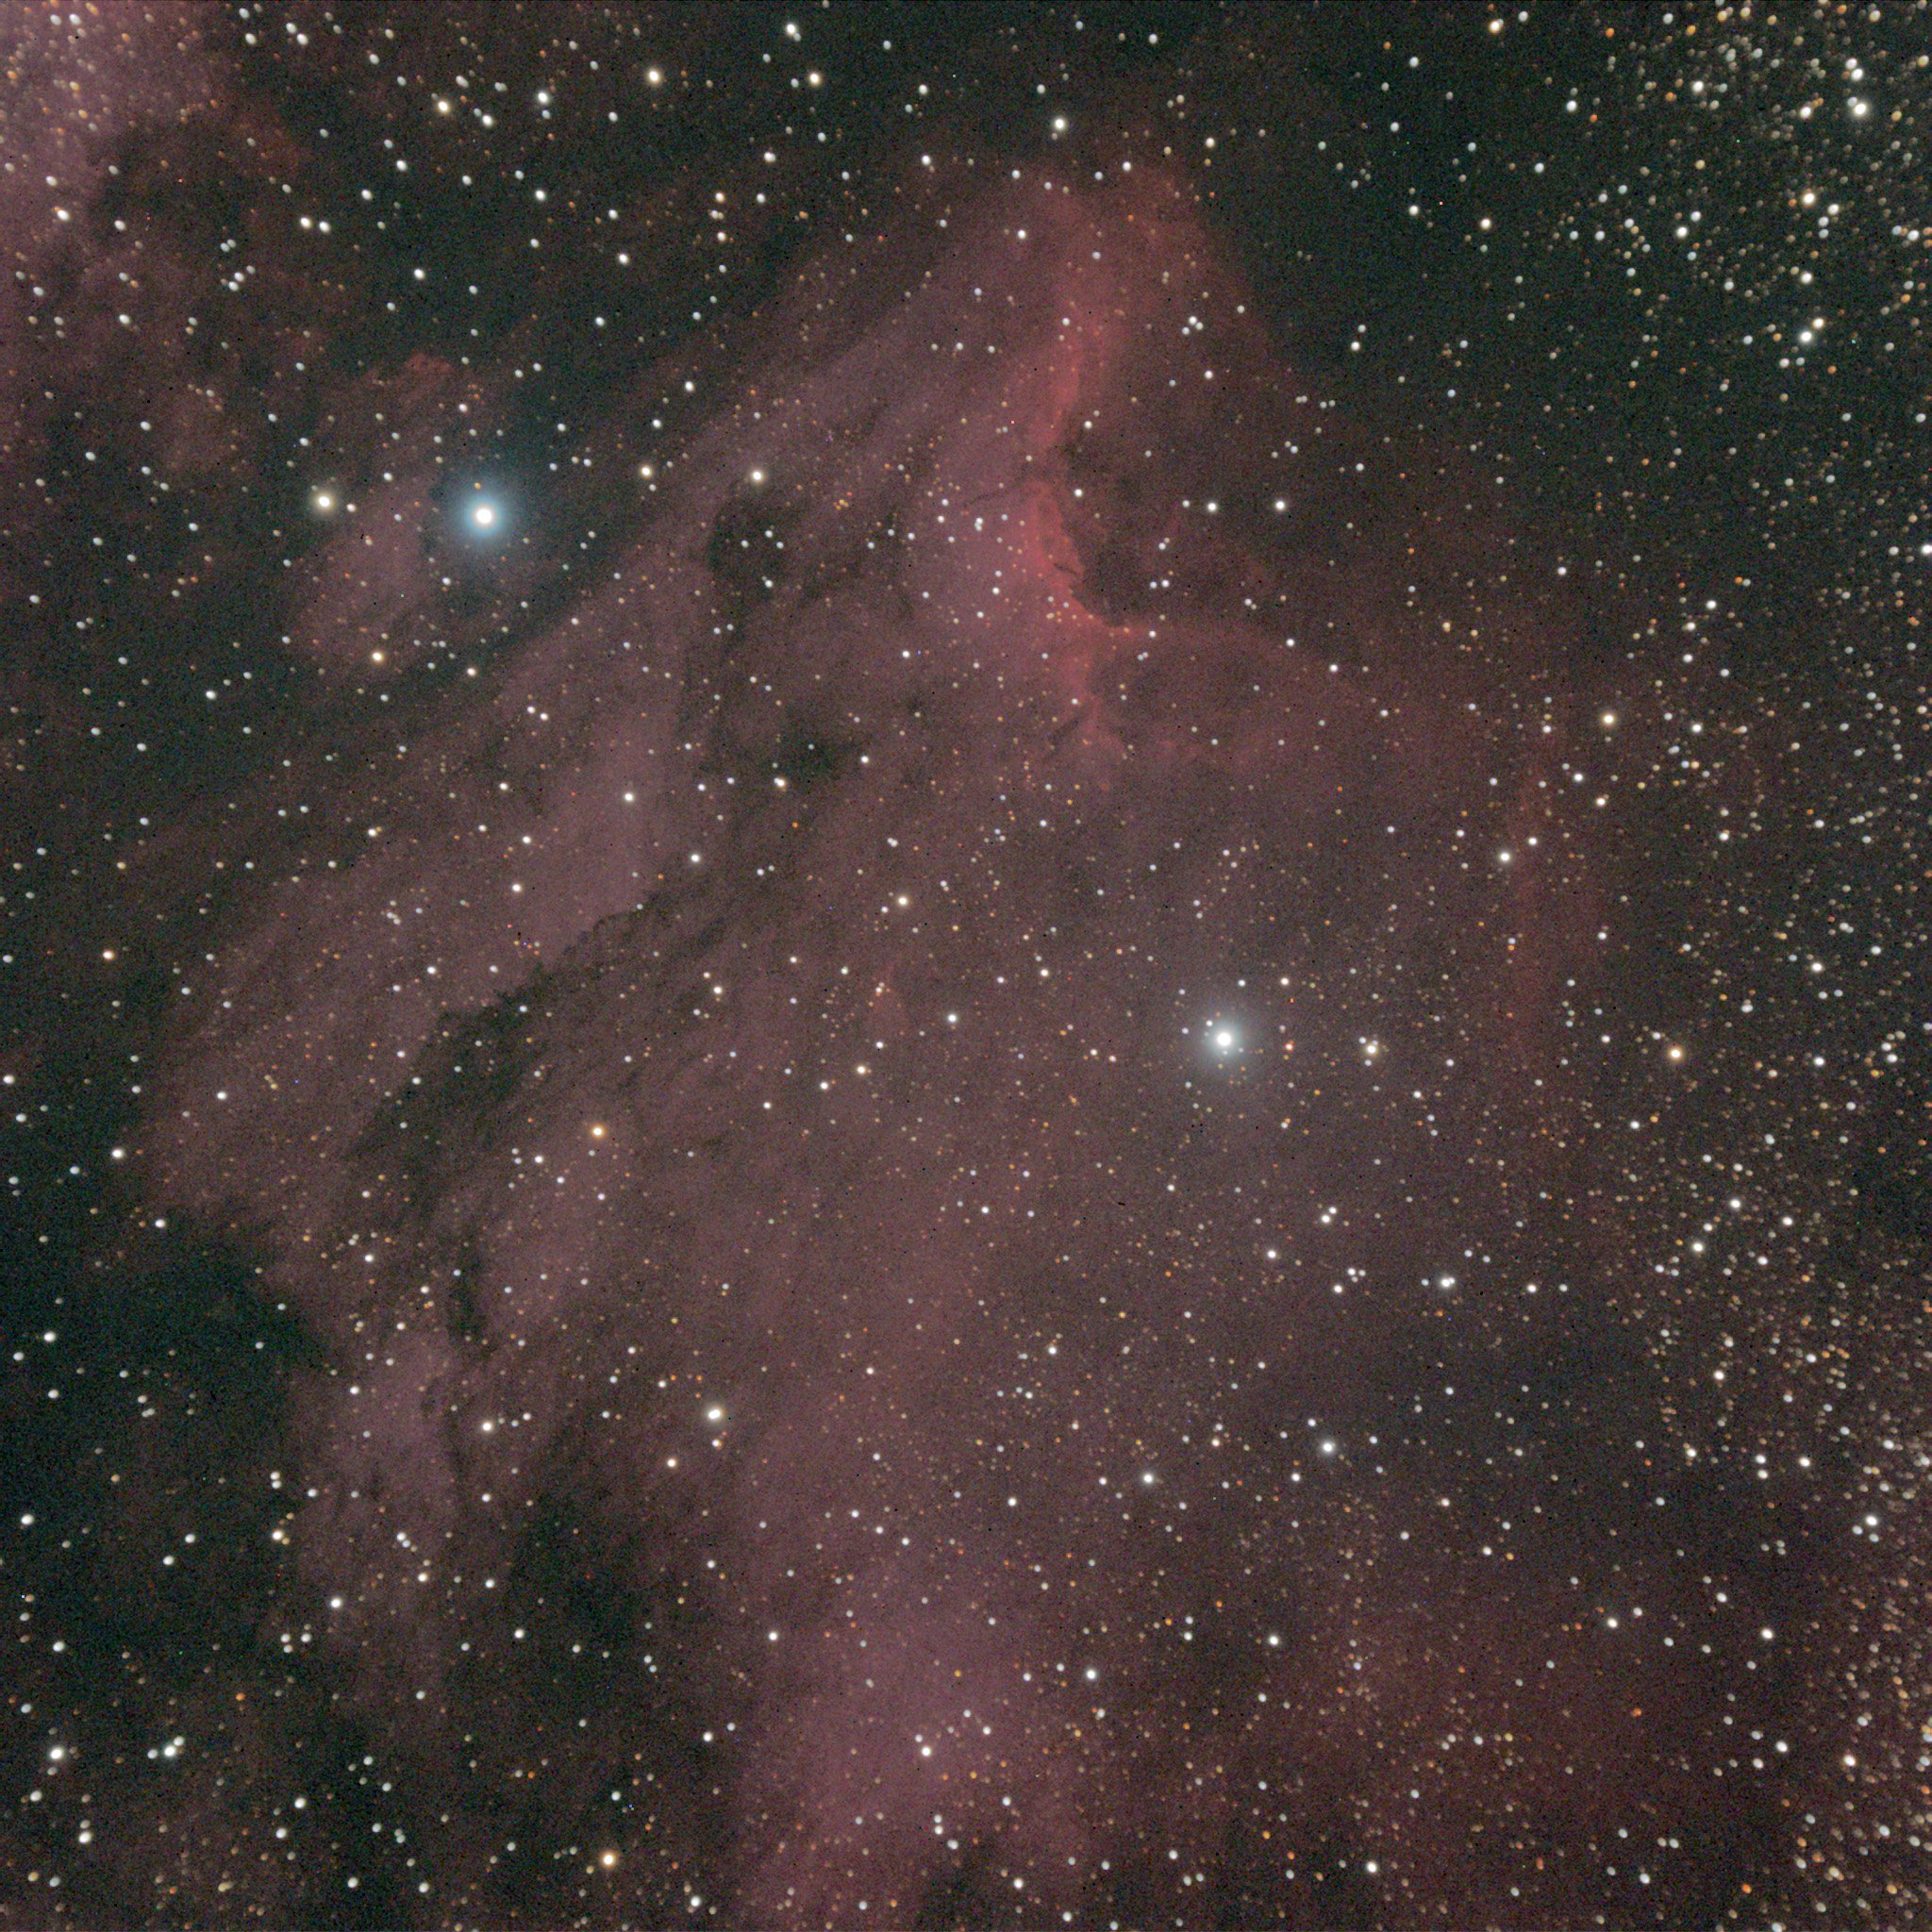
    Now I was just playing around. As it turns out, the Pelican Nebula was well placed, and The Sky 6 told me it would just fit in my field of view. This emission nebula is most famous for being “that thing next to the North America Nebula.”

    The Pelican Nebula
    The Pelican Nebula, one 15-minute exposure

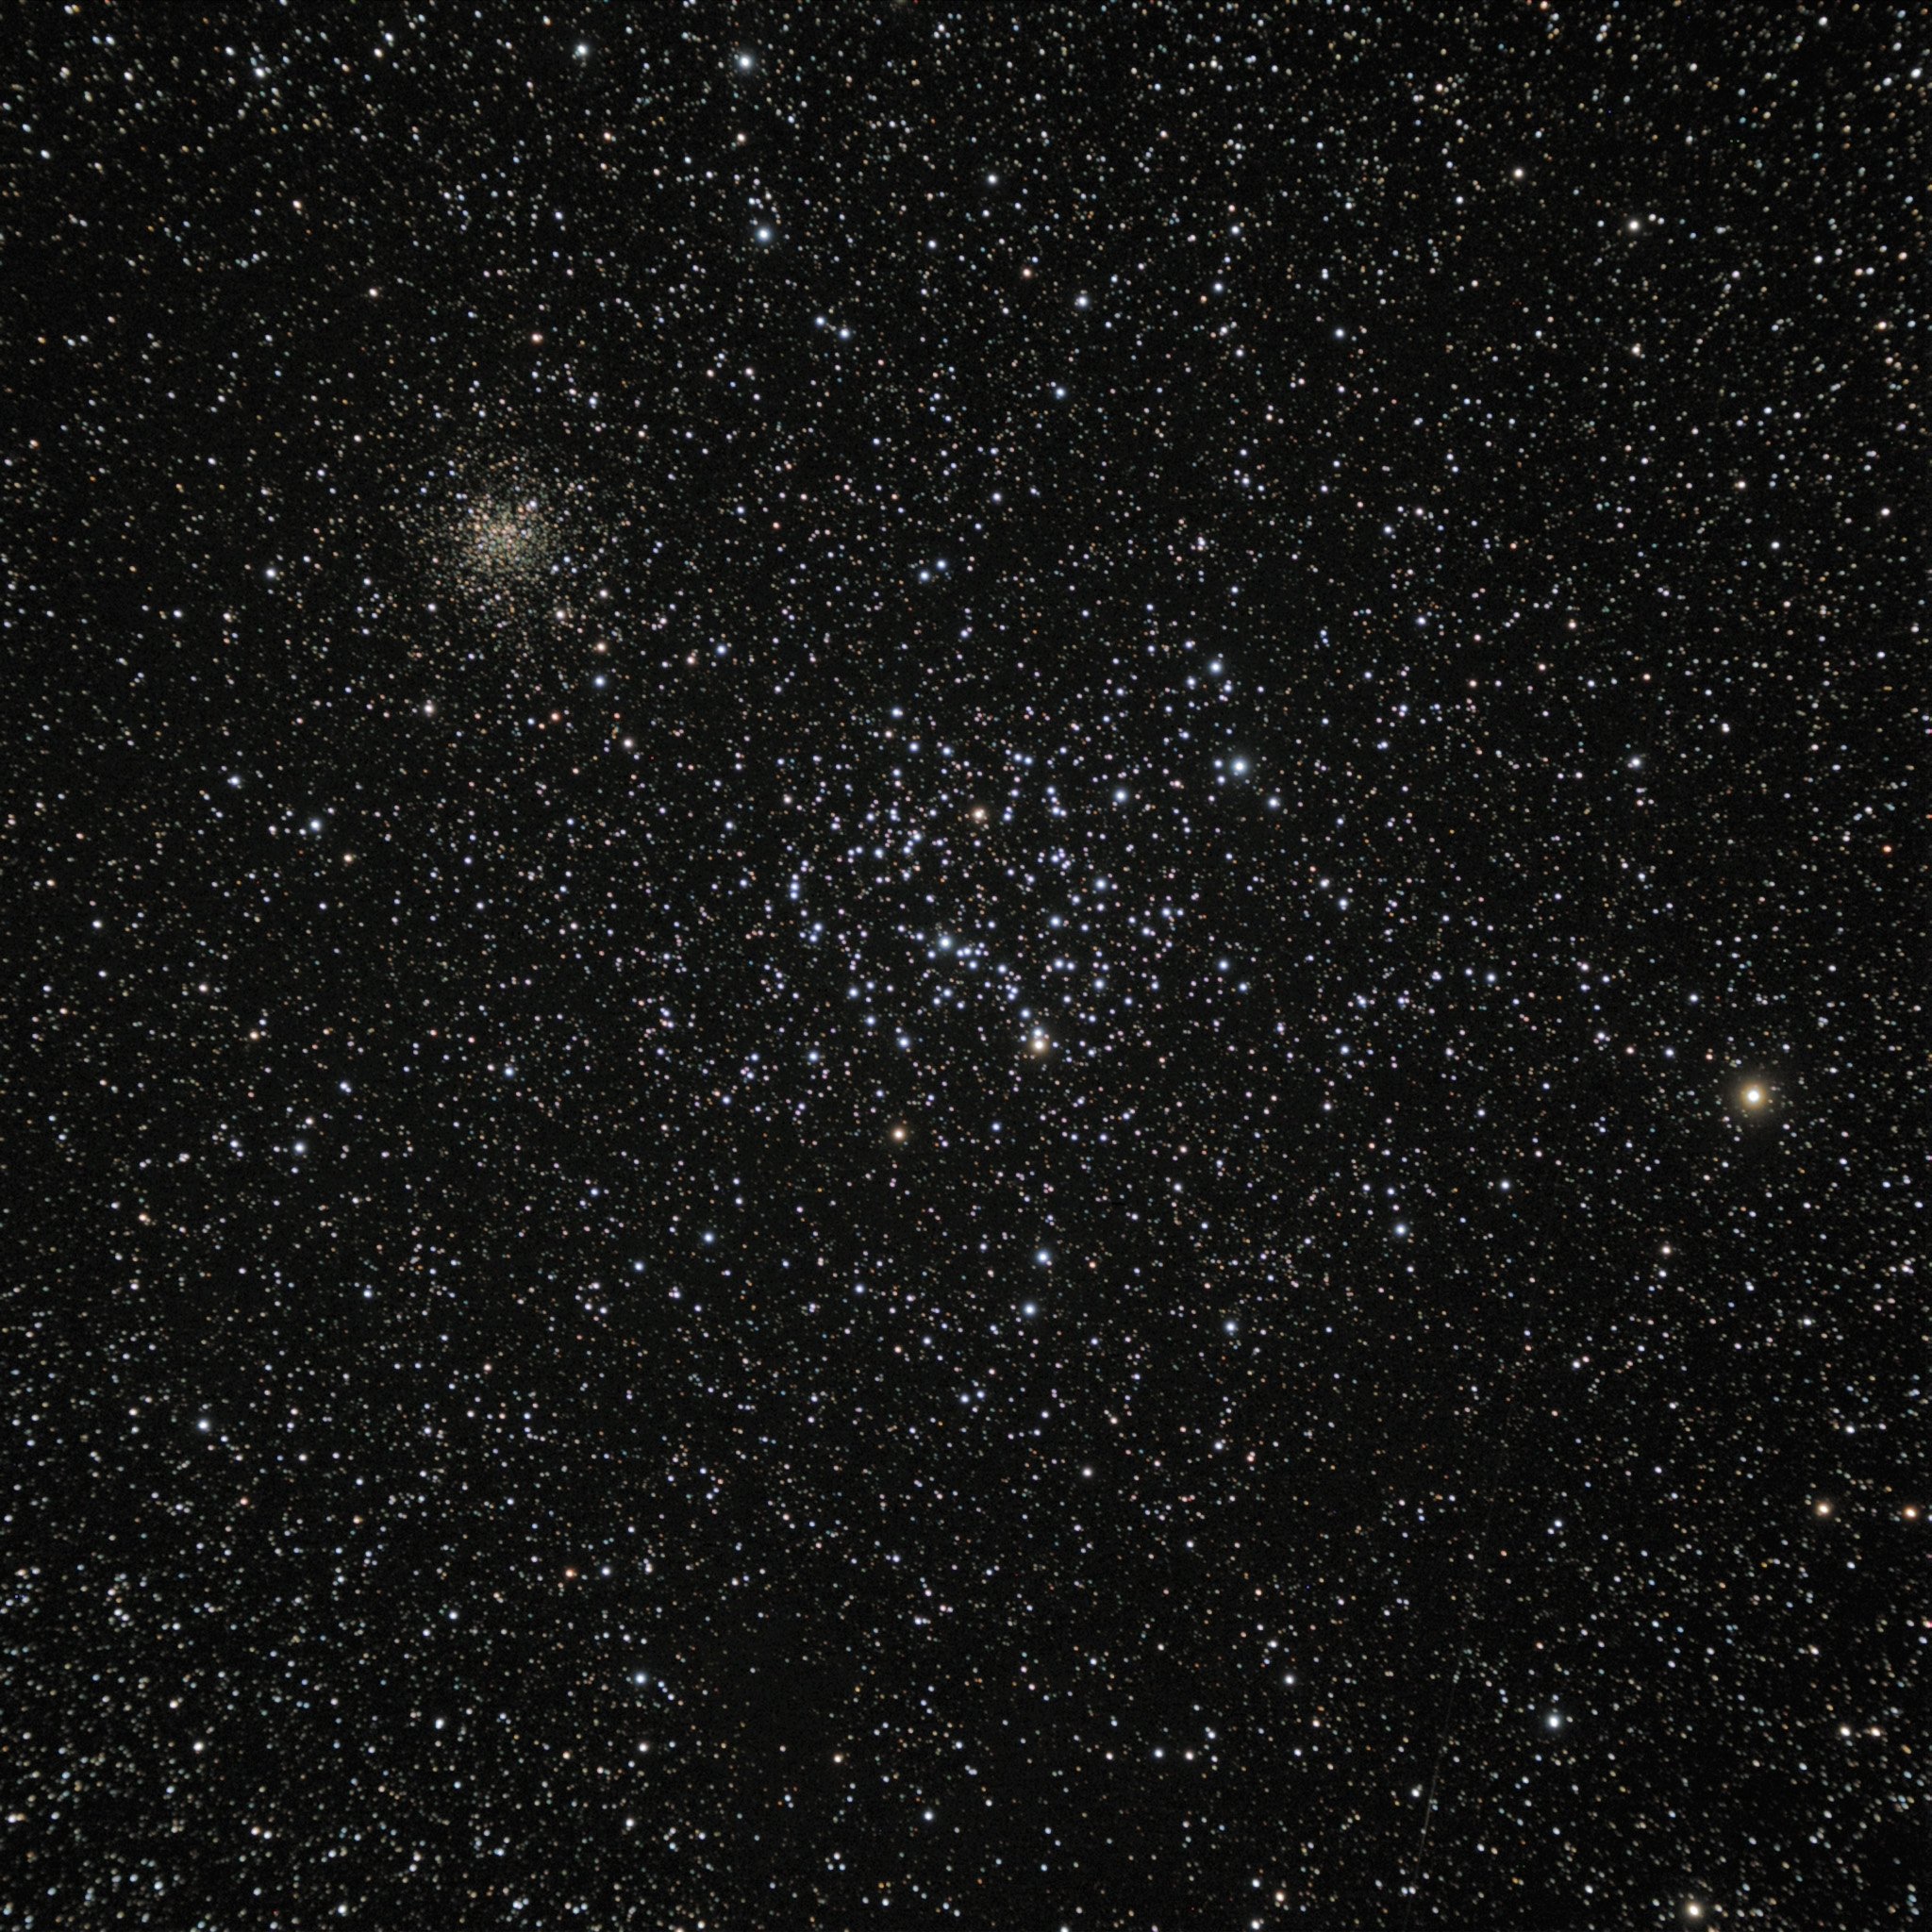
    One of my favorite visual targets is the enormous nearby open cluster M35 in Gemini in the winter Milky Way. Part of its appeal as a visual target is seeing the ten-times more distant open cluster NGC2158 which is about the same actual size as M35. The image didn’t disappoint.

    M35 with NGC2158
    Open cluster M35 in Gemini with distant sister cluster NGC2158. 2×15-minute exposures.

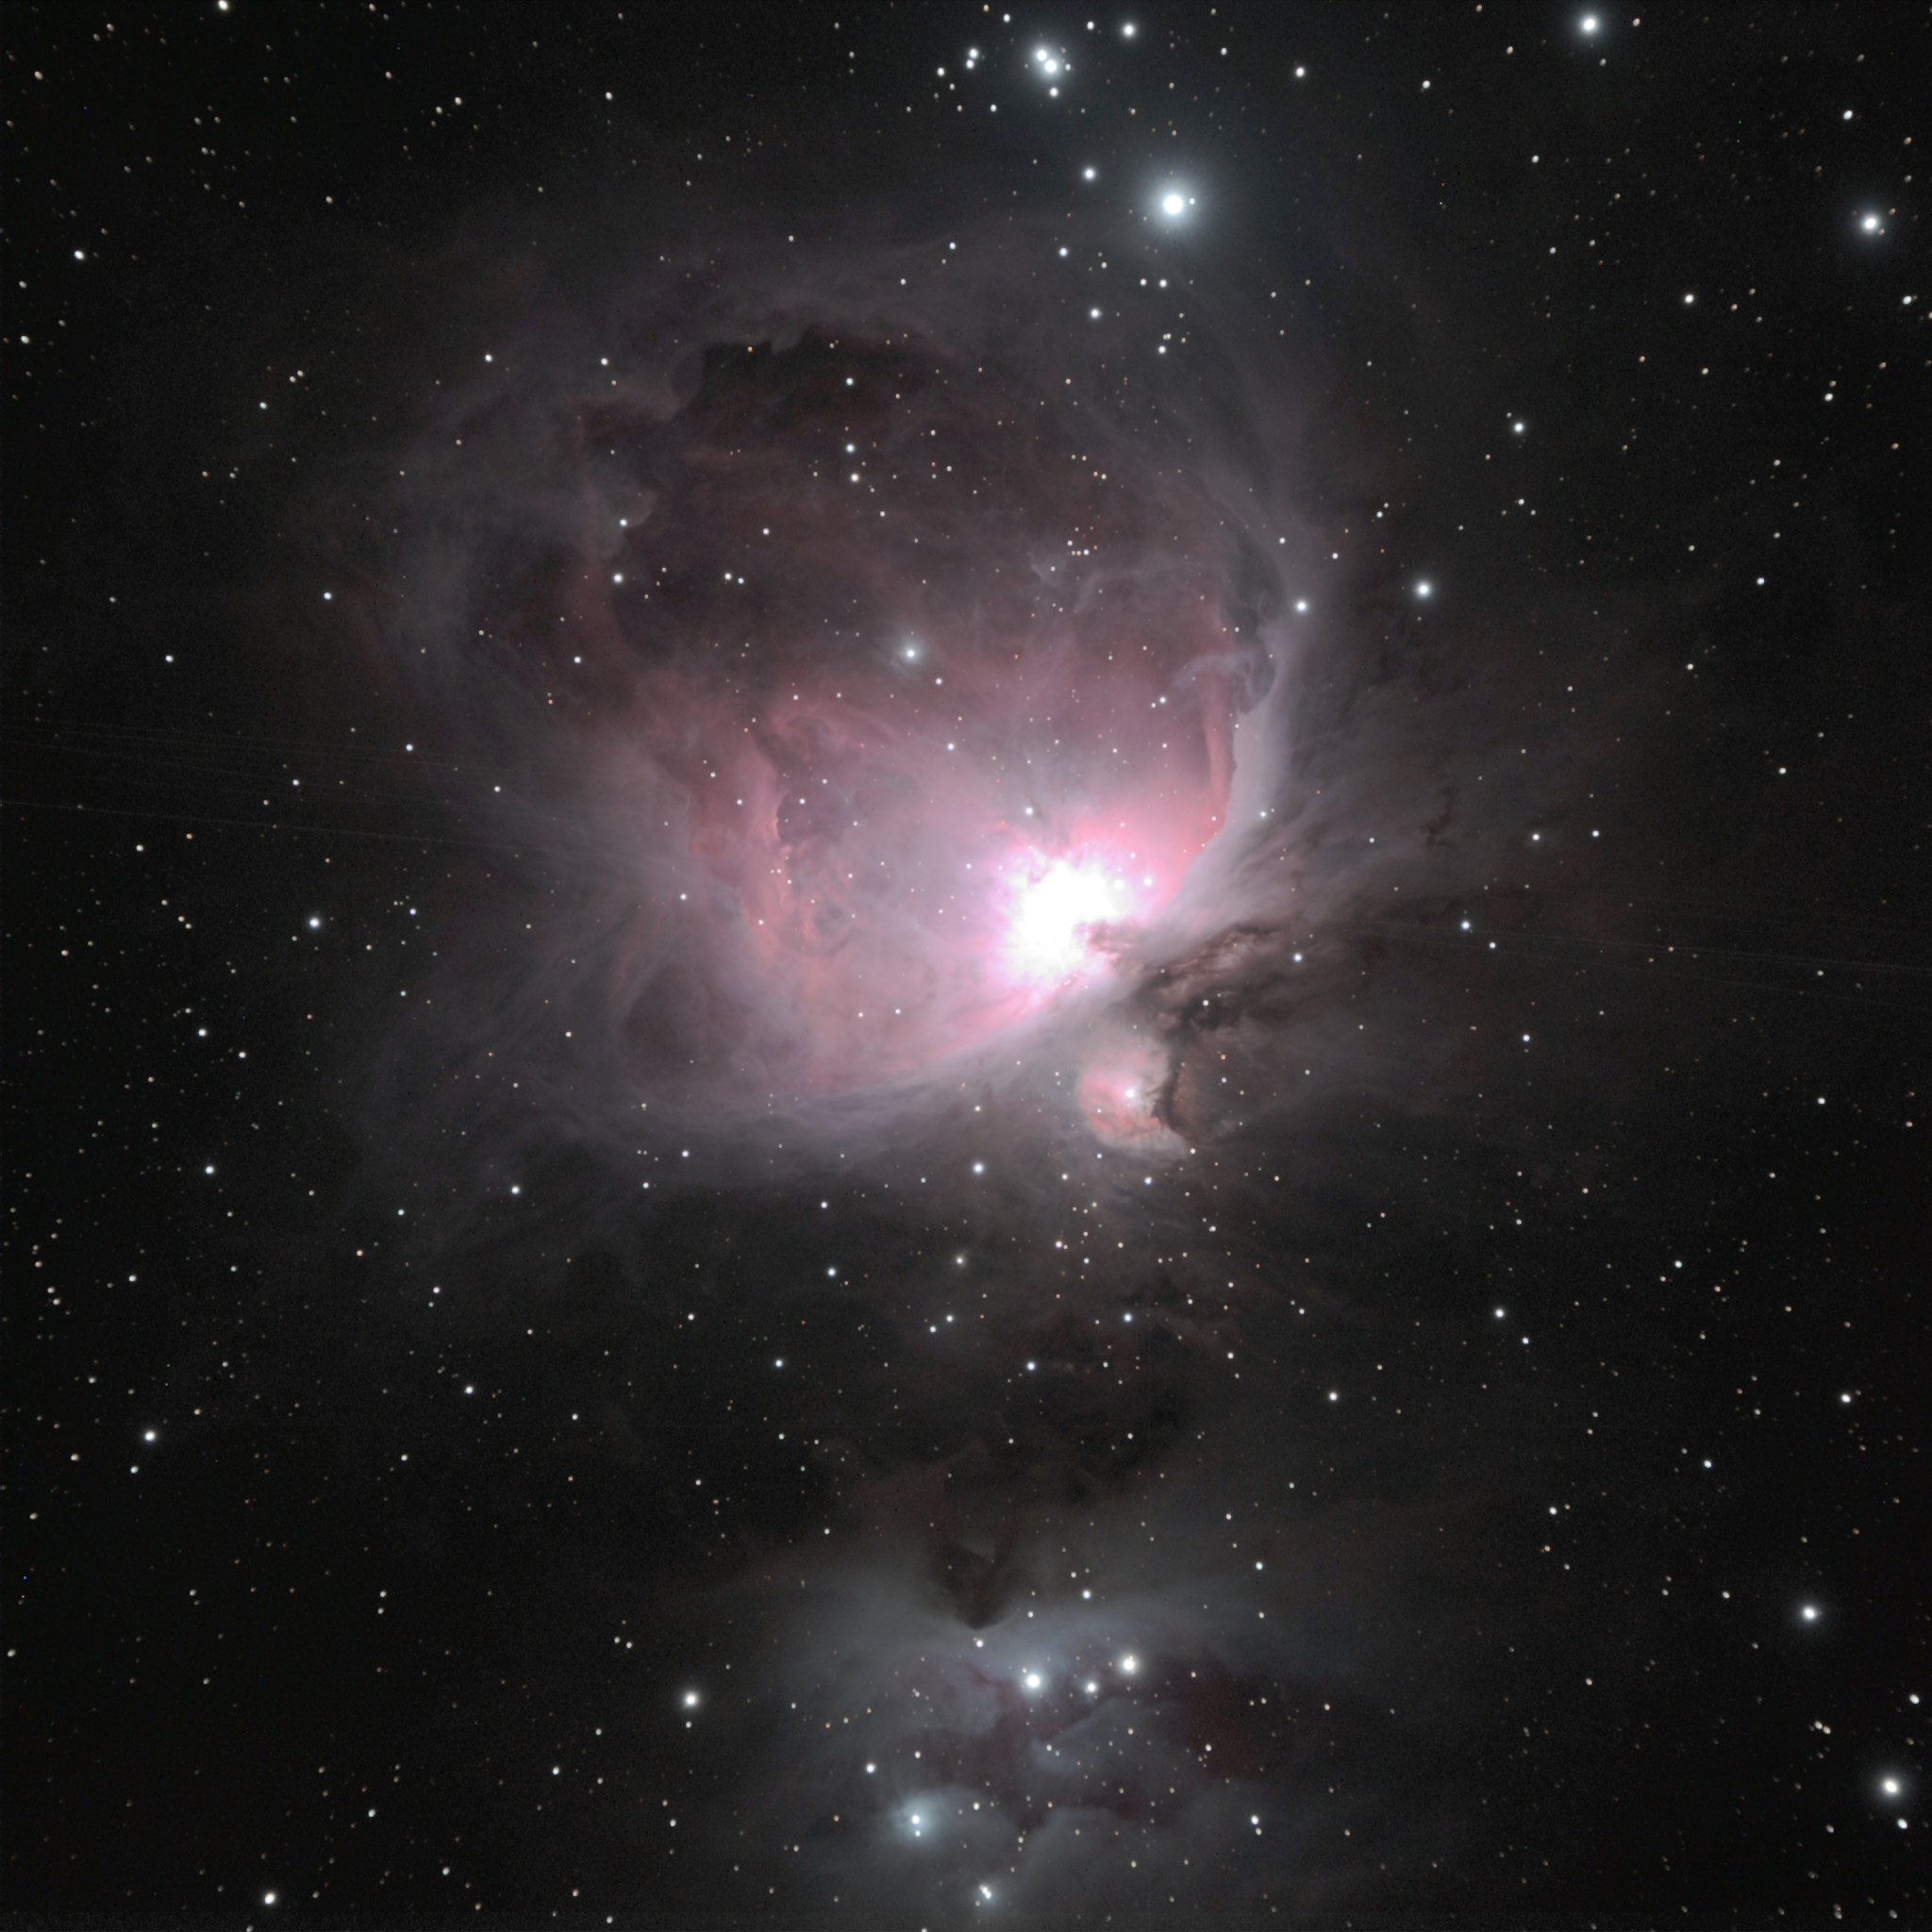
    Finally, even though it’s almost cliché, I had to see what I could do with M42 the great Orion Nebula. It actually turned out to be a delightfully pleasing image. Sure the trapezium area is blown out to white, and maybe I can work out a way to recover that, but it sure is a fun picture. B^)

    M42 the great Orion Nebula
    M42 the great Orion Nebula, 2×15-minute exposures


  • January observing, a Monoceros evening

    Click here for the full photo album with lots more pictures.

    Mt. San Jacinto
    The snow-capped peaks were beautiful from the Foothill Freeway

    It had been several months since our schedule, the weather, and the moon phase all cooperated to give us a chance to get out to our favorite astronomy spot. Jane and I, joined by Dave Hasenauer, ventured out to the Colorado Desert with promises of a chilly evening but mostly clear skies. The snow-capped peaks of San Jacinto and Gorgonio mountains were calling to us from almost our first moment on the road.

    Twilight on Chuckwalla Bench
    Twilight on Chuckwalla Bench

    During our twilight setup, some fellows from Arcadia stopped to check out the equipment. Dave was all set up and ready to show Jupiter if we could find it. While hunting in the twilight glow, we all exclaimed as a flock of probably 100 geese were approaching from the west. The geese turned out to be our guide to Jupiter! They flew right in front of the planet, and gave our eyes a convenient focus target. We all enjoyed the view through Dave’s big dobsonian.

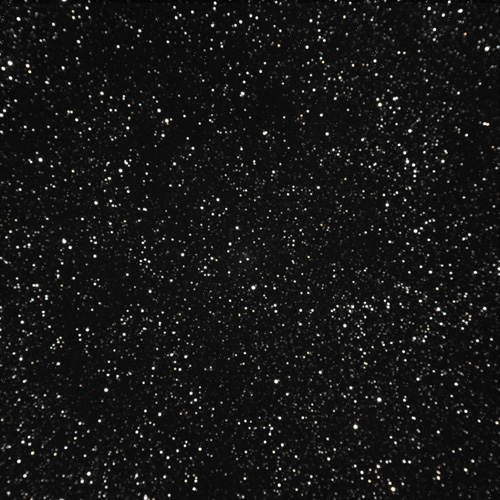
    Jane had plans to attack the faint periodic comet 103P/Hartley, famous for its huge outburst of a year ago. Jane and Dave both claim to have found the glow of the incredibly diffuse comet. I tried for an image of it myself, but was convinced I didn’t have anything. This is my shot, with the comet buried deep in the winter Milky Way in Monoceros.

    Milky Way stars with a faint comet
    Can you find the comet?

    Can you find the comet? Here’s a full-resolution crop of the center of that field. Look right in the middle, and try to ignore that my focus wasn’t especially good for this picture!

    Comet 103P/Hartley
    Look for the faint cotton ball in the center.

    I was delighted that most of my hard-won imaging skills hadn’t been completely lost during the time away from it. I didn’t get a perfect focus for my first couple of shots of the evening, the comet Hartley photo above being one.

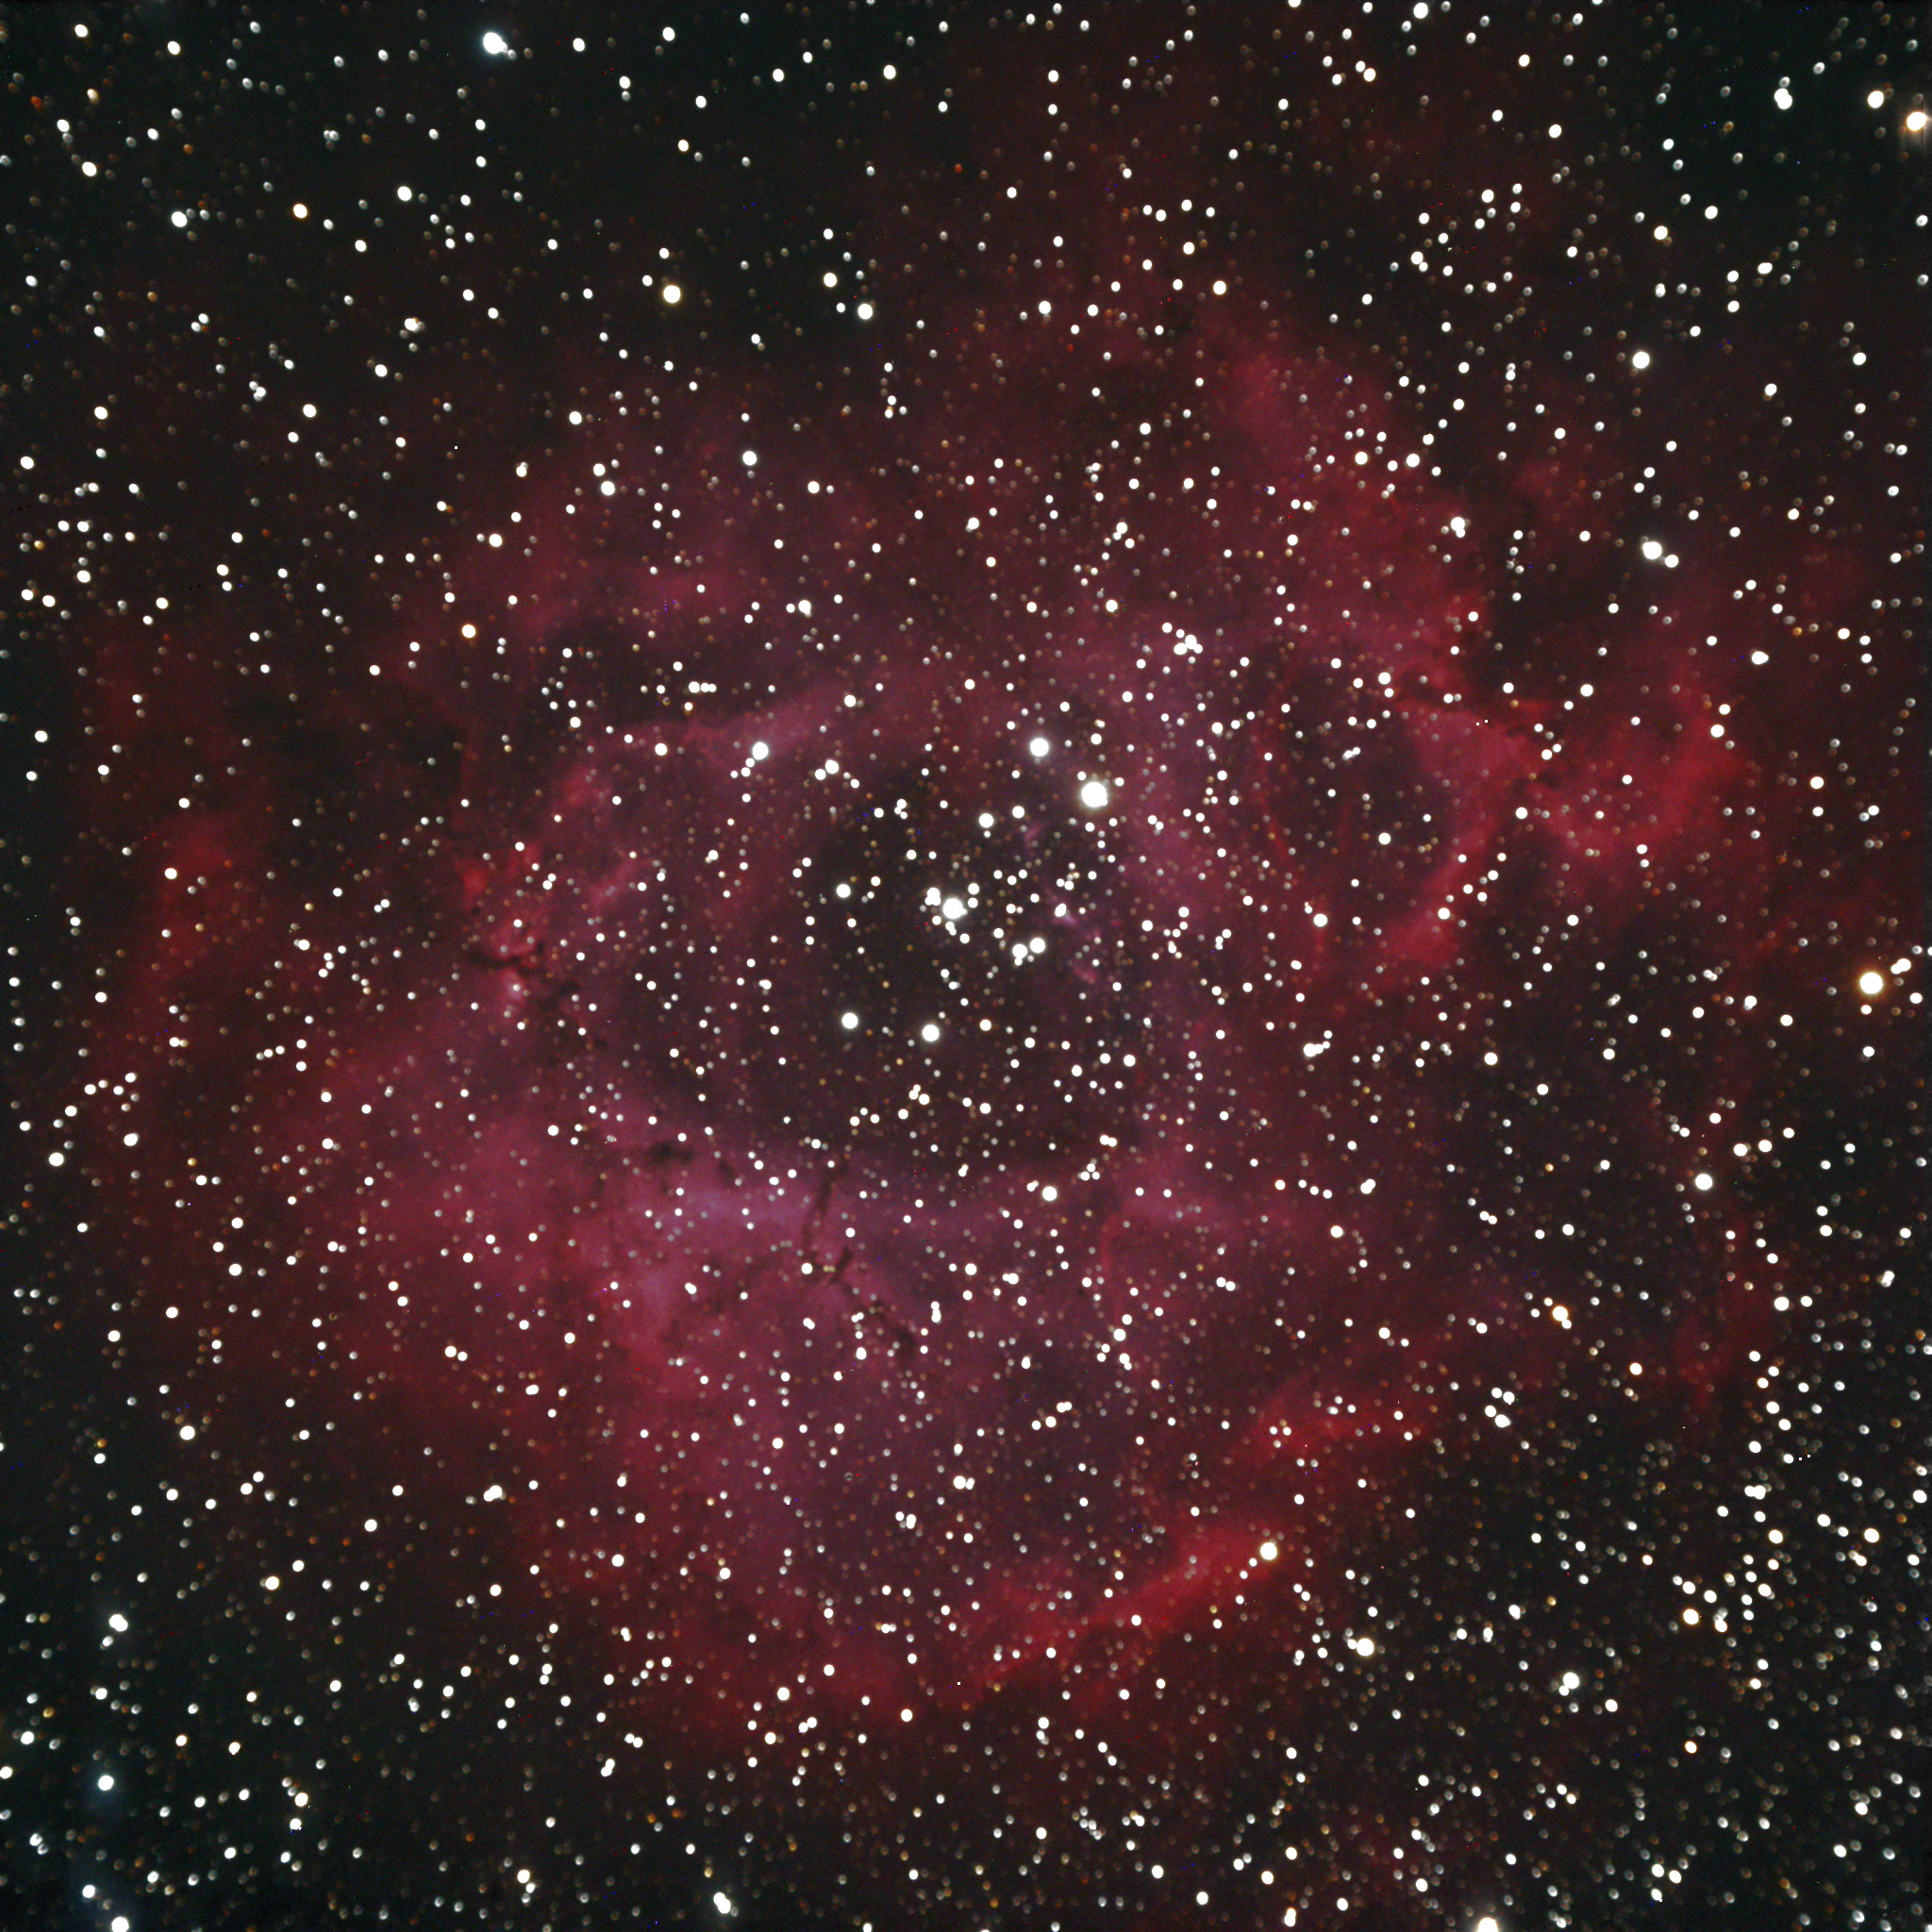
    Even with a less-than-perfect focus, this one of the Rosette Nebula in Monoceros turned out pretty well. This is only 30 minutes of exposure, and it’s pretty clear this object would benefit from a couple hours of exposure time.

    Rosette nebula
    The Rosette Nebula, click for the full frame

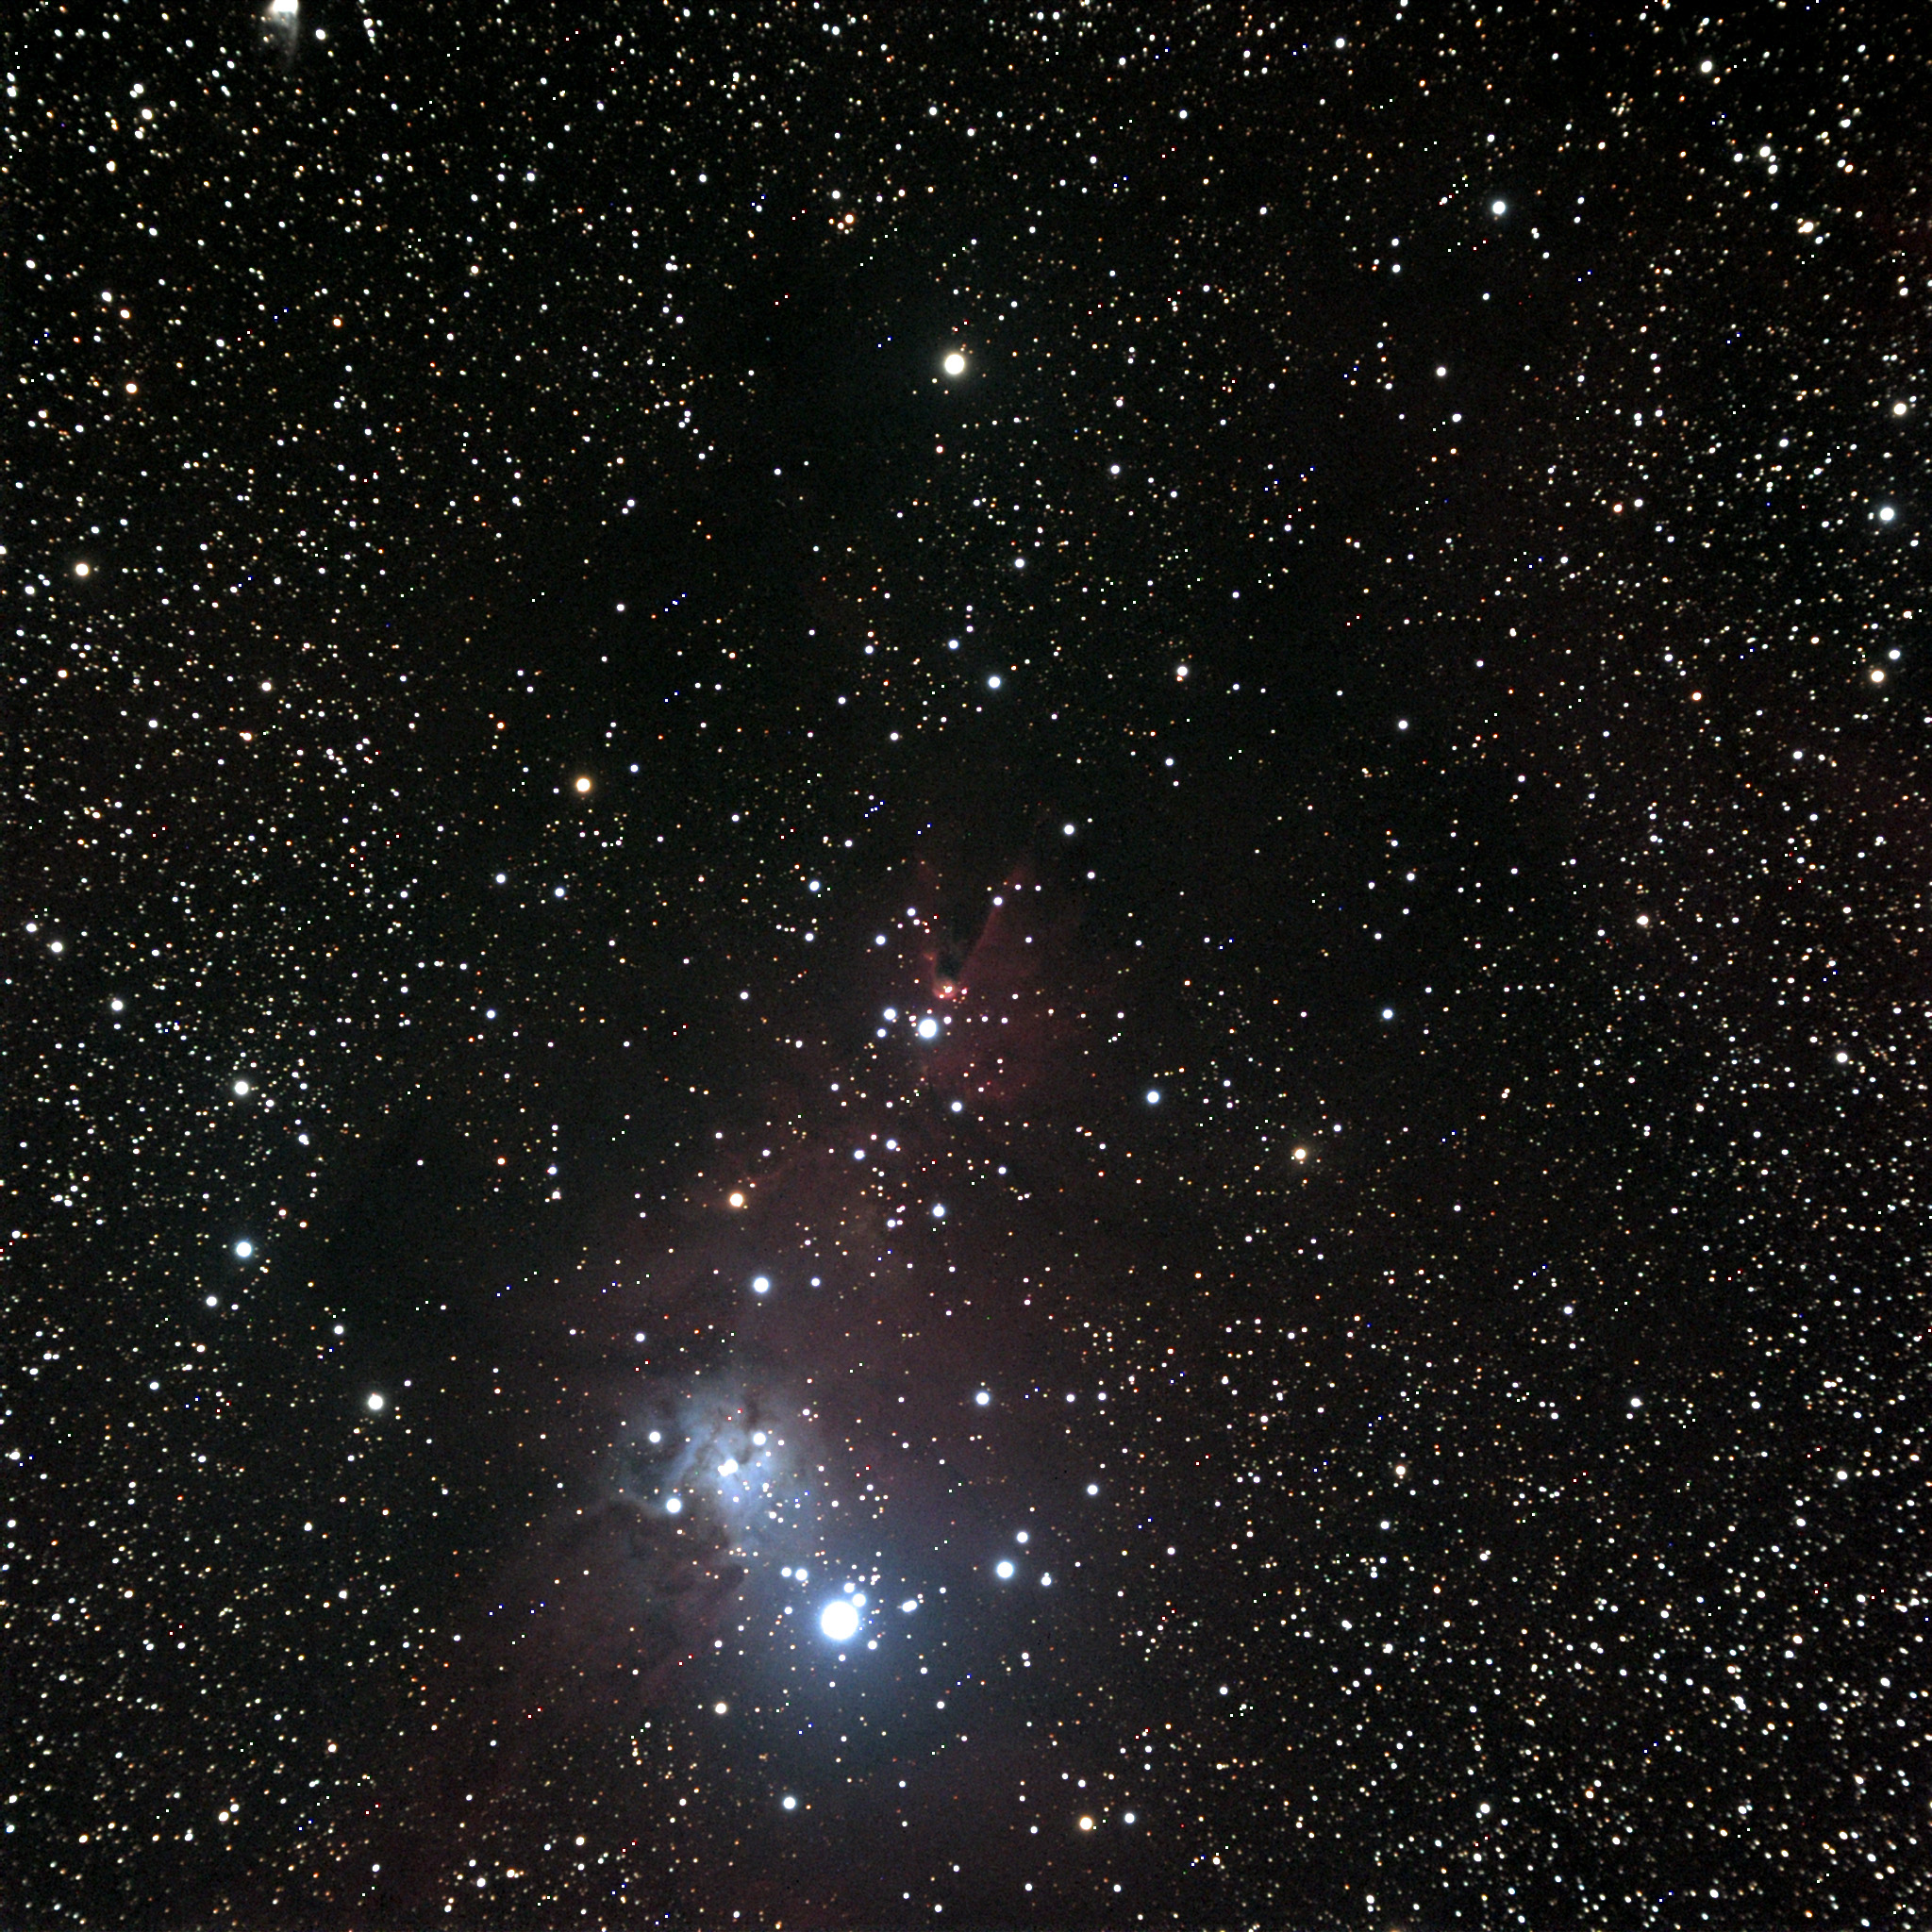
    The Cone nebula is another one that could benefit from a lot more exposure time, but at least by now I’d corrected the focus. I love this beautiful field, with a vast mix of Milky Way stars, emission, reflection, and dark nebulae. The “cone” that gives the nebula its name is near the center of the image. This is also two 15-minute exposures stacked.

    Cone nebula
    The Cone nebula in Monoceros, click for the full resolution image.

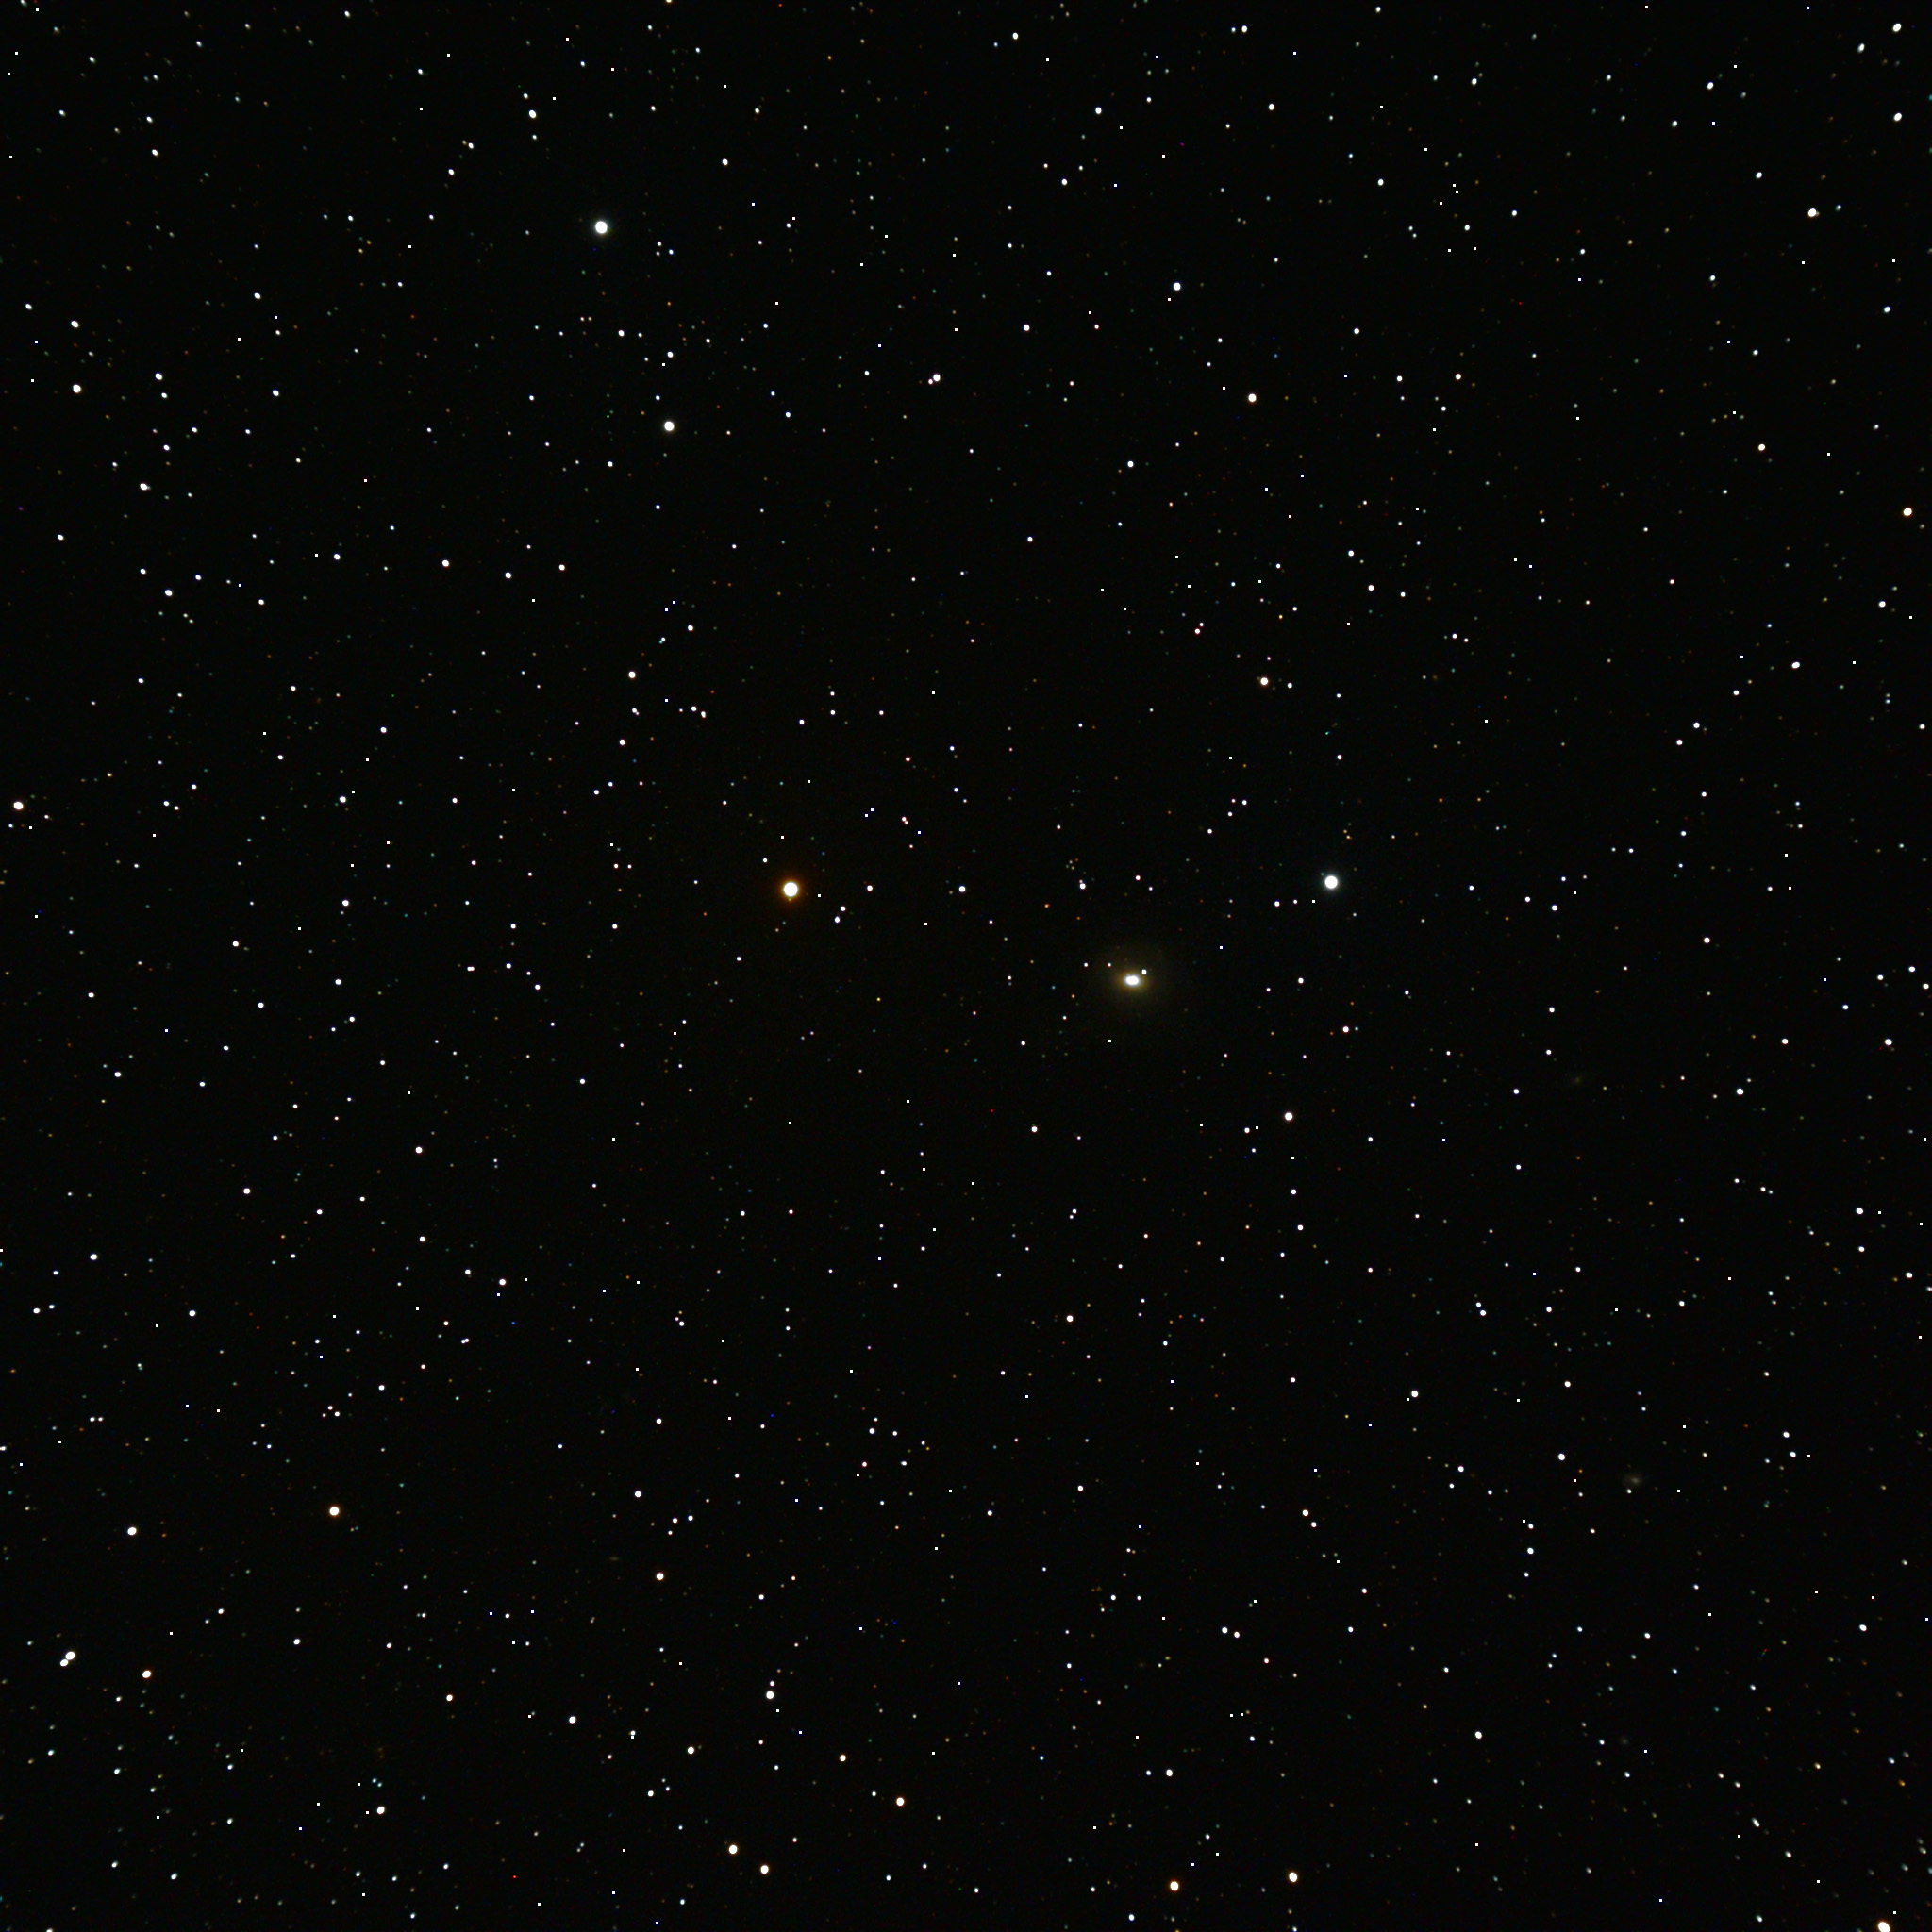
    A bright supernova was discovered just a couple weeks ago in small distant galaxy NGC 2655 in Camelopardalis, very high in the northern sky. Jane and Dave both enjoyed hunting it down, and the nova is bright and easy, itself as bright or brighter than the rest of the galaxy. Of course I had to get an image, here’s my crop of the field with the supernova marked.

    NGC2655 and supernova
    Supernova in NGC 2655, click to see the whole wide field image.

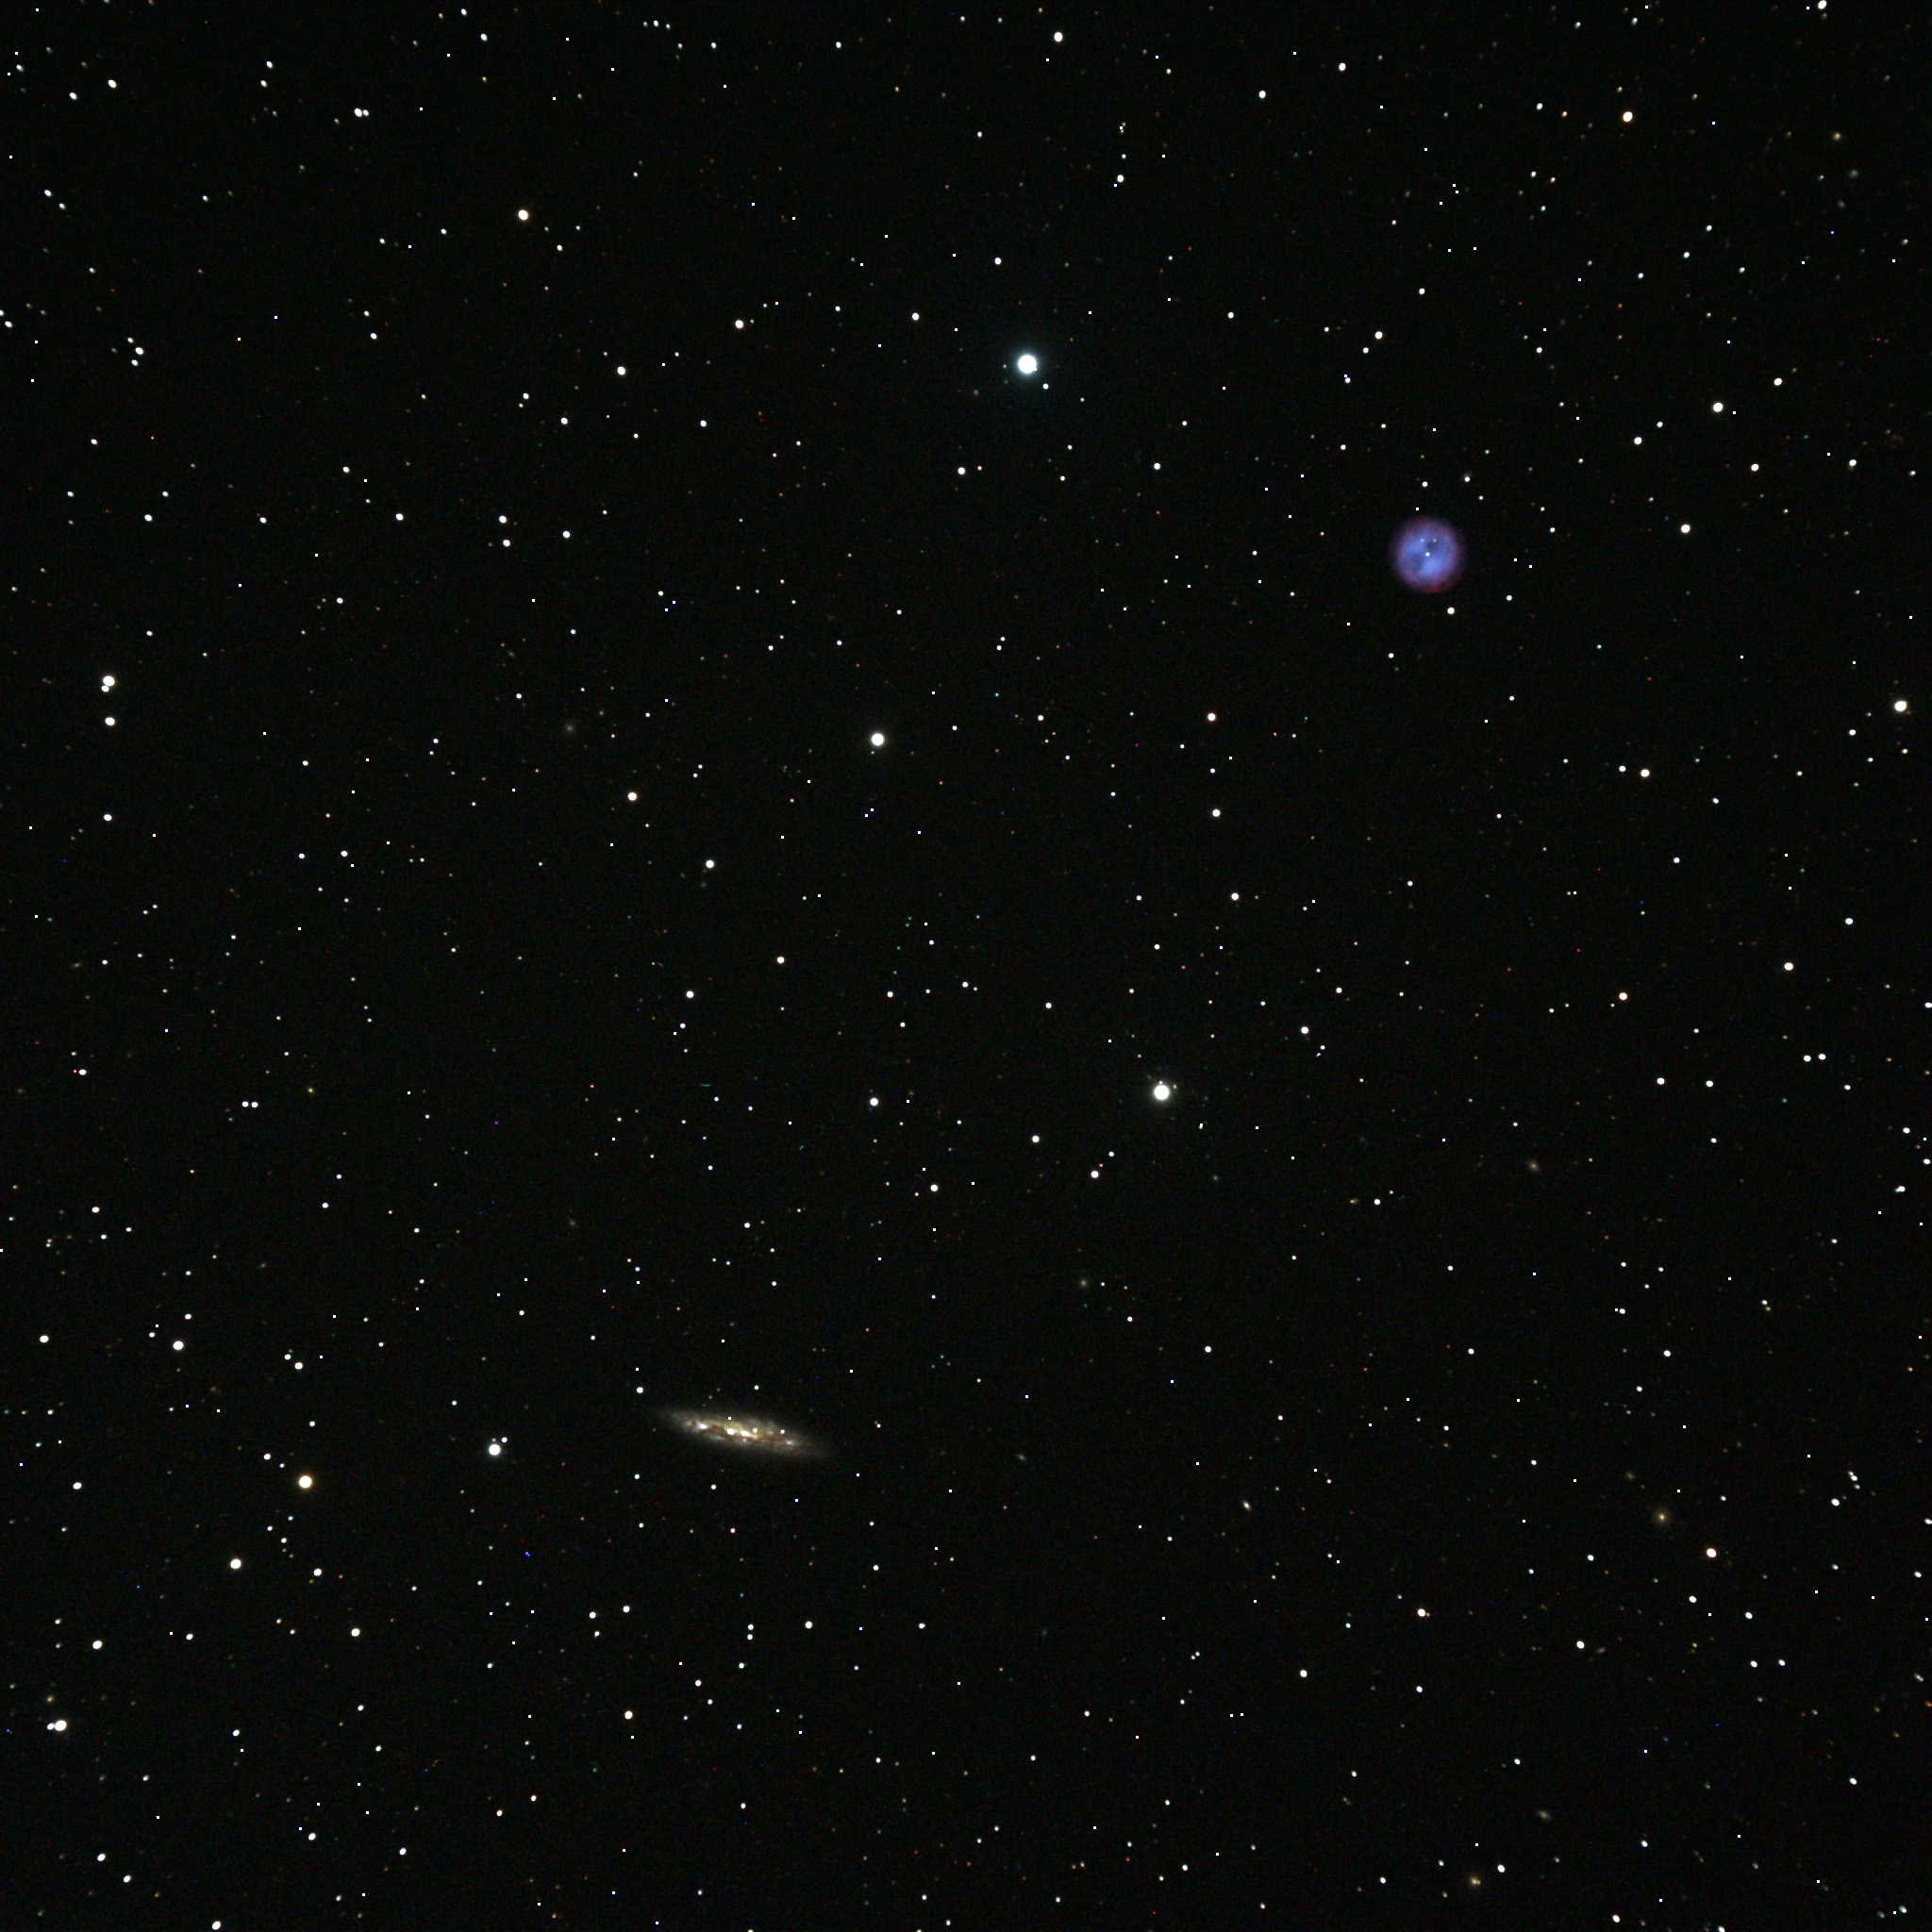
    Finally Jane suggested this great pairing, “The Owl and the Cigar,” she called it, M97 the Owl Nebula paired with galaxy M108 in Ursa Major. I only got one 15-minute exposure of this field, as the clouds were starting to move in, but I loved the colors in the Owl nebula, and the detail in M108. It’s fun to contemplate the difference in their distances, with the Owl being the gasping exhalation of a single star in our galaxy, and M108 being billions of stars in a very distant galaxy.

    M97 and M108
    The Owl and the Cigar, M97 (top) and M108, click for full resolution

    The first half of the night was interrupted several times by loud flights of two or three helicopters passing nearby. We speculate that they may have been in service to the border patrol, using infrared or intensified imaging. Our little site must have been interesting to see from their vantage point.

    Pre-dawn Chuckwalla Mountain with the moon and Venus
    Pre-dawn Chuckwalla Mountain with the moon and Venus

    By the time the sky show was interrupted by clouds, we all were tired and cold and felt like we’d had a full evening. Amazingly it was only 11:00 p.m.! We all tucked ourselves into warm sleeping bags to catch a few hours of sleep. Meanwhile the sky cleared again for spectacular pre-dawn show of the moon and Venus. We all got up to enjoy the old crescent moon, Saturn, and watch for Mercury to rise over Chuckwalla mountain.

    With the local star finally clearing the horizon, we packed and headed off to breakfast at Chiriaco Summit. By the time Jane and I arrived back home in Monrovia, it was raining!

    P.S.: In the photo album linked here, I included some detail photos of my astrophotography equipment, with captions, for the benefit of some friends who’ve wondered how these things happen.