Mojo's blog banner

Author: mojo

  • Observing report, dark desert June skies

    Old Town Sidewalk Astronomers
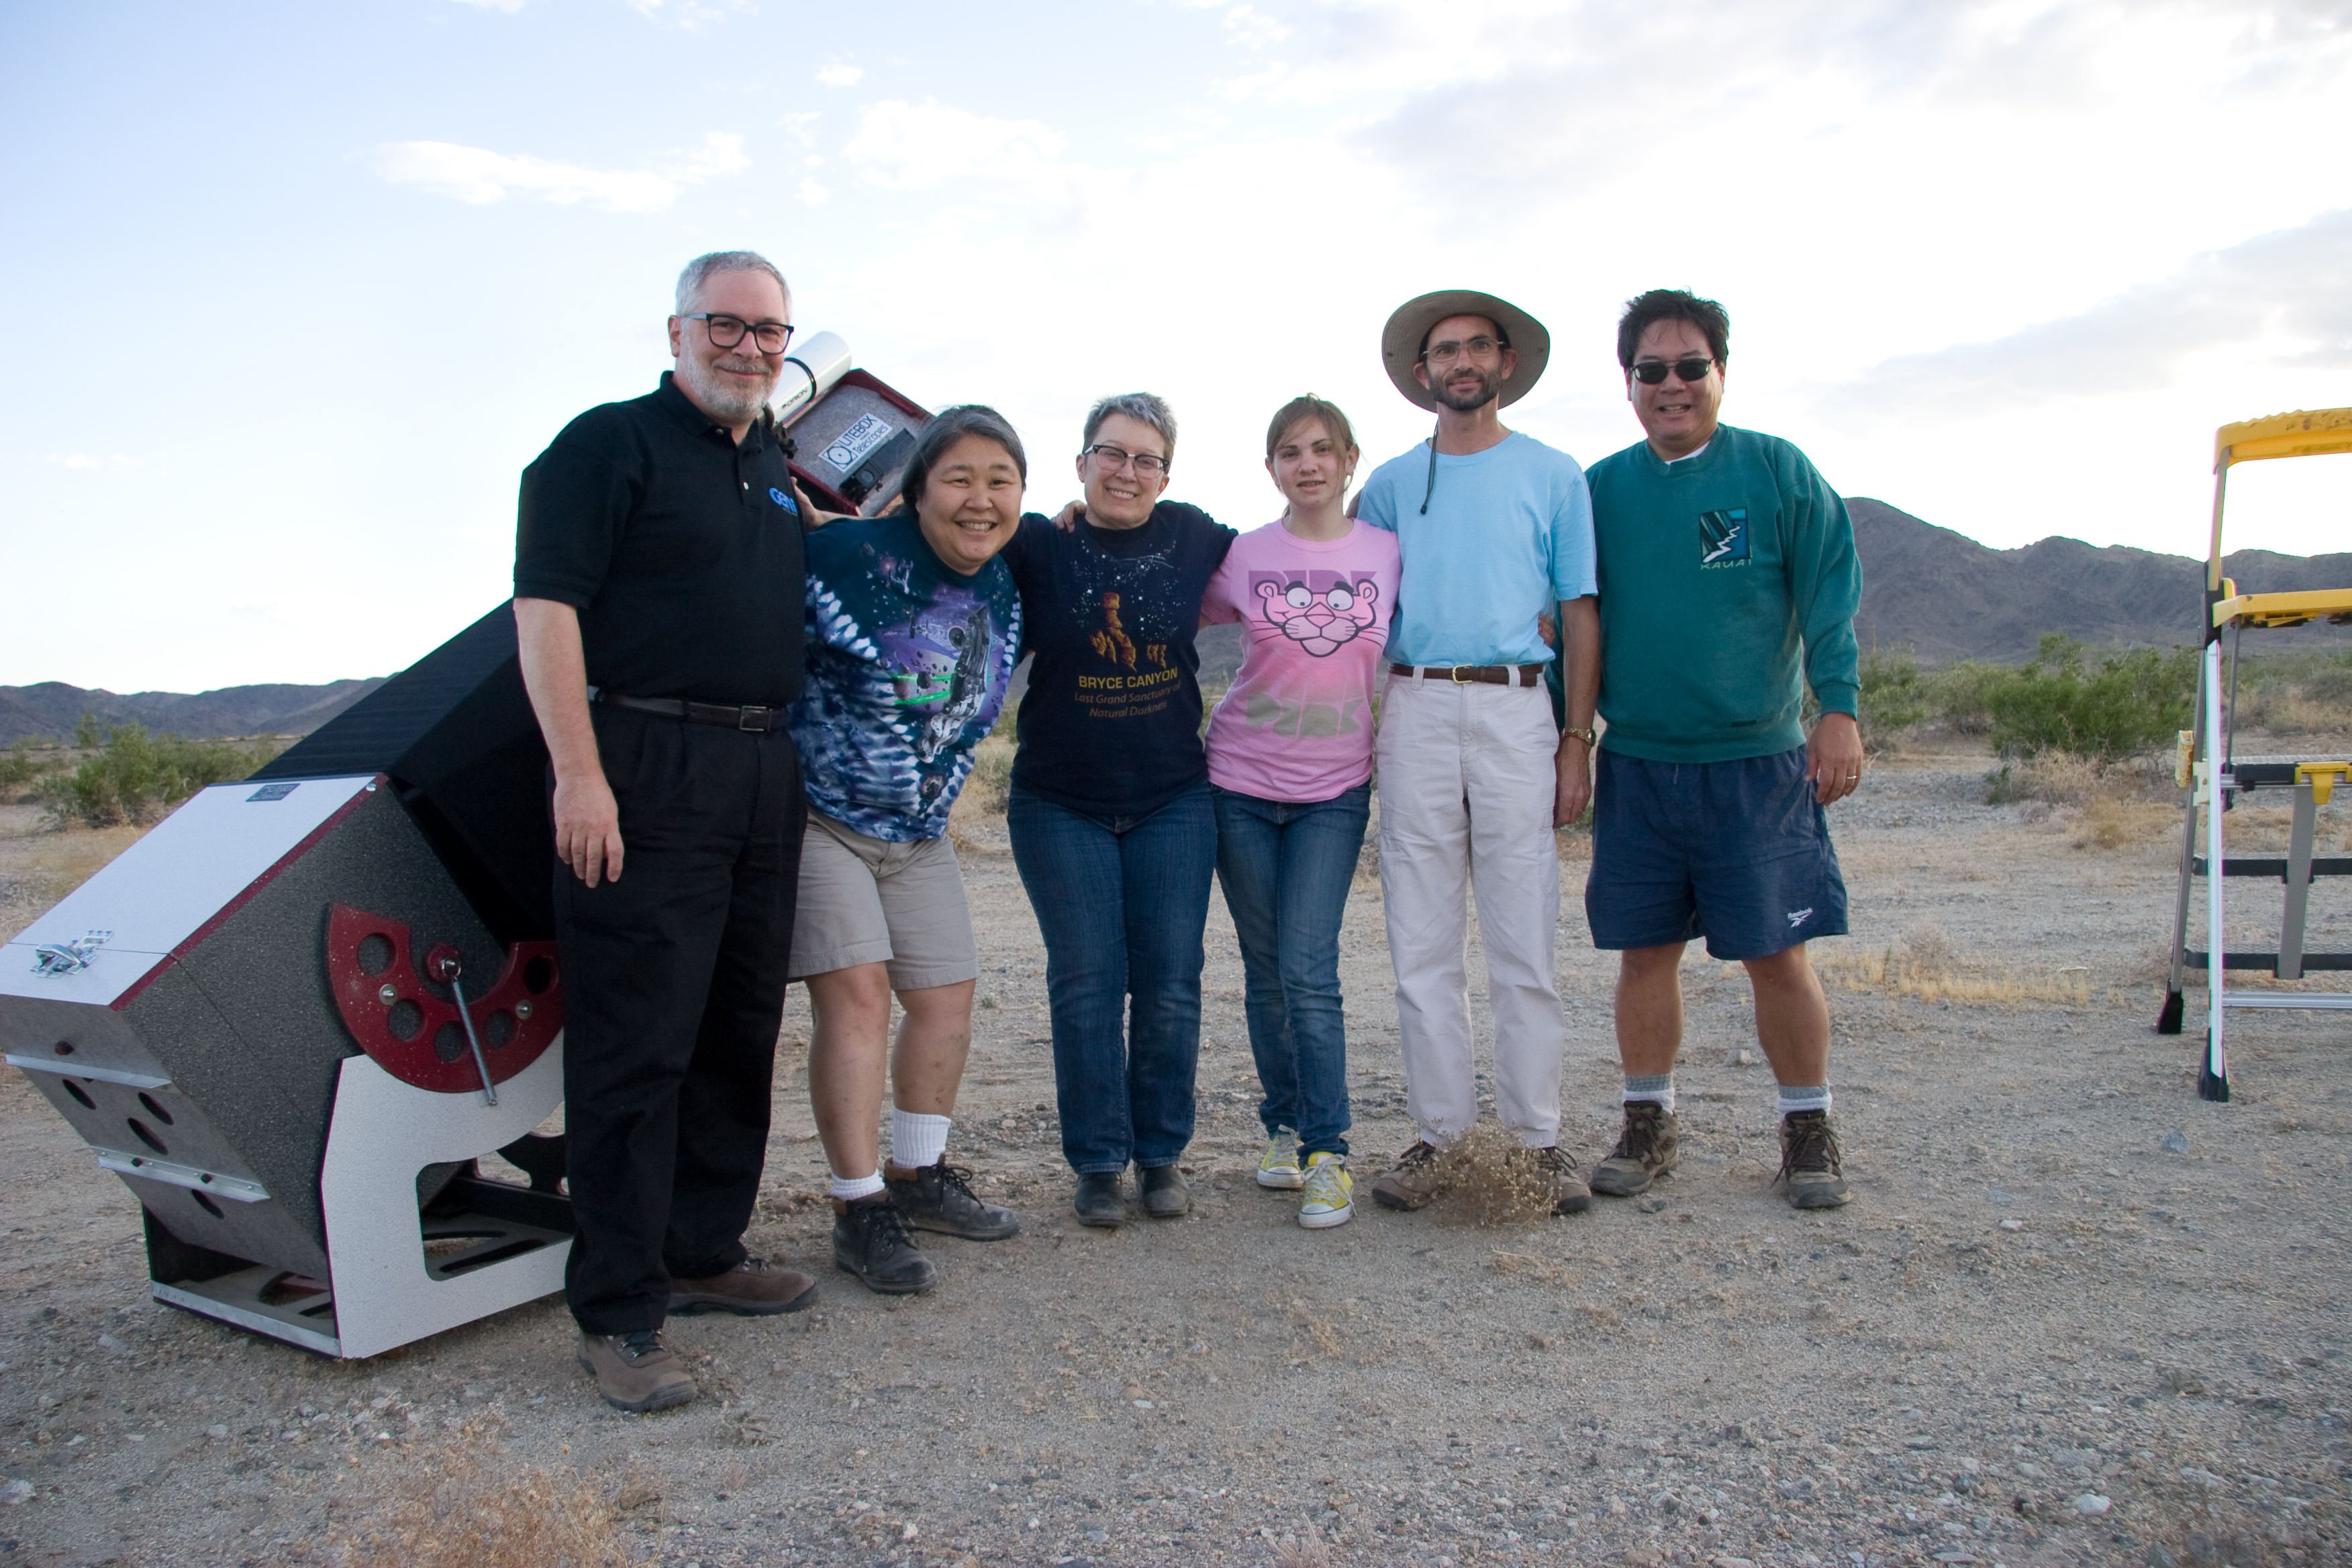
    Mojo, Caroline, Jane, Catherine, Gary, and Todd

    Update: Jane wound up using most of my astrophotos below in her July NASA What’s Up podcast. Check it out!

    The forecast was for a very temperate desert evening, so six of the Old Town Sidewalk Astronomers headed off to the Colorado Desert to play outside all night. Seeing was forecast poor, but actual conditions seemed much better.

    Jane packed her 17.5-inch dob, and I loaded the Astro-Physics Traveler 102mm f/6 refractor to do some astrophotography. The highlight of the evening promised to be comet McNaught 2009R1, but it wouldn’t be available until the pre-dawn hours. That left me with late spring galaxies and summer Milky Way targets. (Jane also had a great target which she’ll be writing about!)

    I tried the M84-M86 region of Virgo last month with the AP180, but the field of view was too narrow. I knew it’d be a good warm-up for tonight. The grey scale version looks better to me than the color rendition.
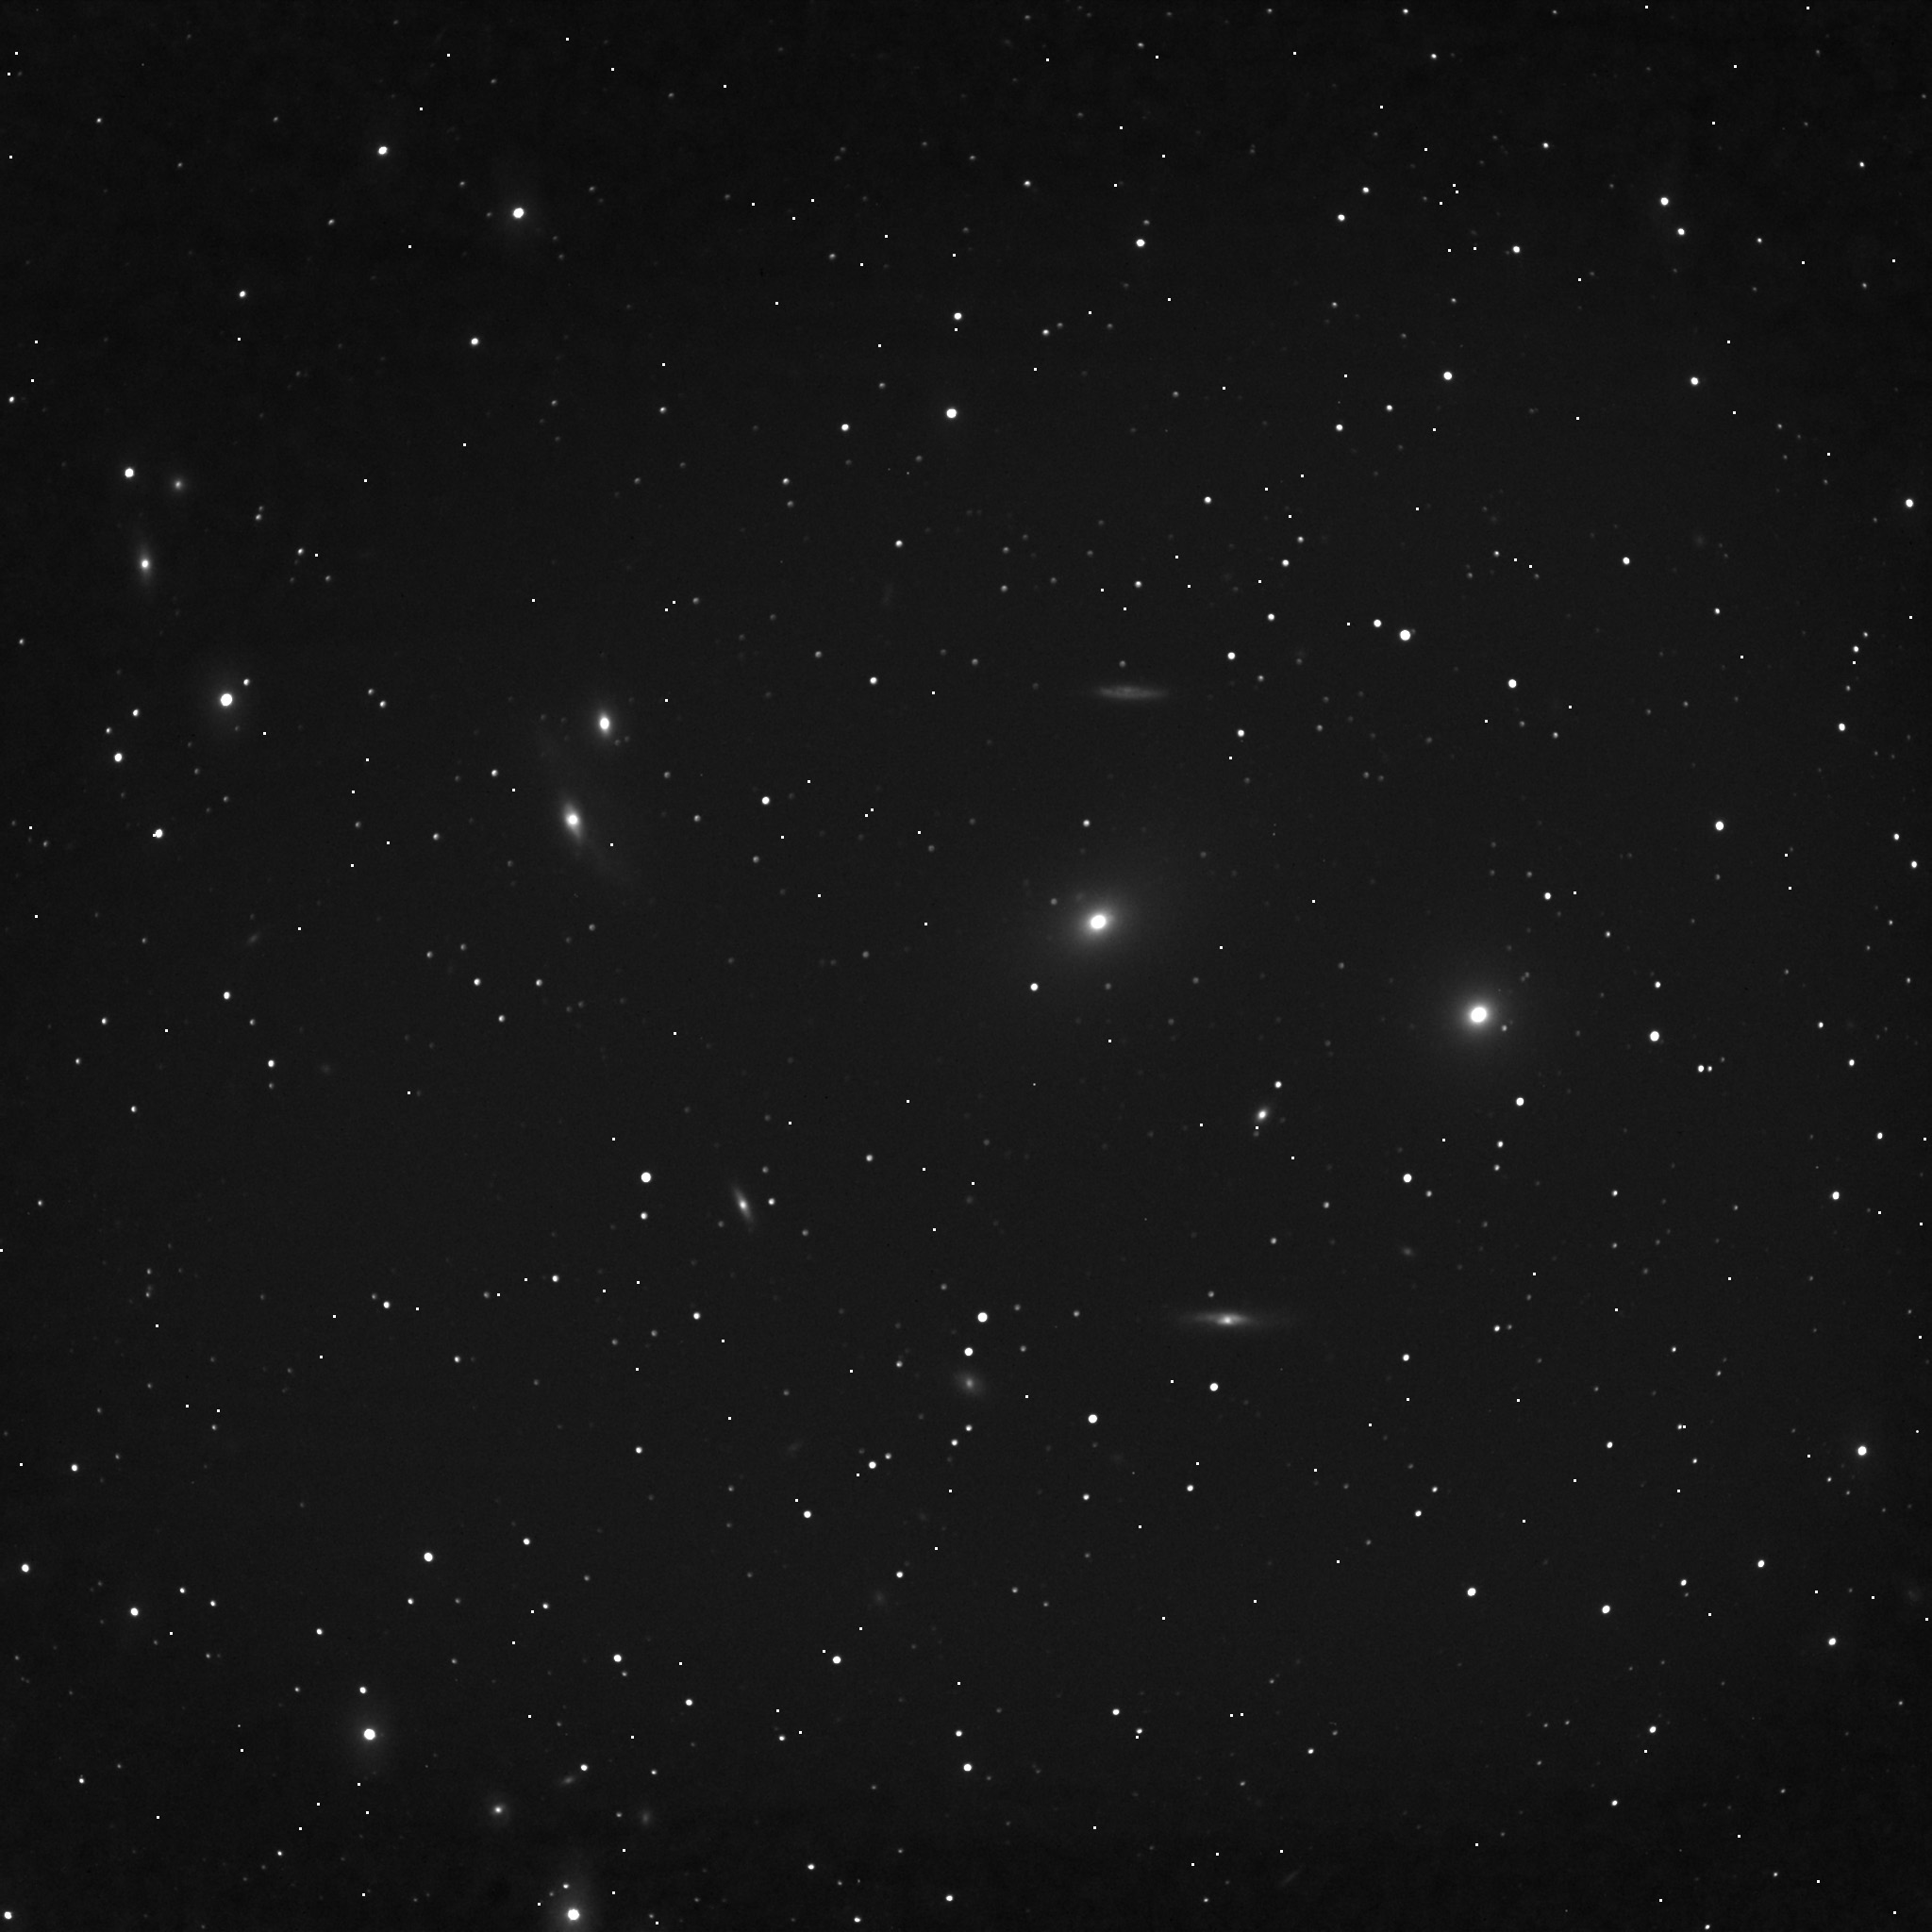
    M84-M86 region in Virgo, "the Nine Gals"

    Jane and I both love piggyback pictures, taken at “naked eye” scale. This is one of “the teapot” and the Sagittarius Milky Way. The full-size image isn’t bad, but it looks better scaled back a bit. Click for the really big version. It’s fun looking through all the dark nebulae and bright clusters.
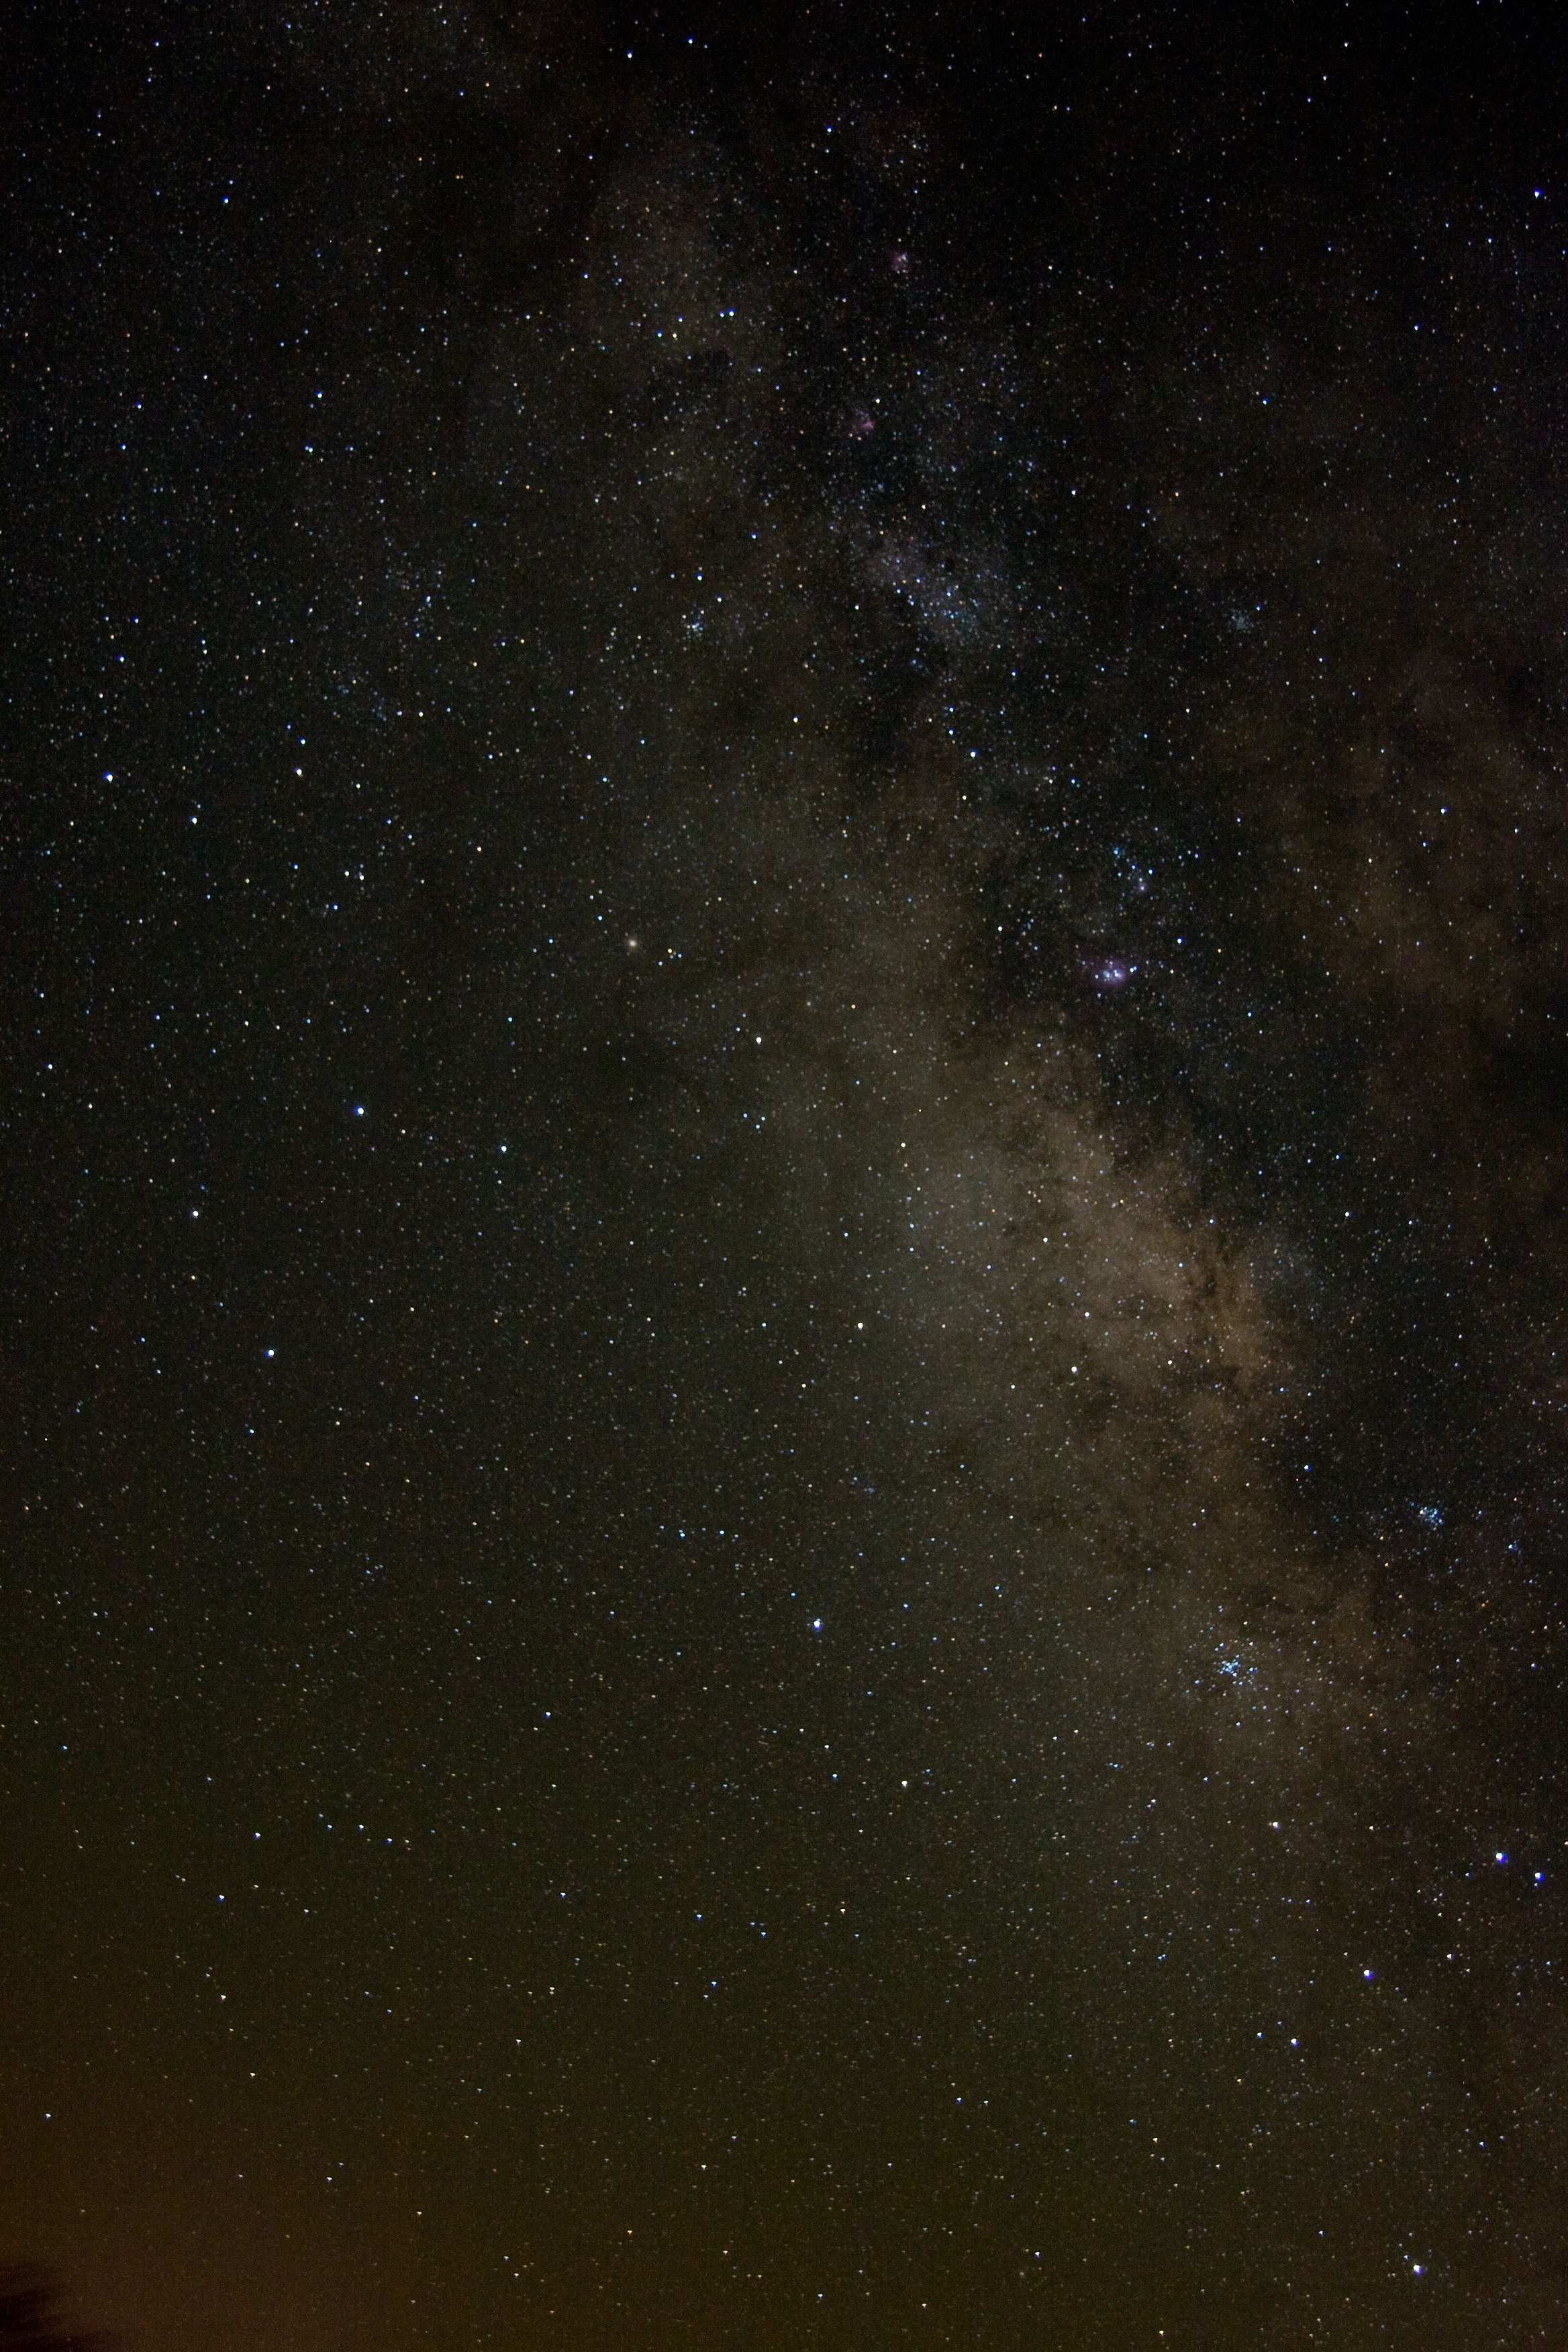
    Sagittarius Milky Way
    Looking towards the center of our galaxy.

    Deep in the Milky Way just above the spout of the teapot is Barnard’s famous “Ink Spot” dark nebula, B86.
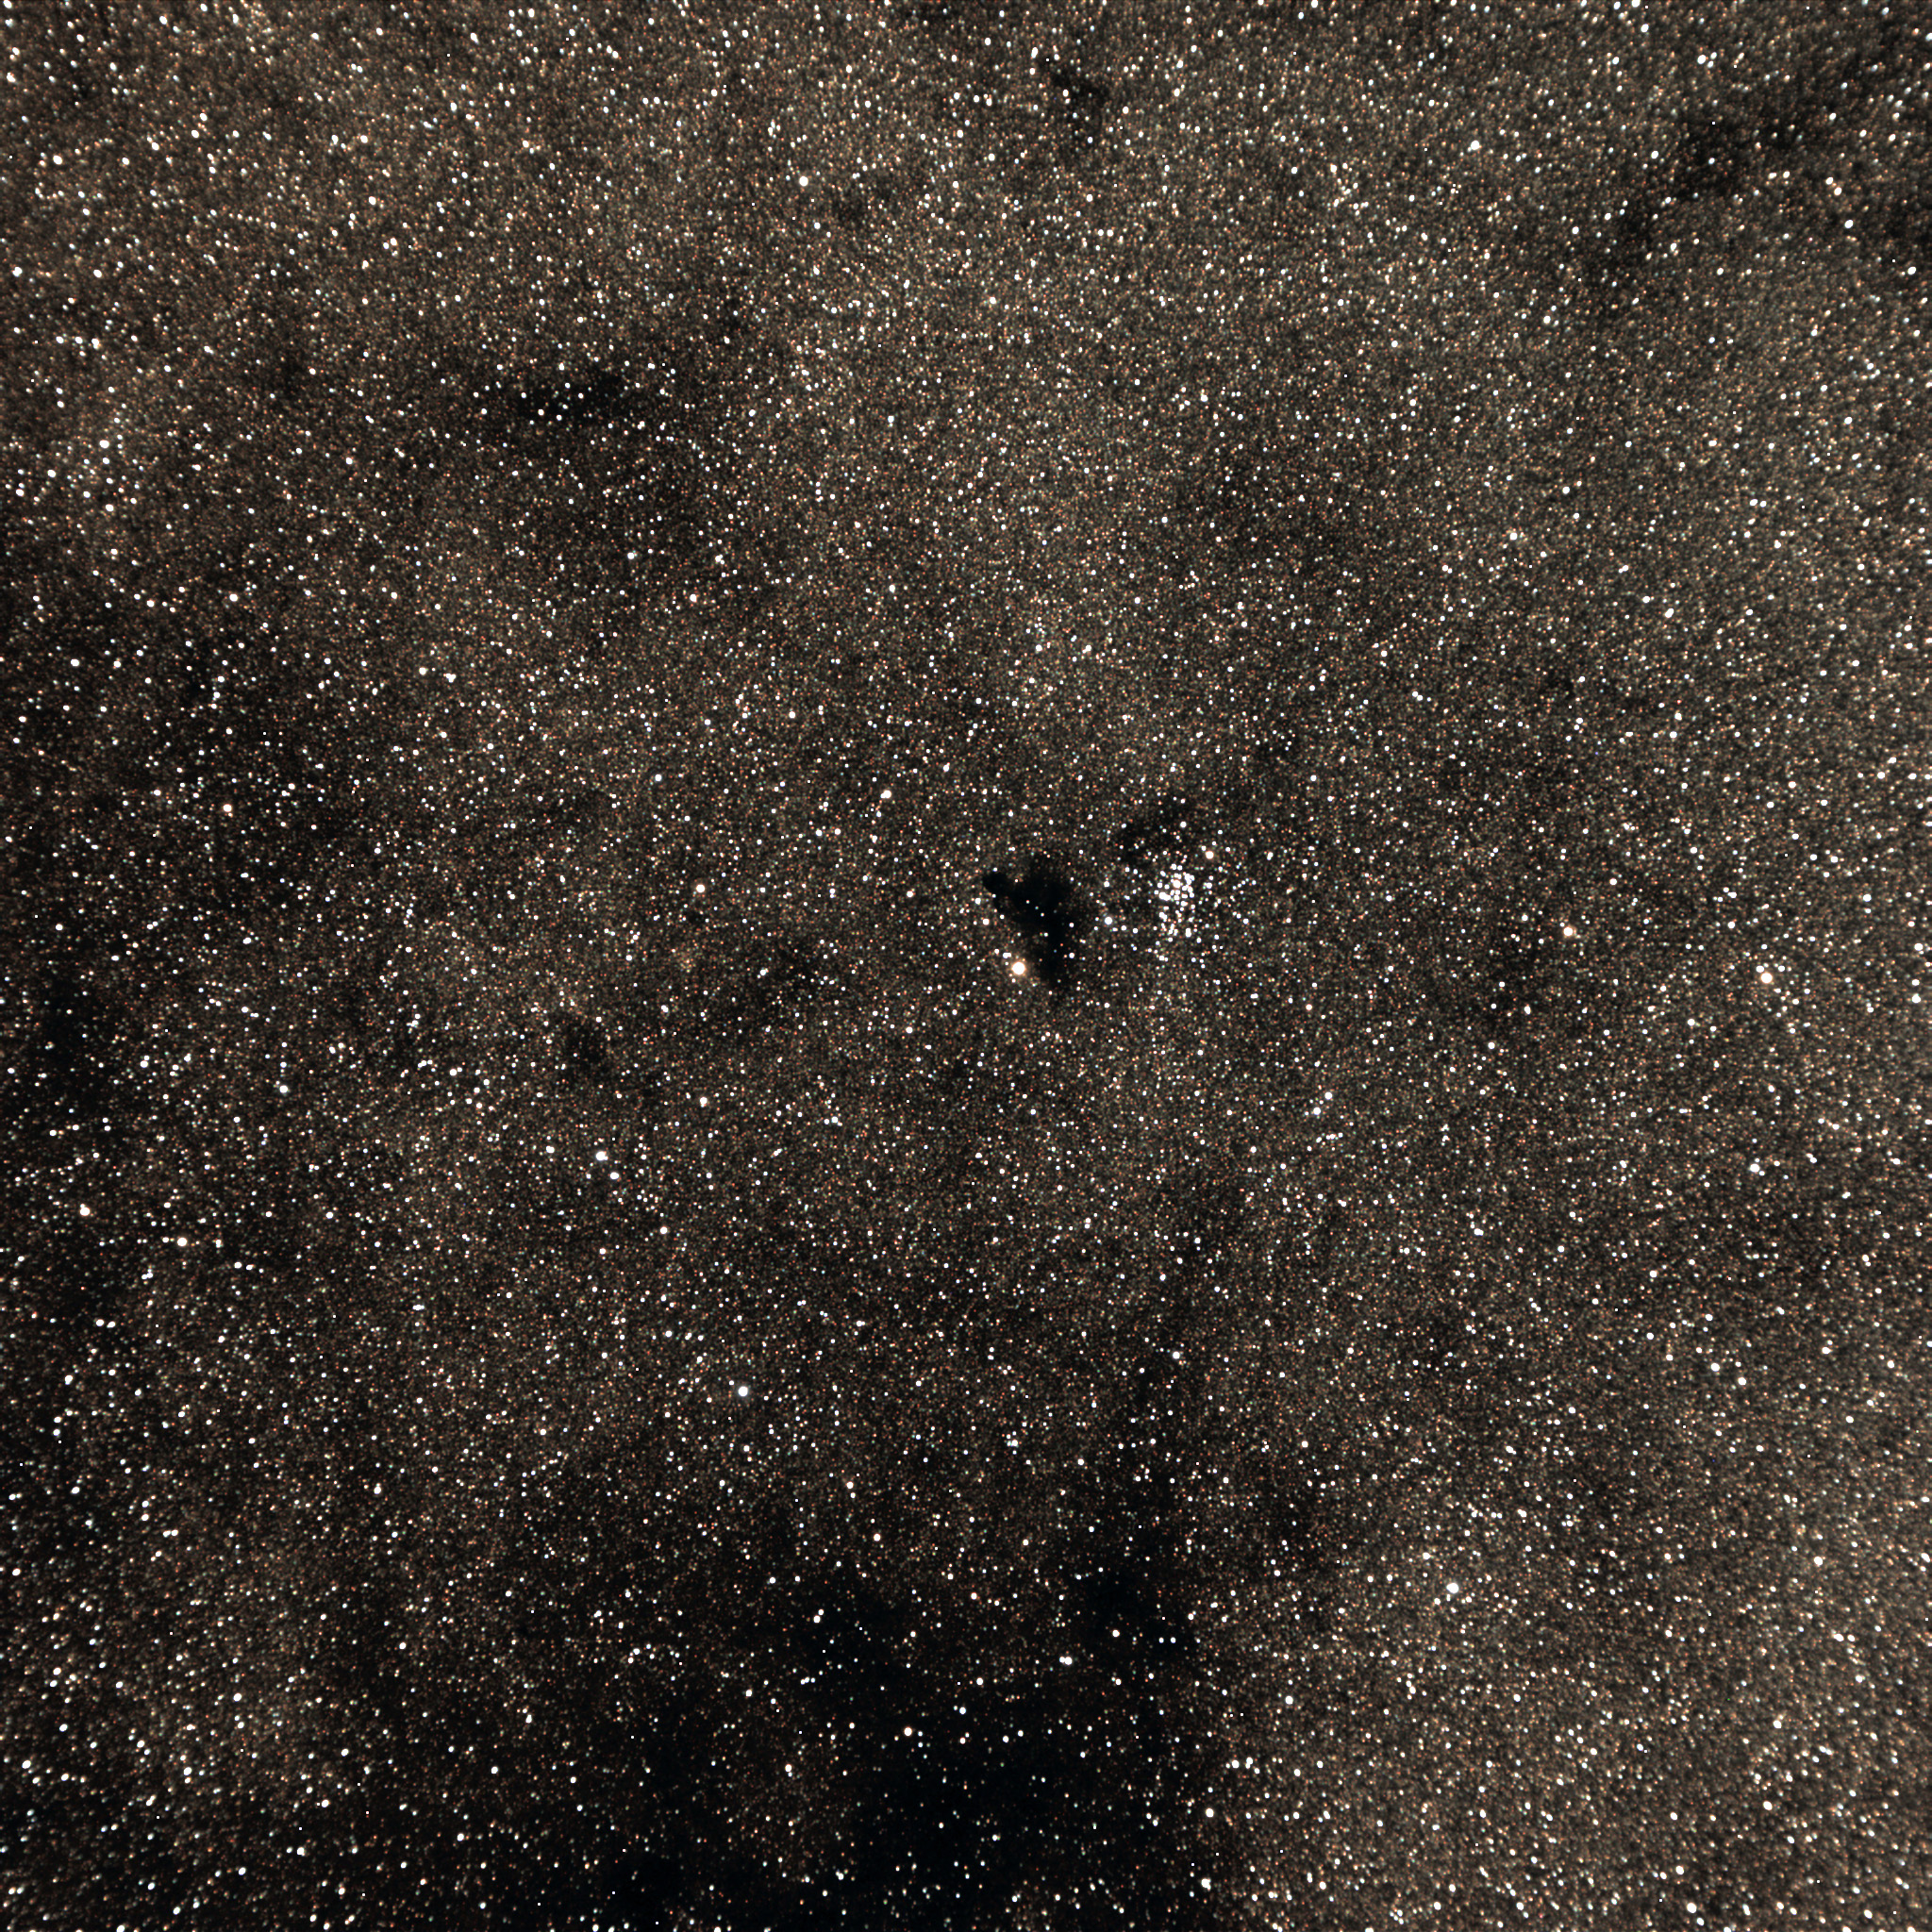
    Barnard 86 "The Ink Spot"

    I started out trying to fit M8 “The Lagoon Nebula” in the same field as the nearby Trifid Nebula, but they wouldn’t quite fit. So I did 15 minutes just on M8, and love the result.
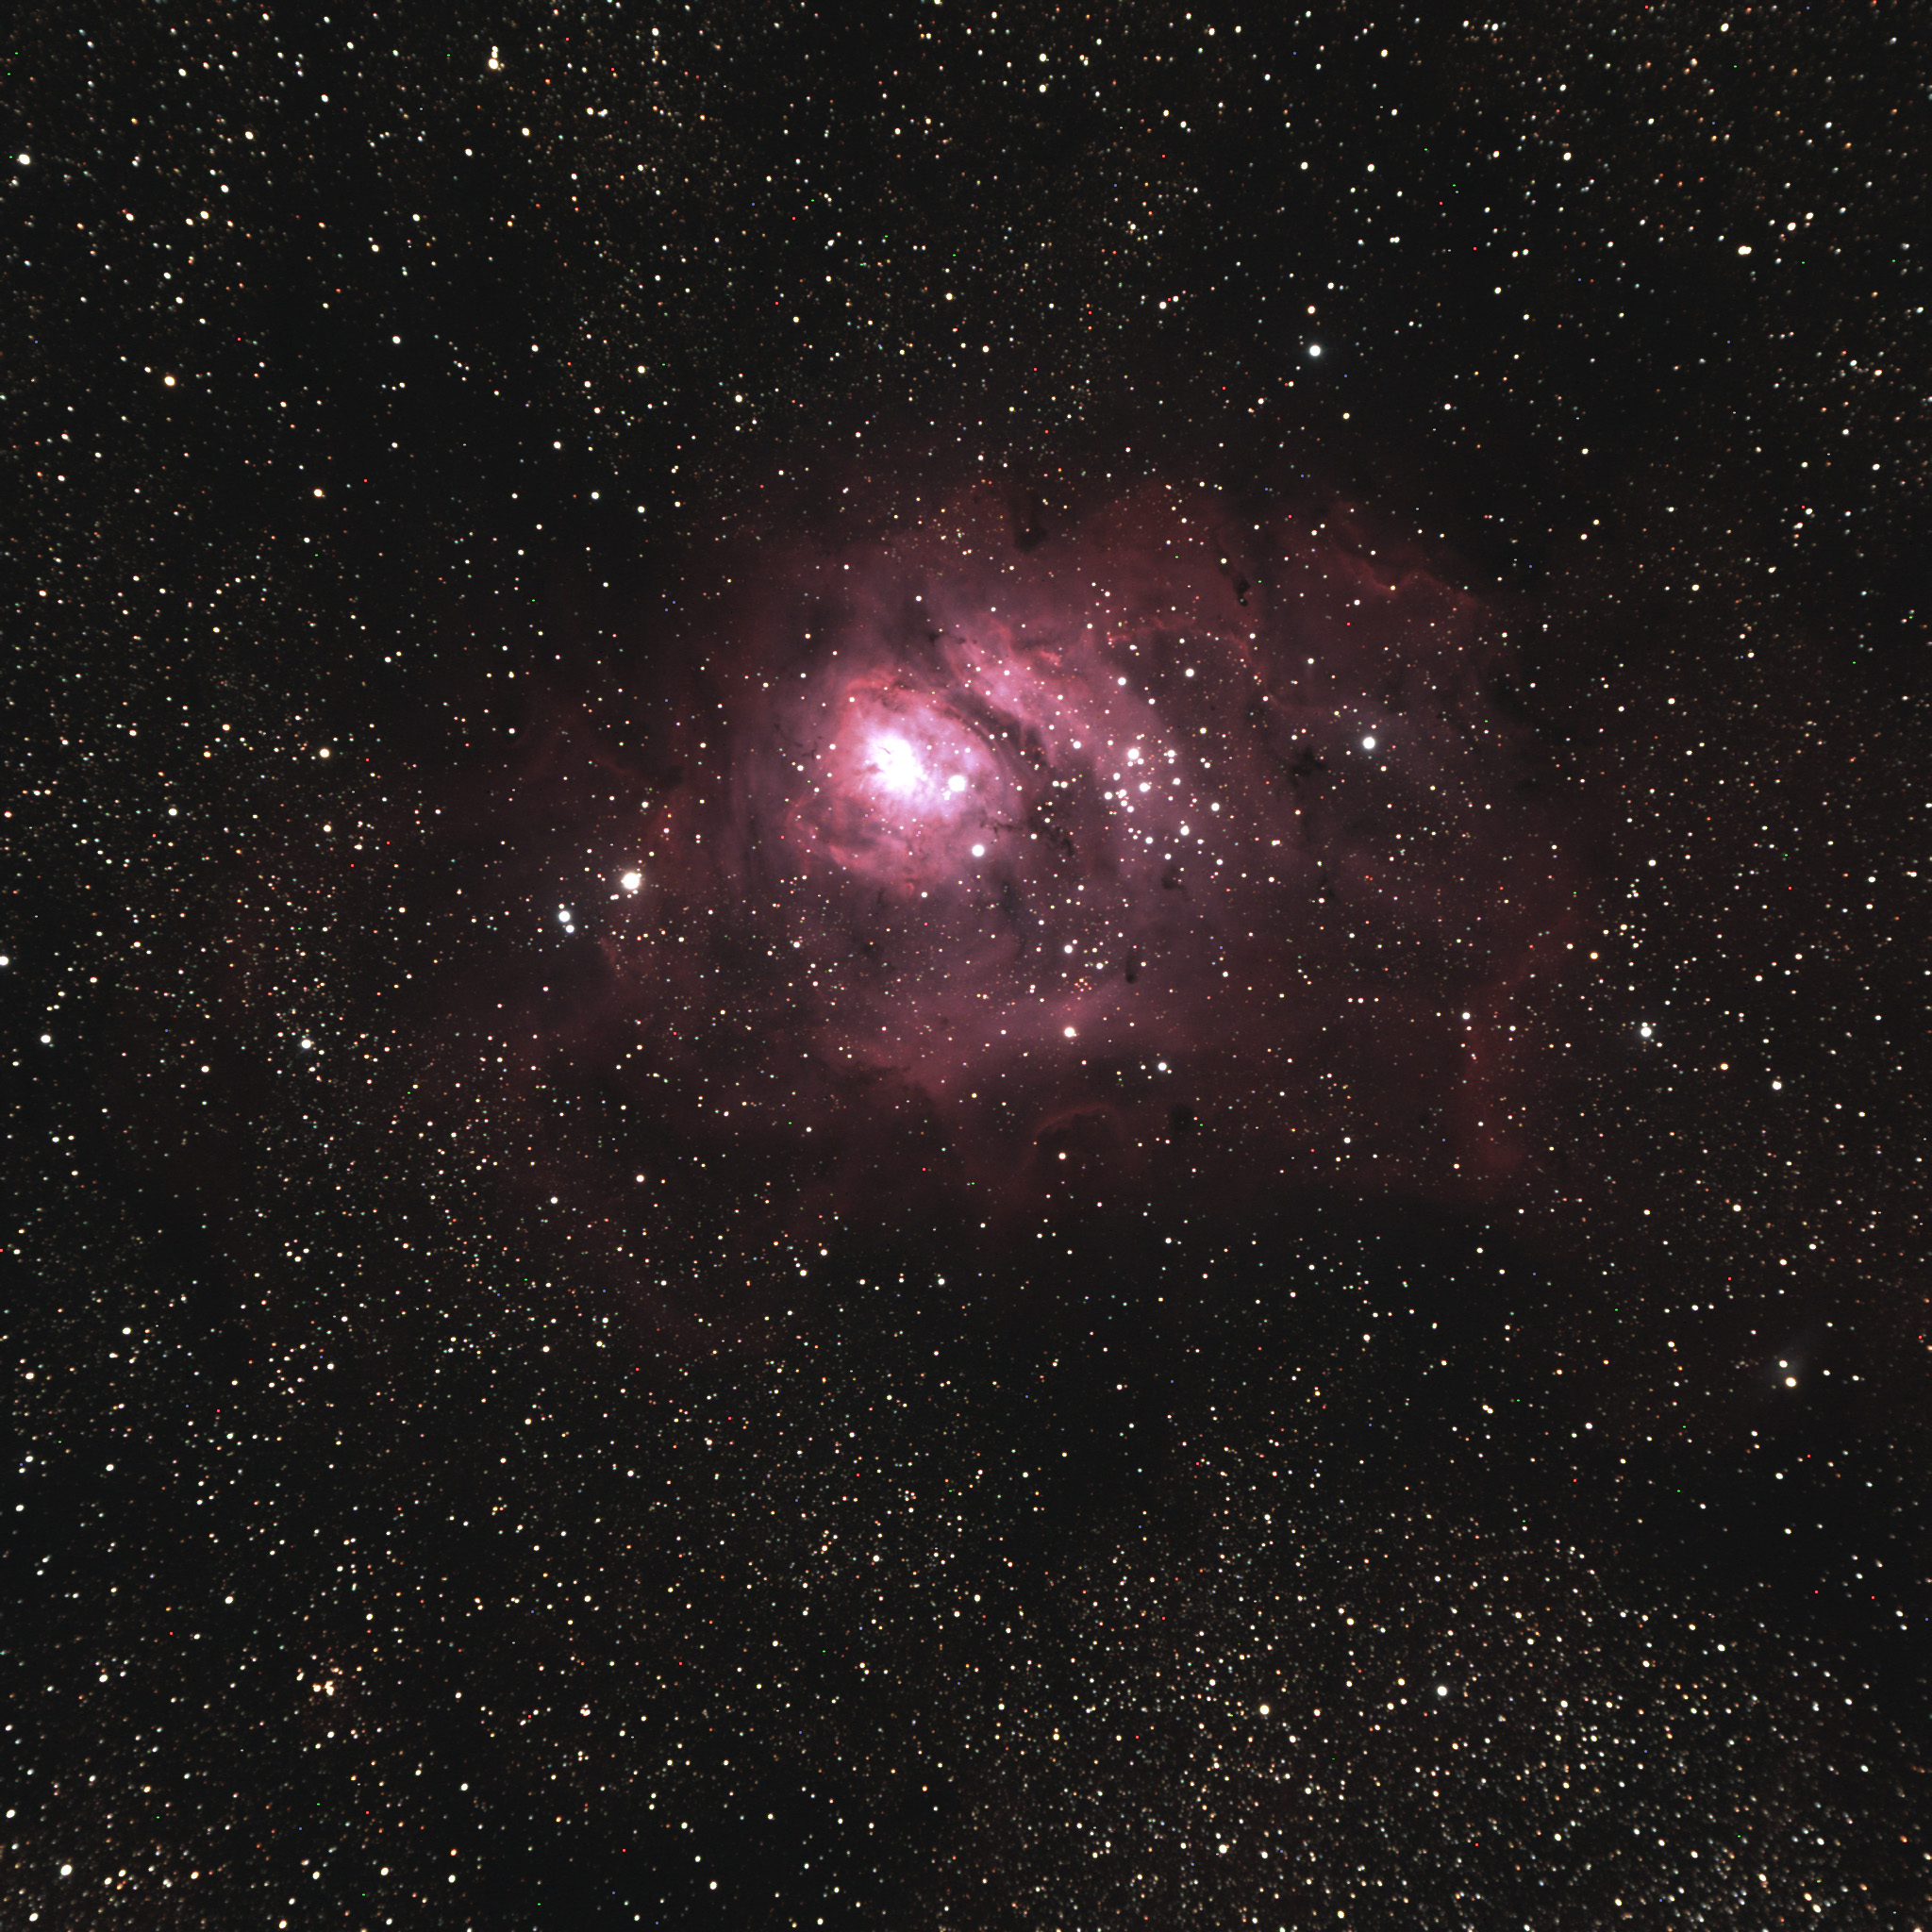
    M8 The Lagoon Nebula
    M8 The Lagoon Nebula and cluster

    I love hunting for the Pipe Nebula, a huge dark nebula best seen in binoculars. Seeing the Pipe is a portent of great transparency and dark skies. The detail photo here is centered on the Pipe, taken piggyback with the 20D. Click for the full field, see if you can find the Pipe there.
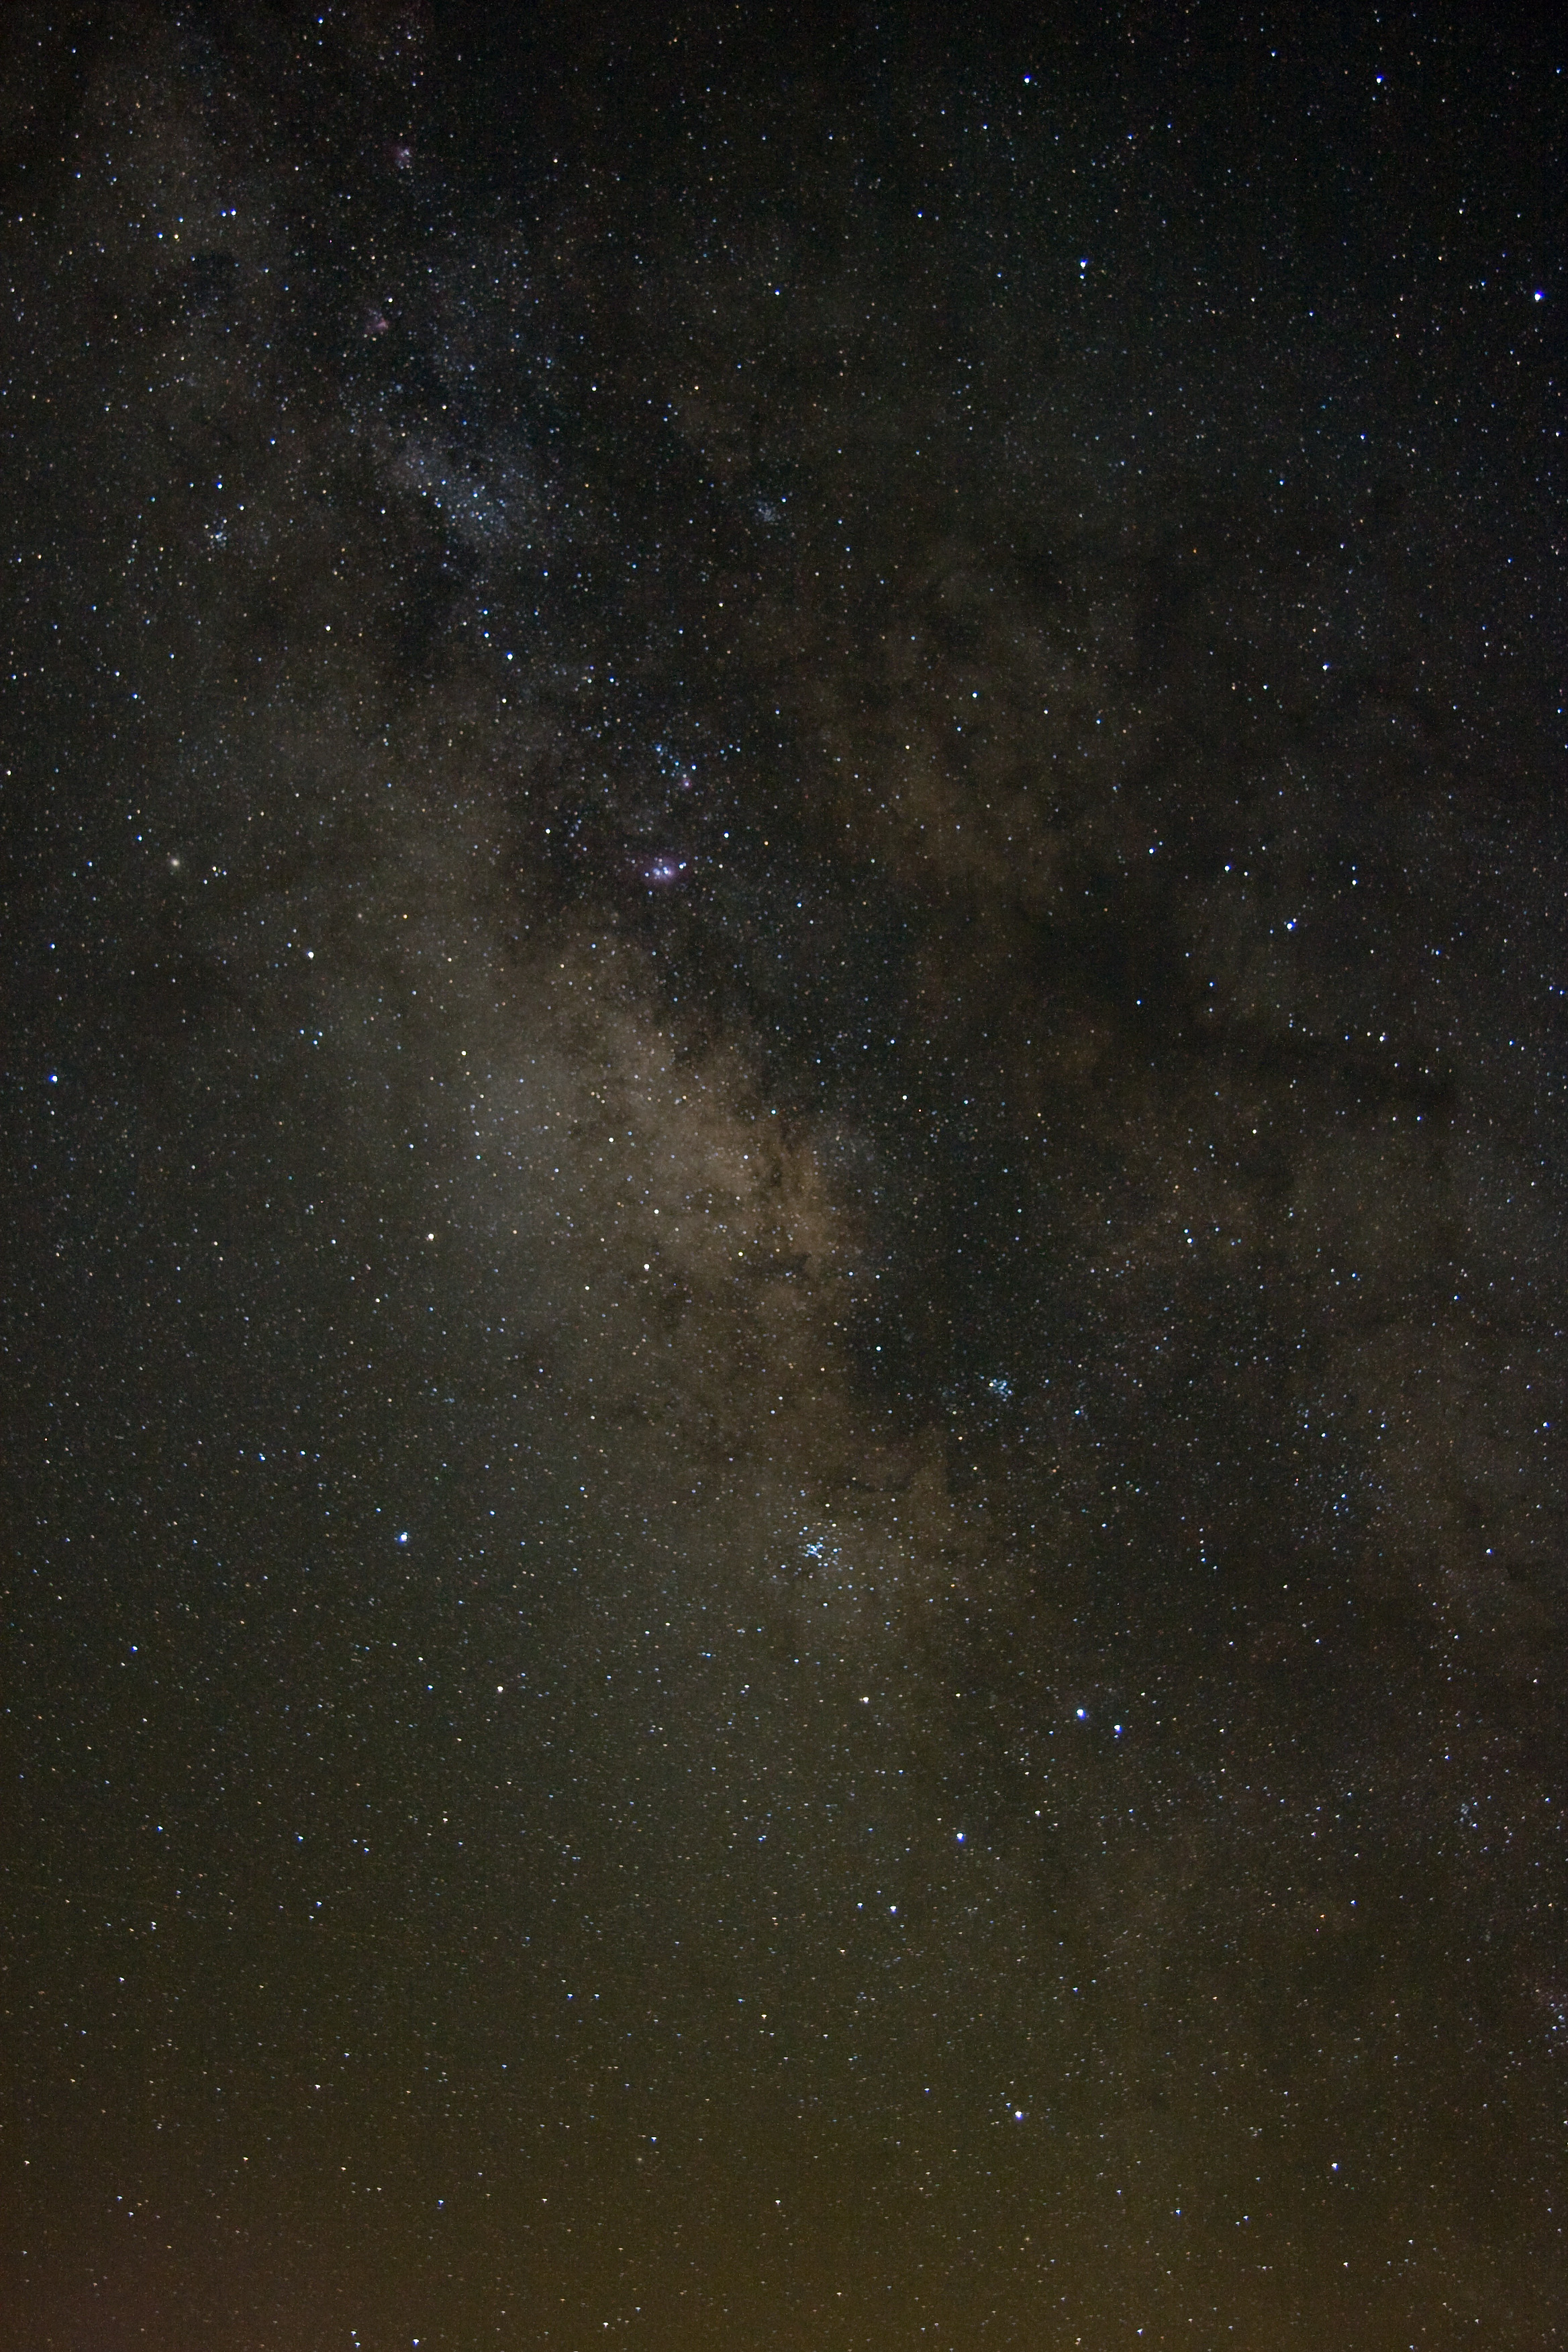
    Pipe Nebula detail
    Do you see the pipe outlined here? Click for the full field.

    Ever since I started doing astrophotography, I’ve been waiting for the opportunity to shoot M16 The Eagle Nebula. This nebula is famous for its Hubble Space Telescope image showing the embedded dark nebulae as stellar nurseries, the “Pillars of Creation.”

    I only did one fifteen minute exposure. By then it was getting quite late, and I need to catch a couple hours of sleep before getting up to catch comet McNaught. Naturally that means I had an airplane fly through the image! Should I wipe it out with Photoshop? Naaaah.
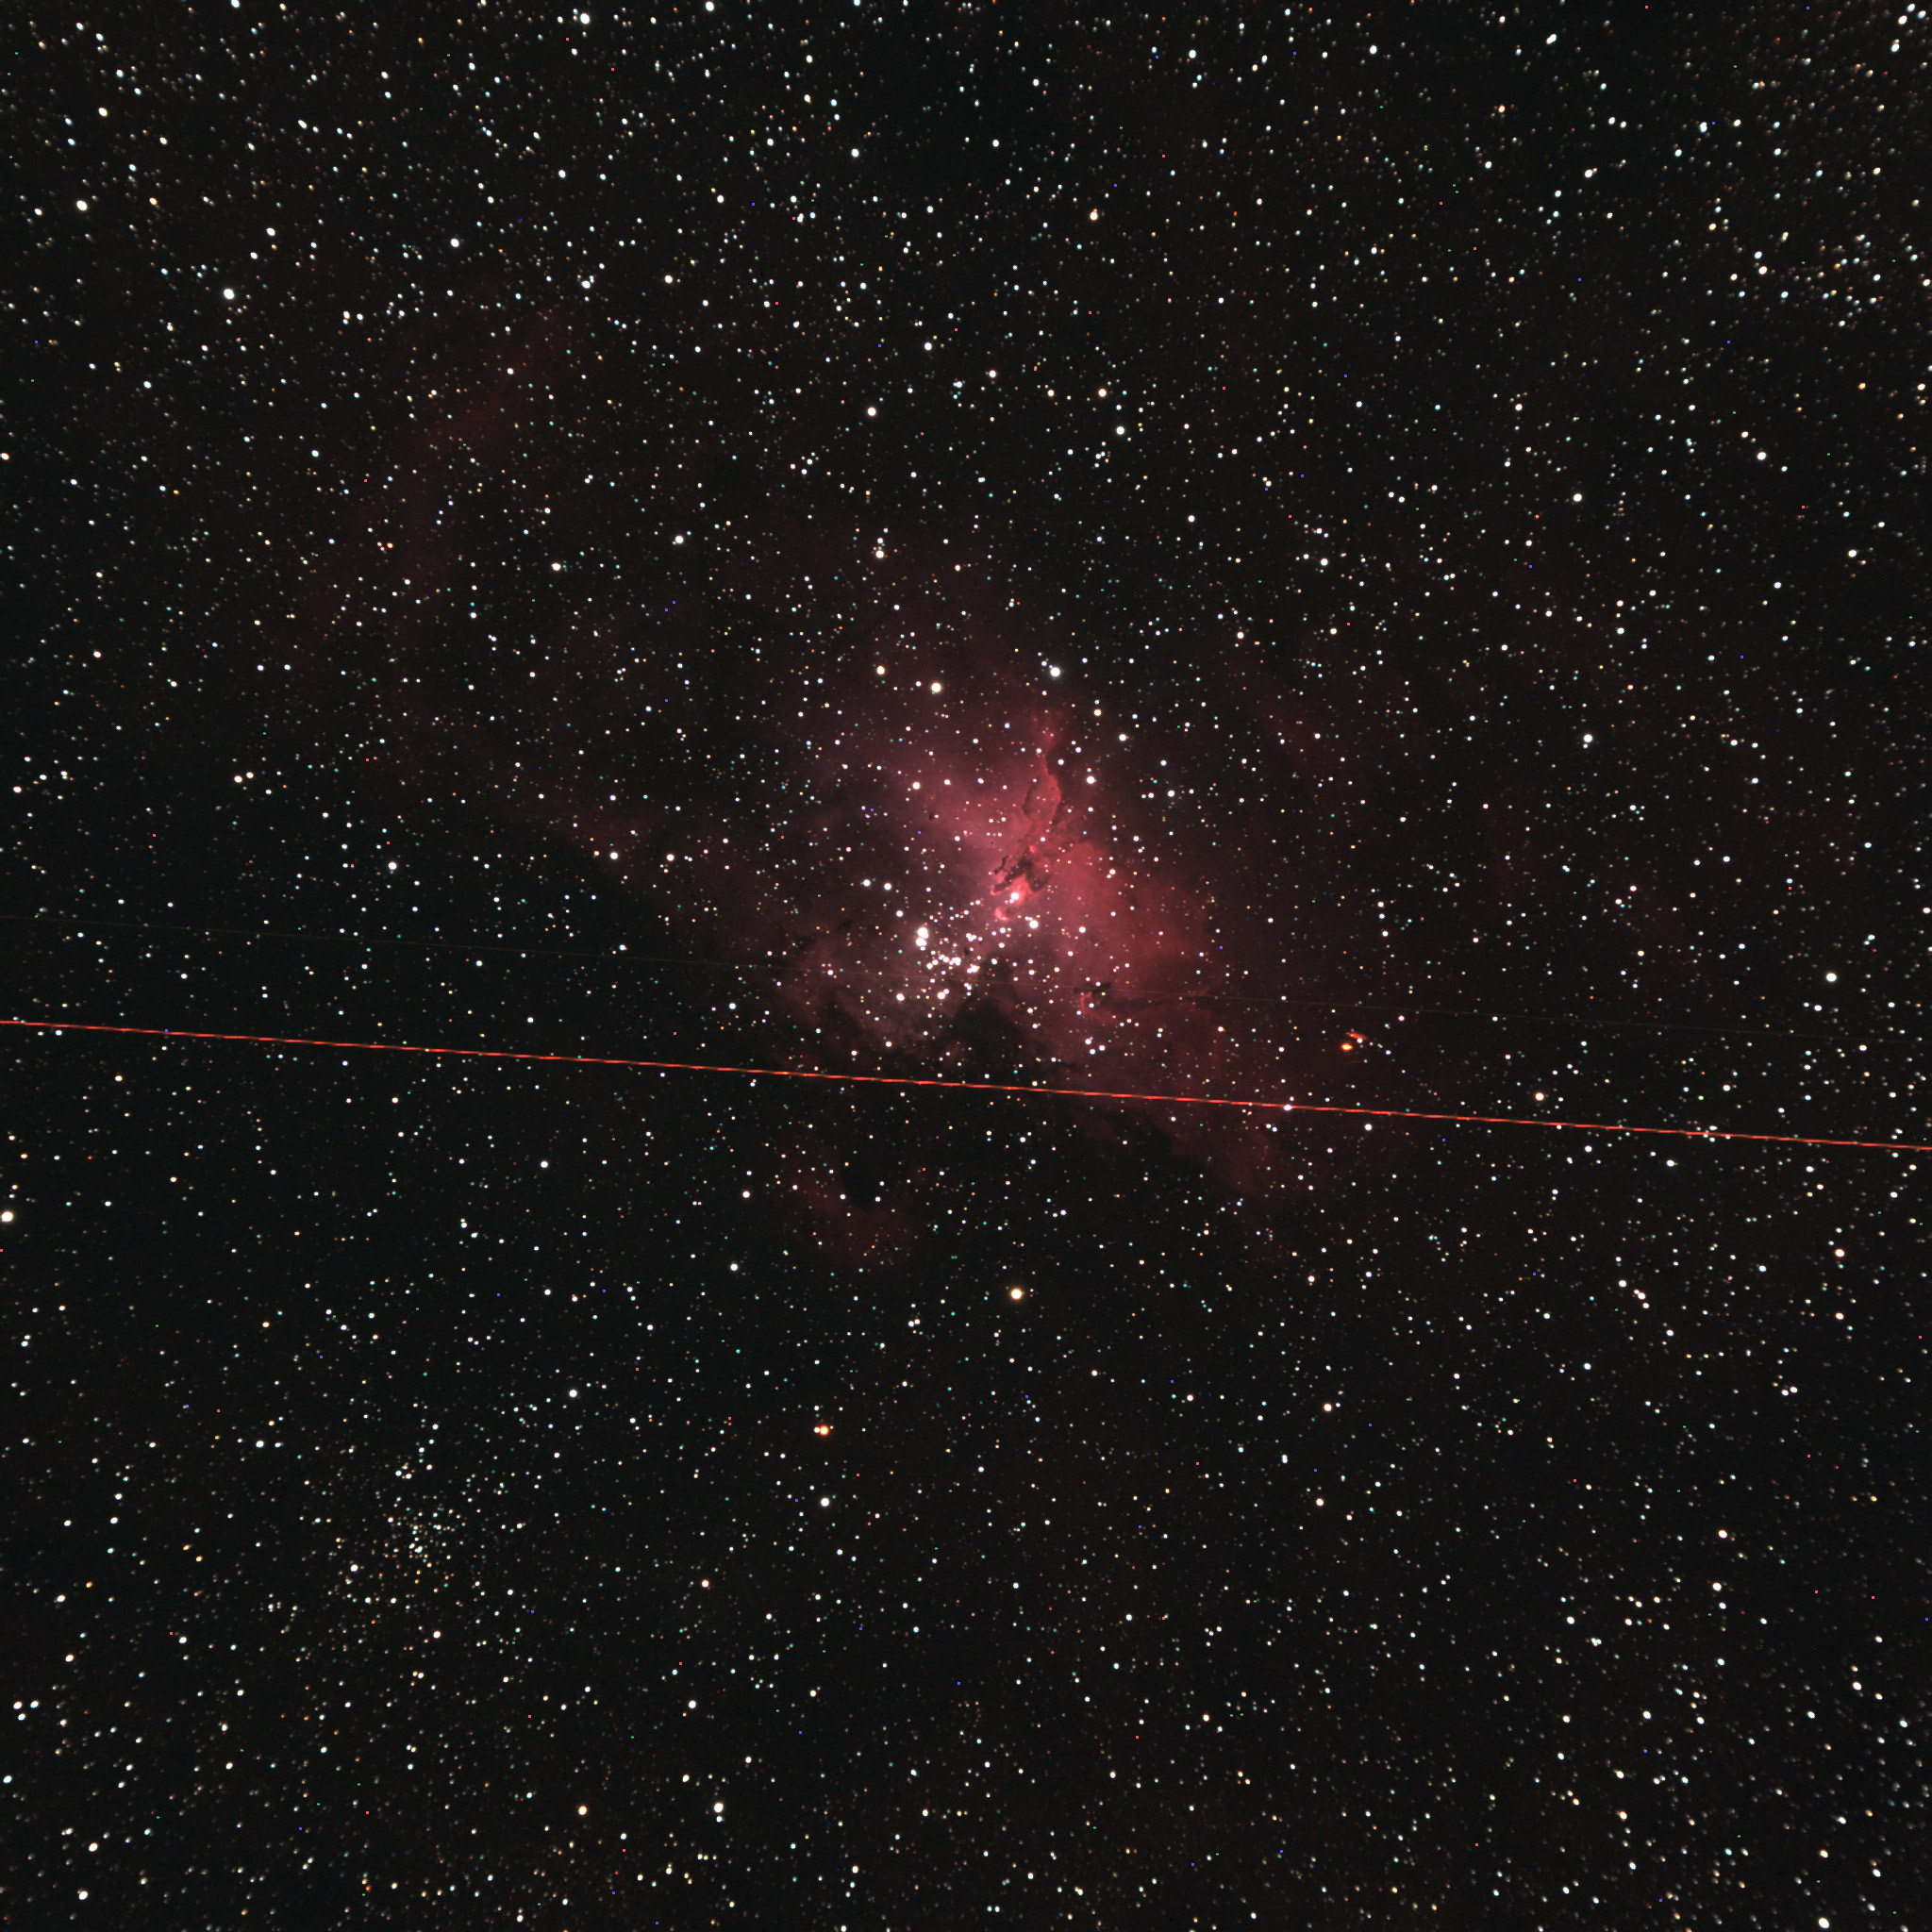
    M16 The Eagle Nebula
    M16 The Eagle Nebula and cluster. Plus United flight 2037. (Just kidding!)

    Jane and I napped for a couple of hours, with alarms set to catch comet McNaught in the early hours

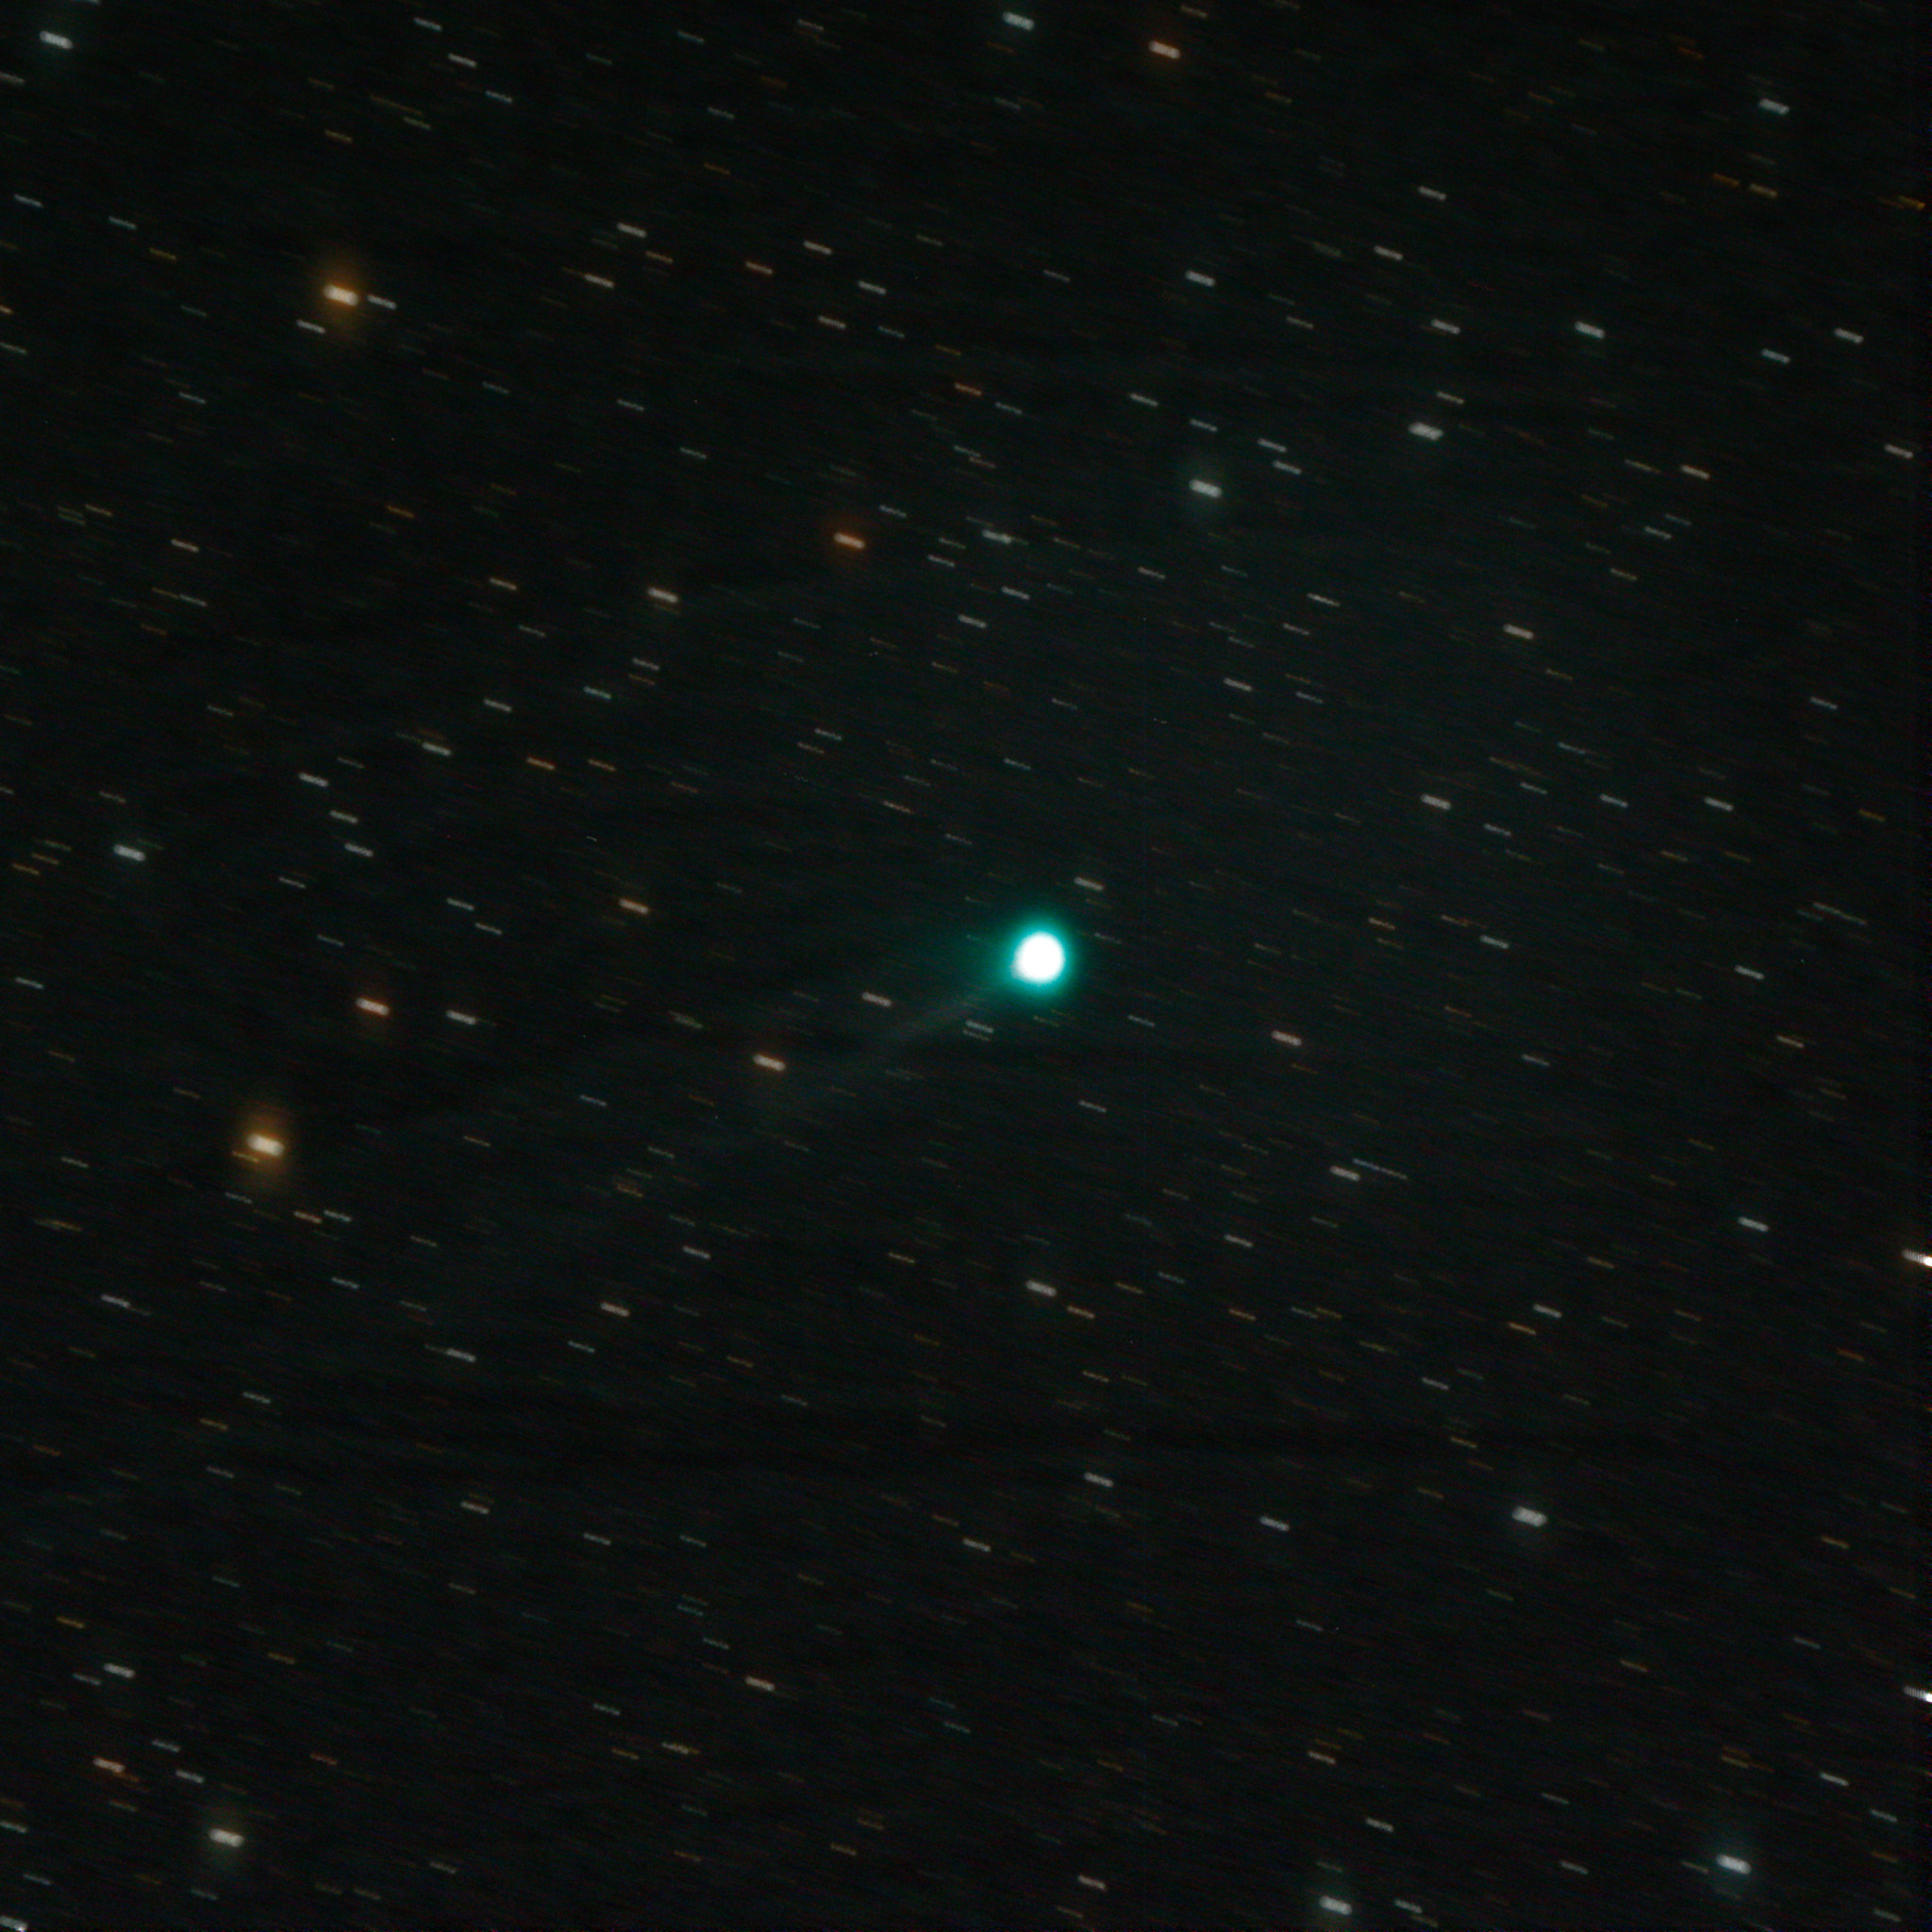
    This image of McNaught is made from ten one-minute exposures. They’re stacked with the comet centered, so the background stars are streaked. It looks out of focus, but it’s actually just the motion of the comet you see.
    Comet 2009R1 McNaught
    Comet 2009R1 McNaught, ten one-minute exposures stacked and centered on the comet.

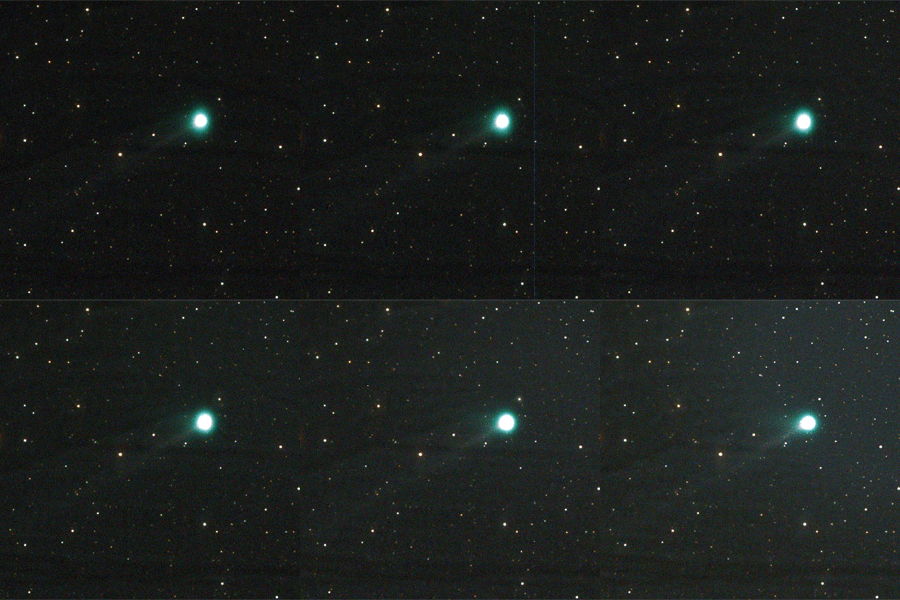
    I also took my ten comet pictures and made a little animation that shows the motion of the comet against the background stars over the course of 15 minutes or so.
    McNaught animation
    Comet McNaught moves against background stars over fifteen minutes. The sky is also brightening with dawn towards the end.

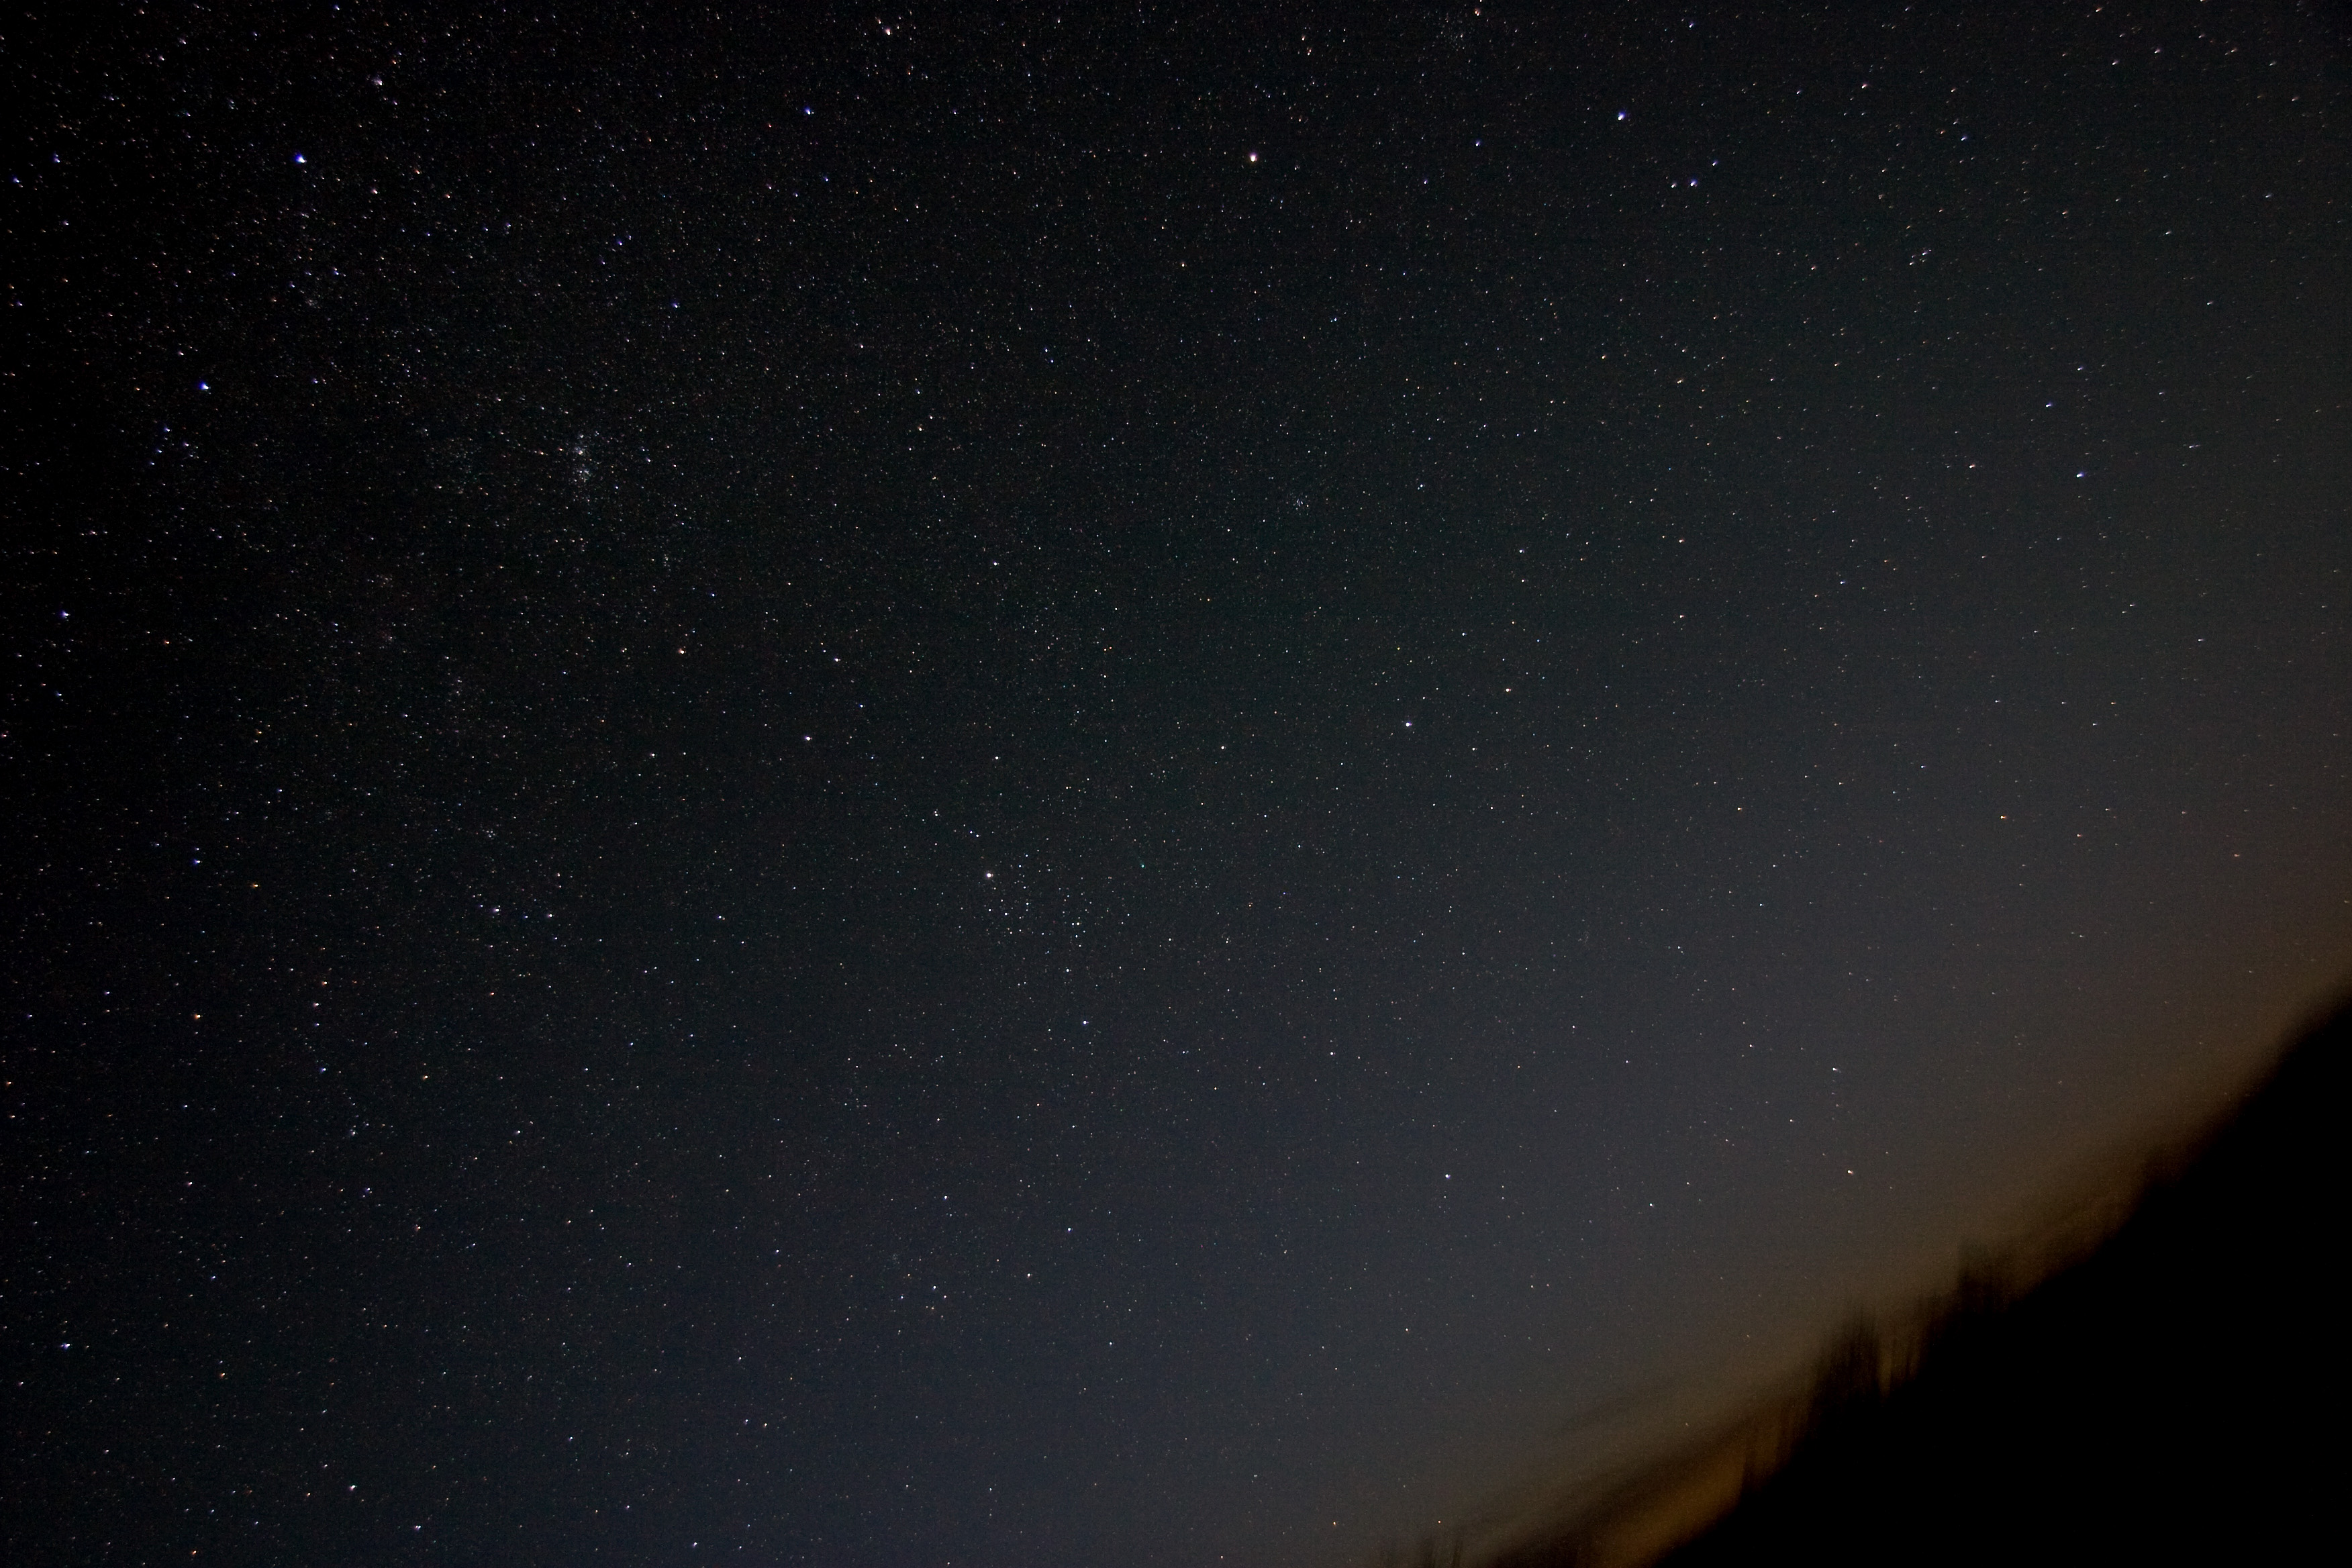
    I was also taking piggyback images of the sky where McNaught was lurking. Can you find the little green dot near the center?
    Perseus and field
    This is the "naked eye" view of the sky where Comet McNaught can be found. The horizon is tilted as an artifact of the way the mount holds the telescope and camera mounted piggyback. Click for the full scale version.

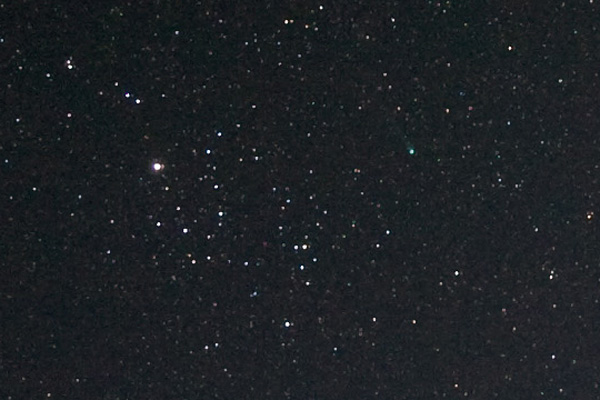
    Here’s a little close up of the beautiful binocular cluster Collinder 39 in Perseus with the green dot of McNaught just to the right. The color was evident in binoculars even.
    McNaught with Collinder 39
    This is somewhat the view in a pair of binoculars of large open cluster Collinder 39. See the green dot of comet McNaught slightly up and right of center.

    What a fabulous night of astronomy! Shirt sleeves or light jacket all evening.
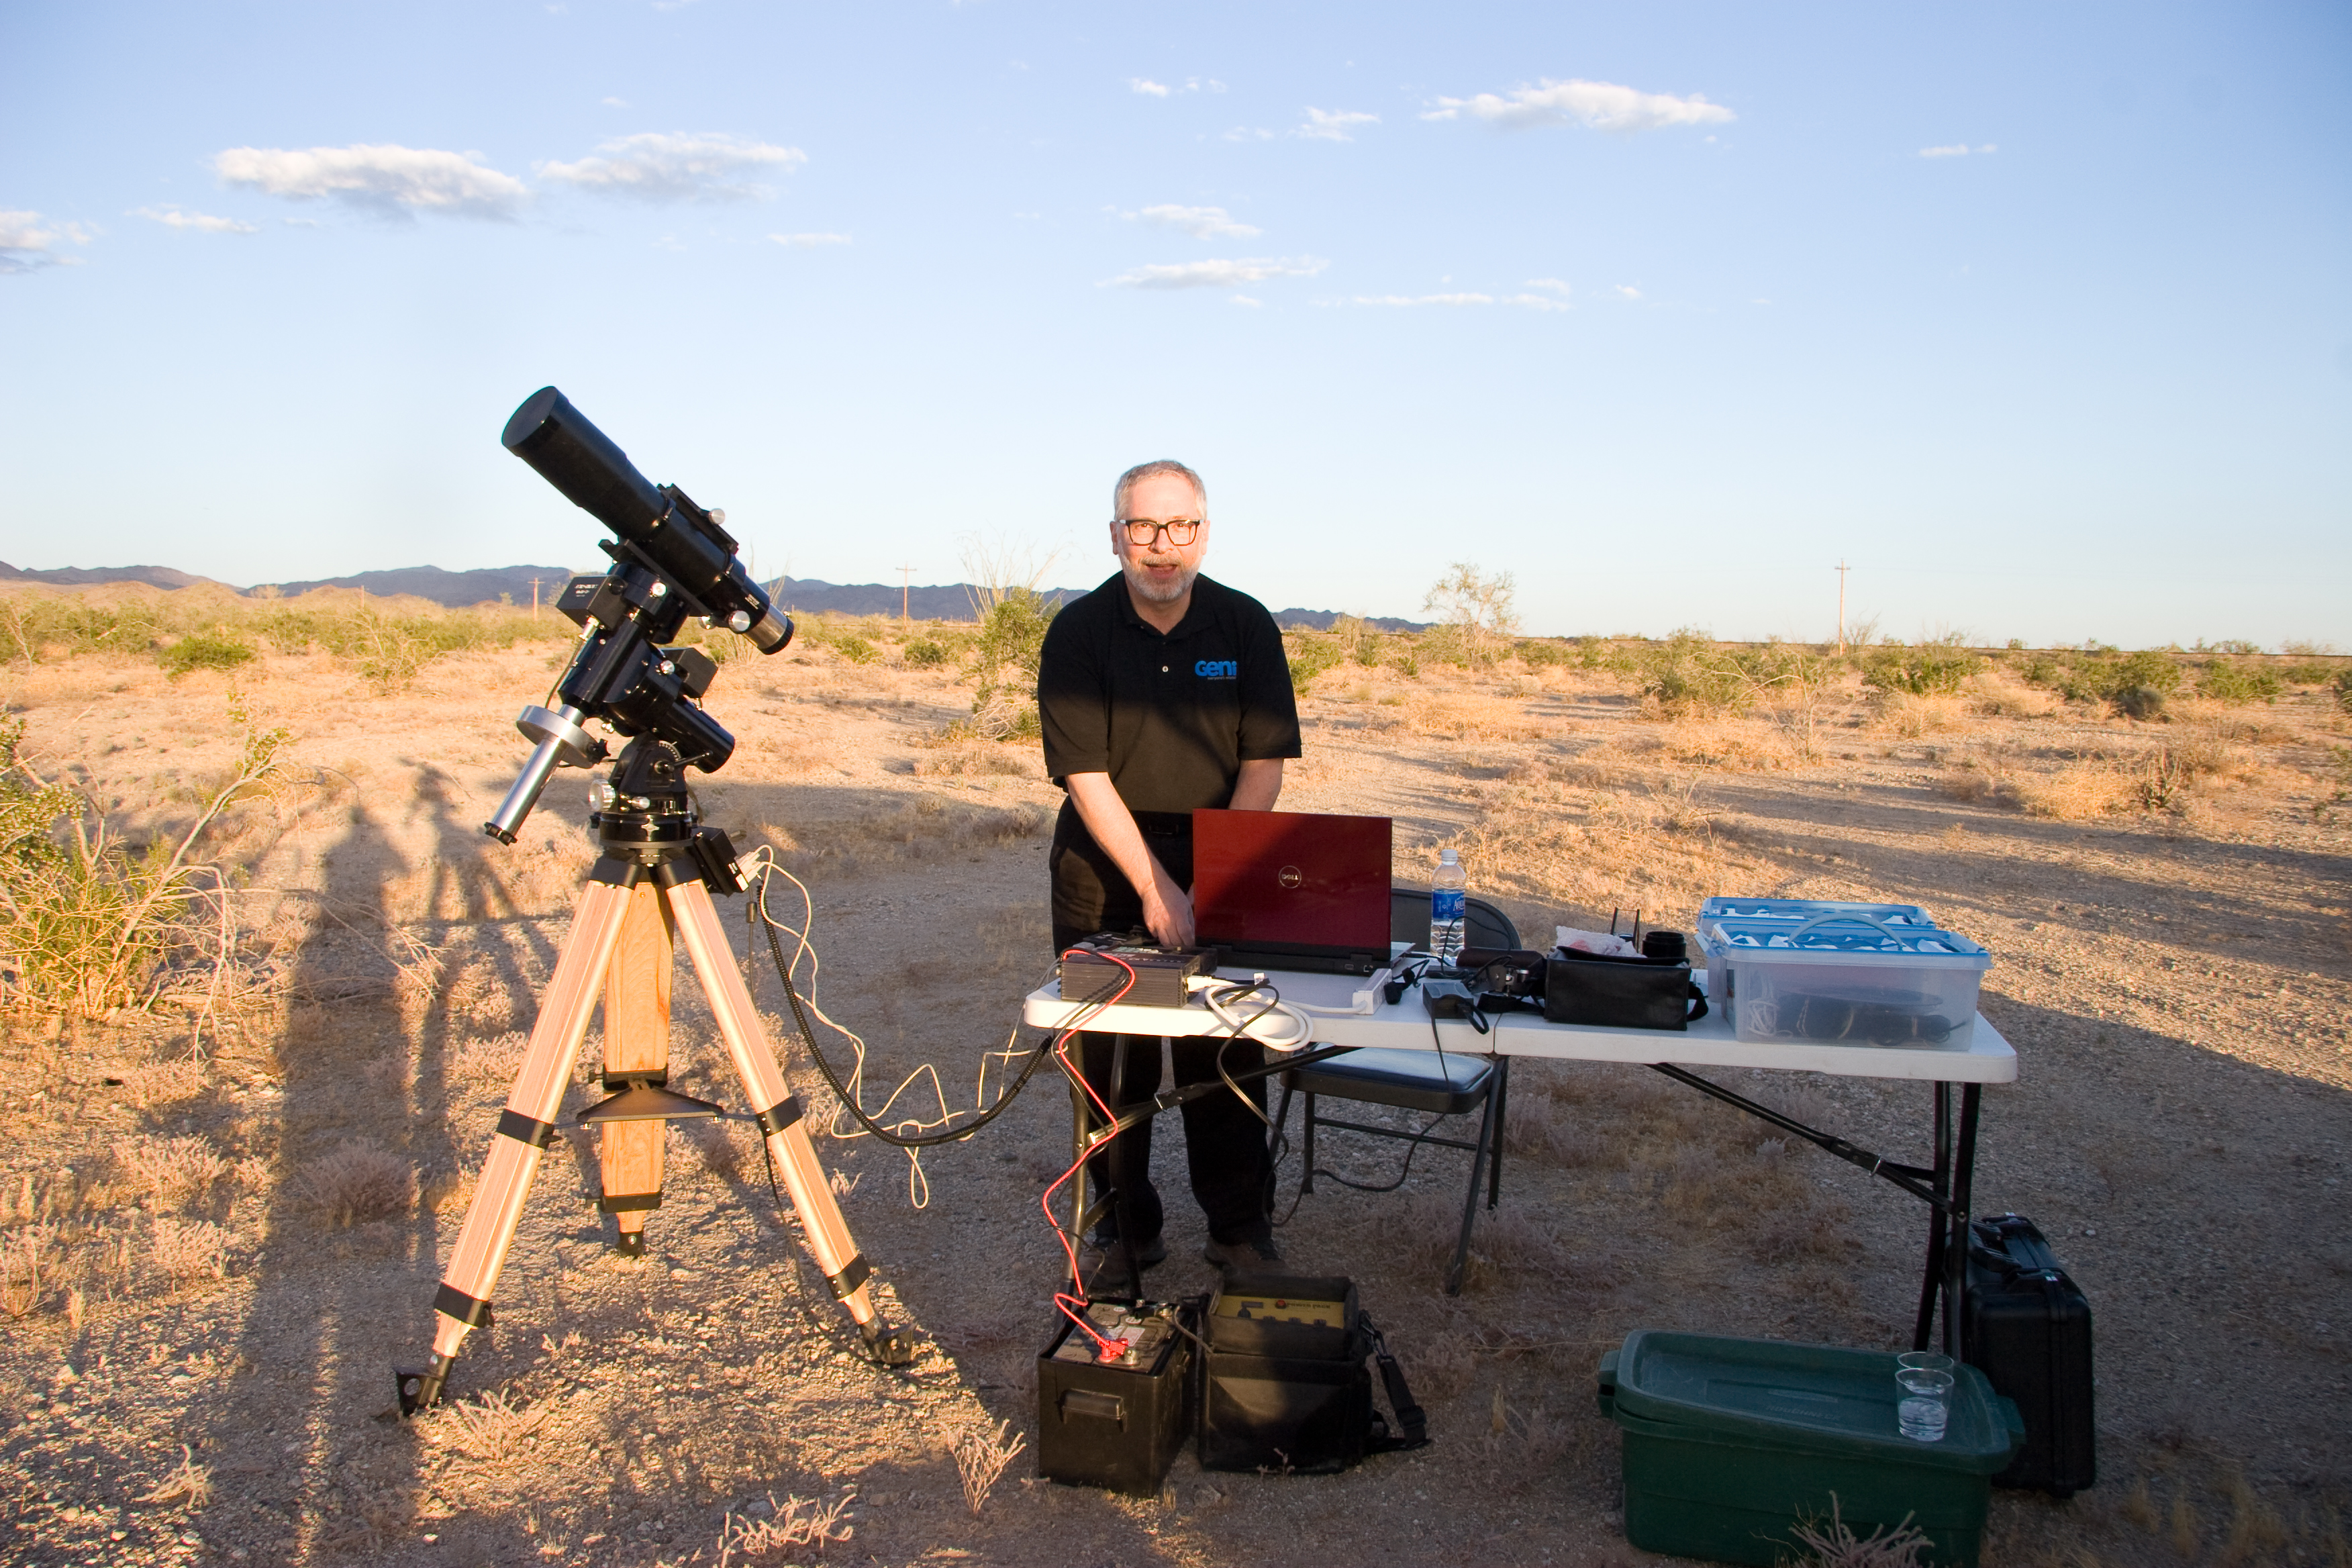
    Mojo setting up for astrophotography
    Mojo setting up his "desert office" for some astrophotography

    Equipment notes: The telescope shots were taken with an SBIG ST-4000XCM one-shot color CCD camera, at prime focus of an Astro-Physics Traveler 105mm f/6 refractor. The mount is an AP Mach 1 GTO on a wooden tripod. The piggyback photos were taken with an unmodified Canon 20D digital SLR camera.

    Update: Be sure to see Jane’s A Ten Planet Night report from the same evening!
  • Finding the test that corrupts the suite

    (Finally a tech blog post …)

    Stop me if you’ve heard this one before! 🙂

    The web application has excellent coverage in unit tests and integration tests that run continuously, but some time ago (weeks actually) some number of tests began failing with strange state errors. In our case, out of 138 test classes and 1176 tests, 82 would error out.

    The errors were all strange platform related things, like:

    org.springframework.transaction.IllegalTransactionStateException: Pre-bound JDBC Connection found! JpaTransactionManager does not support running within DataSourceTransactionManager ...

    Or:

    java.lang.NoSuchMethodError: org.hibernate.cache.CacheException.

    Naturally the failing tests all work when they’re run individually. Heard that one before?

    I started out trying different combinations of tests. I could make a list of all the running test classes by grepping for “^Running ” in the test output log. I started out using the maven option “-Dtest=TestClassOne,TestClassTwo,…” to try tests in different combinations. Most of the time, the erroring tests would work perfectly. When they didn’t, the errors would occur in different tests or be different errors.

    The failure now was non-deterministic! One of the difficulties is that Maven/Surefire would run the tests in whatever order it wanted to. That approach wasn’t going to work at all.

    From studying the Spring references a little, I understood that Spring would cache the application contexts created for unit tests in order to improve the run time of tests. Wiring up a large application is slow when it’s done once — multiply that by 138 test classes and a slow test suite becomes glacial.

    Clearly some test class being run prior to the error tests was corrupting the cached Spring context, and ruining the downstream environment. Spring provides a @DirtiesContext annotation specifically to label tests that require Spring to reload the application context. The problem is finding the test doing the dirty work!

    I needed to make the test runs deterministic — run the test classes in the same order, and start eliminating classes one at a time from the top of the order. Surefire doesn’t have a property to exclude a test on the command line, so it required editing the POM file to exclude each test class in order from the top.

    It was a tedious task, as many hidden software problems can be. I had to keep careful track of the list of test classes, and change the <exclude>TestClassExample</exclude> element for each test run. Fortunately each test run only required about two and a half minutes. After each test with one class excluded, I would examine the final result line for any change.

    I was pretty confident that the culprit had to be an early test in the sequence, so I should only have to go about halfway through the successful test classes. Finally thirty-four classes into the list, I had my culprit.

    Ironically enough, the test class causing all the problems was named TestSpringConfigurations. It had two tests that would simply verify that all of our wiring would successfully produce an application context. Marking the tests with the @DirtiesContext annotation made all of the following error tests run successfully.

    Actually the @DirtiesContext annotation wasn’t necessary: The tests themselves included one fatal line: context.close(). By not closing the contexts after the test load, the cached application context was just fine for all the following tests.

    One might argue that this class is pointless when run as part of a large test suite, since earlier tests have already loaded the application context. When Surefire arrives at TestSpringConfigurations, it is only using the already-cached context rather than loading a new one. Good point. But having the test in the suite also gives us a quick way to verify changes made to the application context configuration without running the whole set.

    And finally the punch line: When the Spring configuration errors were finally vanquished, four test failures were revealed that were legitimately testing application code. Those test failures were completely masked by the Spring context corruption error.

    Oh yes, that TestSpringConfigurations class has been in the suite for many months. Why did we only recently find it causing this corruption? No one here is quite positive, but the only major platform change we can point to is a switch from Java 5 to a Java 6 runtime. Maybe that triggered the original problem, and maybe sometime I’ll be interested enough to test that proposition.

  • A galaxy from the inside

    Sometimes it’s the simplest thoughts that have the most profound effect on your visitors to the telescope.

    This past weekend we spent two clear dark nights in Mojave National Preserve sharing our big telescopes with about fifty park visitors and the MNP Conservation Association.

    This time of year, the sky is full of galaxies. We were showing spirals, ellipticals, irregulars, edge-on, face-on, every which way. All along I would explain how these are galaxies like the Milky Way that we live in.

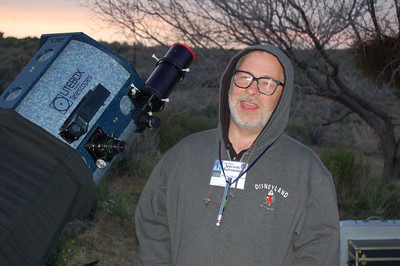
    Me and my 14.5" Litebox dob at Mojave National Preserve
    Photo by Gary Spiers

    Now these were mostly people who had ventured into the wilderness before, and they were familiar with the Milky Way. At least they thought they were. They knew the milky river of light crossing the sky on late summer evenings.

    At least one visitor could not make the connection.

    At one point I said, “We will never see our galaxy from the outside.”

    The dark around the telescope was almost lit by the light bulb going on in someone’s head. I heard, “OH! We’re inside it! We only see it from the inside!”

    I was rewarded with a “thank you” and “That was a profound thought.”

    It reminded me of a question I’d had some twenty years earlier from my mother at one of my early experiences in Yosemite at a Glacier Point star party.

    Mom was looking up at a starry sky and asked, “So of these stars we see, how many of them are in our galaxy?” Of course, the answer is obvious (all of them), but it doesn’t diminish the simple profound nature of the question, and I still enjoy relating the story and asking the question to visitors under a dark starry sky.

  • Pathology Report

    Here’s the deal: All along, this whole “prostate cancer” thing seemed to me like a gigantic fraud. Well not fraud, but maybe “surreal.” That all changed yesterday.

    I felt fine, always did. I wasn’t running to the bathroom two or three times a night. My doctor never felt anything. I have no family history of prostate cancer. It was just a blood test, an imprecise secondary indicator, that suggested a biopsy.

    Okay, I believed the biopsy, but still it all seemed abstract.

    So I had the surgery. Sure, take it out. I don’t really need it. But I want to know.

    This is why I picked surgery over radiation. The radiation therapy is known to be effective, but it’s still all abstract, not real.

    Yesterday I went in to have my staples and catheter removed. (Yay!) (Anyone who is facing this procedure and wants to know more about it, I’m happy to share in a private exchange.) Meanwhile my nurse practitioner delivered the pathology report, and I asked her for a printed copy.

    I’ll post all of the relevant parts below, followed by a few word interpretations.

    (more…)

  • Prostate Cancer

    With Jane’s encouragement, I thought I would write this blog entry. I want to keep my friends and family up to date, and for the most part they are the only ones reading this blog anyway.

    The short version is that I was diagnosed with a small but clinically significant prostate cancer in September, and will have RP surgery (Radical Prostatectomy) using robotics on January 19. I’ll be at Kaiser’s West L.A. Medical Center for one night, then recovering at home for about three weeks. Within a few months, the expectation is that I’ll be pretty much back to normal for the duration.

    For those of you who really want all the details, how this came about, and what decisions were involved, I’ll go into it all below. For lots of people this comes under the category of “too much information,” and you are certainly excused without prejudice.

    (more…)

  • Pinwheels, Horseheads, and Flaming Stars

    Photo from Feb. 2009 of the Astro-Physics Traveler getting ready for a night of imaging at Chuckwalla Bench
    Photo from Feb. 2009 of the Astro-Physics Traveler getting ready for a night of imaging at Chuckwalla Bench

    Jane and I were by ourselves for the dark sky weekend of November 14, 2009. We set up at our usual spot at Chuckwalla Bench. Unlike the past two months, this night featured a cold air mass that required bundling up well. It also implied that the seeing from our desert location might not be perfect.

    Jane brought her 12.5-inch Litebox dobsonian, and I opted for the 4-inch Traveler refractor (seen in my heading photo).

    The night turned out to be beautiful. The seeing was good, and we were able to enjoy a few early Leonid and Taurid meteors as well. My goal was to try getting more exposure minutes on some classic targets, and try to get some piggyback constellation photos as well.

    M33 and Triangulum region

    Triangulum, Aries, and Andromeda, piggyback naked-eye resolution
    Triangulum, Aries, and Andromeda, piggyback naked-eye resolution

    The famous Pinwheel Galaxy, M33, was a difficult object for me when I started out in astronomy with a classic 8-inch Celestron SCT. The face-on spiral is enormous in the sky, covering almost as much area as the nearby Great Andromeda Galaxy. But its surface brightness is low, so with a little magnification it’s possible to look right through the galaxy without seeing it. I later learned that it sometimes shows up better in binoculars than a telescope.

    If you click on the naked-eye resolution photo nearby, you can find M33 as a faint smudge just to the left of center. M31 the Andromeda Galaxy bright core is in the upper left.

    The three bright stars of Triangulum are in the lower third, just left of center. The bright stars of Aries are also in the lower third, to the right of center. (Might be fun to use Flickr’s photo tagging feature to highlight the features.

    M33 the Pinwheel Galaxy
    M33 the Pinwheel Galaxy

    Again “click to embiggen” as Phil Plait would say. This image is a stack of four 15-minute exposures with the AP Traveler and the SBIG ST-4000XCM one-shot color CCD camera. I love seeing the famous red star-birth regions sprinkled through the arms of this nearby galaxy.

    In terms of technique, I used a Bahtinov focusing mask for the first time. It saved a lot of time in finding and maintaining focus. Autoguiding worked perfectly. It felt really good to have confidence to take long sub-exposures and stack them in Photoshop. This was my first true one-hour image, and the first I’m proud to have seen at full resolution.

    Auriga and IC 405

    Piggyback view of Auriga, naked-eye resolution
    Piggyback view of Auriga, naked-eye resolution

    Auriga was one of the first constellations I identified and recognized on my own as a new astronomer, so I’m always delighted to see it again.

    In the piggyback shot, the bright Auriga stars form a squashed pentagon slightly left of center. The right-most star doubles as part of Taurus. North is to the left, and the brightest star there is Capella. In the full-resolution image you can see the Milky Way open clusters M36, M37, M38, and I think that’s M35 in Gemini in the lower right.

    Jane was enjoying touring through targets in this part of the sky, and spent some time attempting to see visually the difficult target IC 405, the Flaming Star Nebula. (Her companion post on the subject is coming soon.) I was intrigued as well, and took 30-minutes of exposure time on IC 405. It’s not visible in the piggyback view, but is found in Auriga near the upper center of the picture.

    IC 405 the Flaming Star Nebula
    IC 405 the Flaming Star Nebula

    I wasn’t familiar with this target, and the 30-minutes of data here shows only the brightest areas of this faint nebula. Longer exposures and a Hydrogen-alpha filter will show the nebulosity extending out to the left and curling up like a huge comma. This was a really fun target, and I’m looking forward to Jane’s discussion of it.

    Orion, the Flame and the Horseshoe

    Orion, piggyback naked-eye resolution
    Orion, piggyback naked-eye resolution

    Finally I wanted to see if my little 4-inch refractor could possibly do justice to one of the most popular astrophotography targets. Here in my naked-eye resolution piggyback photo is the Orion constellation, with its famous bright star-birth nebula near the dead center of the photo.

    The target I had in mind wasn’t the Orion nebula itself, but two very different nebulae near the left-most belt star Alnitak (Zeta Orionis). Just to the left of Alnitak is a bright yellowish nebula called the Flame. In a telescope it shows a lot of detail, looking almost like tire tracks. The full-resolution picture of the constellation has just a hint of the flame. If you already know it’s there, you might be able to see it.

    For my piggyback photos I used my Canon 20D digital SLR camera, mounted on top of the AP Traveler. I shot 5-minute exposures, and tried to subtract a 5-minute dark frame, which doesn’t seem to make much difference.  The camera does leave behind a reddish glow which I’ve removed in Photoshop.

    Just below Alnitak is the Horsehead nebula, also known as Barnard 33. Seeing the Horsehead visually is a fun and difficult project, requiring really good transparency and a fairly large telescope. Jane observed it visually in her 12.5-inch.

    The Flame and the Horsehead in Orion
    The Flame and the Horsehead in Orion

    I never dreamed the image would turn out this nicely. The big white bright blob just above center is Alnitak. In the lower right is Sigma Orionis, one of my favorite multiple star systems. Of course the bright Flame is just left of Alnitak, and dark nebula B33 is just below center.

    Just as with M33, this image is made up of four 15-minute exposures. The telescope is a 105mm f/6 Astro-Physics Traveler, with an SBIG ST-4000XCM one-shot color CCD camera. The mount is the AP Mach-1 GTO on wooden tripod, and I did autoguiding and image capture with Software Bisque’s CCDSoft. I used SBIG’s CCDOps software to process the Bayer-matrix one-shot color pixels out to luminence and RGB components, combined the L and RGB components in Photoshop, then stacked the four color images for the final photo.

  • Finally autoguiding

    Full photo album of setting up and astrophotos here at the Whiteoaks Photo Album.

    Update: Here’s Jane’s version of the same evening. 🙂

    It was another perfect new moon Saturday for a trip to our favorite spot in the Colorado Desert out I-10.

    Yes this is a very full Grand Caravan!
    Yes this is a very full Grand Caravan!

    Jane and I happily took out all the seats of the old Grand Caravan and filled it with telescopes and gear. We brought her 17.5-inch Litebox dob, and our AP180EDT f/9 refractor.

    Jane has been indulging my dabbling in astrophotography lately. I’ve been delighted that Jane is using some of my astrophotos for the What’s Up podcast, lucky that she wants imperfect images that are closer to what one might actually see in an amateur telescope.

    This 180mm f/9 refractor should be an outstanding astrograph; it’s certainly an amazing visual astronomy instrument. I dabbled with it a little last year in Anza Borrego, knowing I needed to learn a lot of operating technique to get some good results. I solved a few mechanical problems then, and ran into autoguiding calibration later. Those lessons served me well, even though it’s almost a year later.

    Early in the evening was Jupiter time, and we all spent some time soaking up the gorgeous views through a binoviewer in steady seeing. 300x on Jupiter showed lots of detail in the bands, including a nice red barge in the North Equatorial Belt, and nice little disks and color on the moons.

    I’m going to take a few paragraphs to talk shop, gadgets, problems, and solutions.

    Setting up the AP180, all ready to take flats, except theres no known focus position!
    Setting up the AP180, all ready to take flats, except there's no known focus position!

    My camera is an SBIG ST-4000XCM single-shot color CCD camera which perfectly suits my recreational needs. The big AP180 is mounted on an older 900QMD mount, a simple but stable platform without GOTO electronics or servos.

    The 900QMD mount comes with digital encoders on the R.A. and Dec axes, but having spent several years using this telescope for primarily lunar and planetary observing, those encoders went unused for the life of the mount.

    The R.A. axis encoder is removable so you can use a polar alignment scope, and the encoder shaft has a slip fit into a metal sleeve when it’s in place. Last year I discovered that this mechanical connection slips very easily, rendering the encoder useless.

    The trick I settled on, which worked again tonight, was to cut a little piece of rubber band and push it into the fitting to serve as a tightener.

    Jane aligns the Telrad on her 17.5-inch Litebox
    Jane aligns the Telrad on her 17.5-inch Litebox

    To use the digital encoders for pointing, I acquired a BBox from JMI, connected that to a USB-Serial adapter, and used Software Bisque’s TheSky 6 to serve as my controller. I’ve learned by experience (at Fremont Peak observatory) that the alignment doesn’t need to be 100% perfect. I’ve learned the trick of syncing the software and encoders to a bright star near my target, then doing an accurate short slew to my actual target.

    (One problem I haven’t quite solved yet is play in the polar scope. I haven’t figured out how to tighten the polar scope in position, in the correct orientation, so it doesn’t wiggle.)

    So with a not-quite-perfect polar alignment, autoguiding becomes my essential partner. CCDSoft can be tricky software to work with when calibrating the autoguiding. The error messages and manual don’t really help solve problems like “Illegal motion in X-axis, error 352.” I thought I might even be dealing with a problem in the mount mechanics. In retrospect, I think I also hadn’t learned the correct switch settings on the QMD controller. (“Guide” and “.5” works much better than the 16x slew mode for visual!)

    On perusing the Software Bisque support forum last week, I was able to learn that their autoguiding calibration depends entirely on there being only one bright star in a large region of the guide imager. While I could see the guide motions working perfectly and orthogonal, the software doesn’t do matching of the star field, only looking for the one significant guide star.

    Having discovered that, I was finally able to successfully calibrate the autoguider. And with one successful calibration (remembering to set the current declination), I could autoguide on different targets successfully for a long time.

    (The Software Bisque manuals hint that there’s a way to link to TheSky so CCDSoft knows the declination of its target, but I haven’t figured that out yet.)

    M74 two 15-minute exposures, SBIG ST-4000XCM, 180mm f/9, October 17, 2009
    M74 two 15-minute exposures, SBIG ST-4000XCM, 180mm f/9, October 17, 2009

    Pisces was high overhead, and I love M74, so I decided as a first target to revisit that favorite. I settled on 15-minute exposures. The first one came out “double vision” when the autoguider momentarily lost track during the exposure, but that was the only time that happened during the evening.

    NGC7541 in Pisces, 15 minutes
    NGC7541 in Pisces, 15 minutes

    A visit to the Night Sky Observers Guide suggested NGC7541 as a Pisces “showpiece,” and I love galaxy groups. This one was gorgeous in Jane’s 17.5-inch, too.

    NGC7640, 15-minute exposure
    NGC7640, 15-minute exposure

    Jane showed me NGC7640 in her 17-inch, a really lovely look, and I thought it would be a great target. We’re starting to enjoy comparing visual and imaging views.

    NGC253, 2x15minute exposures
    NGC253, 2x15minute exposures

    I admit I get impatient when I’m imaging, and want to collect more targets rather than more exposures on the same target. As a result, I have a little more noise in my images, but I’m having fun anyway. That said, I couldn’t resist spending some time on NGC253, the Silver Coin galaxy. I had a tantalizing glimpse of this target last year at Anza Borrego when I hadn’t yet learned how to make the autoguiding work. This time I got two lovely 15-minute exposures. Well worth it.

    Pre-dawn crepuscular rays at Chuckwalla Bench
    Pre-dawn crepuscular rays at Chuckwalla Bench

    After a few hours sleep, we were greeted with lovely pre-dawn crepuscular rays, Venus, and Saturn making its return after solar conjunction. Not to worry, the telescope was capped, and about to come down into its box, anyway. (You can see the box ready to be loaded with telescope.) Jane paused to take this lovely picture.

  • Perfect wallpaper from digital photos using Linux and Netpbm

    The world is full of wallpaper managers for every operating system out there. I enjoy wallpapers taken from some of my digital photography, such as this trip to Yosemite last year.

    On nice modern monitors, you can really enjoy the full resolution of your pictures. Jane and I just replaced our old Viewsonic CRT monitors with some nice Dell 23-inch LCD models.

    Immediately I saw that I needed to regenerate our collection of wallpaper photos to match the aspect ratio and higher resolution of our new monitors. I admit to being a stickler for my wallpaper photo albums. I have these requirements:

    • I want to scale and crop the photos to fill the screen exactly, no tiling or stretching.
    • I want no black bars, letterboxing, or distorted aspect ratios
    • I want to dim the maximum brightness of the photos so my desktop icons are still discernable

    My Canon 20D full-resolution pictures have more than enough pixels to fill the biggest screen, so I cobbled together a shell script some time ago using the PBM (Portable Bitmap) tools that have been around since probably the 80’s for manipulating images. I don’t think many of the Linux distros install the toolset by default, but they’re easily available. On Ubuntu or Debian you can install them with “apt-get install netpbm”.

    I start by making a work directory (“wallpaper” in this instance) and a subdirectory to hold the full-resolution original images, named “full”. I collect copies of my full-resolution pictures there in ~/wallpaper/full.

    Next I need to work out the transform. My original resolution images are 3504 pixels wide by 2336 pixels vertically. My monitor is 2048 pixels by 1152 pixels.

    Rather than work out the math, I just scaled an original picture to the monitor width to see how tall it would be. This command pipeline would scale a picture to 2048 pixels wide:

    jpegtopnm full/IMG_1234.jpg | pnmscale -width 2048 | pnmtojpeg >IMG_1234.jpg

    Opening that scaled image in Gimp told me that it was 2048 x 1365. That tells me that I need to crop some lines from the top and bottom of the image to fit them exactly to my monitor field. 1365 – 1152 leaves 213 lines to cut from the image. With the pbmtool “pamcut” I plan to cut 107 lines from the top of the image and give it a total height of 1152.

    So I made this shell script to process all of the photos. The plan is to read all of the files from the “full” directory, and write perfectly scaled images to a subdirectory named “2048”. I’m also going to use the “ppmdim” utility to reduce the overall brightness of the images just a little. Here is the final script, called “mkwall2048”:

    for i in `ls -1 full`
    do
    echo $i
    jpegtopnm full/$i \
     | pnmscale -width 2048 \
     | pamcut -top=107 -height=1152 \
     | ppmdim 0.8 \
     | pnmtojpeg >2048/$i
    done

    This loops through every file in the “full” directory, putting the filename in variable $i. The rest of the script is a pipeline that feeds the image through five different tools from the Portable Bitmap collection, as follows:

    1. jpegtopnm converts the input file to a portable “any” map, then feeds it to stdout
    2. pnmscale scales the image to a width of 2048 pixels, preserving the aspect ratio
    3. pamcut slices off the top 107 lines, and preserves the next 1152 lines of the image
    4. ppmdim reduces the brightness of the image by 20% (80% of the existing brightness)
    5. pnmtojpeg converts the portable bitmap image back to a JPEG file

    I’ve adjusted this script using the same process to make perfect wallpapers for my laptop monitors and desktops at work. It’s a real treat having a slideshow of my favorite photography available behind my work.

  • A perfect night in the desert

    Observing report, dark sky weekend, September, 2009, Chuckwalla Bench

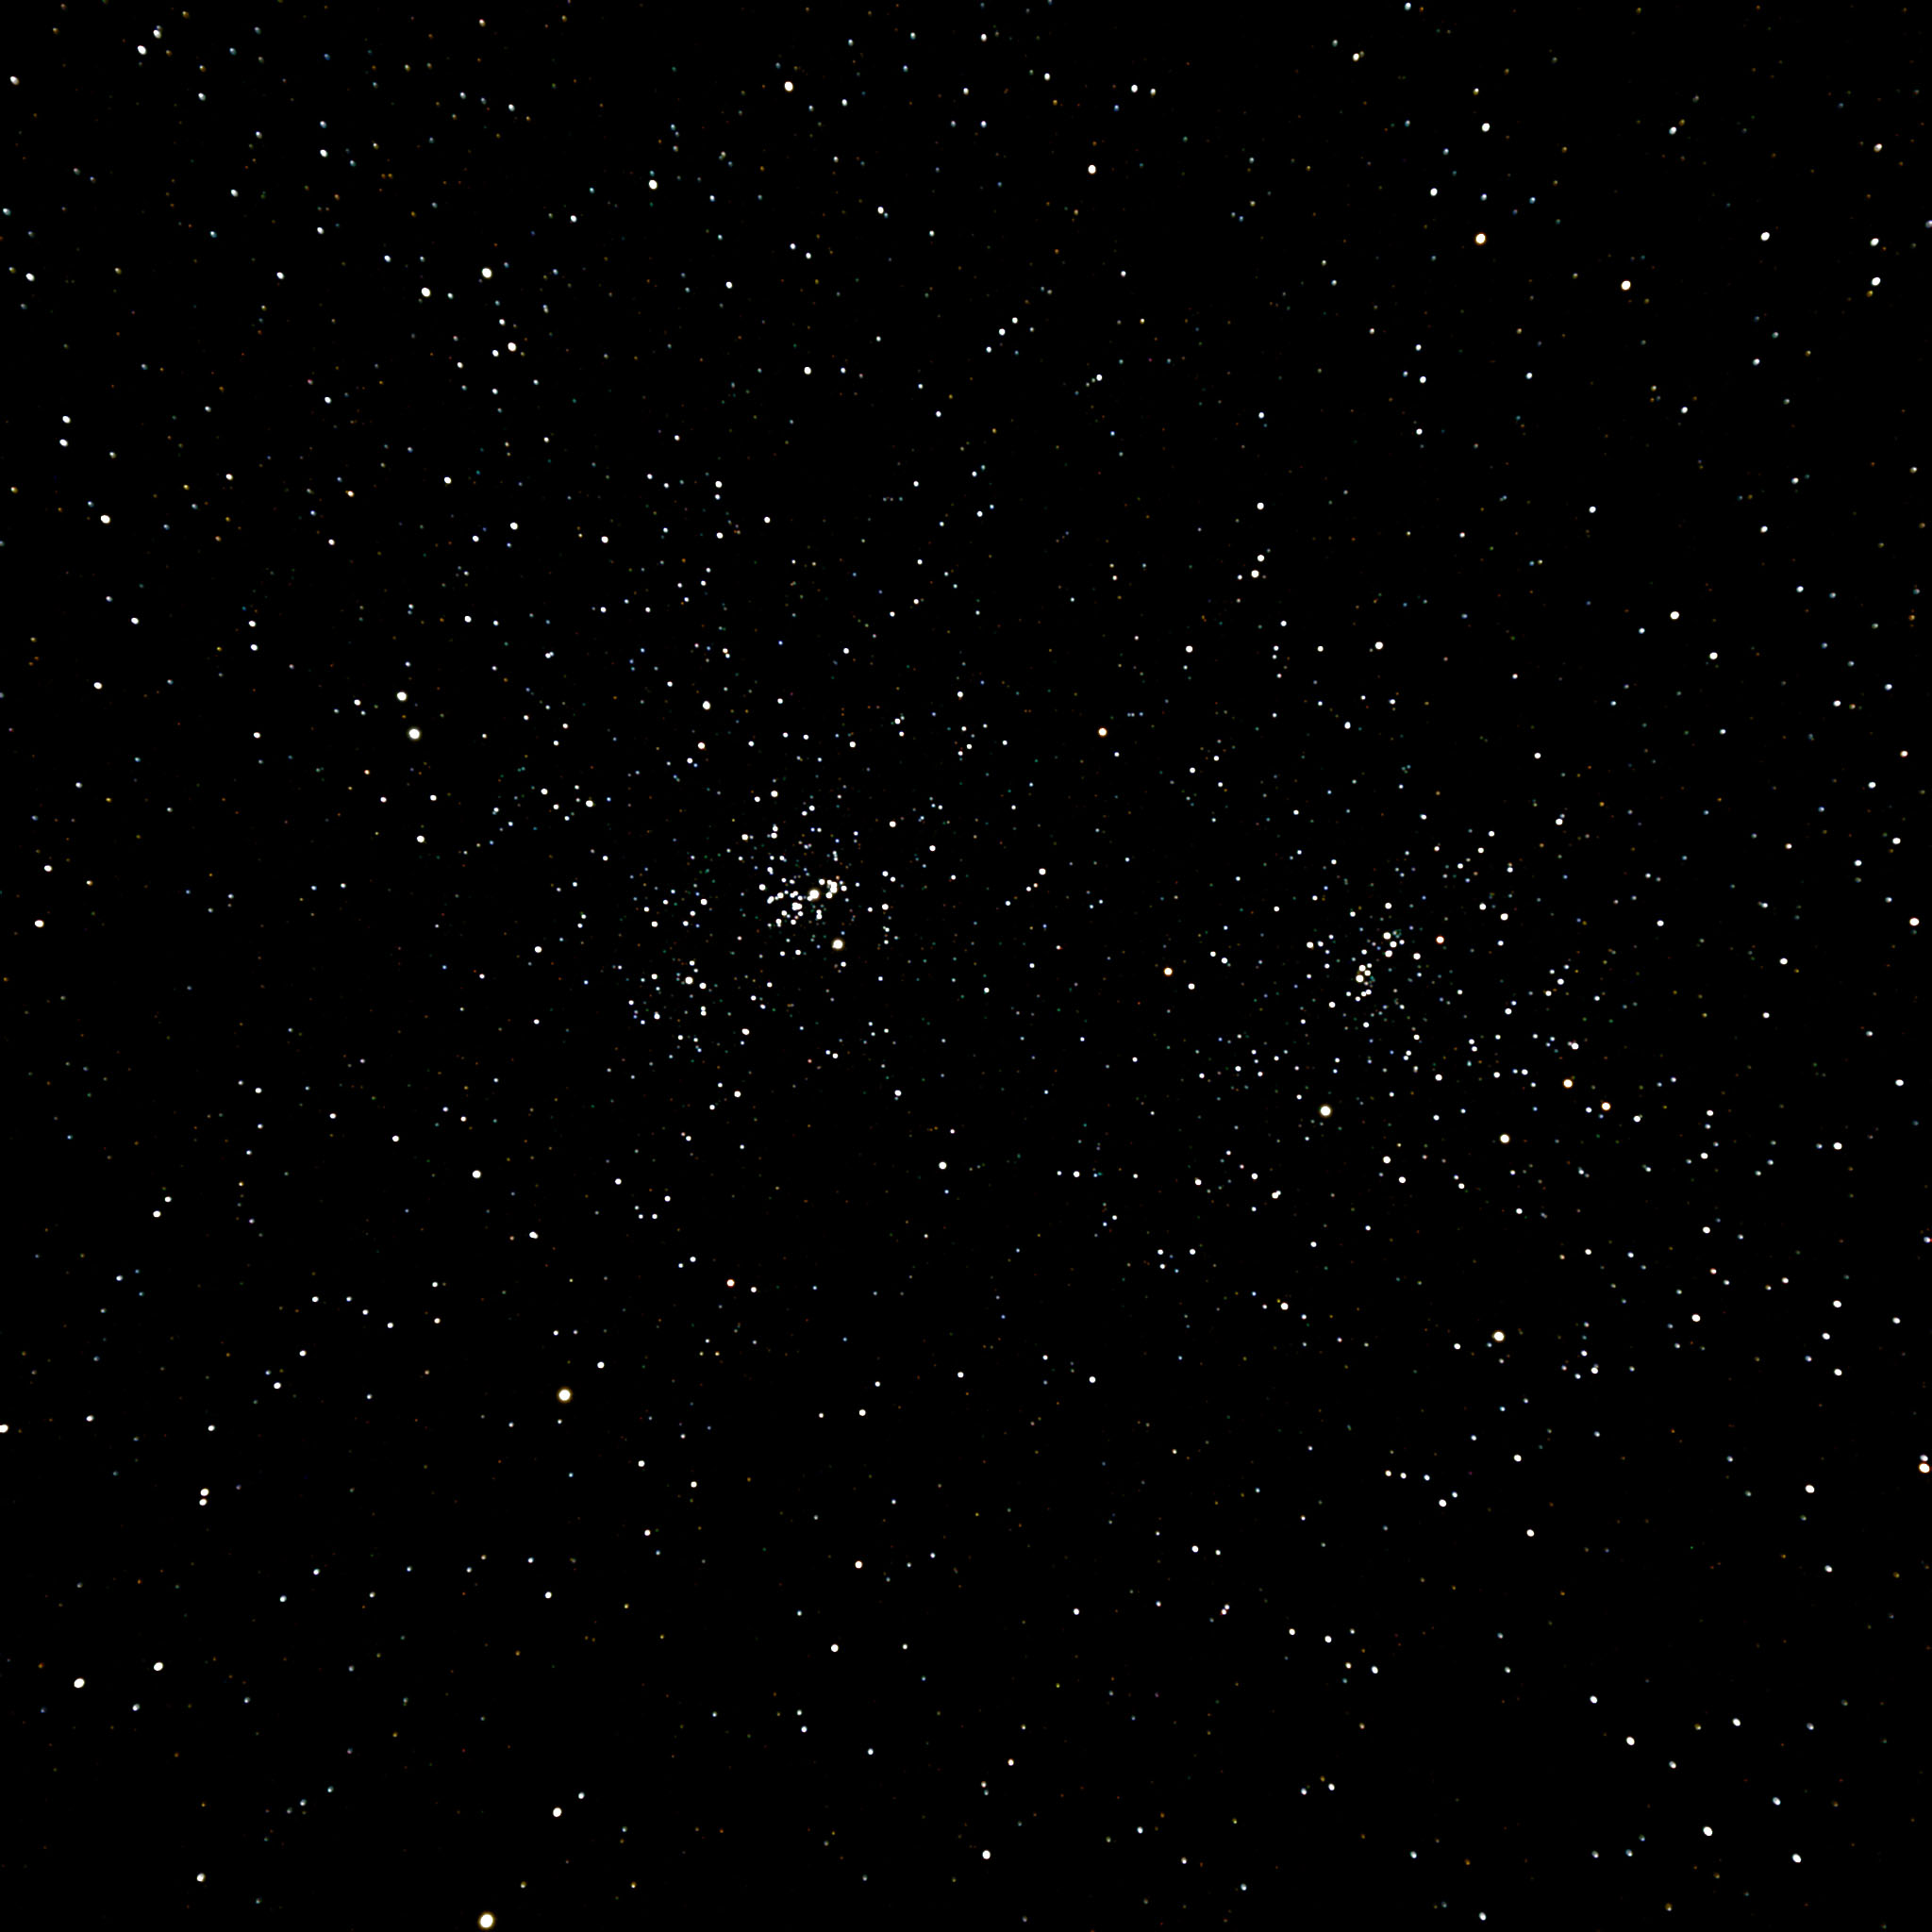
    The Double Cluster between Cassiopeia and Perseus
    The "Double Cluster" between Cassiopeia and Perseus

    The Clear Sky Chart forecast for Desert Center, CA, was dark blue all night for our favorite observing site. The NOAA forecast called for a high of 99 and low of 77. Often a night like this can have uncomfortably hot weather. Chuckwalla Bench is a little higher than Desert Center, so I was hopeful that the night wouldn’t be miserable with heat. It turned out to be lovely shirt-sleeve weather all night.

    Several of us were feeling dark-sky-deprived, so Jane and I were really looking forward to some quiet time with friends in our favorite desert location.

    I took the Astro-Physics Traveler (pictured at the top of my blog in a photo taken at Chuckwalla Bench) to attempt a little low-power astrophotography.

    As I mentioned, I was really rusty with the equipment and procedures, and am a beginner at astrophotography anyway, with a total of about four sessions under my belt. We were all out of practice; I think everyone on the trip left something at home or had some minor trouble.

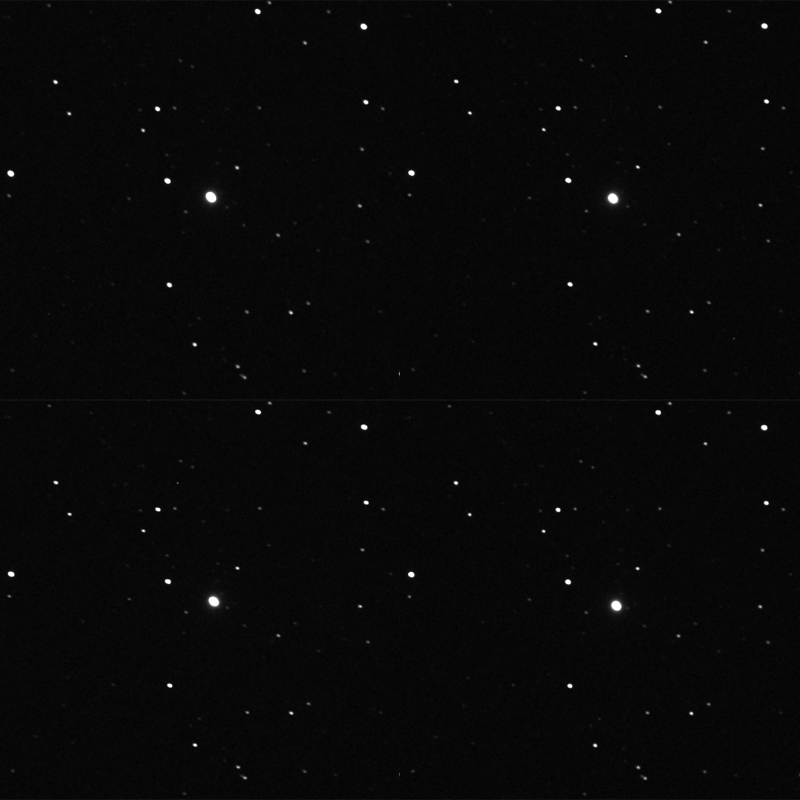
    After warming up with the Double Cluster as a good focusing target, my main goal of the evening was to make my first real asteroid trail or animation. With Juno very much in mind from Jane’s What’s Up podcast, I decided it would be my second target.

    Animation of four Juno images taken over 50 minutes
    Animation of four Juno images taken over 50 minutes

    Jane and Gary were hunting down Juno visually while I was imaging it. We had a great time using a combination of images and TheSky 6 to make a positive identification of Juno. I collected four ten-minute exposures, and made my first asteroid animation above.

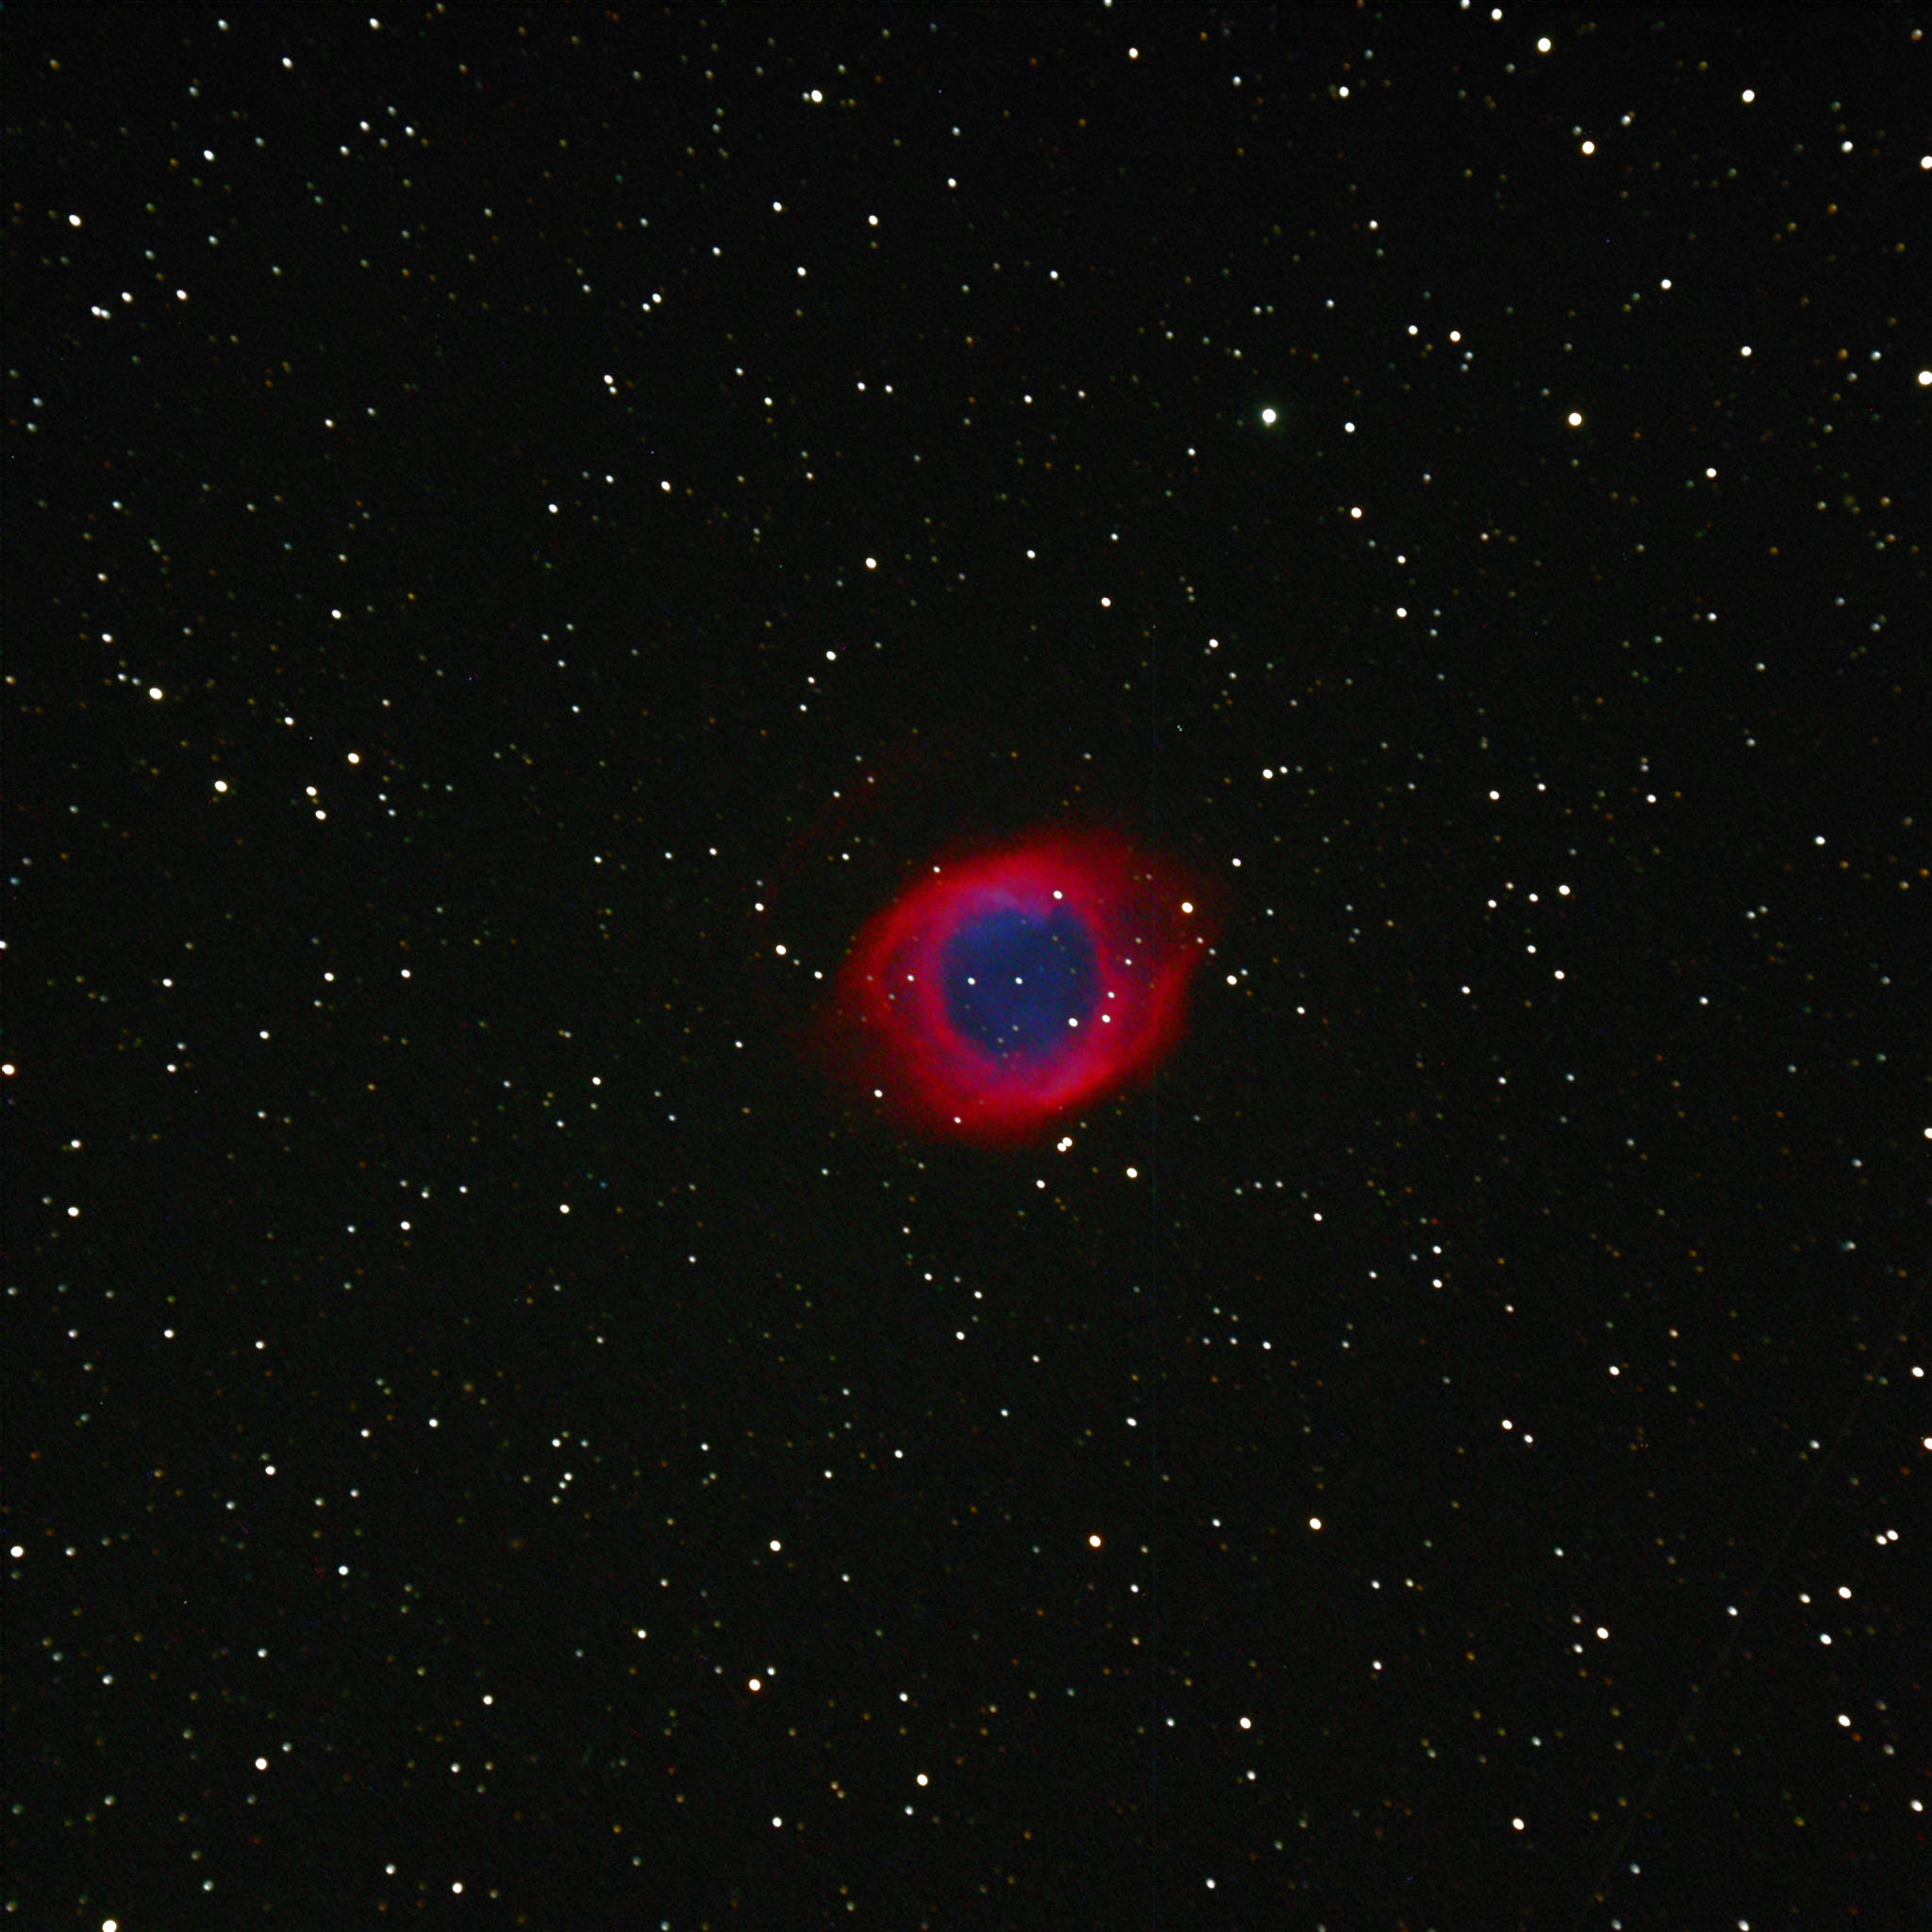
    The Helix planetary nebula, crop from full-frame image.
    The Helix planetary nebula, crop from full-frame image.

    The Helix Nebula NGC 7293 is an irresistible target for a good wide-field telescope and a color camera. I combined three ten-minute exposures. The image above is a crop — click to see the full field image.

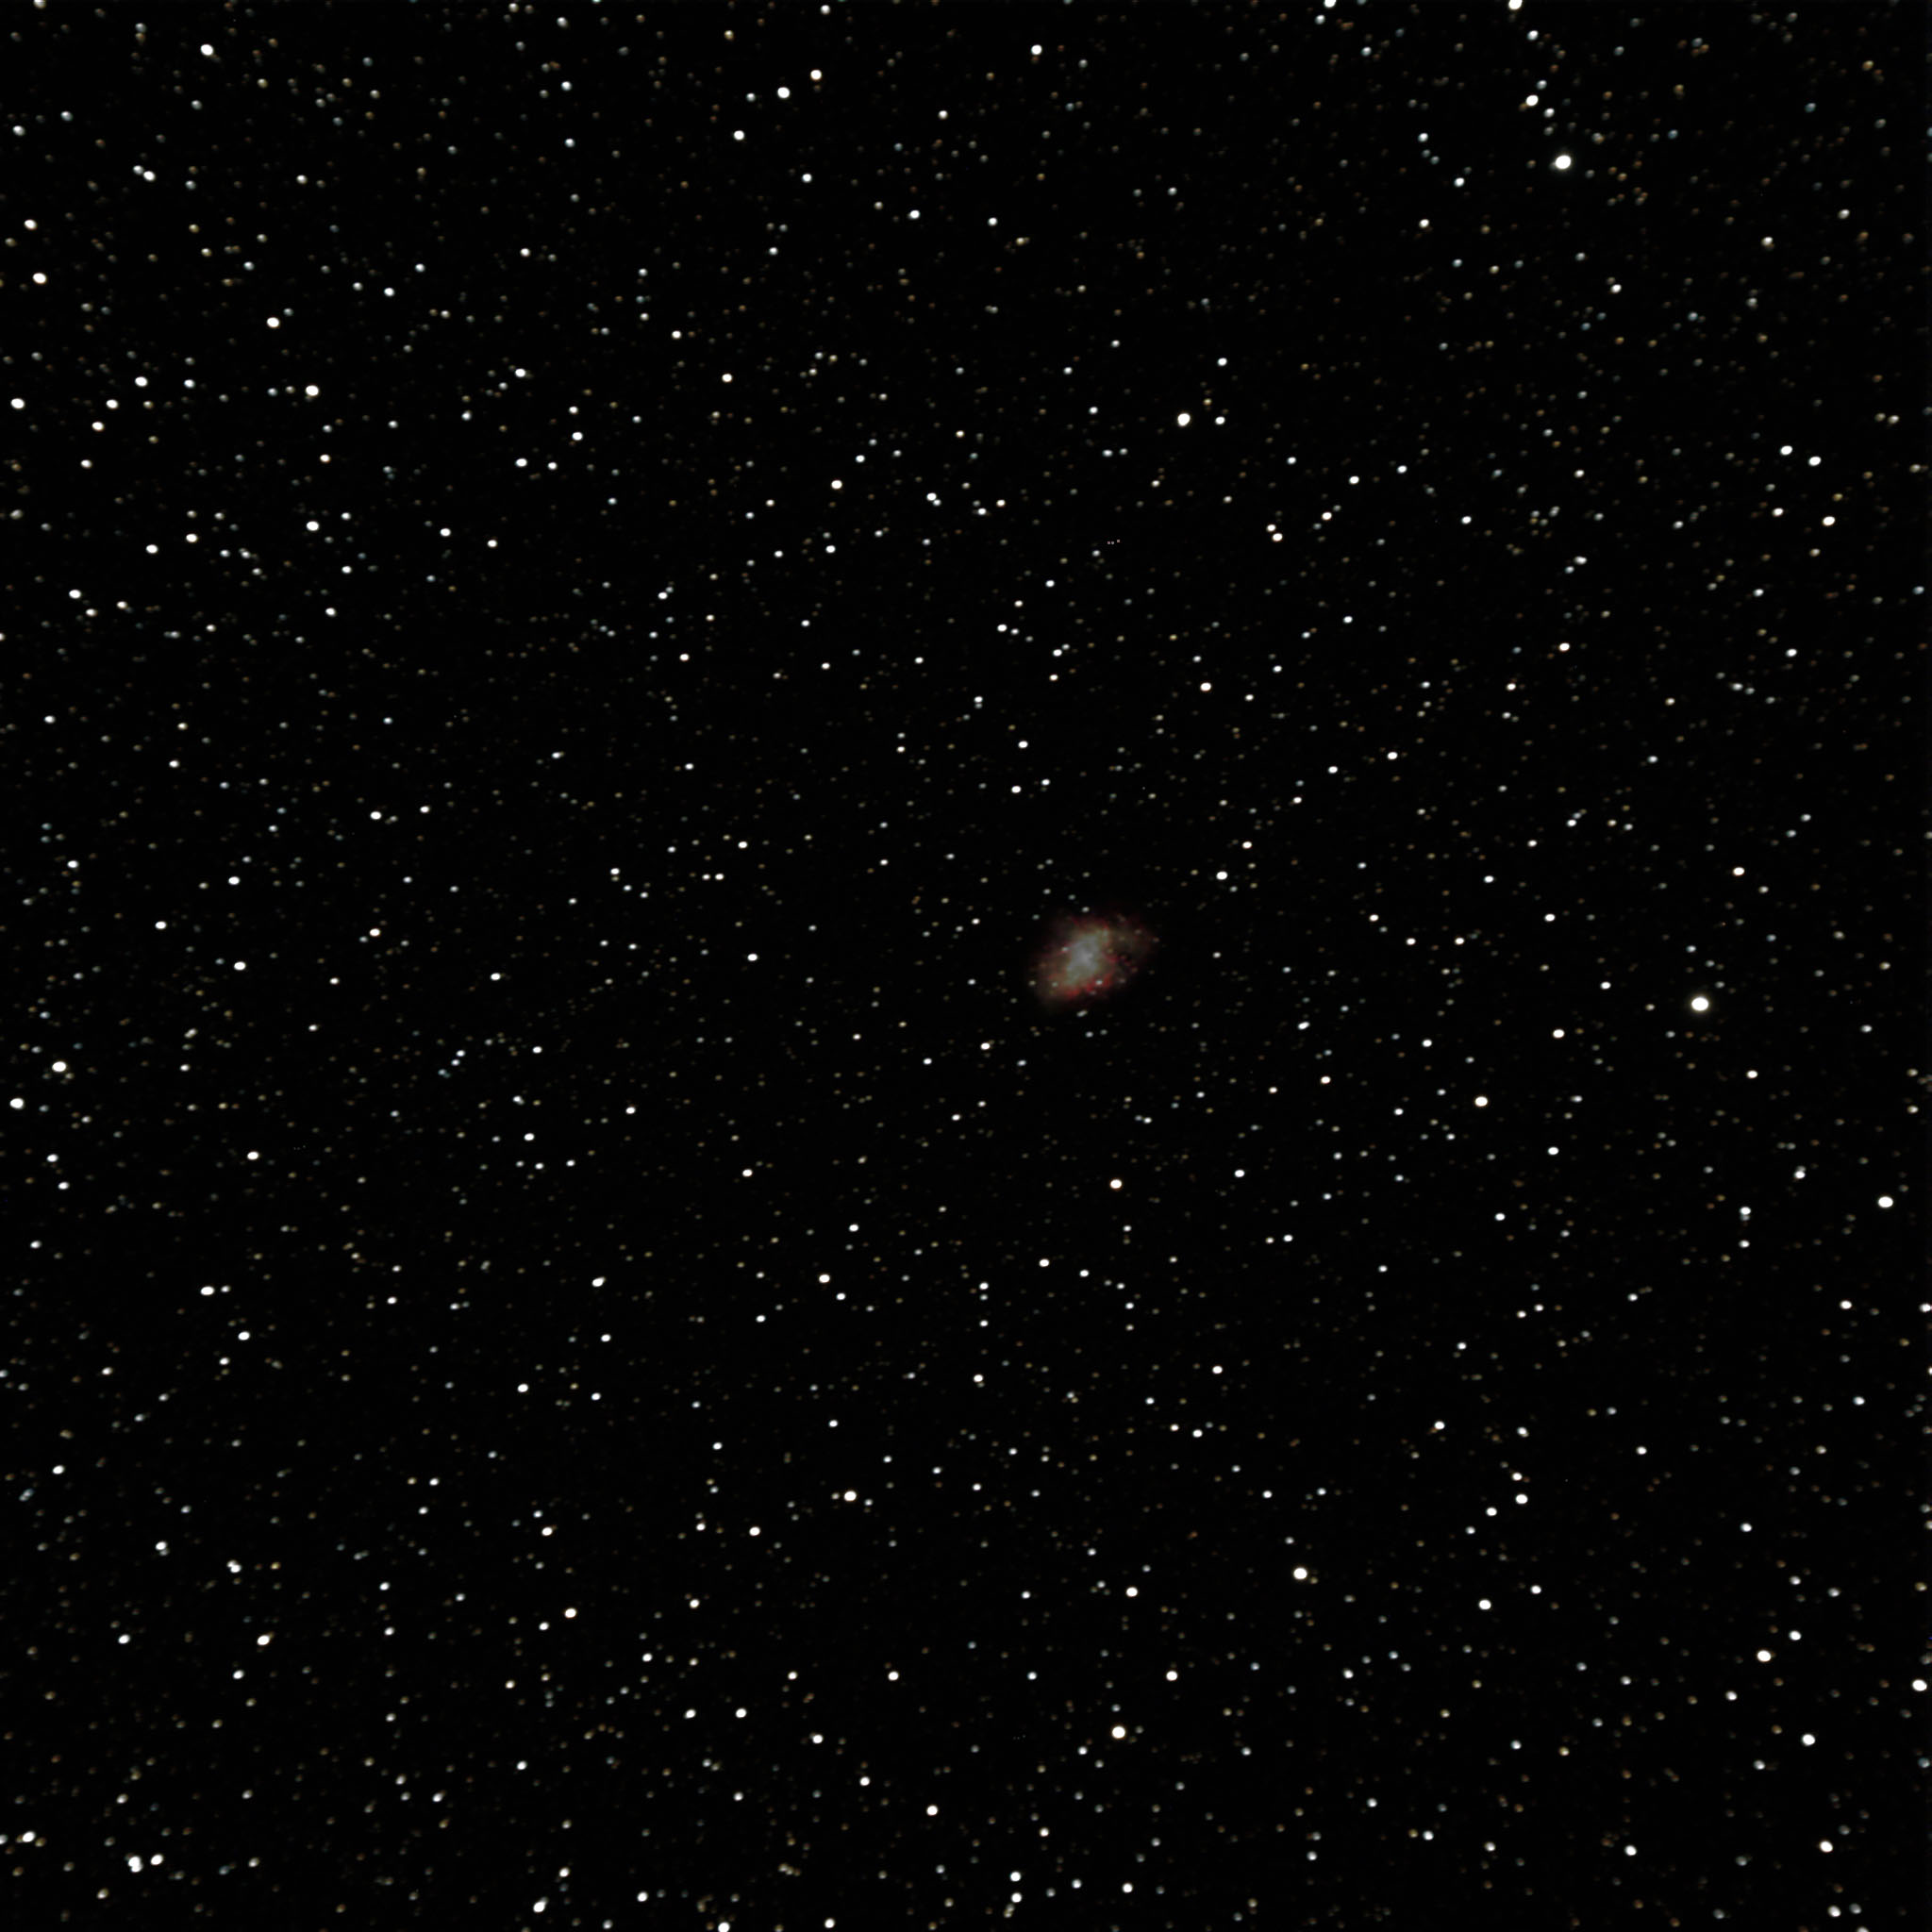
    Crop of M1, The Crab Nebula, click for the full frame.
    Crop of M1, "The Crab Nebula," click for the full frame.

    My Crab Nebula is a combination of three ten-minute exposures. It’s not a great image, but still a treat to see the kind of detail that we don’t get to see visually. The full-frame image (click to see) shows this small target.

    A crop from my M74 image, click for the full frame.
    A crop from my M74 image, click for the full frame.

    I love galaxies, and M74 is a favorite — for being small, hard to find visually, and a difficult “first target” of the Messier Marathons we do in March. I couldn’t resist trying to get an image of this little gem.

    I know I need to put more exposure minutes into my images, especially of my favorite faint targets. My backgrounds are still very noisy; my focusing isn’t perfect. Since I don’t get to do this very often, I get impatient and want to grab several targets over an evening. Practice, practice!

    Gary Spiers snapped pictures as we set up in the desert. Click the image for a link to his photo album from the night.
    Gary Spiers snapped pictures as we set up in the desert. Click the image for a link to his photo album from the night.

    A night in the desert has to be followed by a great breakfast. After catching a couple hours of sleep, we all packed up the site in a gorgeous desert dawn and headed ten miles west to Chiriaco Summit, home of a great diner and the General Patton Memorial museum. Tanks and eggs, four stars! (Ratings and generals.)

  • Joy of Bridge

    Mojo playing bridge on the Sea Princess
    Mojo playing bridge on the Sea Princess

    Throughout my life I’ve been something of a serial hobbyist, with a tendency to pursue a hobby obsessively until I burn out on it, or at least until the flame starts to cool. Over the years I’ve tackled ham radio, flying airplanes, gliders, motorcycling, tournament bridge, and astronomy.

    (My one lifetime avocation is computer programming and internet servers, which long ago became my profession.)

    I was deeply involved in organized bridge for several years. I directed games at the San Jose Bridge Center, traveled to tournaments, and taught a couple hundred students to play the game. I was even president of our local bridge unit for two years.

    In 2000 I finally achieved “Life Master” rank in the American Contract Bridge League, and hung up my cards. I didn’t make Life Master quickly. For one thing, I was never a bridge prodigy, just a reasonably smart guy who enjoyed playing the game. I was also so busy teaching and directing I didn’t get to actually play cards as often as I might have.

    But why walk away from it? Why abandon the game I was so deeply involved with for so long?

    For one thing, of course, there were plenty of life changes, job changes, my lovely new wife Jane, moving from Campbell to Marin and then Los Angeles. Astronomy had become the newest passion to get most of my attention, and I’m still enjoying that.

    I can also honestly say that I didn’t miss bridge. Competitive bridge can have an unpleasant dark side.

    I’ll never forget stepping into a hallway at the North American Bridge Championships to see a red-faced player berating his partner loudly and mercilessly.

    As a director I was often asked to rule on a judgment call against players whose bridge experience certainly far exceeded mine, and often enough there were arguments and confrontation. I’m not an argumentative person, and confrontations like that could leave me sleepless for a day.

    (Tournament bridge is much like the world of tournament Scrabble. The movie Word Wars is a great rental. One major difference — bridge doesn’t offer cash prizes.)

    All along I knew that bridge would still be there when I was ready for it.

    In June I took my first cruise with Jane and her family on the Sea Princess to Alaska. Bridge is a classic cruise activity, and Englishman John Beard was an entertaining and congenial teacher and director. I played five sessions of duplicate with a delightful lady from Texas who was really kind of hopeless at bridge.

    This past weekend, Jane was in Toronto speaking at Starfest. Rather than stay home in my pajamas playing Free Cell, I opted to go out and play bridge.

    I kibitzed a few hands on a Thursday evening at the Beverly Hills bridge club tucked into what looked like a former storeroom in a community center.

    I dropped in on the Arcadia Bridge Center on Friday, and played in a North American Pairs qualifying match. Patrick Cardullo and I qualified for the Flights A and B unit final with a second-place finish.

    I played a fun club game on Saturday with Tom Miyake, and made plans to meet him on Sunday for a unit swiss team game in San Marino. On Sunday we played with pick-up teammates and took second overall out of 18 teams.

    I won my first masterpoints in nine years, and had a blast. In all those dozens of bridge hands, there wasn’t a single unpleasant moment.

    In my return, I was reminded of what I love about organized bridge.

    First there’s the game itself: the thrill of watching your partner execute a perfect end-play to make a doubled contract, recognizing a squeeze play as it develops and executing it, and the unforgiving and humbling nature of the game when you make a small mistake.

    Then there are the people who play the game. During my weekend binge every player I met was interesting, delightful, and gracious. Bridge players come from all walks of life. They are smart and tend to be eccentric. The best players enjoy the inevitable humor in the endless patterns and chaos of the card deals, along with the foibles and misunderstandings. Yes, there is ego and intimidation in bridge, as in any competitive sport, but fortunately it’s rare.

    The best players in competitive bridge will have you smiling and enjoying every minute while they’re beating your pants off. That for me is the joy of bridge.